How to get that Walking Dead Look in Photoshop

I was taking some pictures of Tu and she asked me to make it look like Zombies were chasing her in the pictures. As I played around a bit, I figured that other people might want to figure out how to get that Walking Dead Look in Photoshop so I created a tutorial. It’s kind of fun and something that you can do around Halloween to make your pictures look more like horror pictures.
First, I created a video tutorial so you can just click on this and watch it, or you can follow along with the rest of my blog to figure out how to do it. This is just a quick and dirty concept so I didn’t spend too much time trying to make the pictures look good. This is just meant to show you how to do it so you can create your own technique.
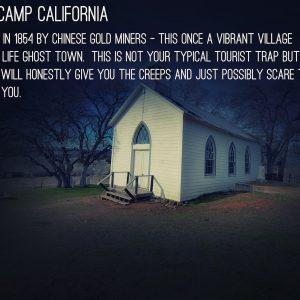
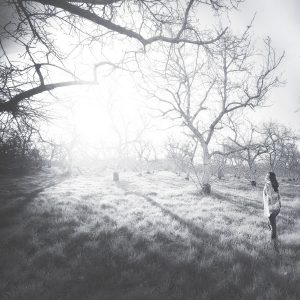
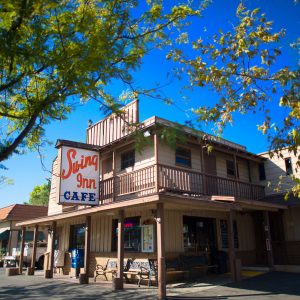
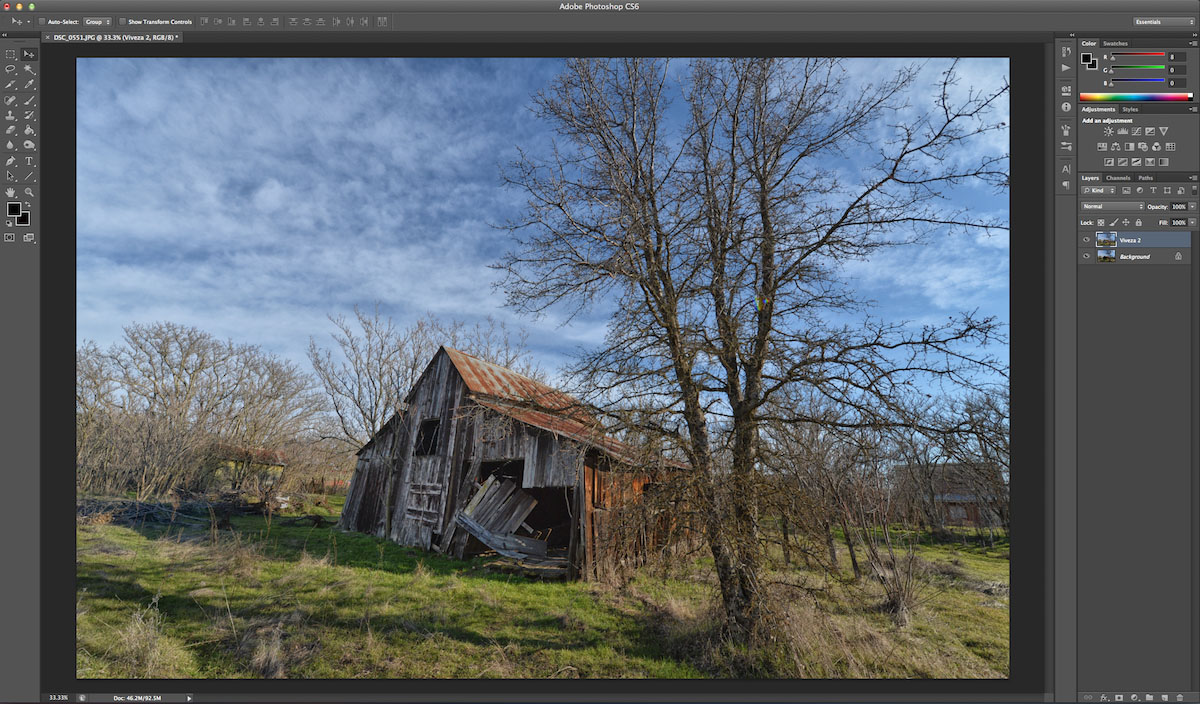
Step 1 – Choose a Good Image of Something Rustic Preferably out in Nature.
The first thing is to choose an image of something out in nature. A barn, an old house or even a picture of someone walking through the trees or something- anything that looks rustic. I chose this picture from a recent trip I took to Chinese Camp California. If you can go there I highly recommend it.
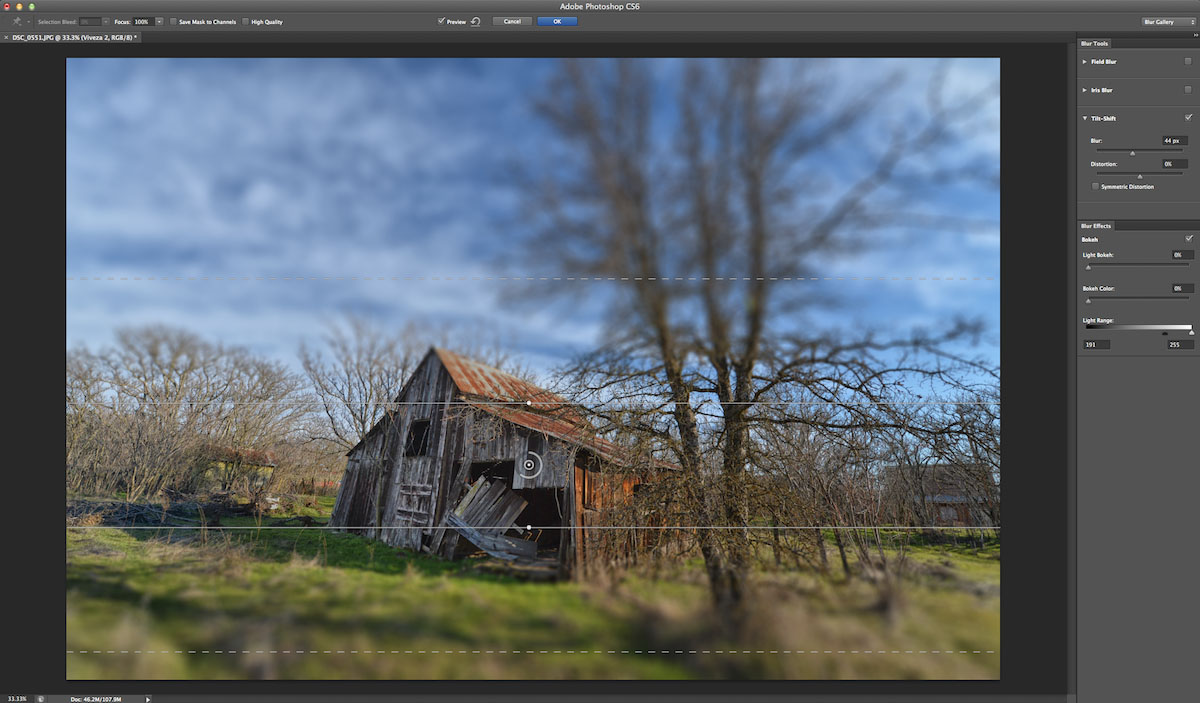
Step 2: Apply the Tilt Shift Blur, or the Guassian Blur Tool to the Photo.
Use the Tilt Shift Blur and focus in on the subject. I really like to blur it up so you can go all the way up to level 40 so it looks nice and blurry for the sky and the ground
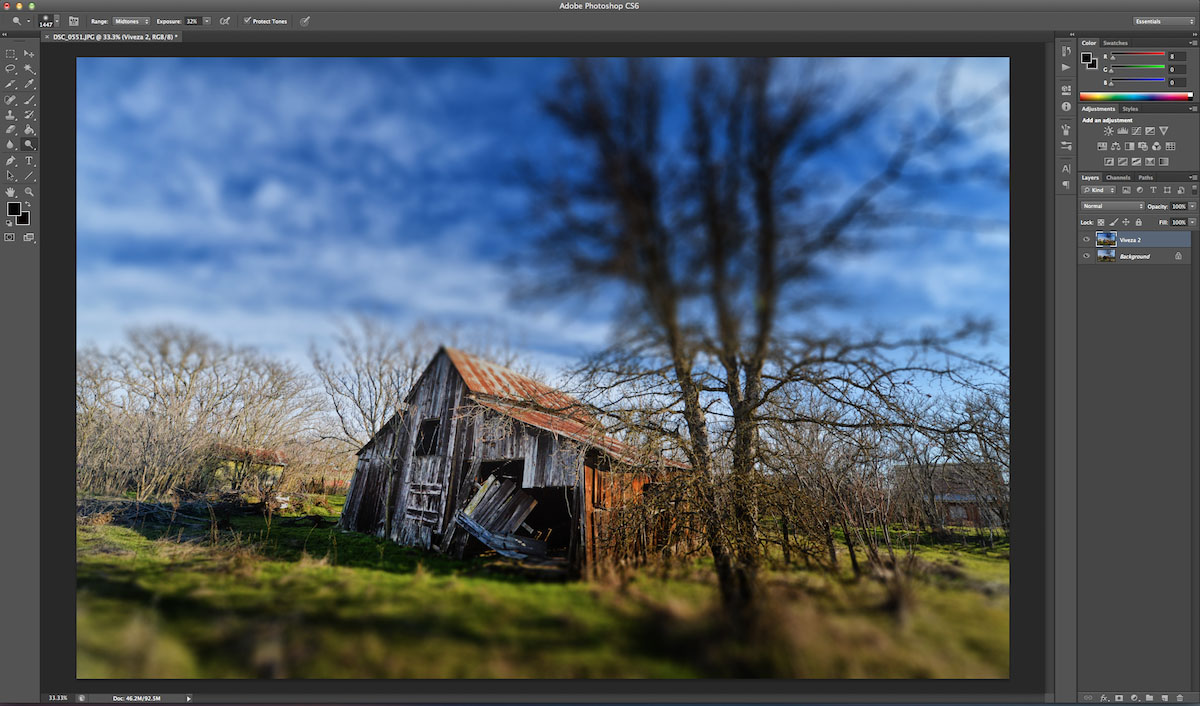
Step 3: Burn and Dodge the sky and ground
Using the burn tool (which you can set the exposure to 20-25) and use a large brush to darken up the sky and the ground. Don’t worry you can make it look pretty grungy and dark.
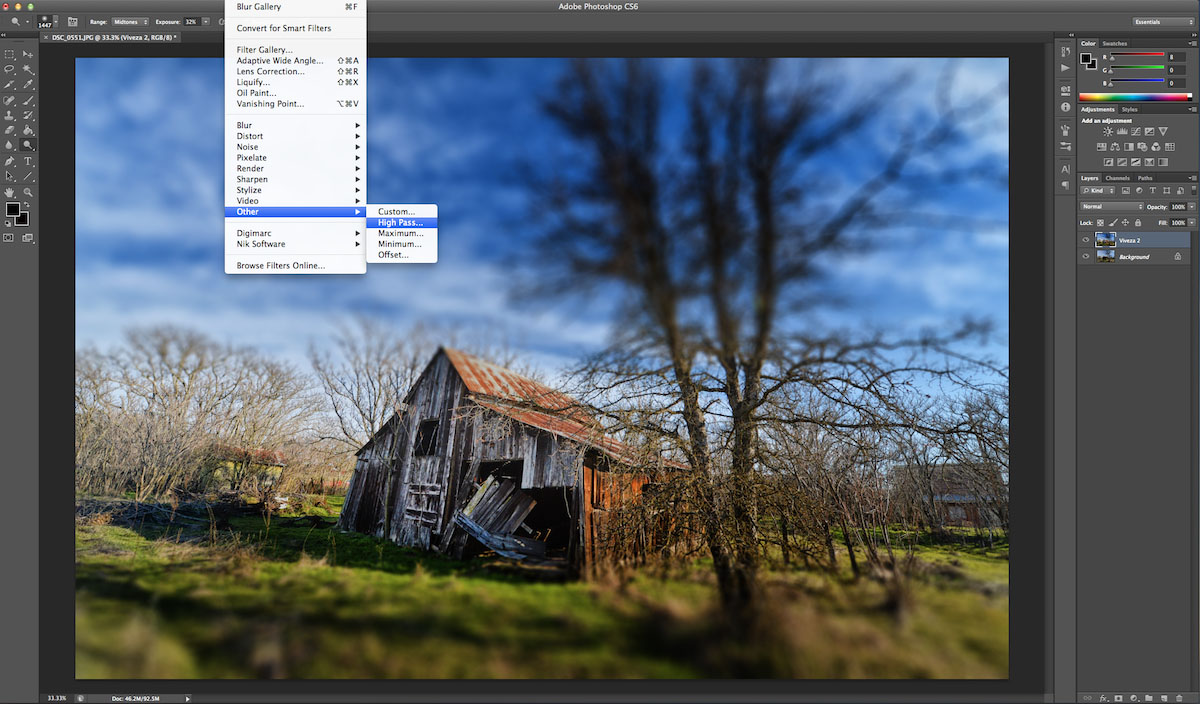
Step 4: Apply the high pass filter
Hit Command J to duplicate your existing layer. Choose the high pass filter which could be set to around 5. Then set Opacity to “Overlay” and then create a layer mask and just brush in the high pass filter to those areas that you want. This is an optional step just to add some details to the subject and make it look more old and gritty.
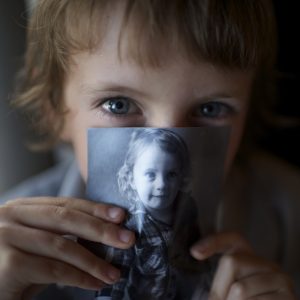
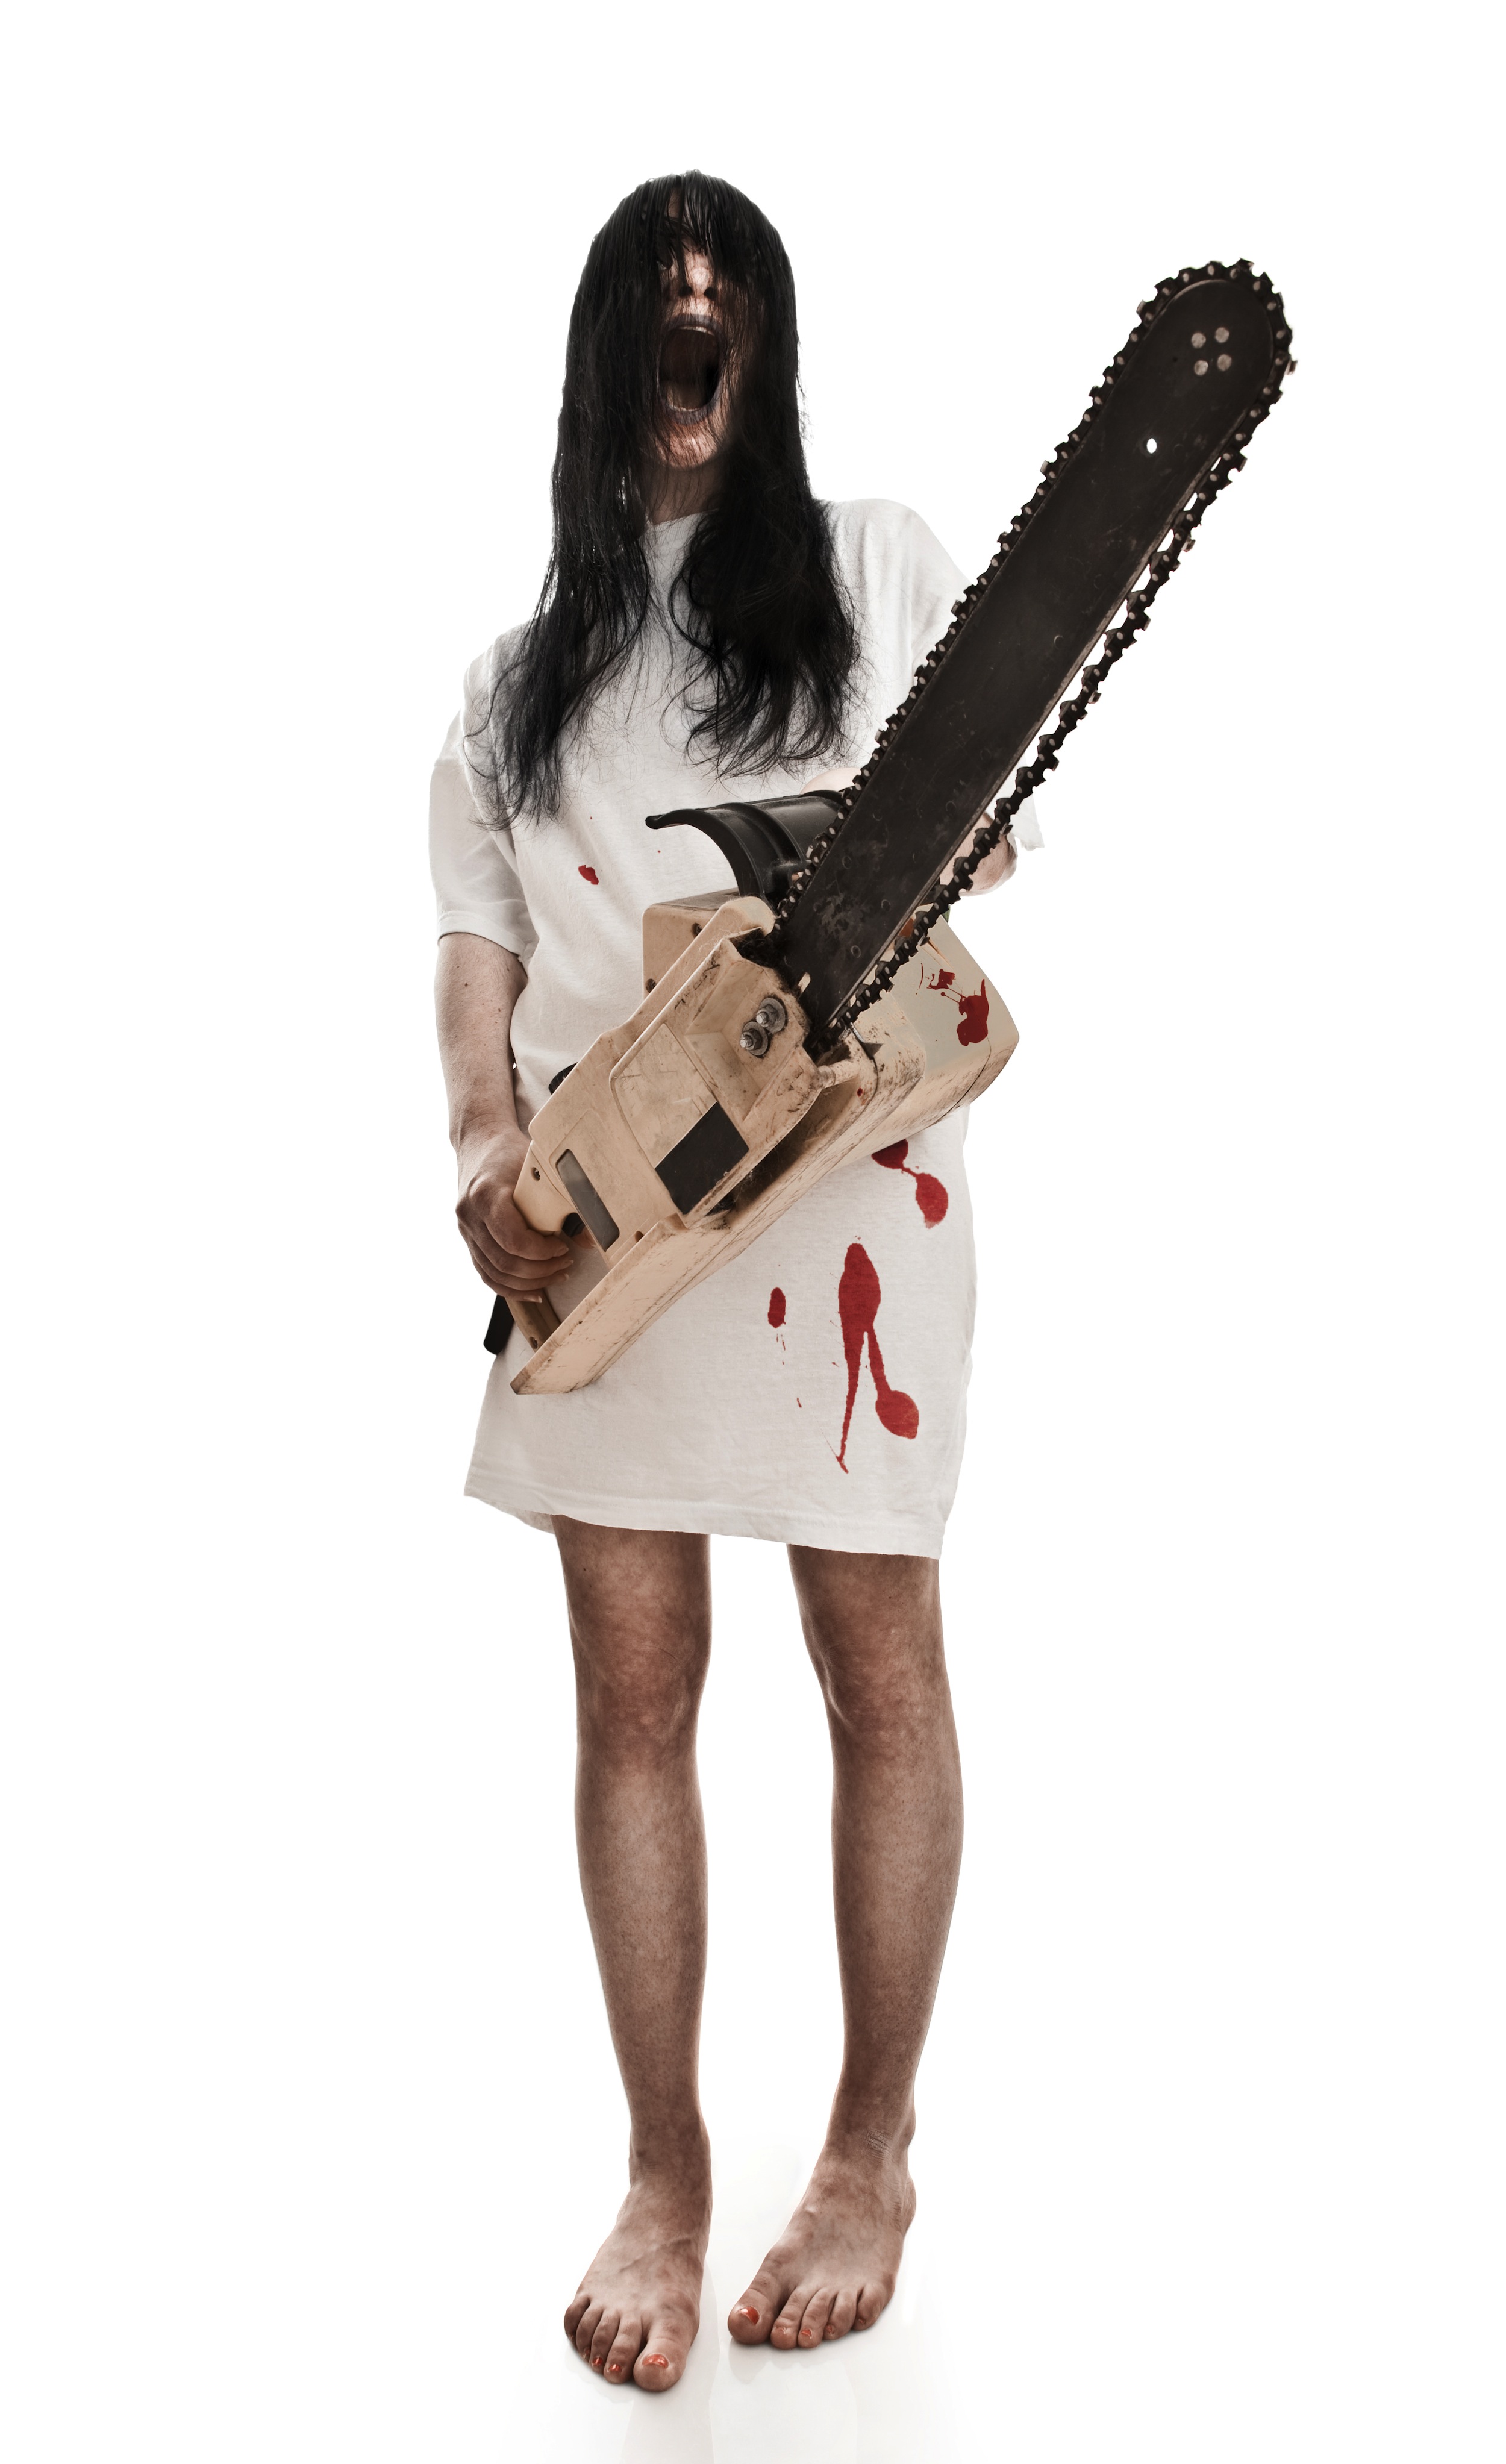
Step 5: Throw in a Zombie for the fun of it.
You can get a picture of a zombie and throw it in, or you can use the one here. I just drag and drop it on top of the photo. Set the Opacity to Multiply or Darken. You can even use screen. I just used multiply since it was easiest for the tutorial. Use the brush to make the zombie picture blend into the background.

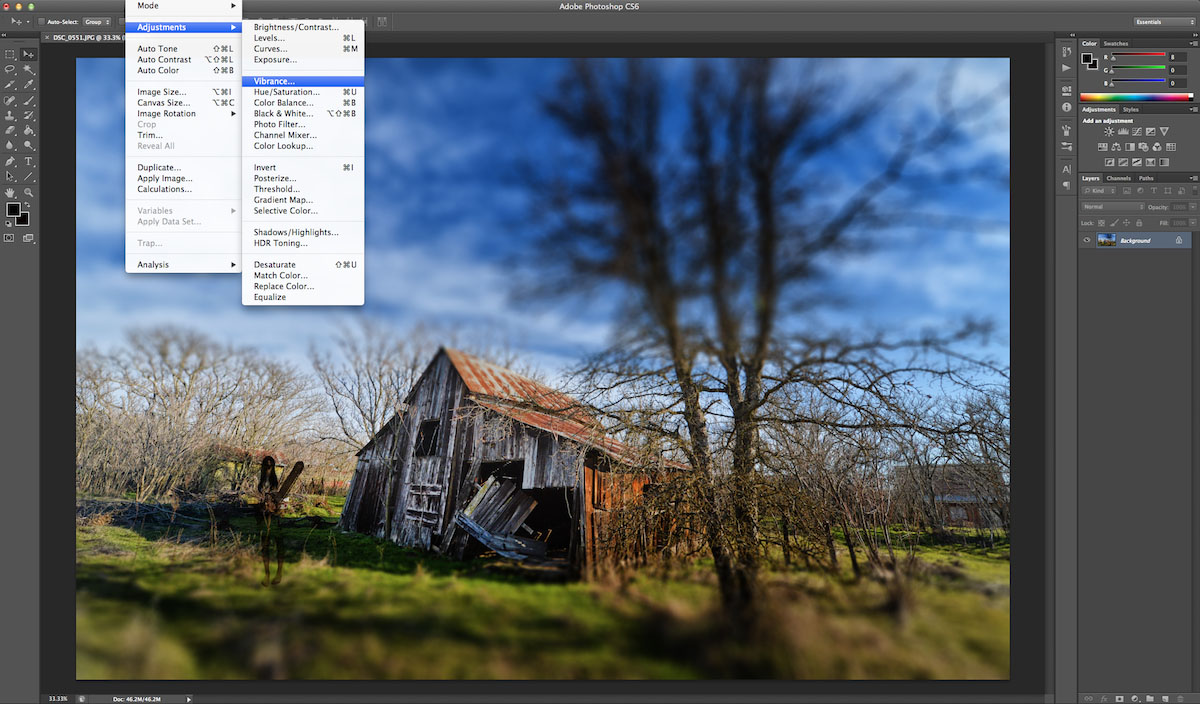
Step 6: Color the Picture (Green or Black and White)
I basically just made the picture black and white by reducing the vibrance and saturation to zero. The black and white look works well with grungy Walking Dead Photos.
Step 7 – Drag and drop a scratchy pattern jpeg into the image.
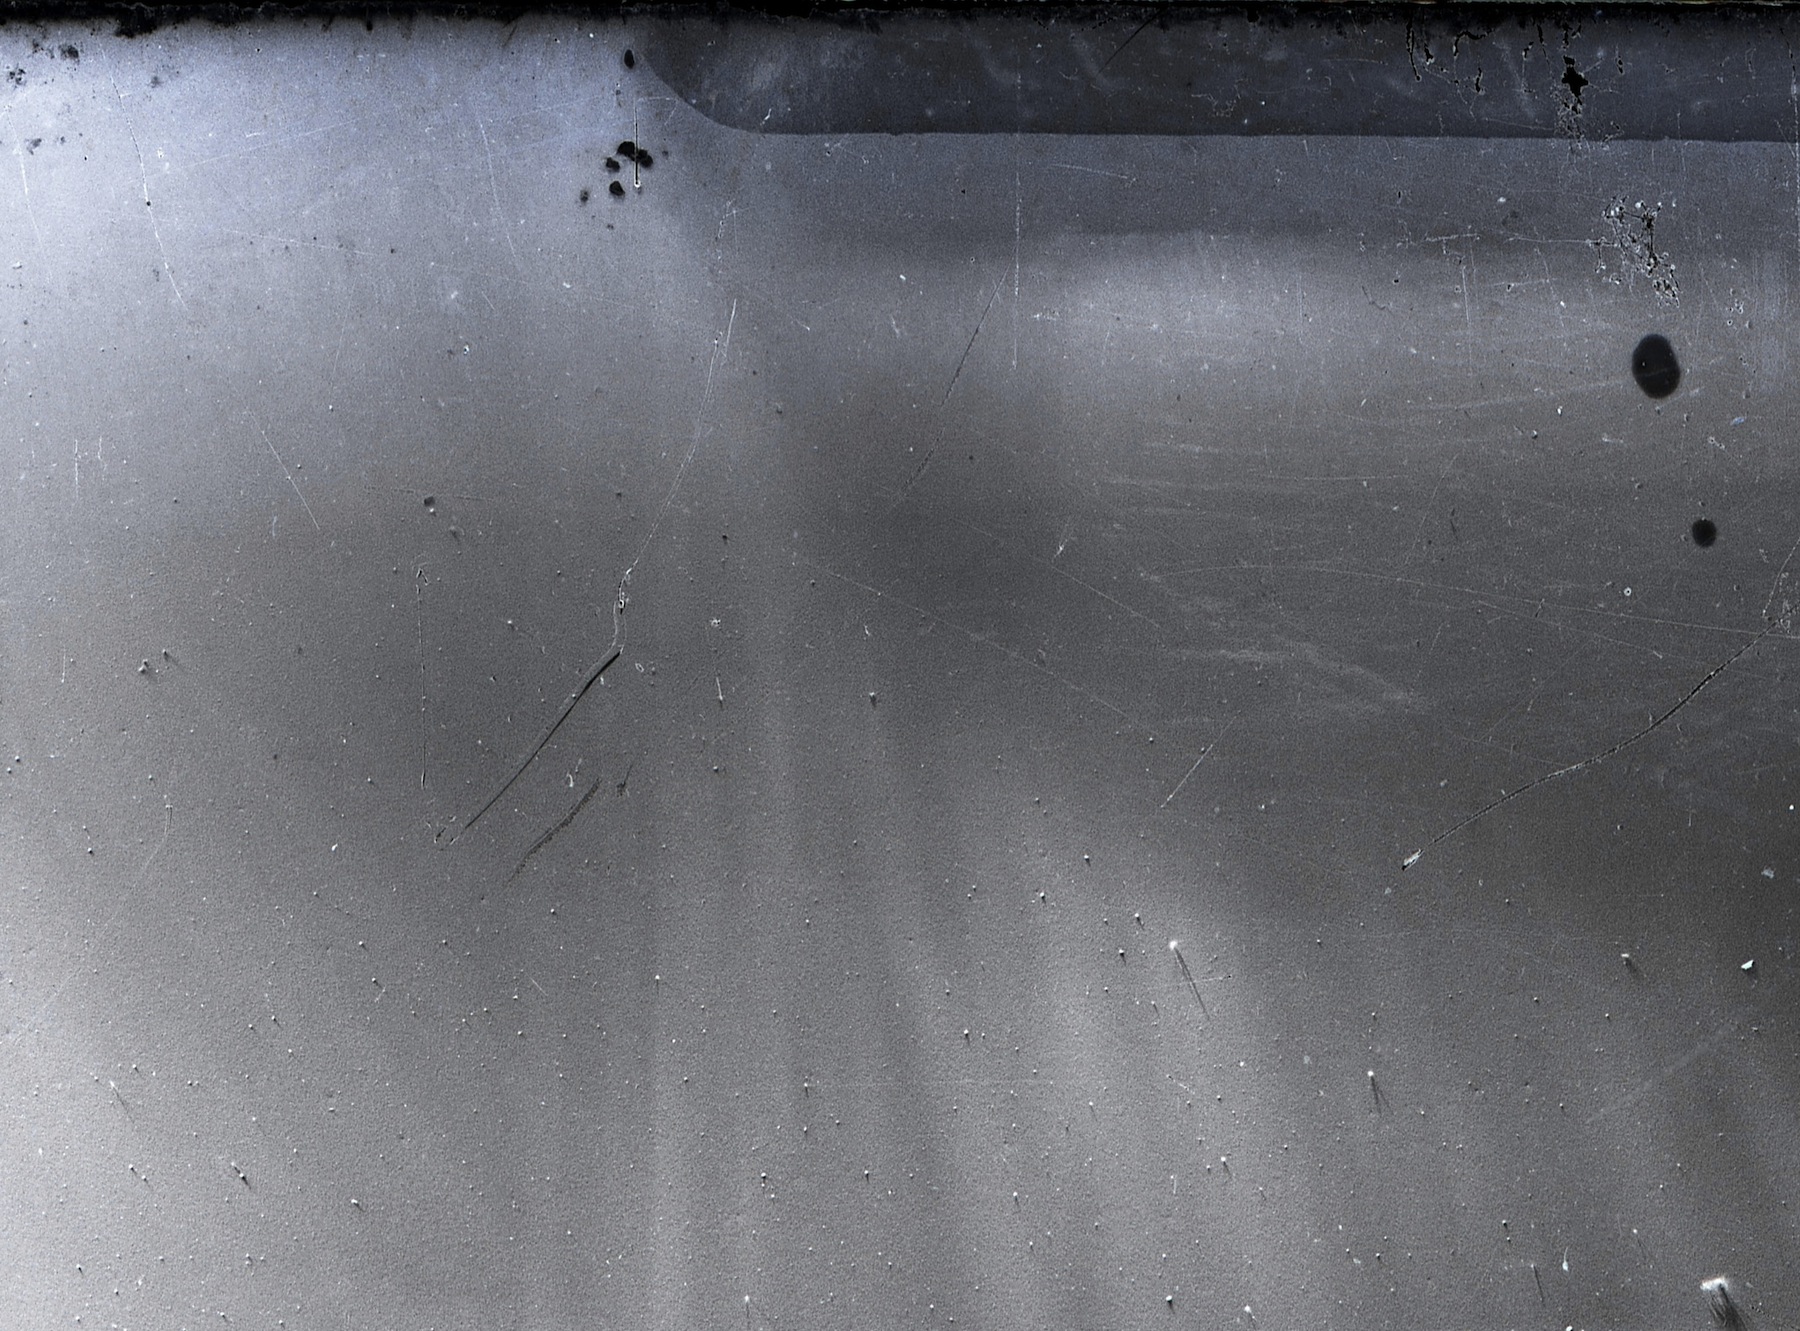
Get any image that is scratchy so you can add the pattern on top of your zombie picture. I use the image below and you can just use that one since it works well. Use the screen tool to set the opacity to how little or much you want the scratchy pattern to show up on the picture. I usually bring mine down about 50%.
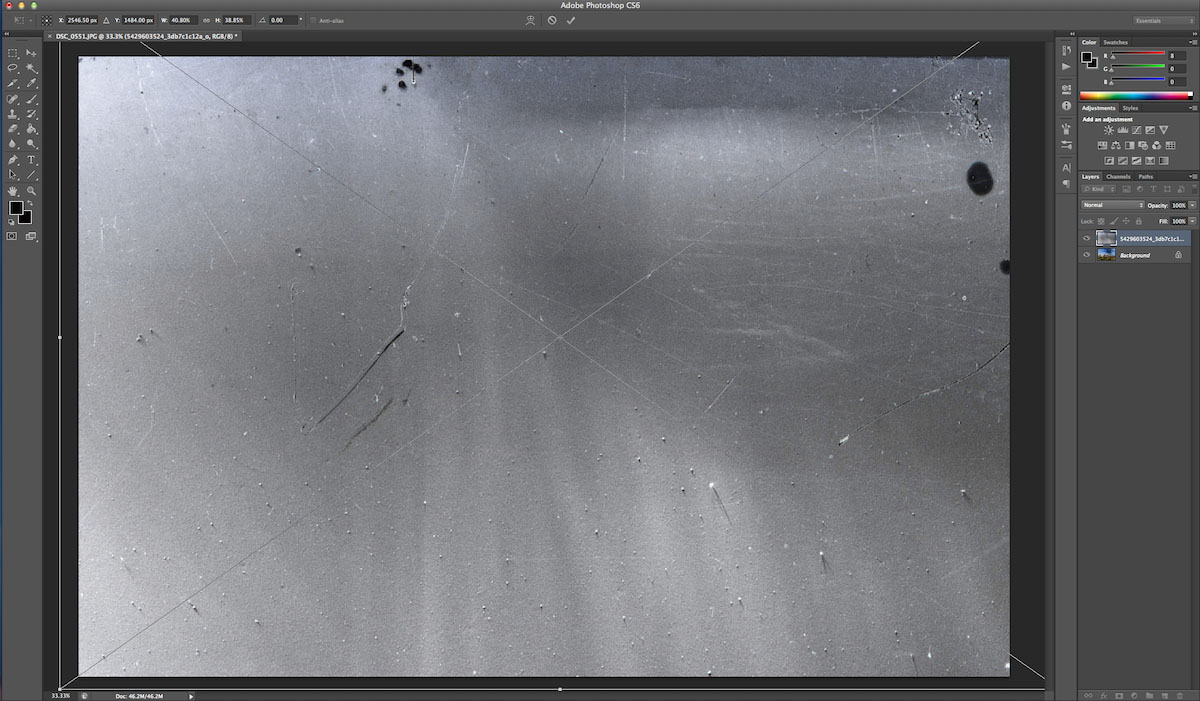
Here is the pattern I used.
The Final Step
The final step is just fine tuning the image. Dodge and Burn and color it until you get the effect that you want. I like to use this technique for my blog post sometimes. Here is the before and after picture after the complete effect is applied in Photoshop.

If you want to check out some zombified pictures that I did at Chinese Camp California, you can check out my blog post here. Chinese Camp California Blog Post.
If you want a gallery of a few overlays etc, you can check here. Zombie Like Overlays for Walking Dead Look.
Thank you for stopping by and checking out this tutorial. Please subscribe to my blog by adding your email address below!