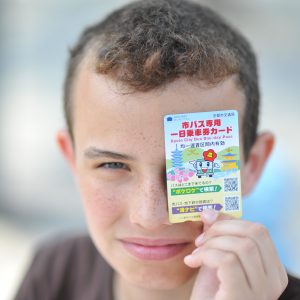
Try the Jarvie Window – its wow!
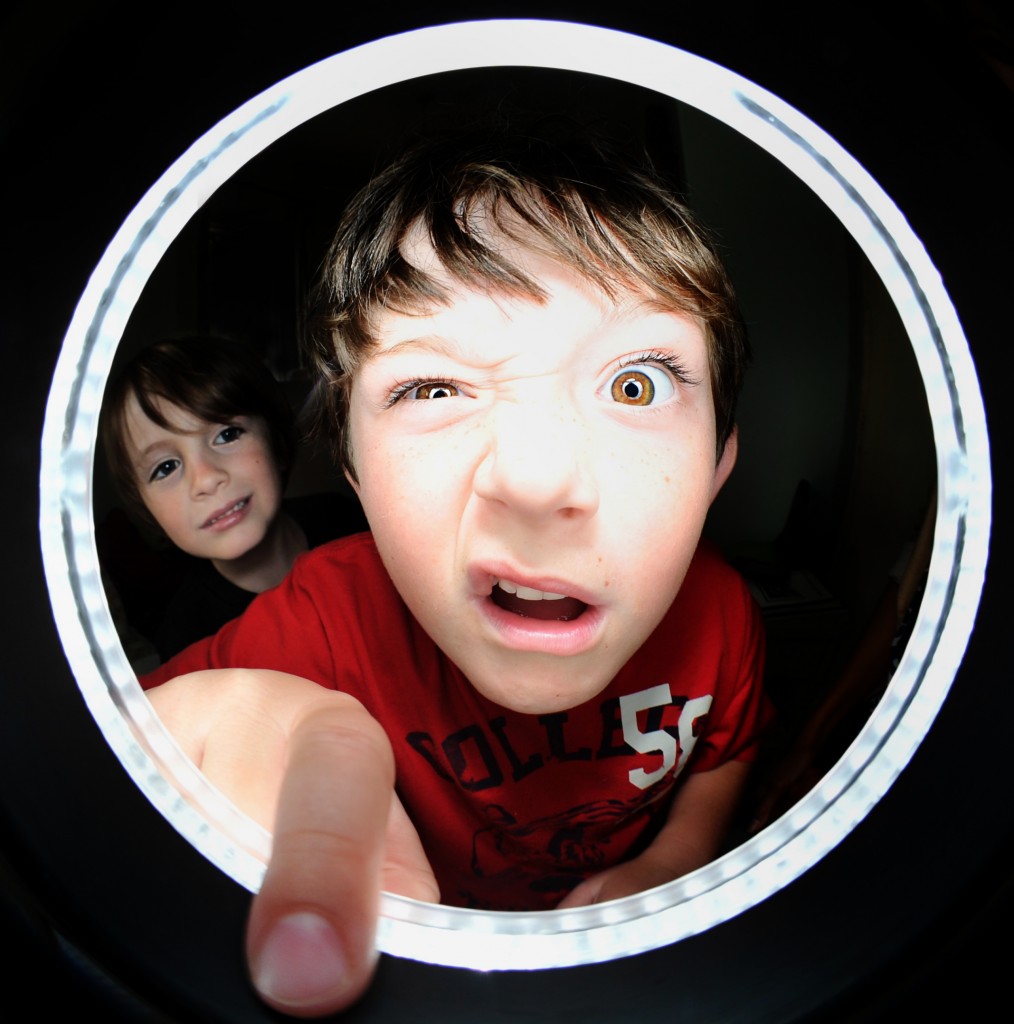
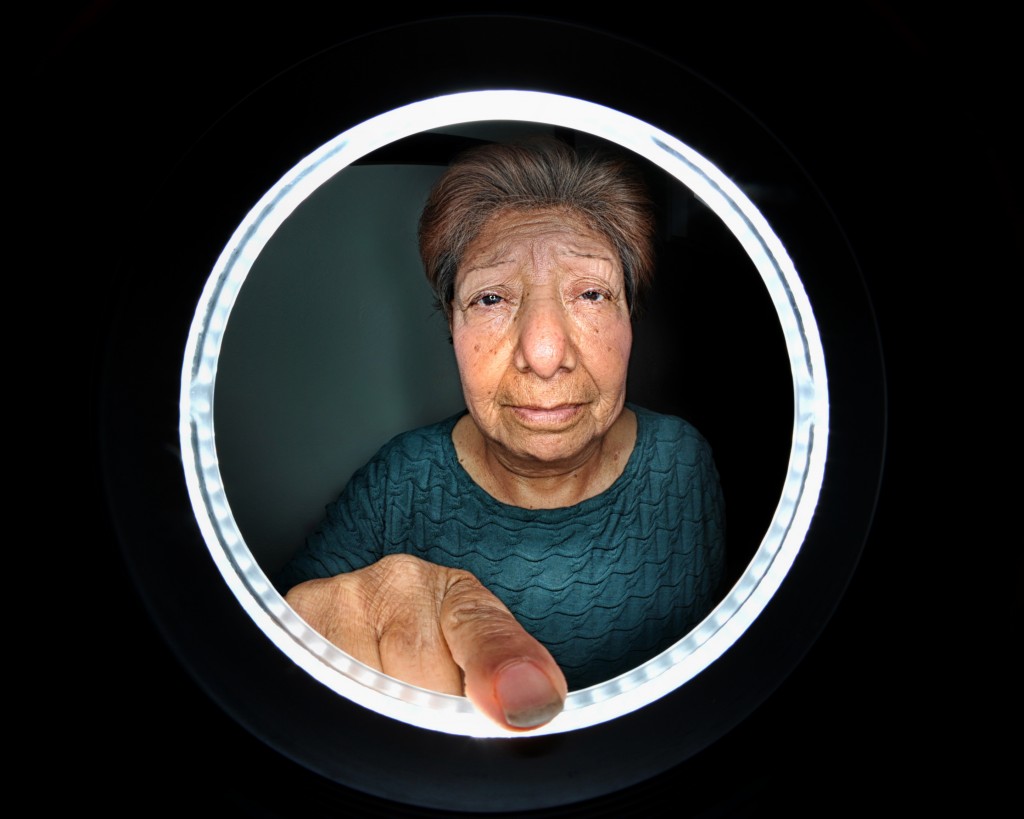
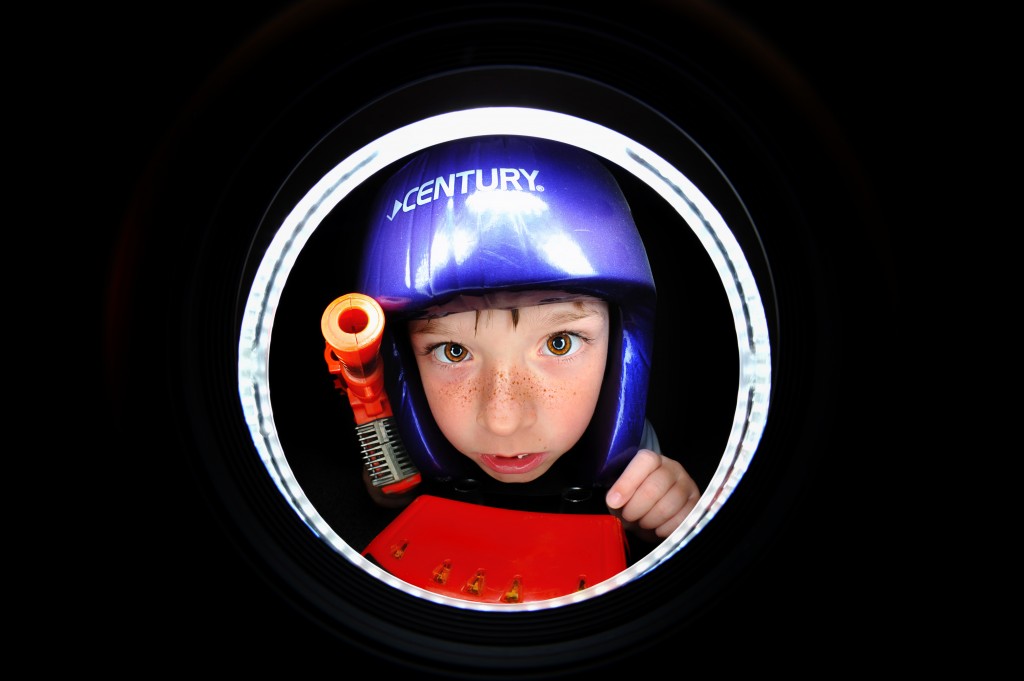
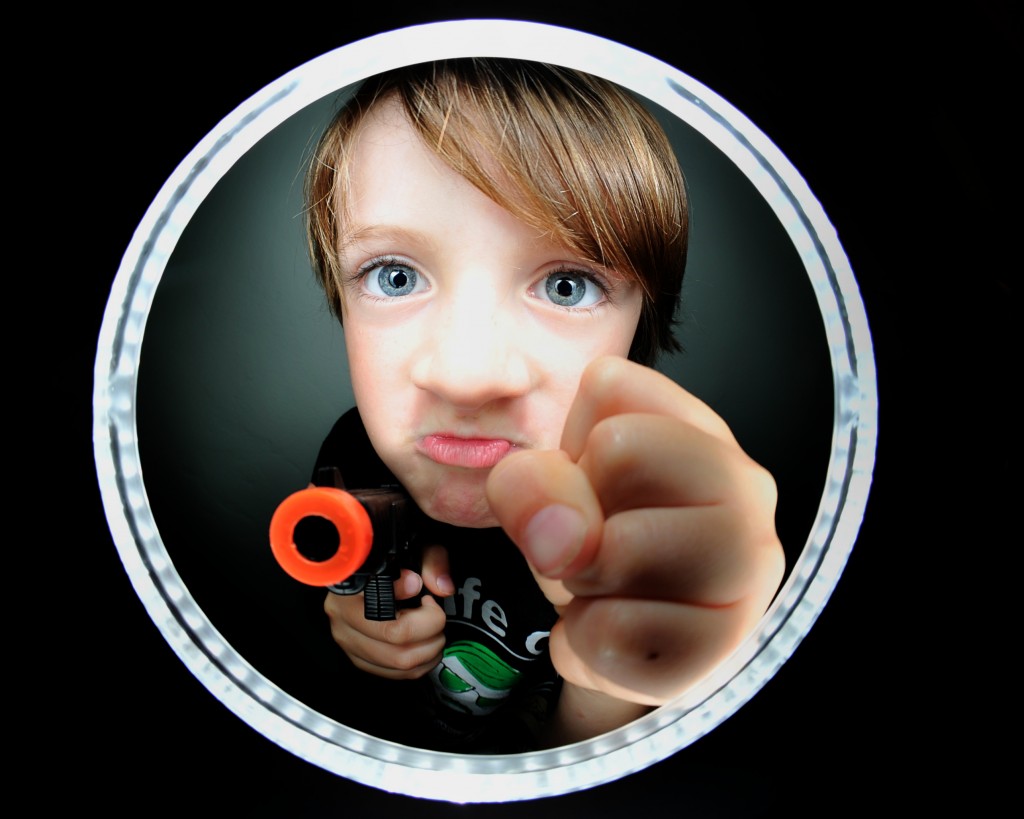
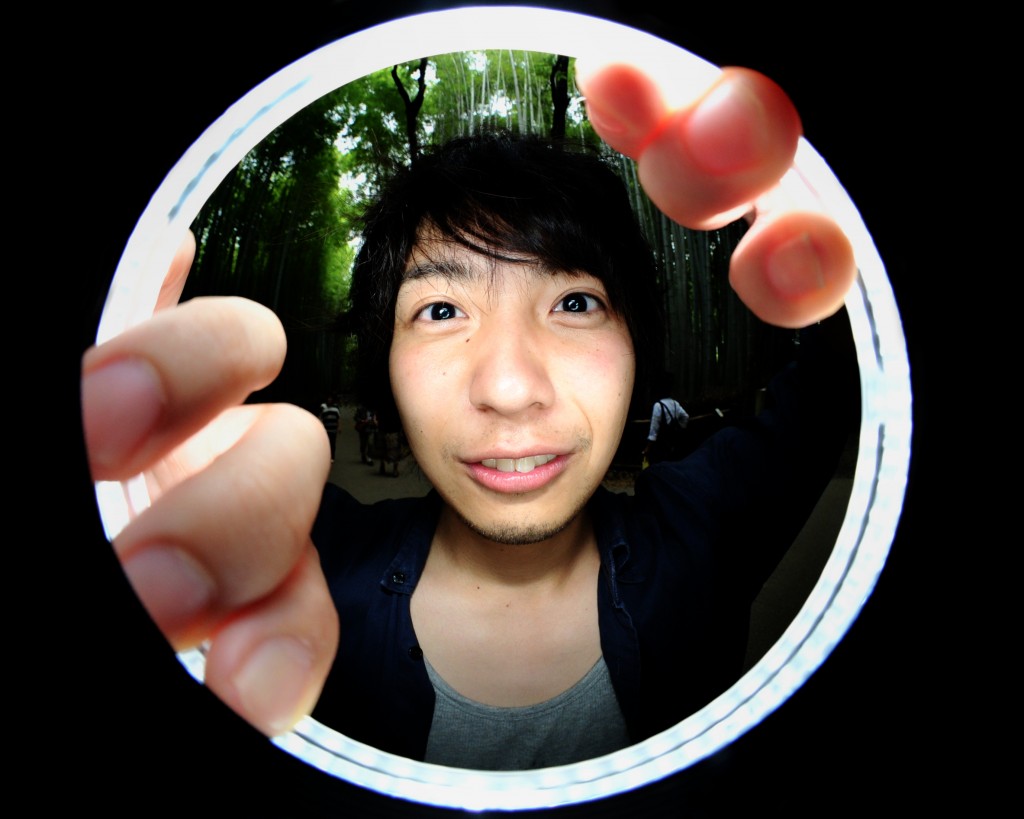
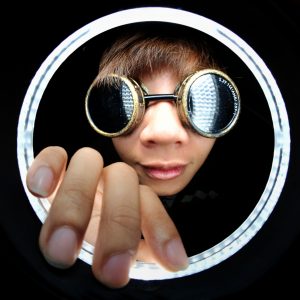
Check out this picture. Pretty cool huh?
Well, to make photos like this you can use a special technique. It wasn’t invented by me but Bay Area photographer named Scott Jarvie and it is a pretty eye catching way to take portrait photos. I first stumbled across the Jarview Window technique when I was reading Scott Jarvie’s blog. which you can read here: http://jarviestudios.com/blog/2010/02/the-jarvie-window-experience/ . Scott apparently discovered the new technique himself while wandering around a PhotoWalk event in Utah with a ring flash. Someone lent him a super wide angle lens, he snapped a picture and discovered how awesome the photo came out.
After reading Scott Jarvie’s blog, I wanted to try it out myself so I followed his directions and created my own Jarview Window setup. I will show it to you here, then show you some of the photos that I have been taking with it and tell you what I think of it.
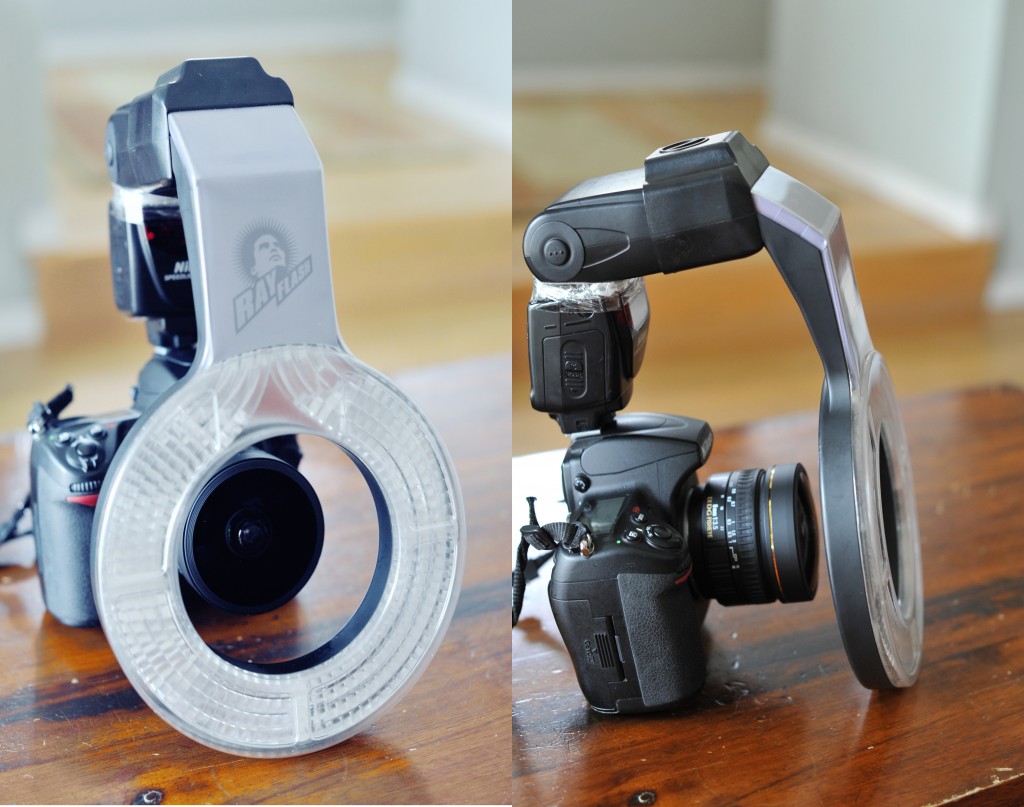
Most photographers are going to have some of the basic things to start using this technique but most will probably have to buy a few things to make it work. You really need 4 things to be able to take these pictures. A DLSR camera, an external flash, a ring flash adapter and a super wide angle lens. If you have those things you are set and can start. Well, I had two of the things – a pretty nice Nikon DLSR camera and a SB700 Nikon Flash but I didn’t have the ring flash adapter and my wide angle lens (14MM Nikon) was just not wide enough to avoid catching the edges of the ring flash adapter. So I had to spend some money to create my rig.
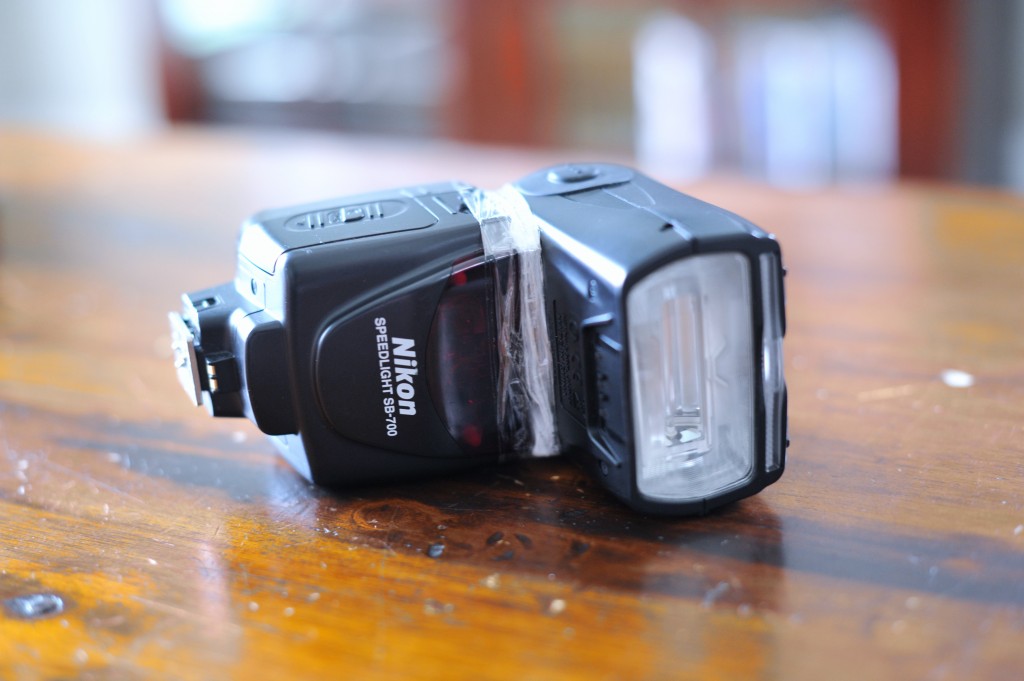
So the flash, which I use which I already have is an SB700 which runs about $300 and is Nikon’s more basic flash. I found it is perfect for all types of flash photography and works particularly well with the Jarview Window technique. You’ll notice that I have it taped around the base. I did that because I needed to raise the flash head about a 1/4 inch with a wedge I created out of paper since the ring flash adapter was weighing it down and causing the bright edges of the ring flash to fall out of view. Some people hold the ring flash while they are taking the pictures but I just prefer to put the wedge in and crudely tape it. Since I have two SB700’s I just decided to dedicate this flash for this purpose.
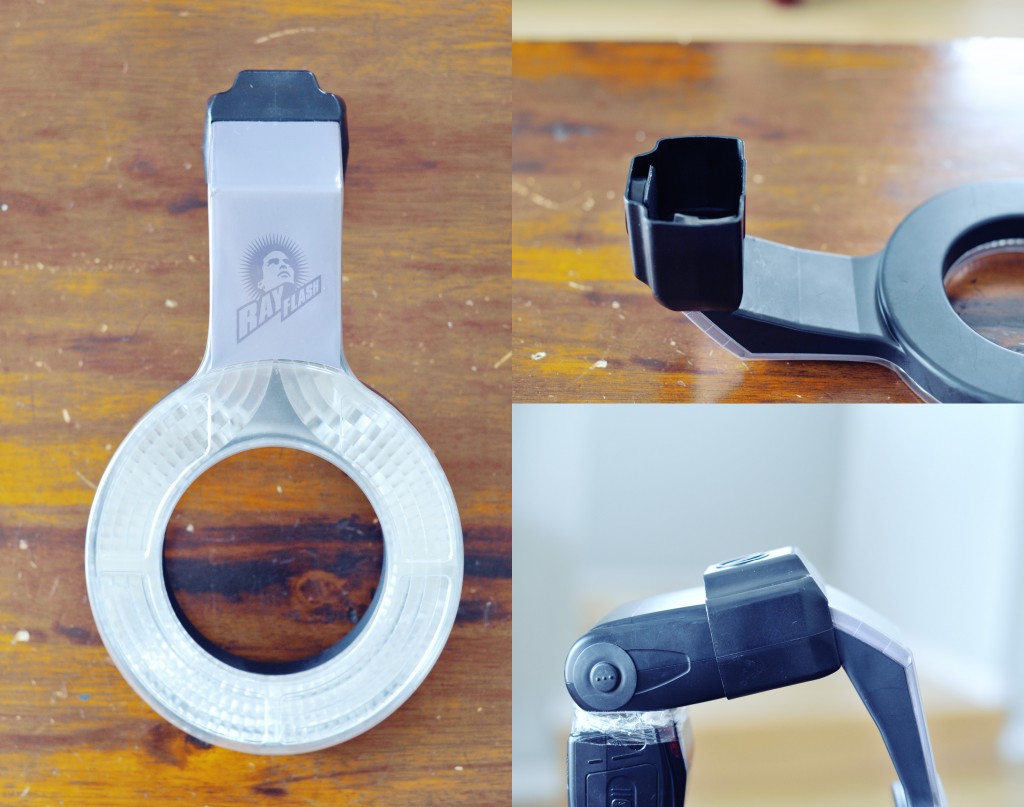
The next step was getting a ring flash. I decided to use the Ray Flash that was recommended called the Jay Flash and I found it on Amazon.com. It ran me about $150 and you need to get the right size adapter based on the flash you are using since the flash head size and shape is different. The Ray Flash is just an adapter and doesn’t require any batteries since it is basically taking the light from the flash itself and channeling it down a lighted tube to a ring that fits around the lens. It is pretty cool and I find it is fairly robust since I have dropped it about 10 times and doesn’t even have a scratch. That is really key for me is to have camera equipment that can take a beating since I am pretty merciless and clumsy with my stuff.
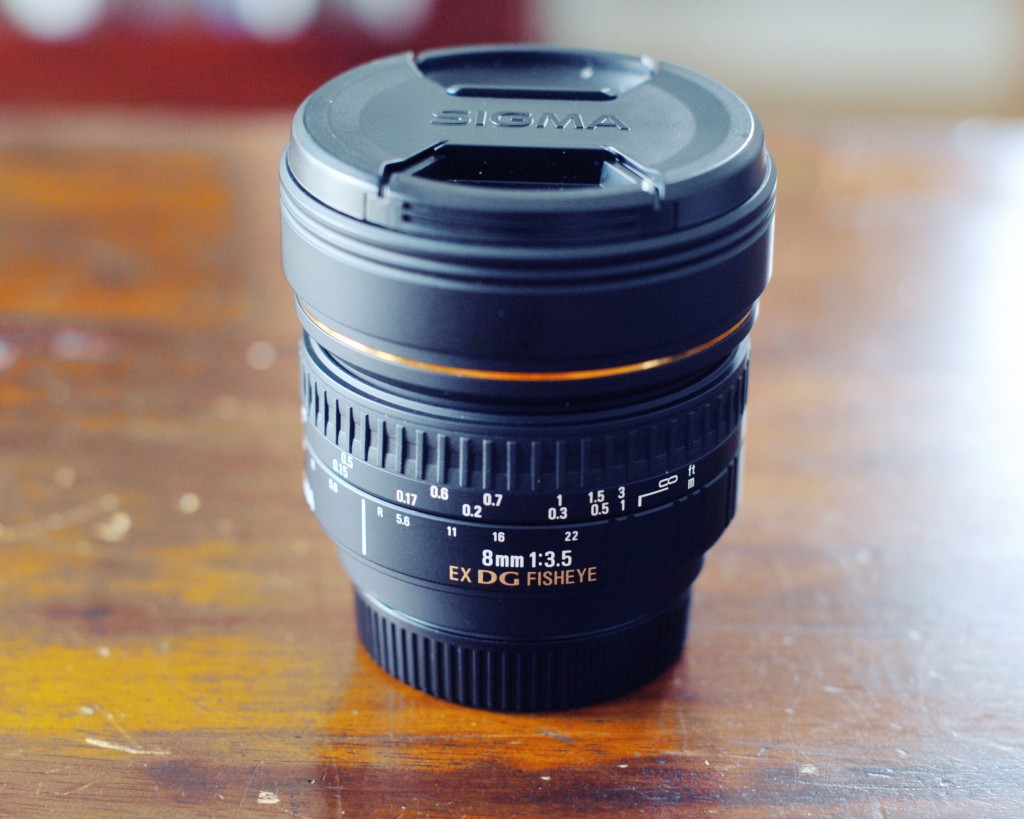
The next step was to get the right lens. The recommended lens was a Sigma 8mm which is extremely wide angle. When you have an FX format camera such as the D3S that I am using that means that the pictures you take with the lens come out completely round. There is not a lot of functionality with the lens other than taking super strange photos at a very very wide angle. Before buying the lens I tried using my Nikon 10mm lens but I found that it did not work with the technique correctly. The minimal focal length was a 5 inches from the subject and that does not work with this technique as you literally have to be two inches from someone’s face to make this work. So I ordered the Sigma 8mm lens. It was not cheap and ended up costing me about $800. I’ve tried the lens now for two weeks and it is actually super sharp when you are a little over an inch from a subject – amazingly so actually. The problem with the 8mm focal length is that I think it is just a little too wide for an FX camera which makes it not really practical outside of just using for these types of portraits. It’s a great lens though and if your using a Nikon and want to get the same effect for Jarview Windows it’s probably the best choice.
After a week of anxious waiting, the lens had arrived from Amazon and I was able to put the rig together. After getting it altogether I realized this was pretty specialty contraption and if I was going to try to be inconspicuous with this thing that was not going to happen. It’s big, its heavy and it looks futuristic. To top it all off you have to be inches from someones face to get a cool shot. You can probably see why I had to create the wedge on my flash head – the flash ring is pretty big and heavy that it can dip below the lens and not create that perfect ring of light that you are looking for.
After assembling it, the only person around was Maria, the lady that helps me around the house. I was pretty happy with the result and started to practice some of the techniques that I had learned on Jarvie’s blog as well as some of my own trial and error’s with it.
Here are some of the recommendations and ideas for taking great Jarview Window Portraits.
Get Close – You need to get 1 or two inches from your subject to get the best photos. When I stand back the ring flash does not light them up enough, you get too much background distraction and you don’t get that cool 3d effect that the wide angle gives you at super close range. People will think you are crazy when you get that close but you will get a much better result.
Control your Flash – You pretty much need to move your flash to manual settings and then dial back the power. I found that the best power setting given low ISO settings on the camera was between 1/16th and 1/32nd. For a majority of the pictures that I have taken this seems to work much better than trying to use TTL or some of the other settings.
Add Depth with Fingers or Props – One of the first things you see when you are looking at the Jarview Window portraits is that it appears that the subject is looking into a jar that is lighted at the opening. You can really accentuate this effect if you have the person put a finger on the ring flash or hold a prop such as a gun or a stick. If the subject acts like they are looking into the jar that is even better and can make the pictures look pretty fantastic.
Keep Background clean – I found the best photos I took where when the background was a dark or similar color. If there is a lot of light in the background or it is busy, it will distract from the actual subject that you are shooting. Low light and black backgrounds are the absolute best for these pictures.
Shoot single people – I have tried several times to take pictures of multiple people in the shot and they never turn out as good as taking a single person. It pretty much has to do with the fact that light and focal area is so small that you need to have a single subject to focus on to get the best picture.
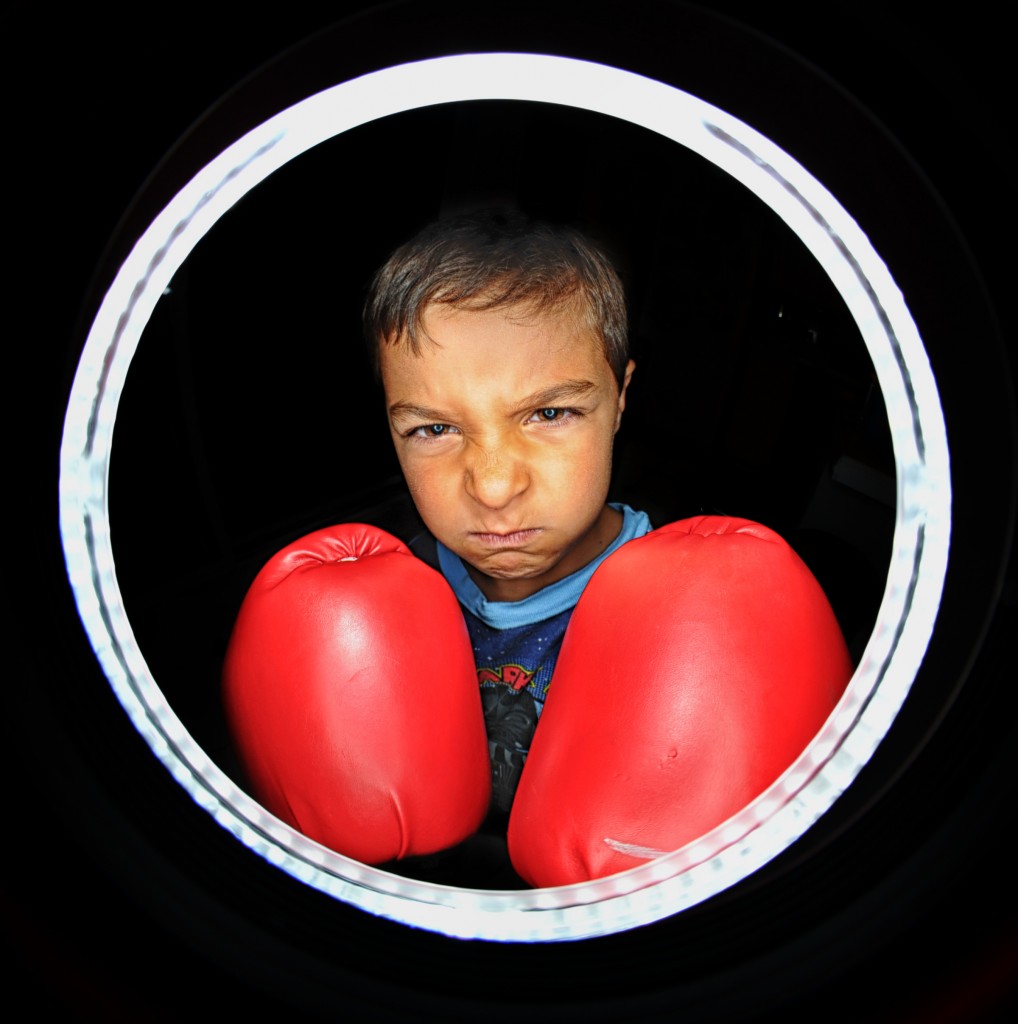
Coax the subjects to do something different – To take a great Jarview Window portrait your subject needs to be doing something to create a caricature of his or herself. If your subject just stands there without smiling or is not doing something slightly interesting it won’t come out as good. To take the best pictures you have to really interact with the subject and snap them during interesting expressions or actions.
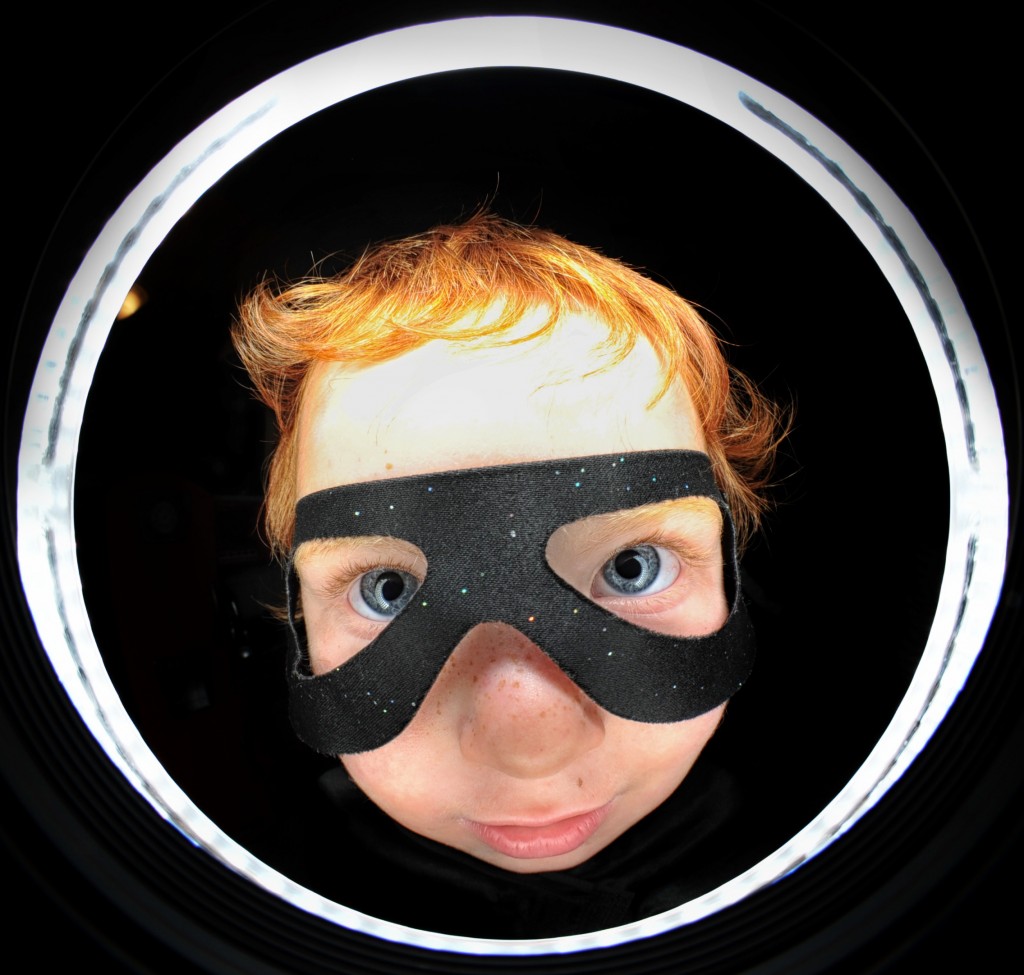
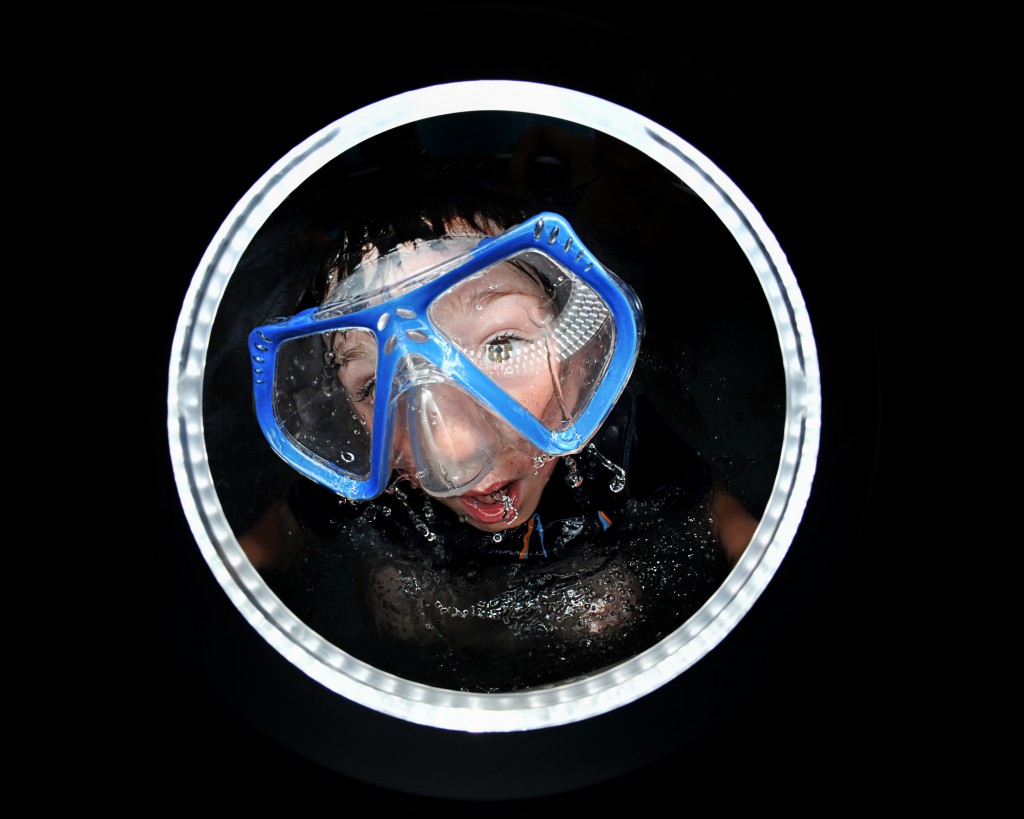
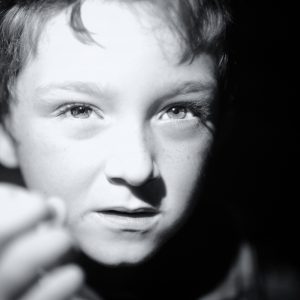
Use with Kids photography – I find that the best subjects with this technique are typically kids since they love to make funny faces or do interesting stuff and they really get a kick out of looking at the pictures on your camera right after you take them. The more silly they look, the more silly they want to look in the picture the next time. It just is a recipe for getting a lot of great shots pretty quickly.
So after using the setup for the last couple of weeks my assessment of it is that it is pretty awesome. It really provides you with a creative way to take portraits in ways that people may have never seen before and it can really surprise them. But there are limitations with it. This is not something you would bring to a party and expect to take every picture with it. This can really only catch close up portraits and is really not ideal for capturing actions, activities or candid shots. You need to take the ring flash and wide angle off and use another lens for that. What I would recommend using this technique for is at parties or events to capture people in a “Photobooth” type of setting. They will love the results and you will capture some memorable photos.
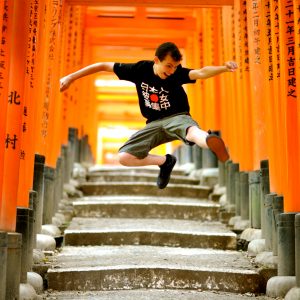
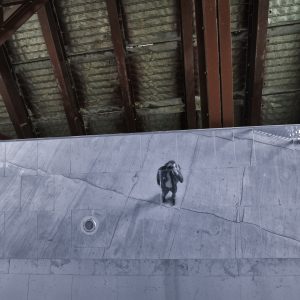
Here are some samples of the pictures that I have taken with the JarView Window but you can also catch the whole gallery which I will be adding to over time on my website. http://www.frankiefoto.com/People/Jarvie-Window-Portraits/23554327_bGWdXK

