Alessa Leigh
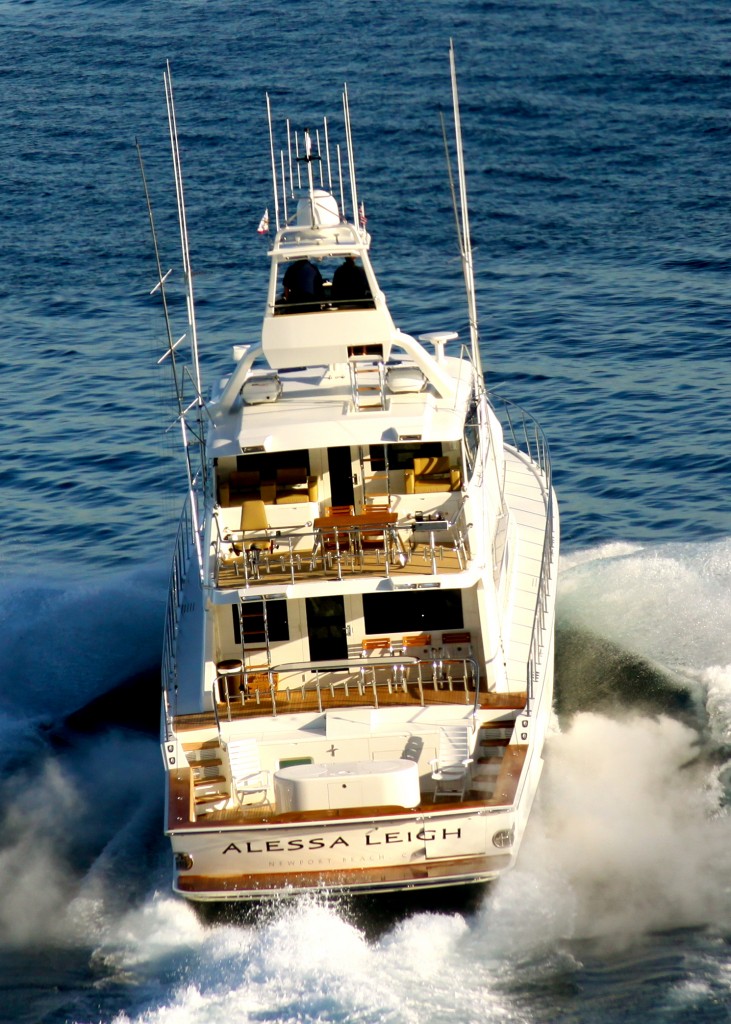
One of my favorite pictures taken from the helicopter was this brand new restored Yacht. This Yacht, the Alessa Leigh was so beautiful it was featured in Yachting Magazine. I shot the Yacht using a Canon 5D and a pretty nice telephoto lens. Bill and I took up the Helicopter, cruised to Catalina and caught these shots.
http://www.frankiefoto.com/People/Alessa-Leigh-Catalina/24263046_24mGDb
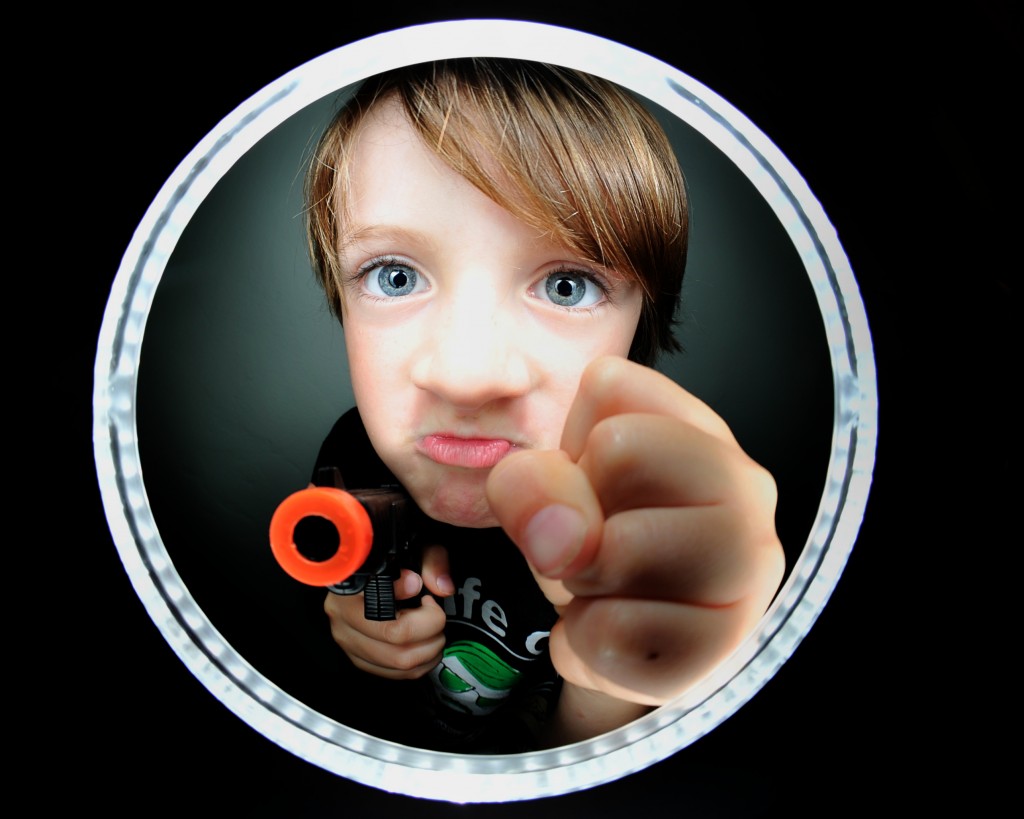
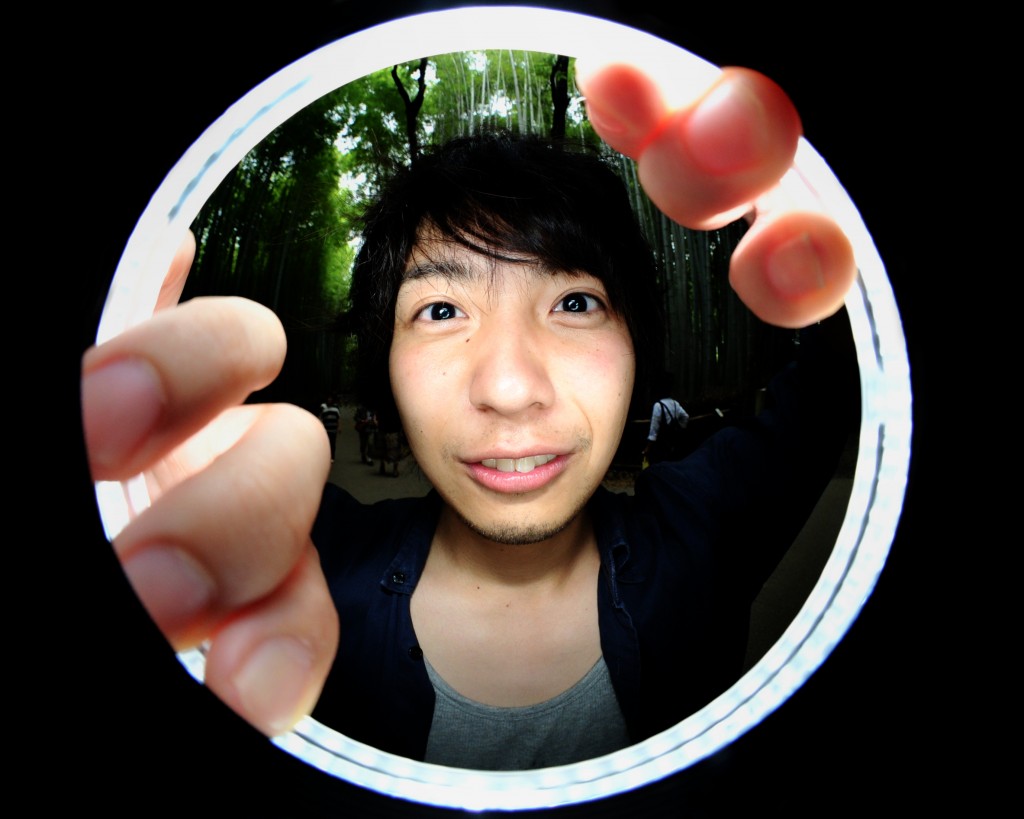
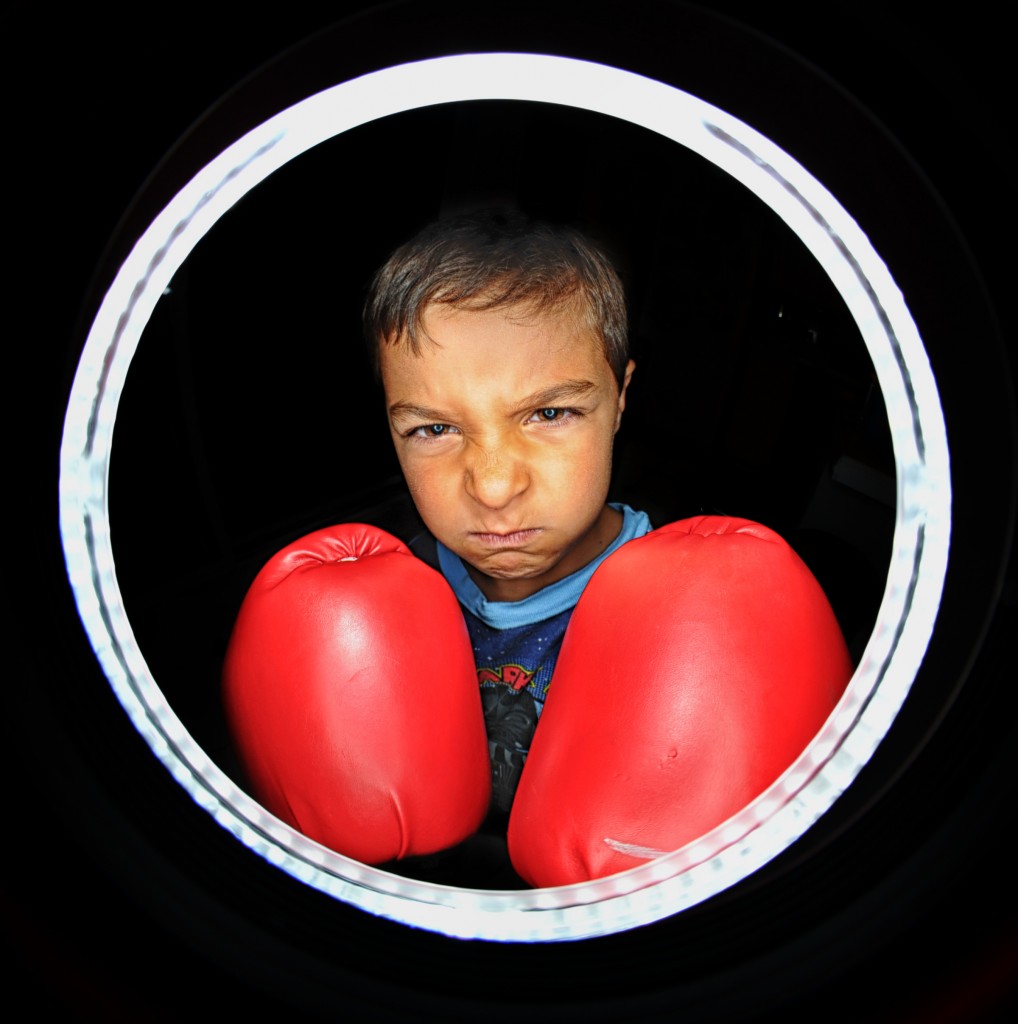
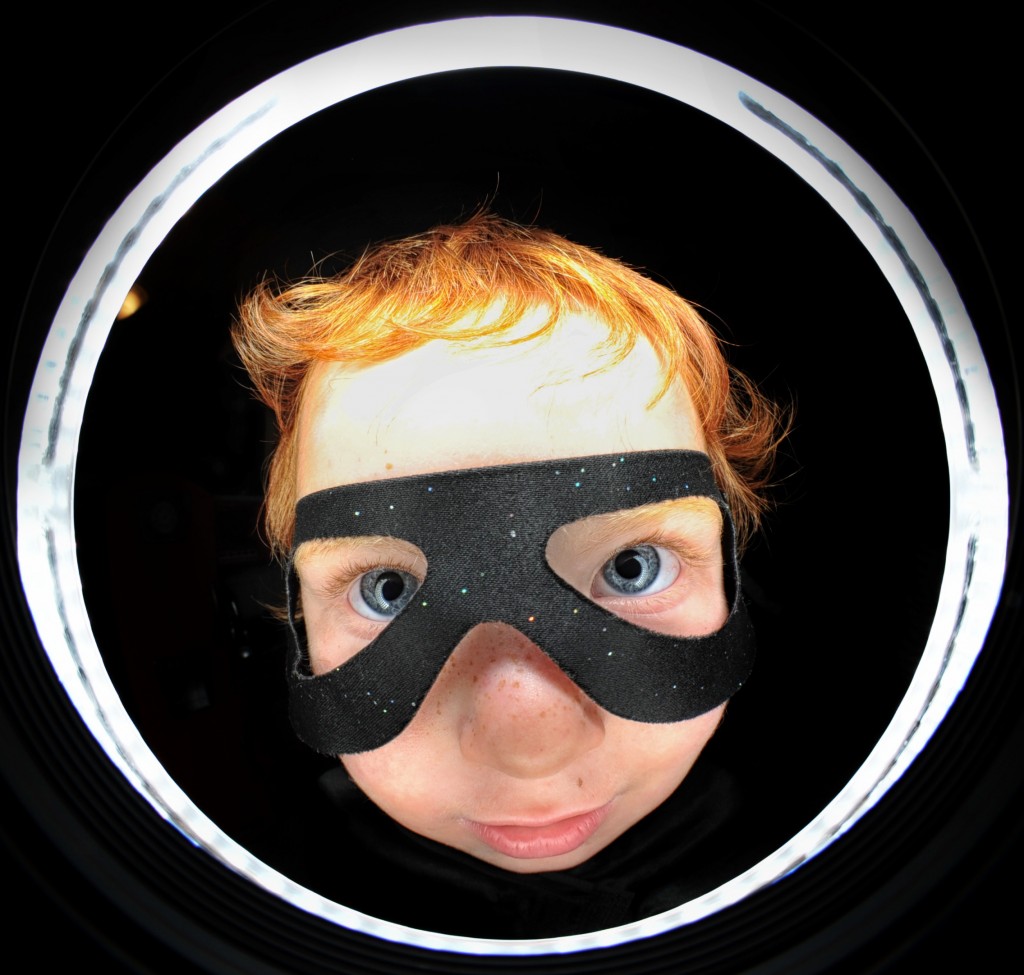
Try the Jarvie Window – its wow!
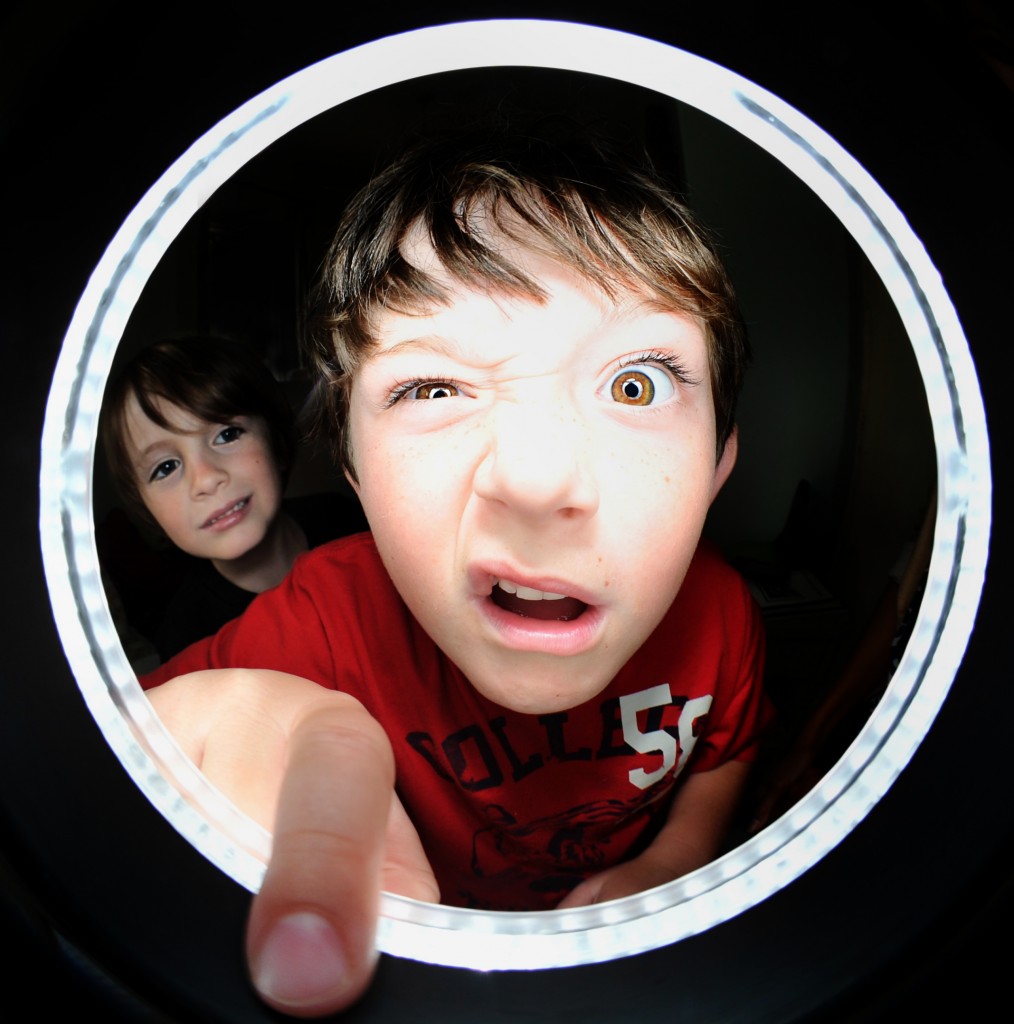
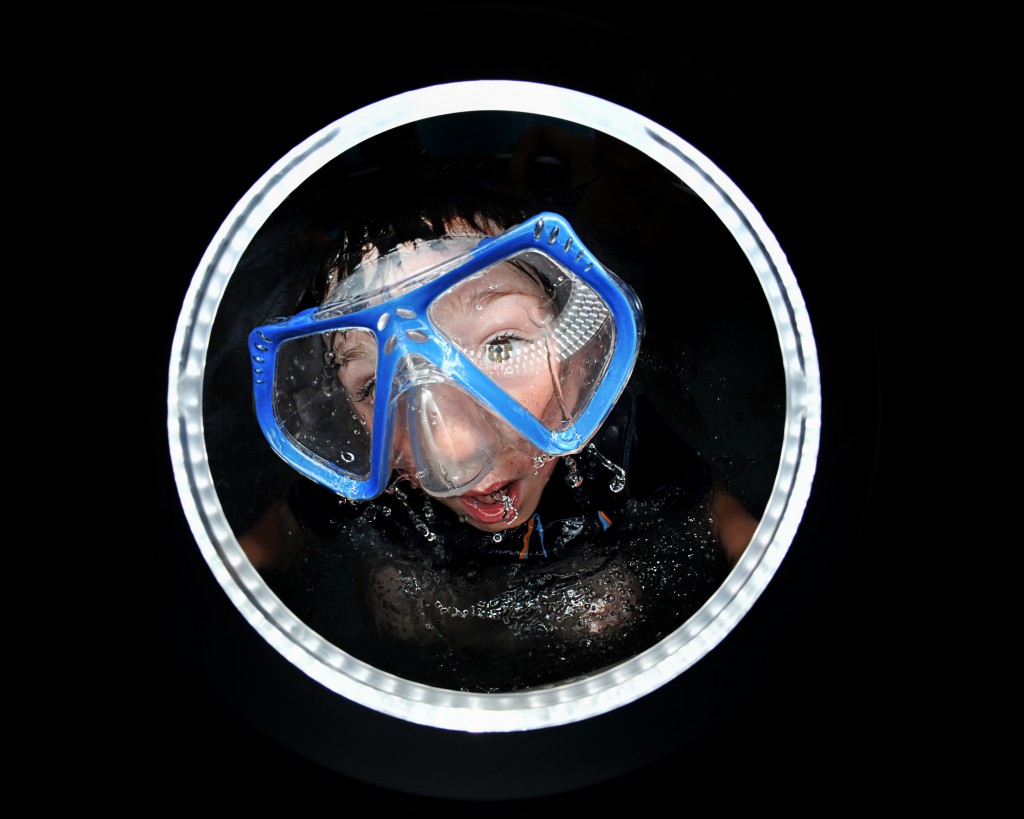
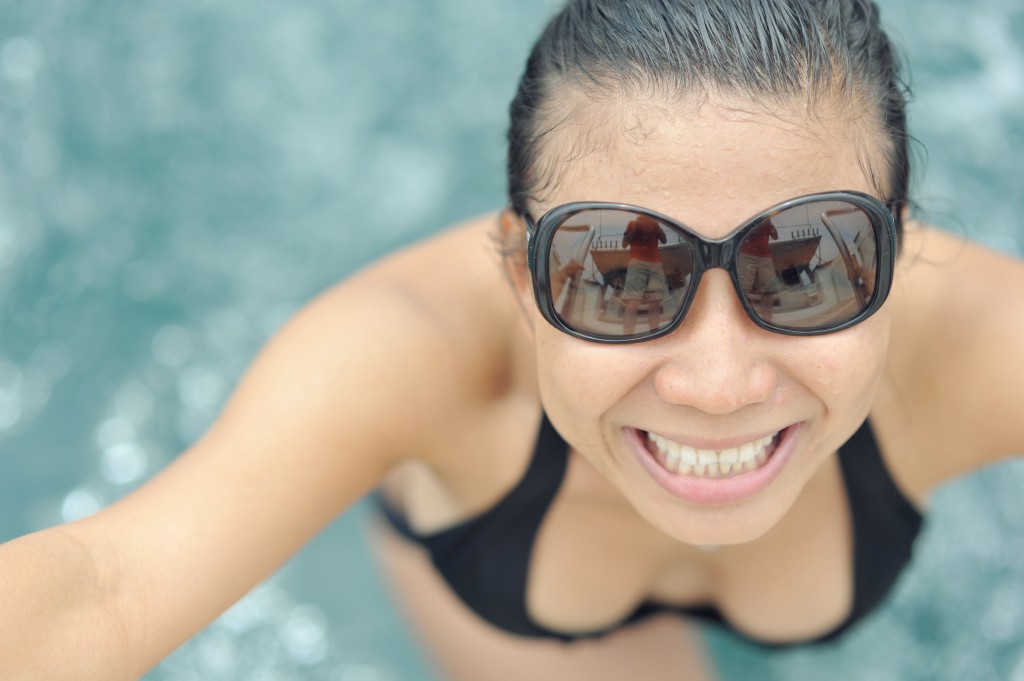
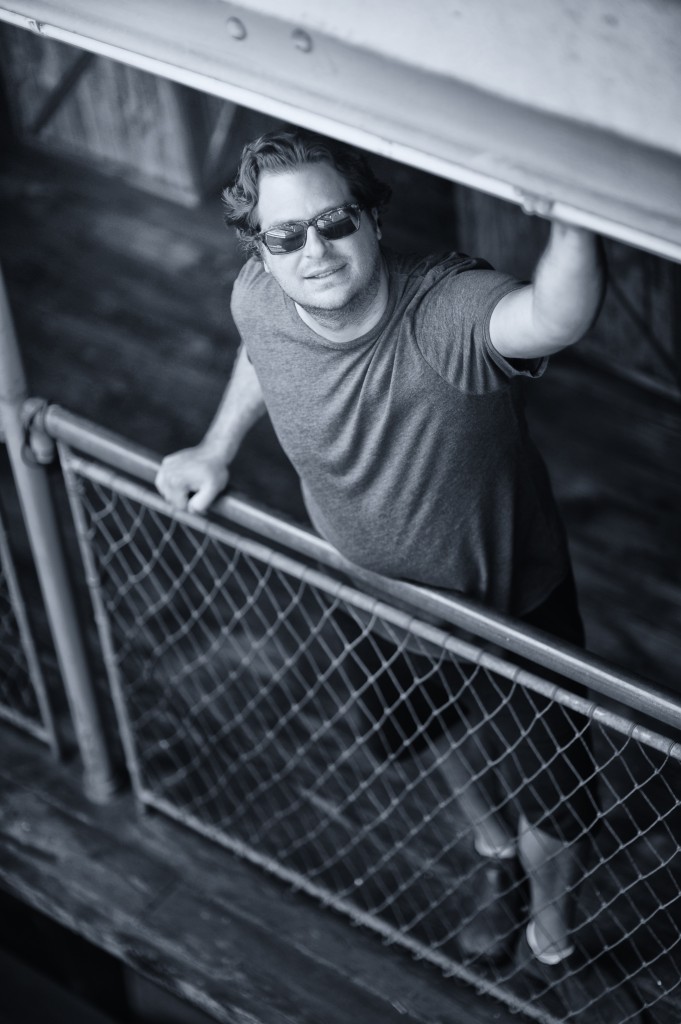
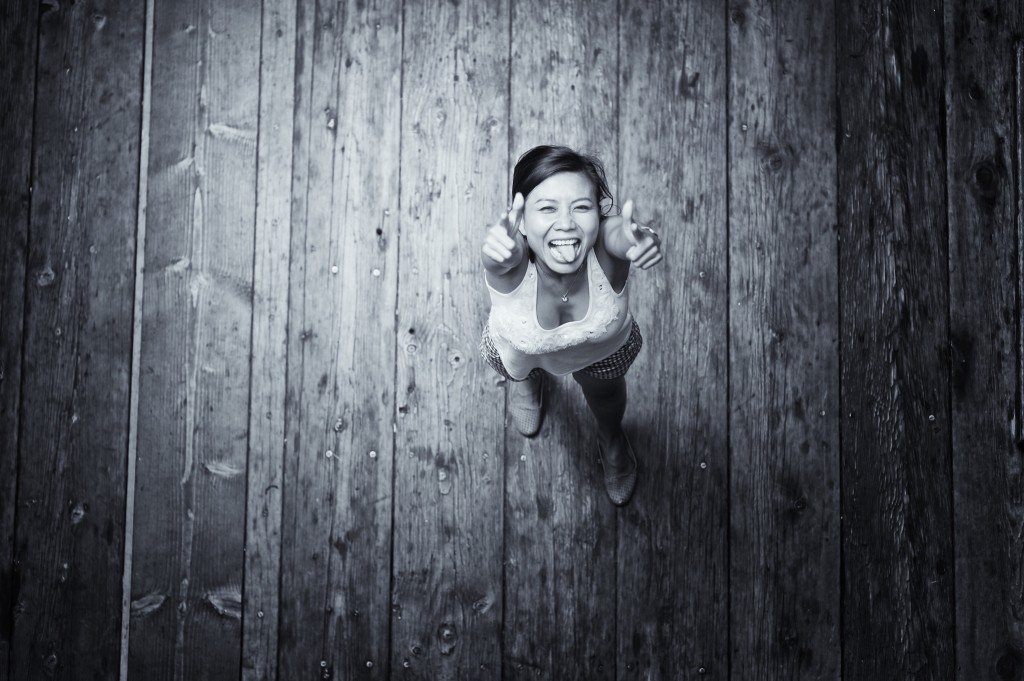
Check out this picture. Pretty cool huh?
Well, to make photos like this you can use a special technique. It wasn’t invented by me but Bay Area photographer named Scott Jarvie and it is a pretty eye catching way to take portrait photos. I first stumbled across the Jarview Window technique when I was reading Scott Jarvie’s blog. which you can read here: http://jarviestudios.com/blog/2010/02/the-jarvie-window-experience/ . Scott apparently discovered the new technique himself while wandering around a PhotoWalk event in Utah with a ring flash. Someone lent him a super wide angle lens, he snapped a picture and discovered how awesome the photo came out.
After reading Scott Jarvie’s blog, I wanted to try it out myself so I followed his directions and created my own Jarview Window setup. I will show it to you here, then show you some of the photos that I have been taking with it and tell you what I think of it.
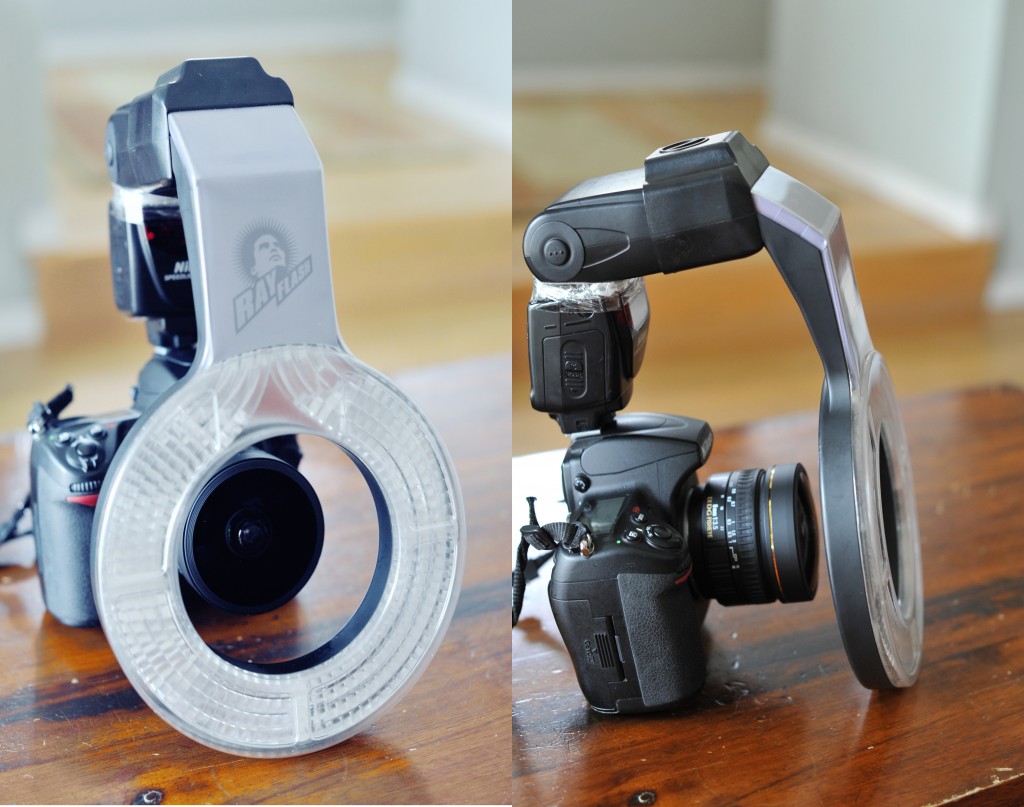
Most photographers are going to have some of the basic things to start using this technique but most will probably have to buy a few things to make it work. You really need 4 things to be able to take these pictures. A DLSR camera, an external flash, a ring flash adapter and a super wide angle lens. If you have those things you are set and can start. Well, I had two of the things – a pretty nice Nikon DLSR camera and a SB700 Nikon Flash but I didn’t have the ring flash adapter and my wide angle lens (14MM Nikon) was just not wide enough to avoid catching the edges of the ring flash adapter. So I had to spend some money to create my rig.
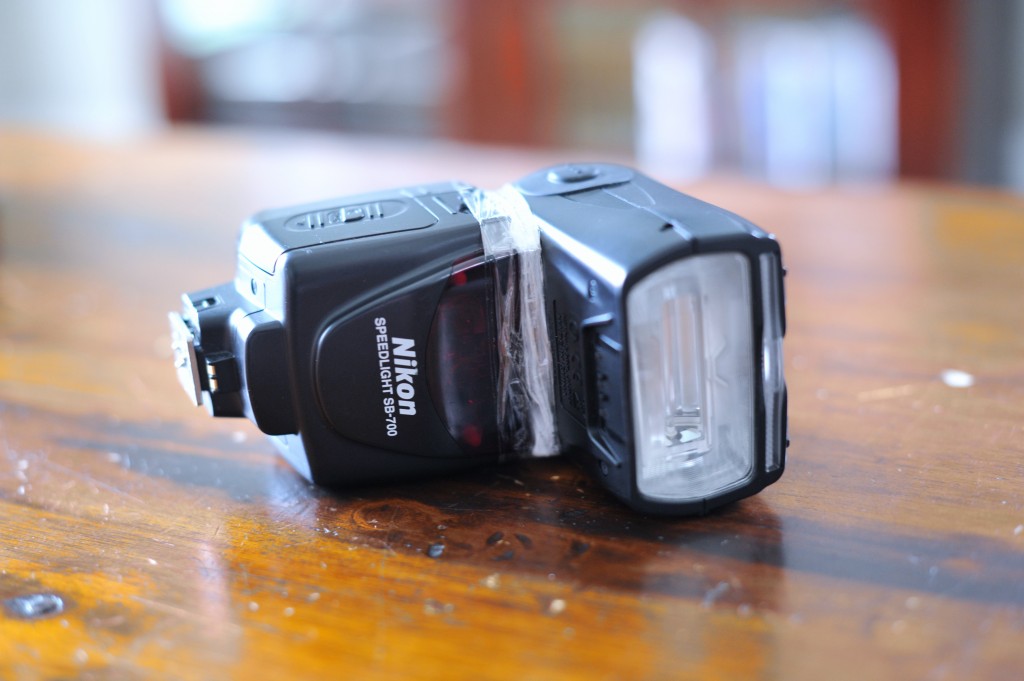
So the flash, which I use which I already have is an SB700 which runs about $300 and is Nikon’s more basic flash. I found it is perfect for all types of flash photography and works particularly well with the Jarview Window technique. You’ll notice that I have it taped around the base. I did that because I needed to raise the flash head about a 1/4 inch with a wedge I created out of paper since the ring flash adapter was weighing it down and causing the bright edges of the ring flash to fall out of view. Some people hold the ring flash while they are taking the pictures but I just prefer to put the wedge in and crudely tape it. Since I have two SB700’s I just decided to dedicate this flash for this purpose.
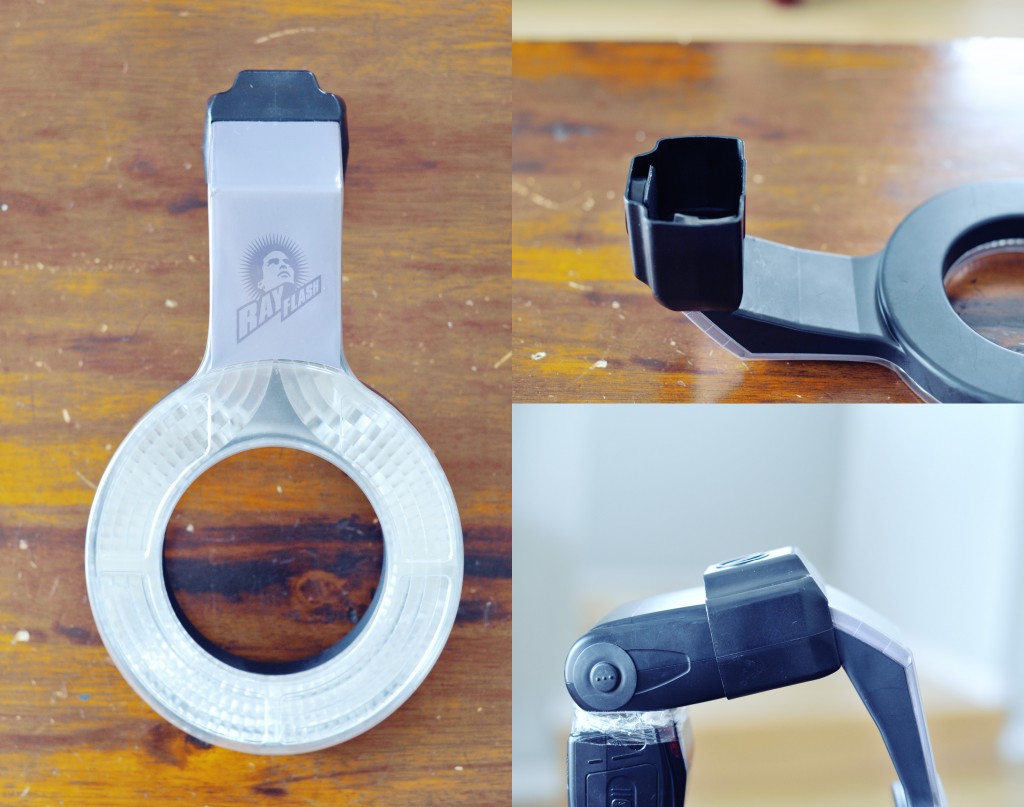
The next step was getting a ring flash. I decided to use the Ray Flash that was recommended called the Jay Flash and I found it on Amazon.com. It ran me about $150 and you need to get the right size adapter based on the flash you are using since the flash head size and shape is different. The Ray Flash is just an adapter and doesn’t require any batteries since it is basically taking the light from the flash itself and channeling it down a lighted tube to a ring that fits around the lens. It is pretty cool and I find it is fairly robust since I have dropped it about 10 times and doesn’t even have a scratch. That is really key for me is to have camera equipment that can take a beating since I am pretty merciless and clumsy with my stuff.
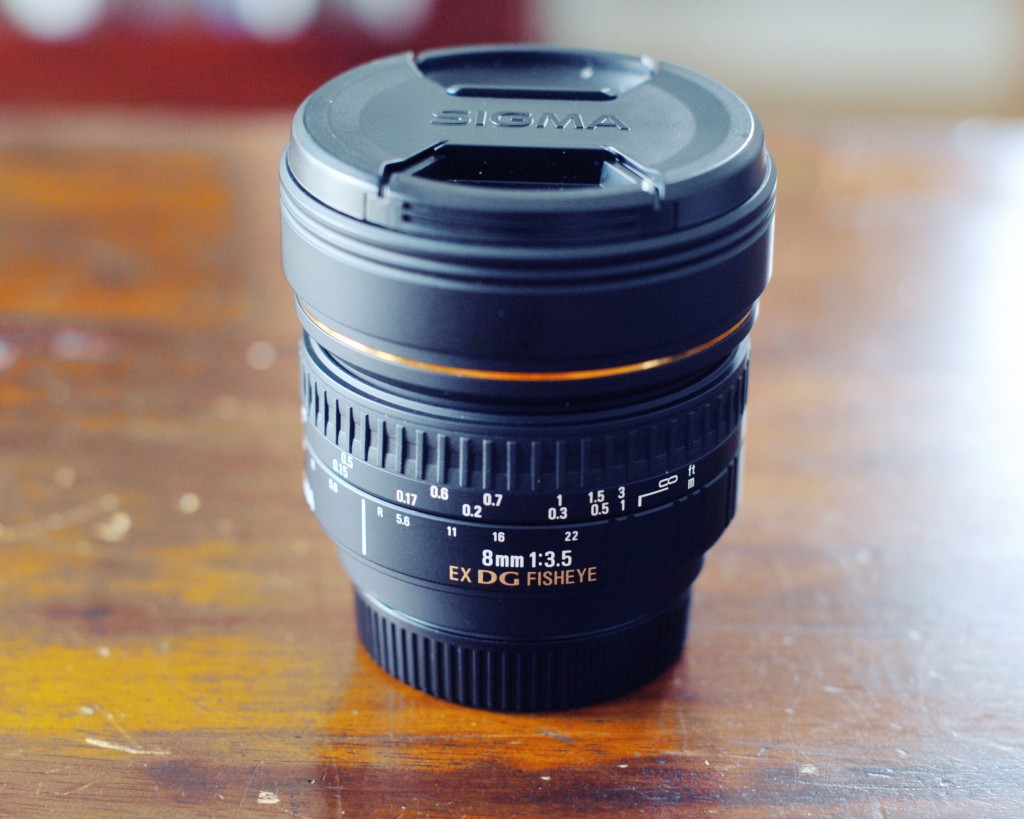
The next step was to get the right lens. The recommended lens was a Sigma 8mm which is extremely wide angle. When you have an FX format camera such as the D3S that I am using that means that the pictures you take with the lens come out completely round. There is not a lot of functionality with the lens other than taking super strange photos at a very very wide angle. Before buying the lens I tried using my Nikon 10mm lens but I found that it did not work with the technique correctly. The minimal focal length was a 5 inches from the subject and that does not work with this technique as you literally have to be two inches from someone’s face to make this work. So I ordered the Sigma 8mm lens. It was not cheap and ended up costing me about $800. I’ve tried the lens now for two weeks and it is actually super sharp when you are a little over an inch from a subject – amazingly so actually. The problem with the 8mm focal length is that I think it is just a little too wide for an FX camera which makes it not really practical outside of just using for these types of portraits. It’s a great lens though and if your using a Nikon and want to get the same effect for Jarview Windows it’s probably the best choice.
After a week of anxious waiting, the lens had arrived from Amazon and I was able to put the rig together. After getting it altogether I realized this was pretty specialty contraption and if I was going to try to be inconspicuous with this thing that was not going to happen. It’s big, its heavy and it looks futuristic. To top it all off you have to be inches from someones face to get a cool shot. You can probably see why I had to create the wedge on my flash head – the flash ring is pretty big and heavy that it can dip below the lens and not create that perfect ring of light that you are looking for.
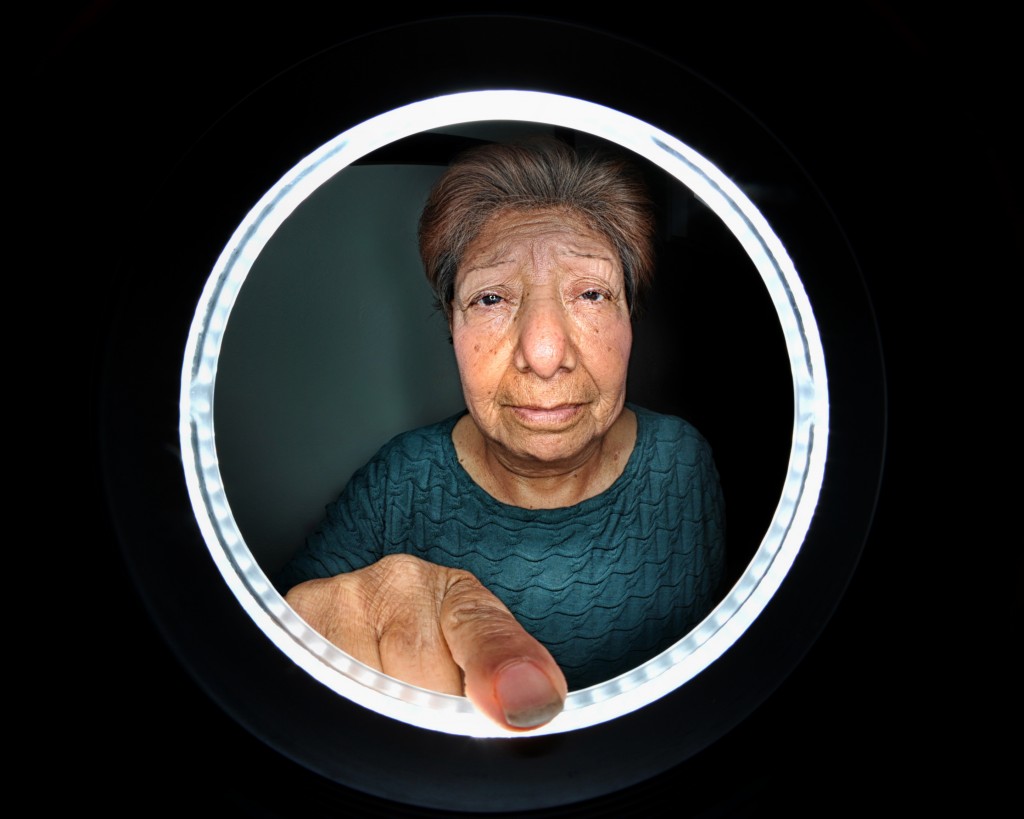
After assembling it, the only person around was Maria, the lady that helps me around the house. I was pretty happy with the result and started to practice some of the techniques that I had learned on Jarvie’s blog as well as some of my own trial and error’s with it.
Here are some of the recommendations and ideas for taking great Jarview Window Portraits.
Get Close – You need to get 1 or two inches from your subject to get the best photos. When I stand back the ring flash does not light them up enough, you get too much background distraction and you don’t get that cool 3d effect that the wide angle gives you at super close range. People will think you are crazy when you get that close but you will get a much better result.
Control your Flash – You pretty much need to move your flash to manual settings and then dial back the power. I found that the best power setting given low ISO settings on the camera was between 1/16th and 1/32nd. For a majority of the pictures that I have taken this seems to work much better than trying to use TTL or some of the other settings.
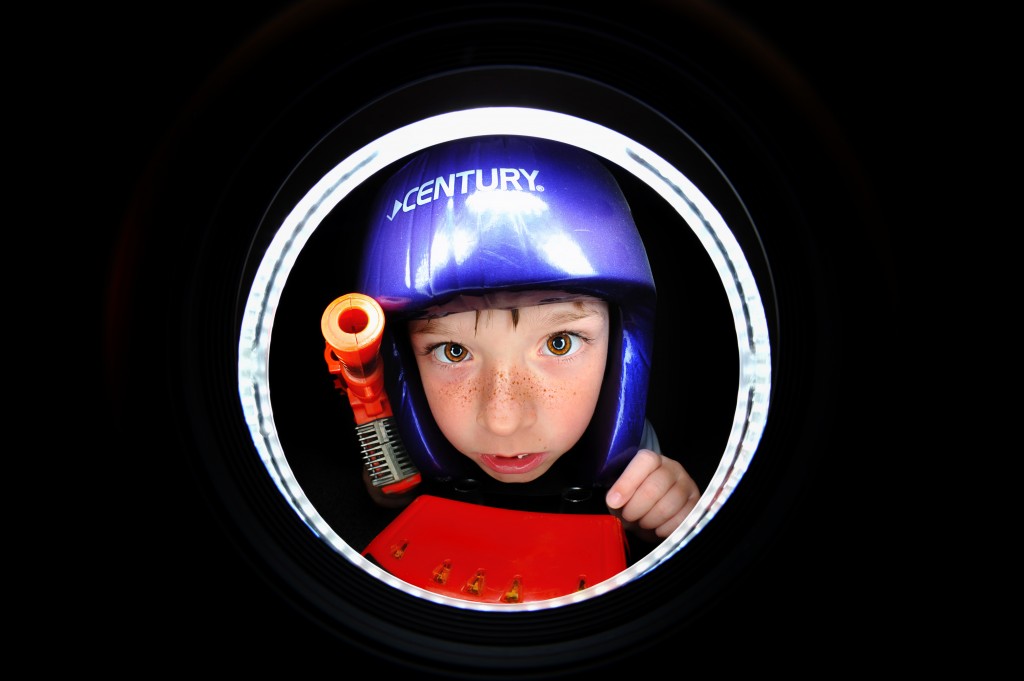
Add Depth with Fingers or Props – One of the first things you see when you are looking at the Jarview Window portraits is that it appears that the subject is looking into a jar that is lighted at the opening. You can really accentuate this effect if you have the person put a finger on the ring flash or hold a prop such as a gun or a stick. If the subject acts like they are looking into the jar that is even better and can make the pictures look pretty fantastic.
Keep Background clean – I found the best photos I took where when the background was a dark or similar color. If there is a lot of light in the background or it is busy, it will distract from the actual subject that you are shooting. Low light and black backgrounds are the absolute best for these pictures.
Shoot single people – I have tried several times to take pictures of multiple people in the shot and they never turn out as good as taking a single person. It pretty much has to do with the fact that light and focal area is so small that you need to have a single subject to focus on to get the best picture.
Coax the subjects to do something different – To take a great Jarview Window portrait your subject needs to be doing something to create a caricature of his or herself. If your subject just stands there without smiling or is not doing something slightly interesting it won’t come out as good. To take the best pictures you have to really interact with the subject and snap them during interesting expressions or actions.
Use with Kids photography – I find that the best subjects with this technique are typically kids since they love to make funny faces or do interesting stuff and they really get a kick out of looking at the pictures on your camera right after you take them. The more silly they look, the more silly they want to look in the picture the next time. It just is a recipe for getting a lot of great shots pretty quickly.
So after using the setup for the last couple of weeks my assessment of it is that it is pretty awesome. It really provides you with a creative way to take portraits in ways that people may have never seen before and it can really surprise them. But there are limitations with it. This is not something you would bring to a party and expect to take every picture with it. This can really only catch close up portraits and is really not ideal for capturing actions, activities or candid shots. You need to take the ring flash and wide angle off and use another lens for that. What I would recommend using this technique for is at parties or events to capture people in a “Photobooth” type of setting. They will love the results and you will capture some memorable photos.
Here are some samples of the pictures that I have taken with the JarView Window but you can also catch the whole gallery which I will be adding to over time on my website. http://www.frankiefoto.com/People/Jarvie-Window-Portraits/23554327_bGWdXK
Weekend at the Island
It’s 26 miles across the sea – Catalina Island is waiting for me. Tu and I headed over on Friday afternoon to visit one of my favorite places in the world. My brother offered to let us stay on his boat while they were out of town and we decided to make the trip. Not only does he have a beautiful boat but is moored on the best can in the Island – right next to the Casino where the waters are still and calm.
We got their Friday afternoon and enjoyed two sun-soaked days exploring the Island and getting some amazing seafood and the best clam chowder that we have ever had anywhere – and we get it pretty much every restaurant that we go to. Bill, Michelle and Isabela have been living on the boat for the last couple of months and are planning on staying through the entire summer there. It is such a beautiful places and the summers there are fantastic.
http://www.frankiefoto.com/Travel/The-Island/24193615_7HW346
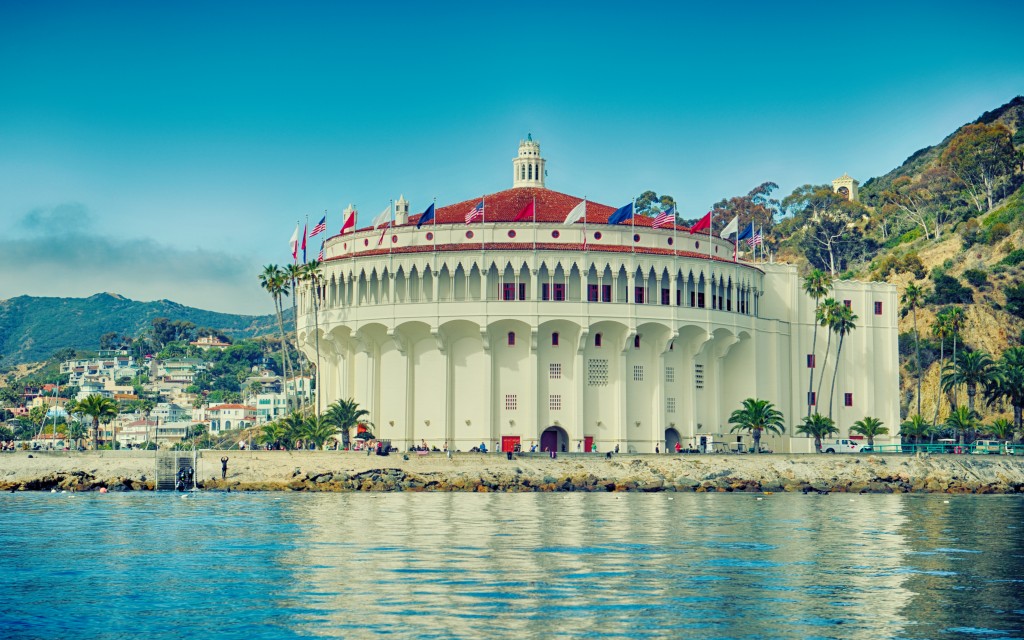
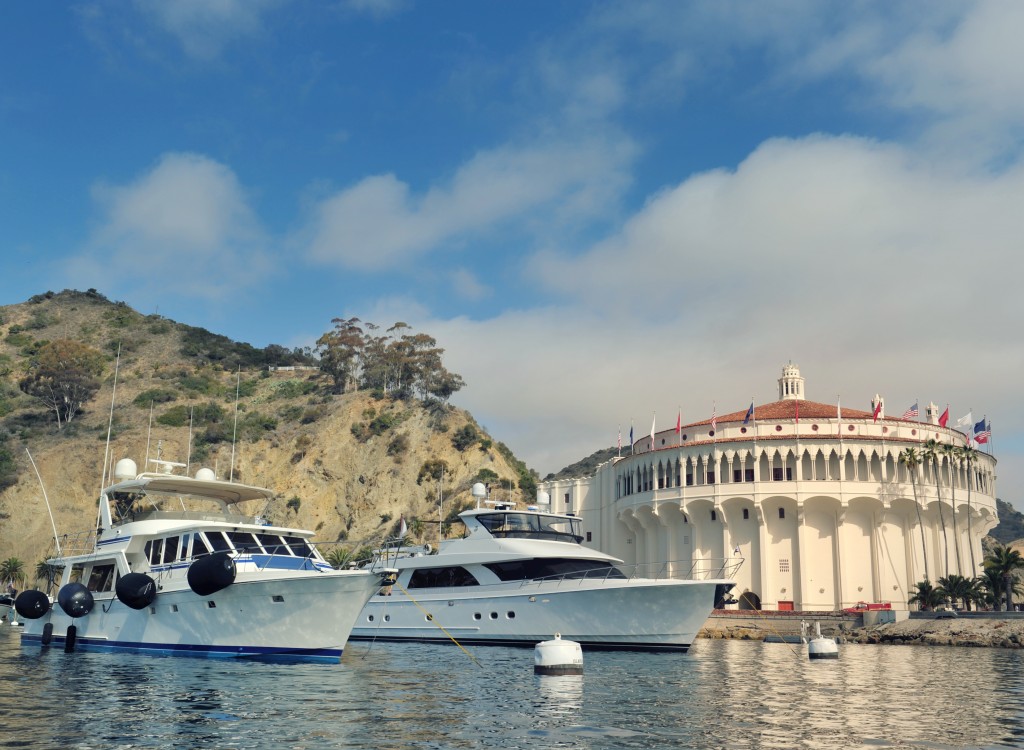
I got up early this morning to get a picture off the coast towards the Casino – the iconic building the you first see when you come to the Island. It really reminds you of something you would see in a European beach. It’s not a Casino anymore but a Movie Theater. SpiderMan was playing there is weekend.
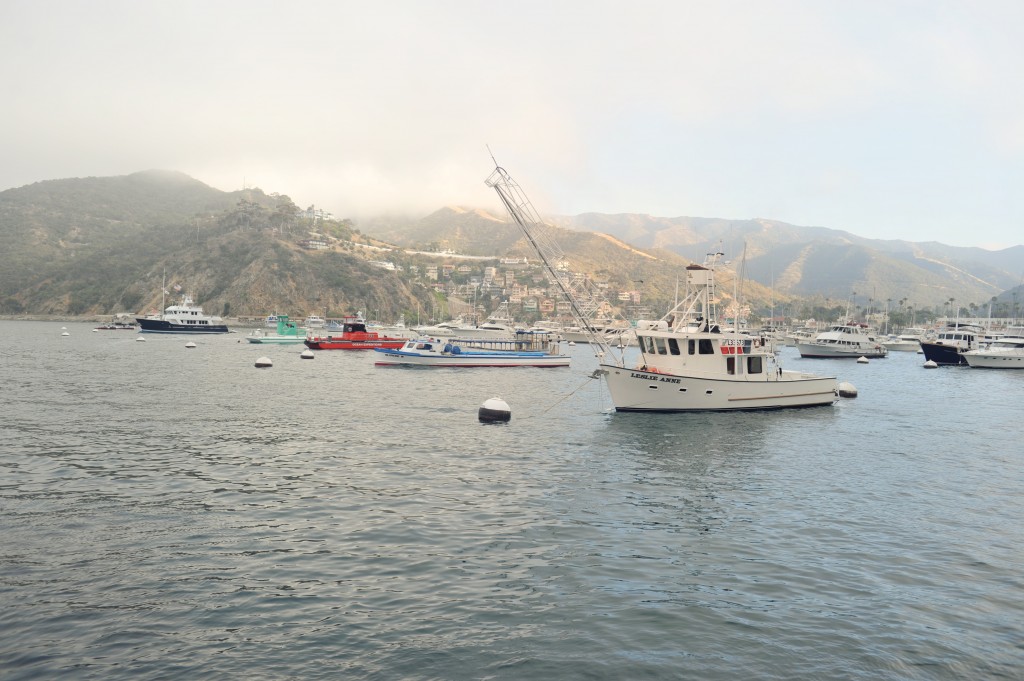
Tu and I cruised the harbor in the boat taking in all the beautiful views. Since the Island is on the side opposite of the currents there is almost no waves there making the water a crystal clear blue
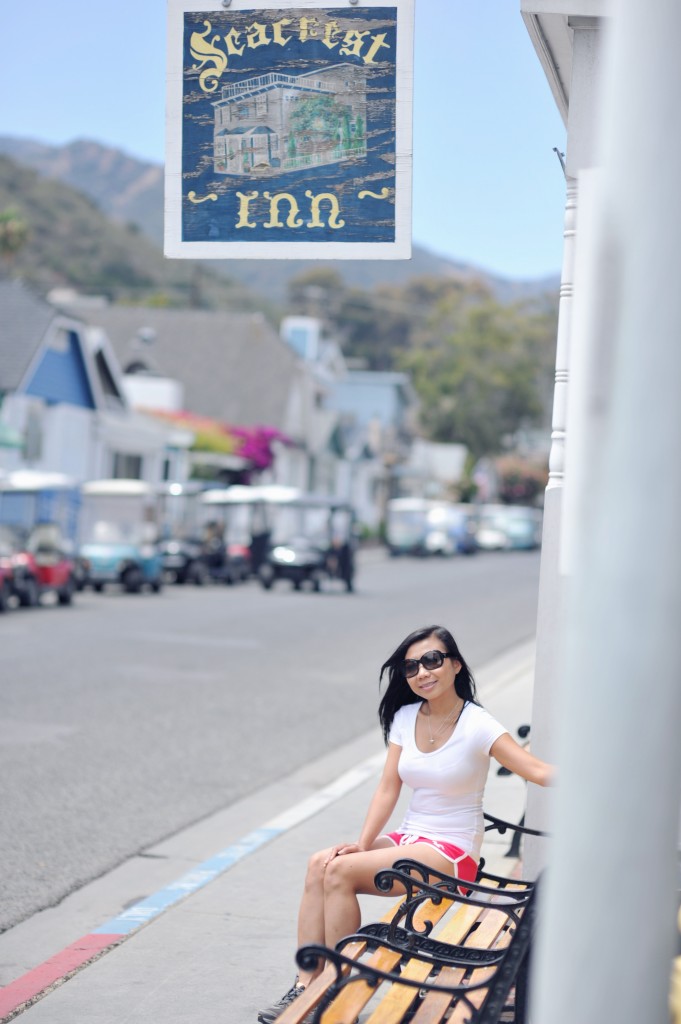
The Island is very small. The hotels and Bed and Breakfast locations are very quaint on the Island and you get a real sense that things just move slower on the Island. Everyone is happy on the Island.
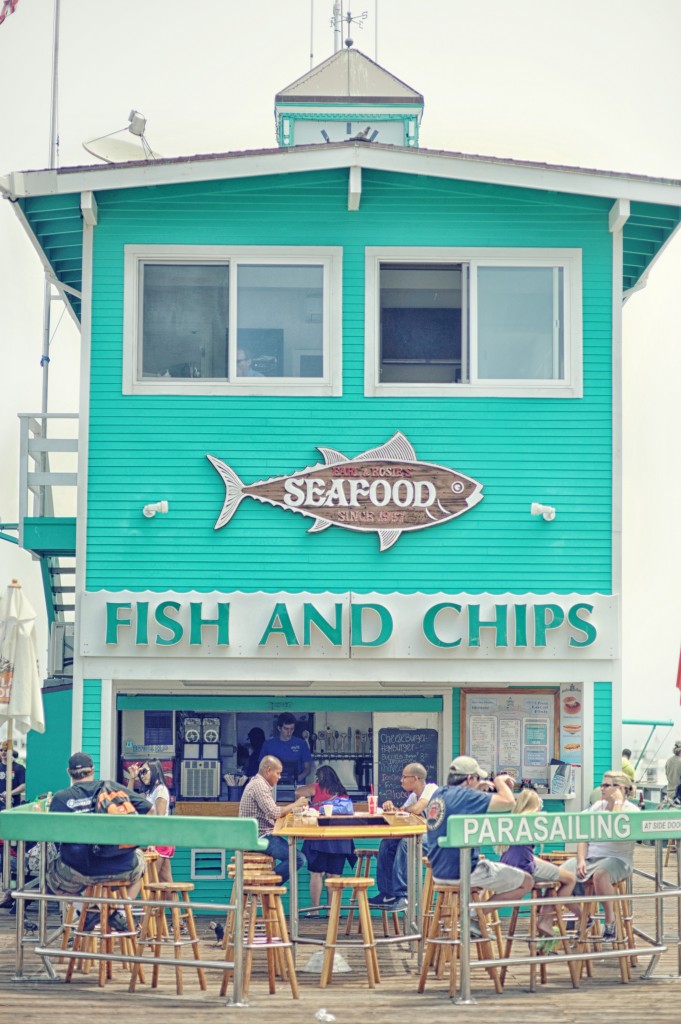
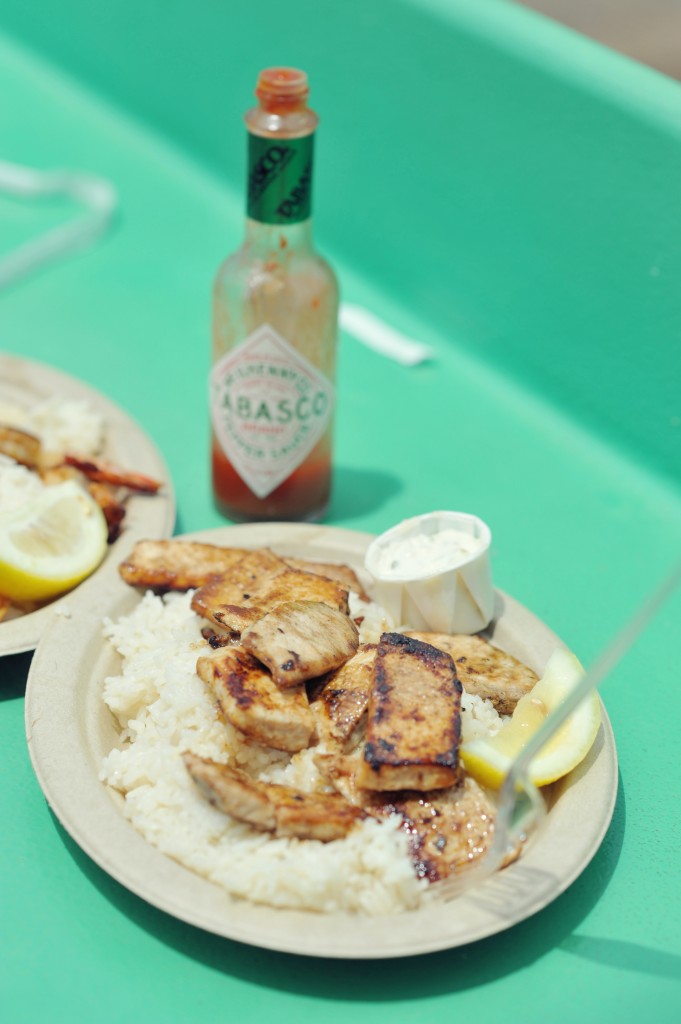
Our favorite place to eat was right on the Pier. This came from a tip from a local. You see the guy that owns this place is also the primary importer of Fish to the Island so he gets all the best and freshest seafood. He has also discovered the two secrets of awesome fish – 1) make sure it is really fresh, and 2) just keep it simple and grill it. You don’t have to be a rocket scientist to make good fish, you only have to remember those two things.
I could eat fish every day if it tasted this good. We ate fish every meal while we were there and I am positive that is all that I would eat if I lived there – it is that good. Check out the Tabasco. Is any meal really complete without a dash of it? I think not.
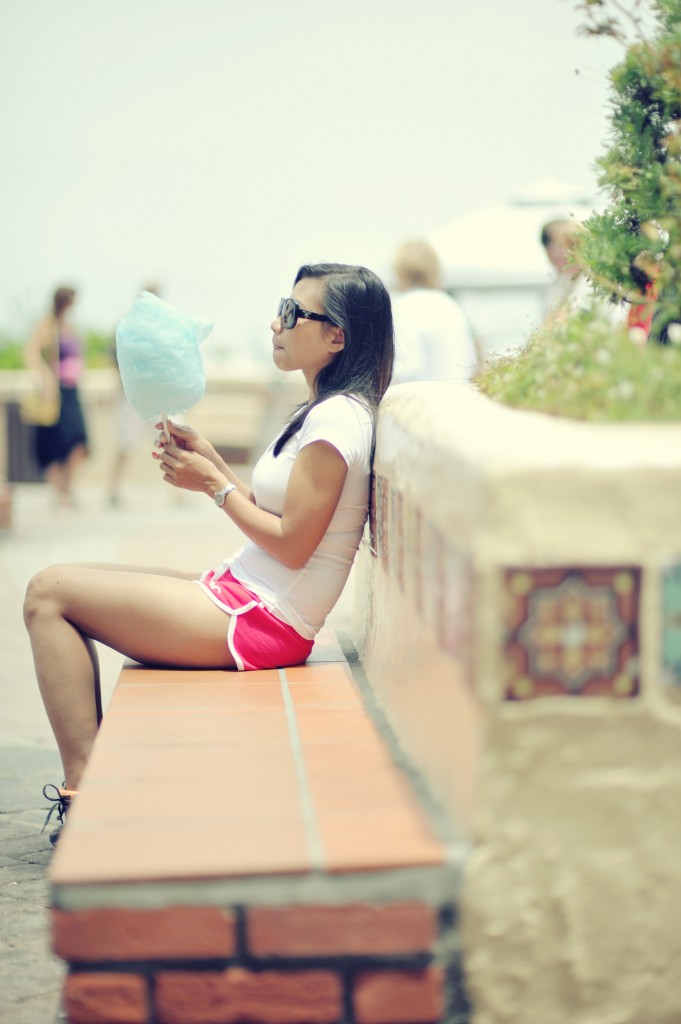
Tu was asking for Cotton Candy the whole trip. Well of course this Island is just like the boardwalk in New Jersey. You can find T-Shirt Shops, Soft Serve Ice Cream and Cotton Candy all over the place. One thing we did not find is Buffalo Jerky. The Island is home to hundreds of Buffalo left over from a Hollywood movie.
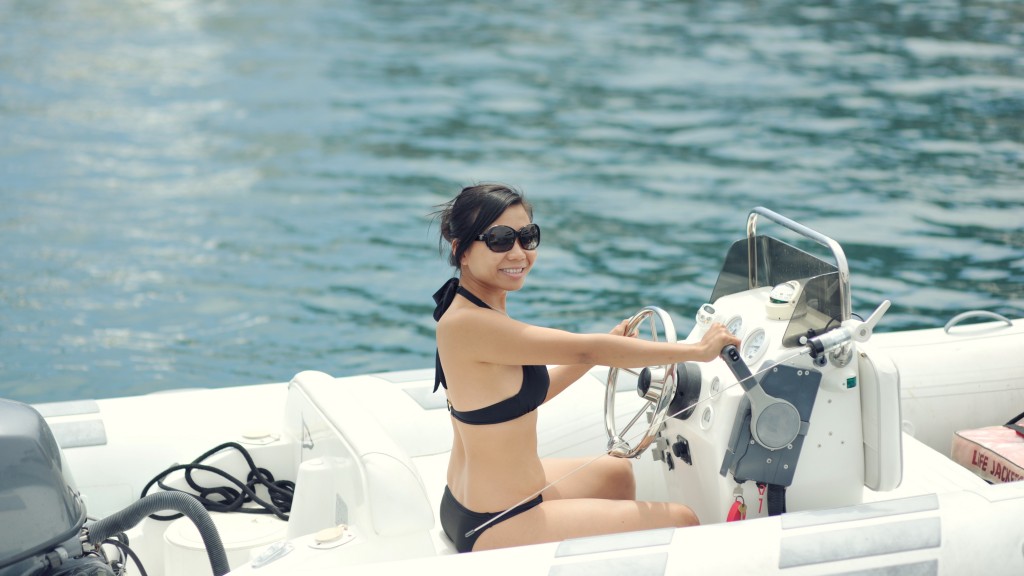
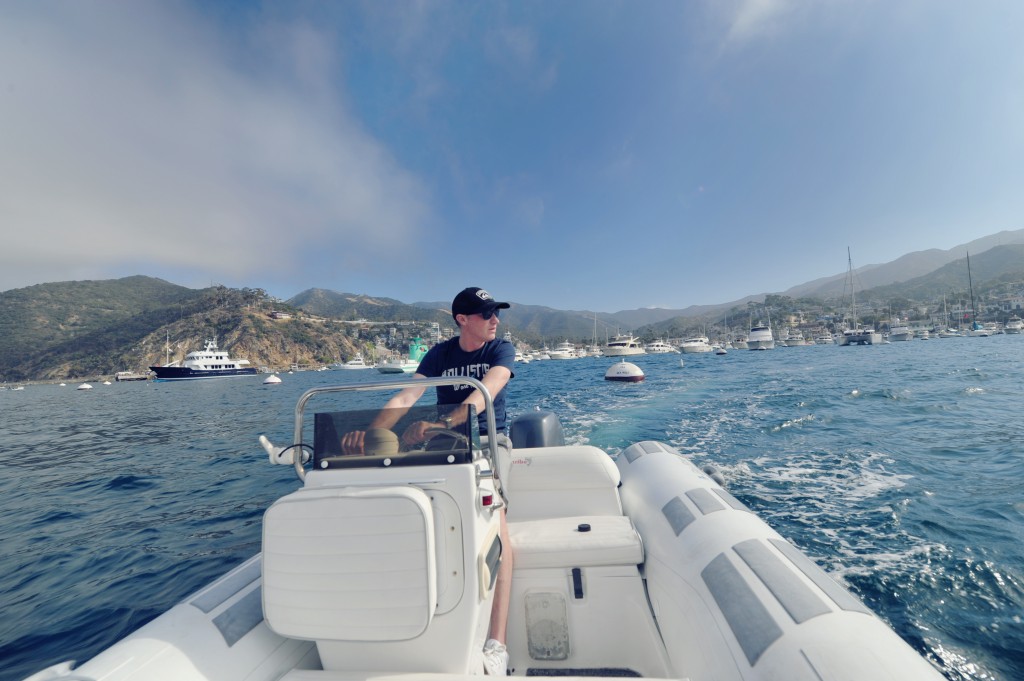
Tu has never steered a boat before this weekend. But there is always a first time, and she did great.
Someone is living the good life
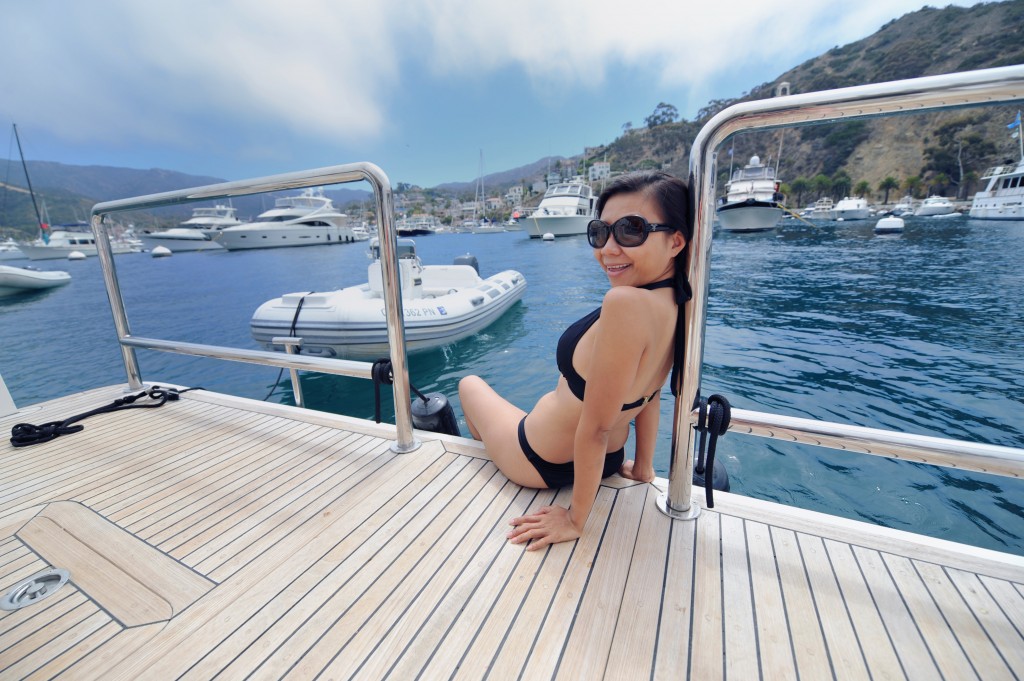
Sun-basking on the forward deck of the boat. Life on the Island is pretty nice
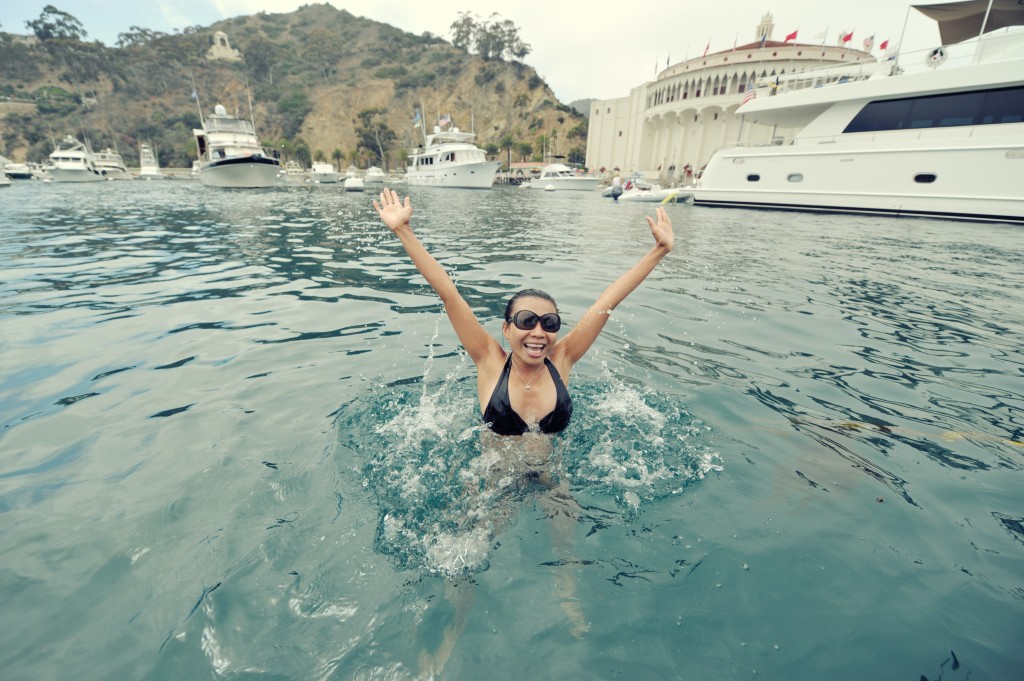
She is about to take the plunge in the water. Unfortunately the Pacific Ocean, while beautiful is much colder than the Atlantic. The water is blue and looks tropical but it is still about 68 degrees and feels very frigid. I jumped in myself and was out in a jiffy.
This is her last hurrah before she hurries back to the boat to dry off
Driving a boat around Catalina you start to realize how awesome it would be to stay here for awhile. Everything is stress free and that makes you feel nice
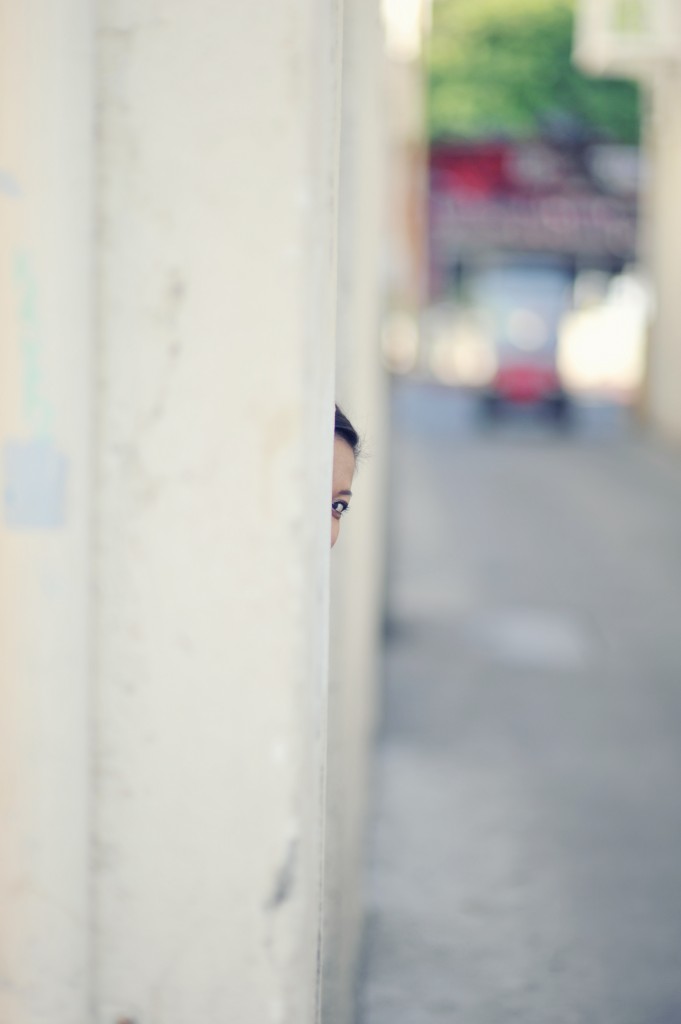
Someone is hiding. But not doing it too well.
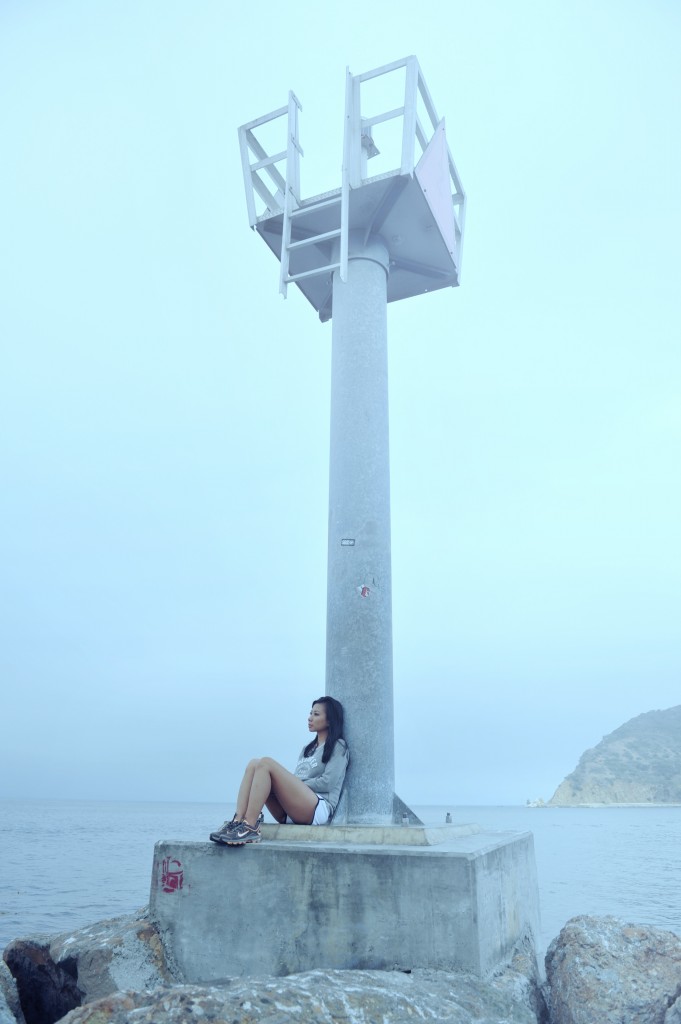
We headed out to the Jetty. It was misty and I caught this picture of Tu under the light post. It was getting cold and the fog was starting to roll in.
Catalina is still the place where SwordFish boats park out and wait for huge Swordfish that circle the Island. Ever read Zane Gray fishing stories? This is where he lived and where he fished. There are some absolutely phenomenal fishing stories from this area. Bill and I have often fished the Marlin Classic which draws some of the most experienced Marlin Fisherman in the world
The SeaHunt on the “Island Girl” mooring. The place we called home for a couple of days the summer of 2012.
Ayden
Tu and I teamed up tonight and took some beautiful pictures of Ayden, Marisol’s Baby. He is a beautiful and tiny little baby and is so cute. Check out the pictures we took of him.
Nara – Sacred Wild Deer
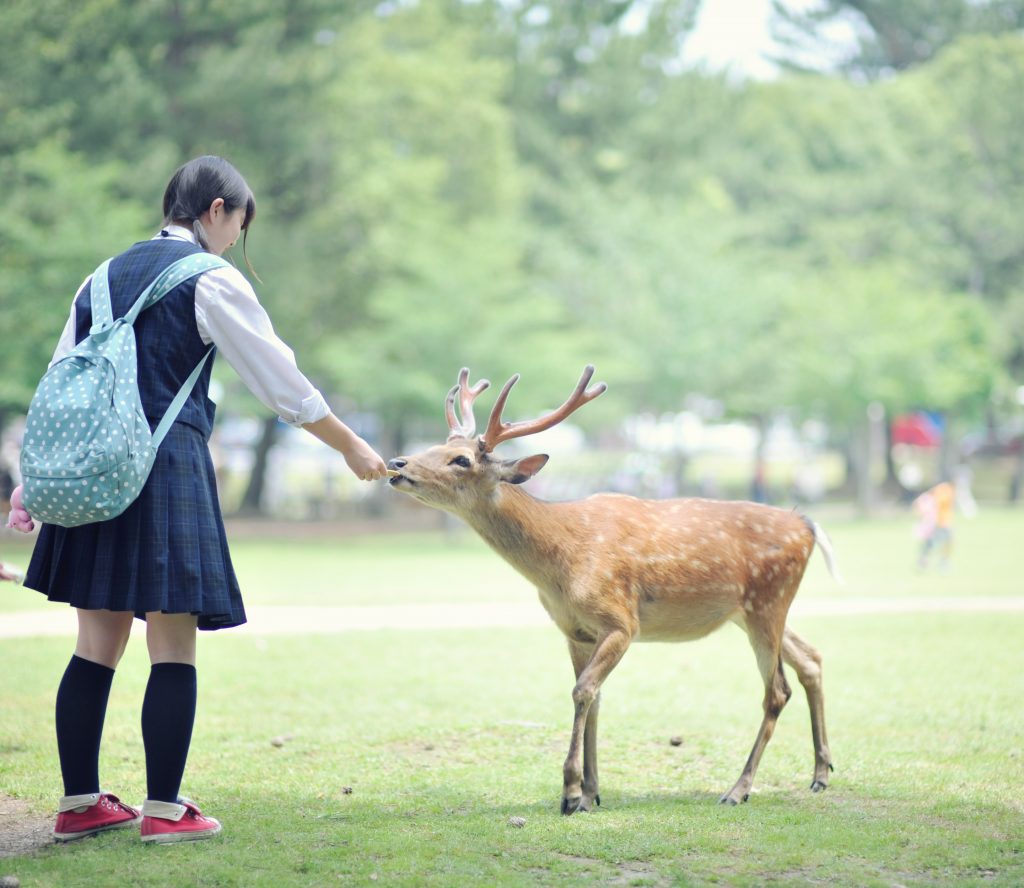
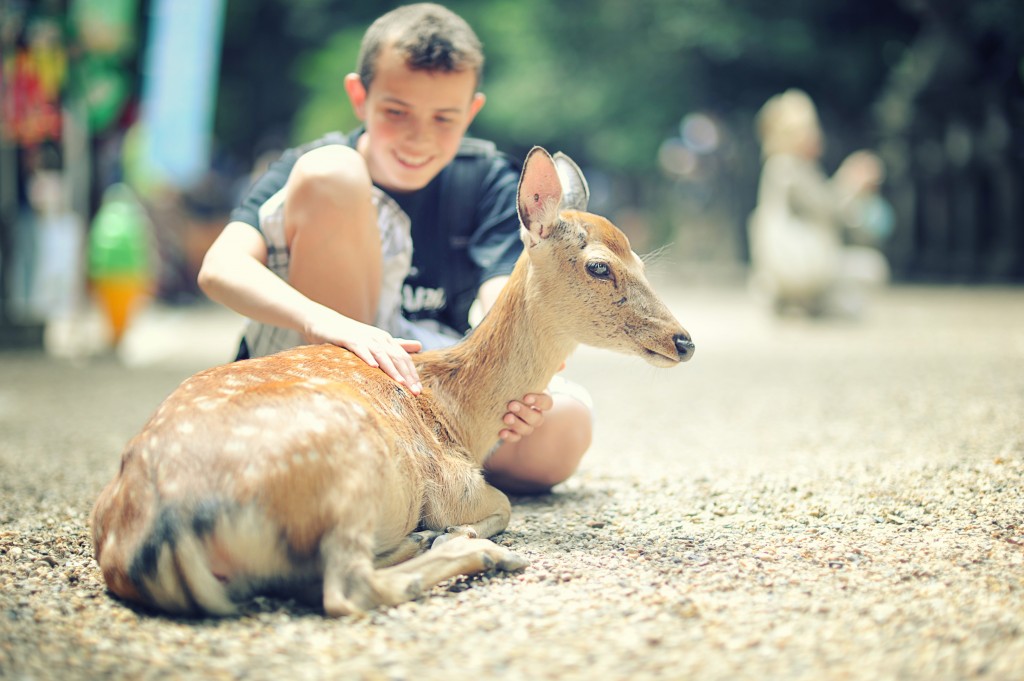
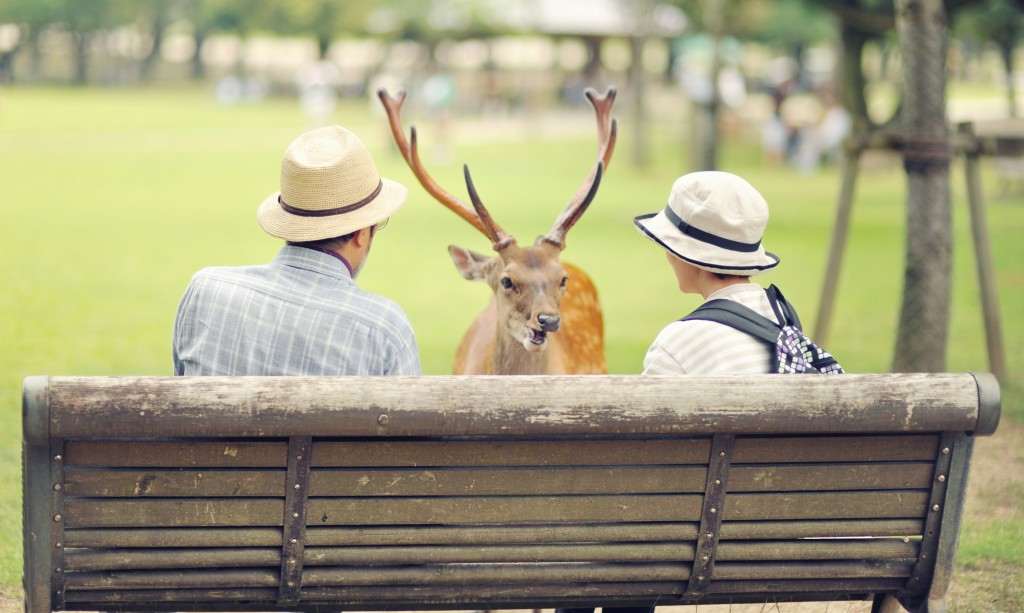
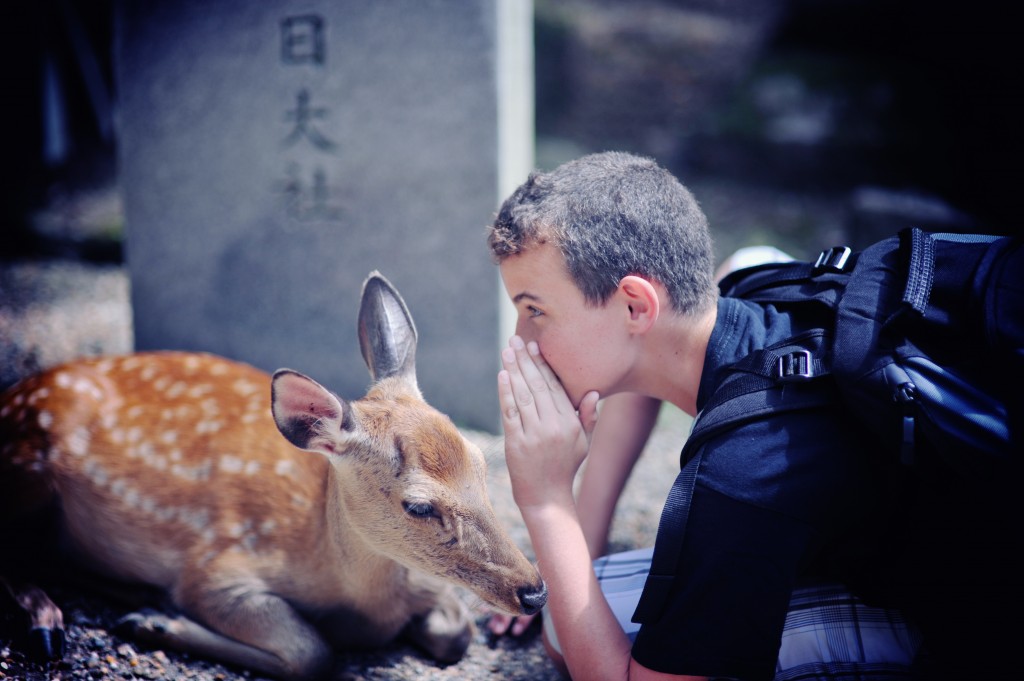
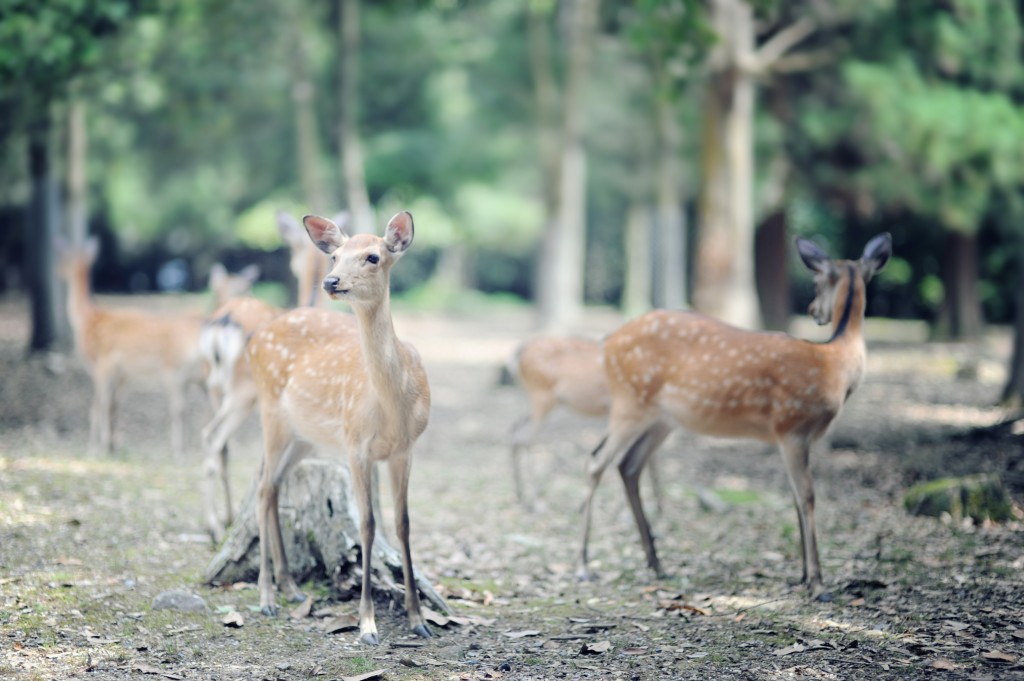
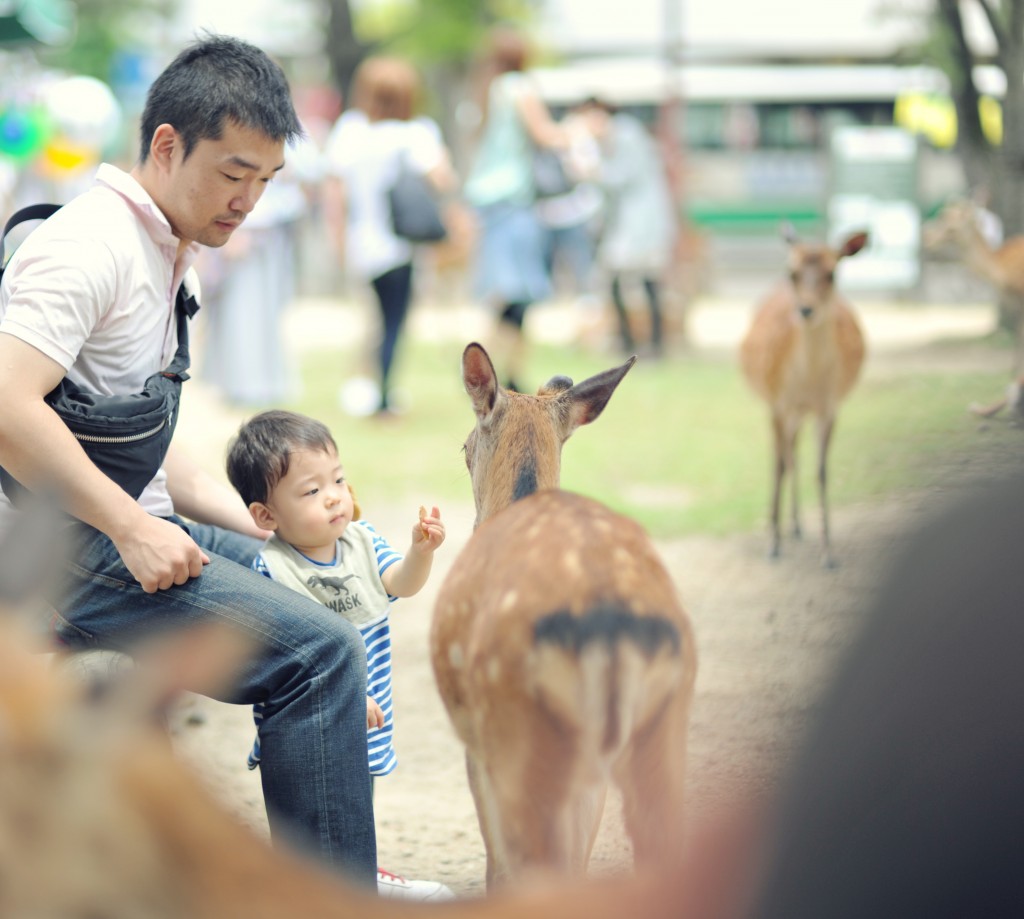
Nara Park is located in the city of Nara Japan and it is one of the most unusual parks that I have ever visited. The park was established in 1880 and is home to 1,200 wild Sika Deer. What makes it unusual is that the deer roam freely around the park and they are completely tame. The deer are considered sacred and special to the Gods. If you tried to kill one of these deer you could be put to death – well at least that was the case up until 1637 when the last execution took place for killing one of the deer. That would explain why these deer are so incredibly tame.
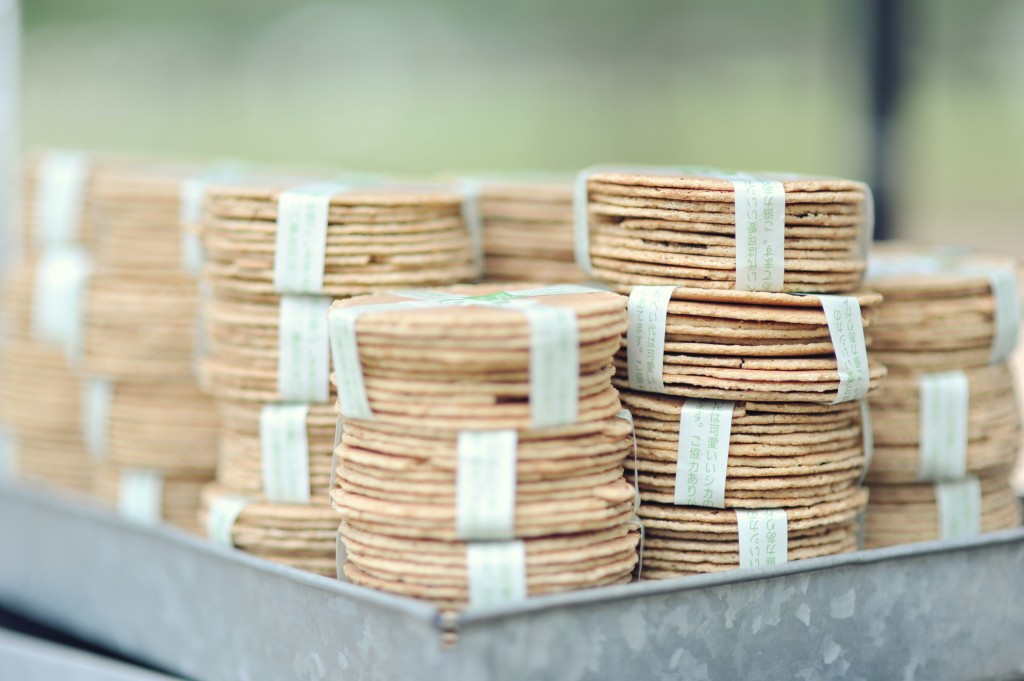
There are three temples in the area and the deer roam around these temples freely being fed crackers by all of the tourist. You can purchase crackers for the deer for about $2 for every package of 10 crackers. Kids are all over this park running and feeding the deers. It is a great place to go.
You can get to the Nara National Park by taking the train from Kyoto Station. It is about $10 and takes about 1 hour to get there. Between the deer and the beautiful temples it is the #1 day trip to do from Kyoto Japan.
http://www.frankiefoto.com/Travel/Nara-Japan/24001277_xvCWVP
Does new HDR Efex Pro 2 Pass the Test?
I am a big fan of Nik Software, www.niksoftware.com and when they sent me an email announcing an upgrade to the HDR processing plug-in HDR Efex I decided to take a look. While I had purchased HDR Efex about a year ago I never used it, preferring instead their competitors HDR processing product Photomatix. Photomatix is by a company called HDRSoft and from what I can tell most amateur photographers use it rather than Nik Software. Photomatix had a couple of things going for it that HDR Efx did not – it was faster (a lot faster and less clunky) and it had cooler presets such as the “Painterly” preset that I found to look extremely cool. I downloaded it at this site and to tell you the truth I have loved it for the last year. It cost me $99 for a license.
I’ve posted some other blogs on HDR photography so I won’t go too much into it here but HDR photography is the method of taking 3 exposures to capture all of the light range in a setting. Wikipedia has a pretty good explanation of it here if you want to take a look – http://en.wikipedia.org/wiki/High_dynamic_range_imaging. I think it is a good technique but only really useable for certain situations mostly landscape and architecture. It doesn’t do a great job with people because of movement and ghosting.
Nik Software sent out an email and offered me a free 15 day trial of the software. If I like it, I can pay $50 and have it or I can let the demo expire. I decided to test out the software by comparing the results to HDR Efex 1.0 and Photomatix. If I like the results I will buy the software if not I will just stay with what I have. I must say after trying out the software there are a couple of key advantages that I think make this software pretty cool. First it is totally integrated into Photoshop which means that I don’t have to save it outside of photoshop and later import it into Photoshop to do additional edits – Photomatix doesn’t have this feature which means a few extra steps. The second thing I really like about it is the fact that the HDR photos that are produced have a lot more customization controls including the selective feature that NikSoftware has patented. And finally, the HDR images that are produced out of HDR Efx 2.0 are the most natural of any image.
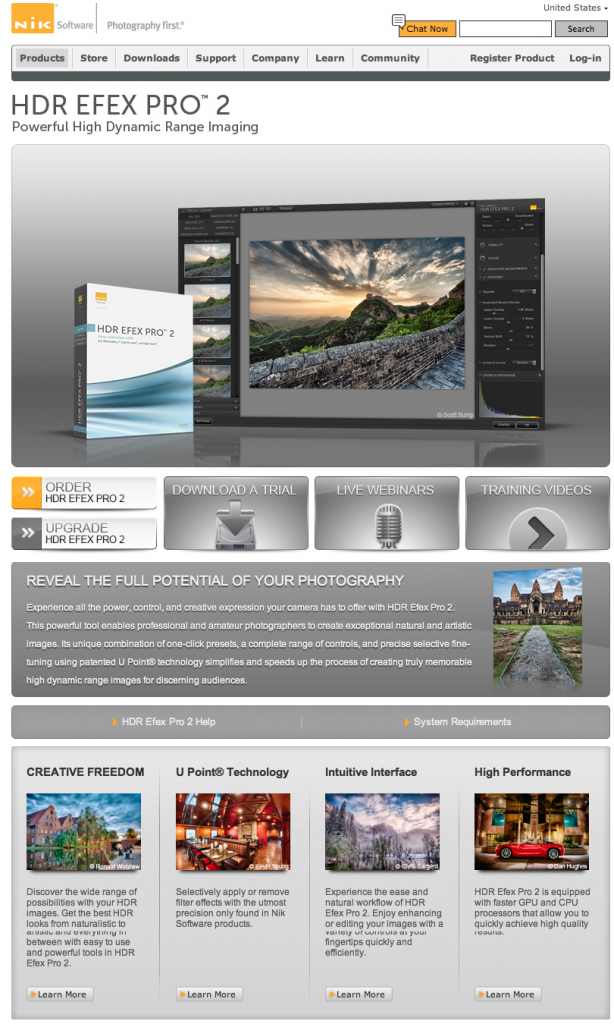
You can check out HDR EFEX Pro 2 at http://www.niksoftware.com/hdrefexpro/usa/index.php?view=intro/main_hdr2.shtml and see all of the cool features that they have on this software. While I read through it I was pretty impressed with what they were offering in this version.
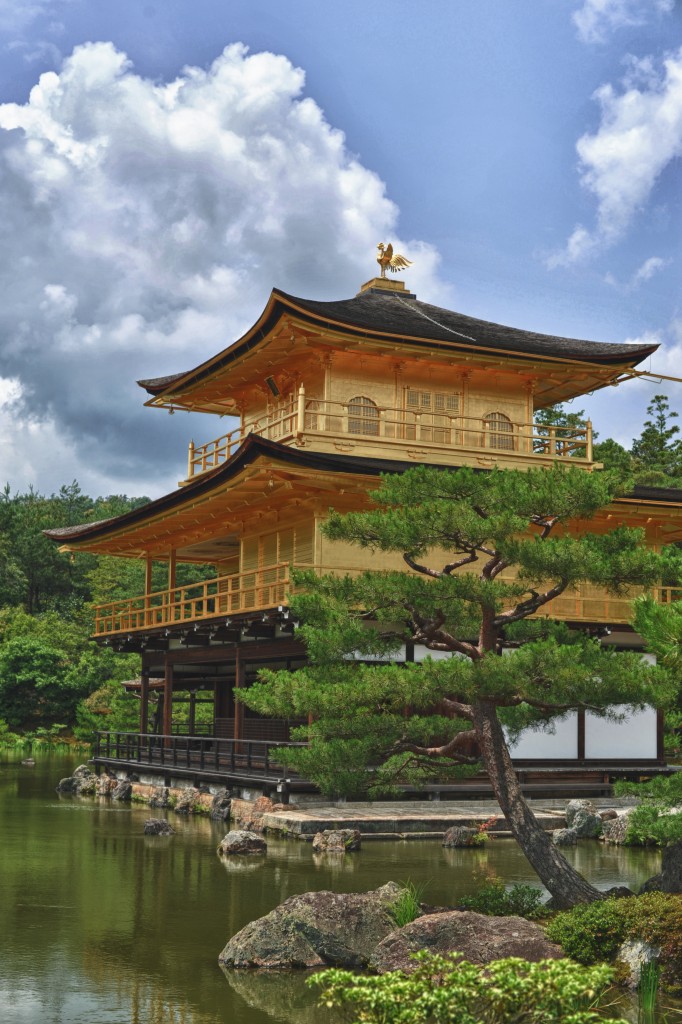
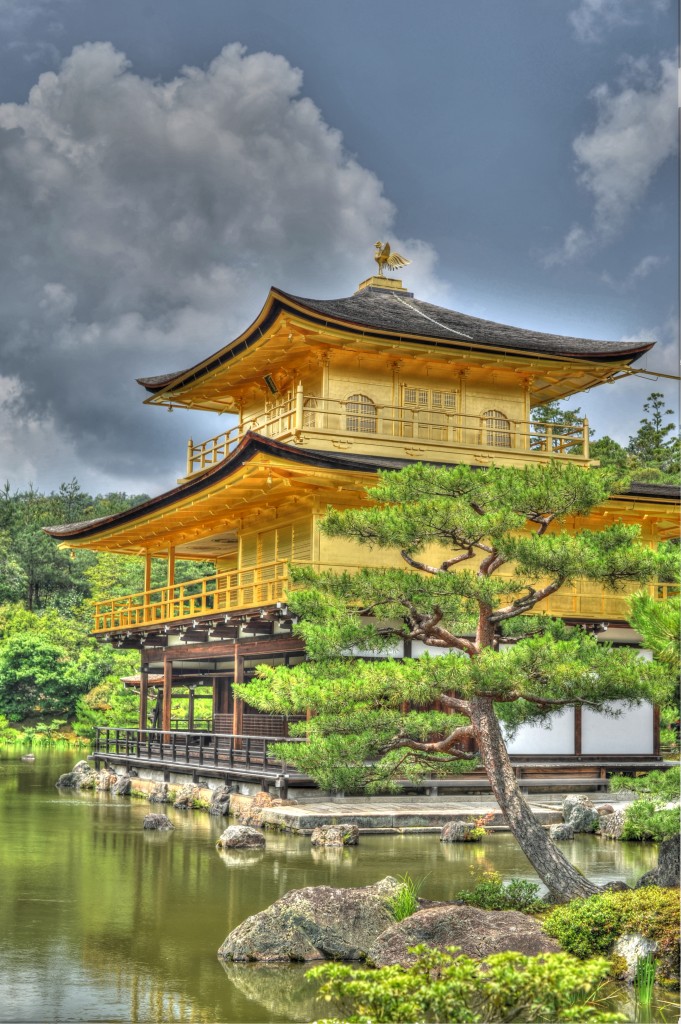
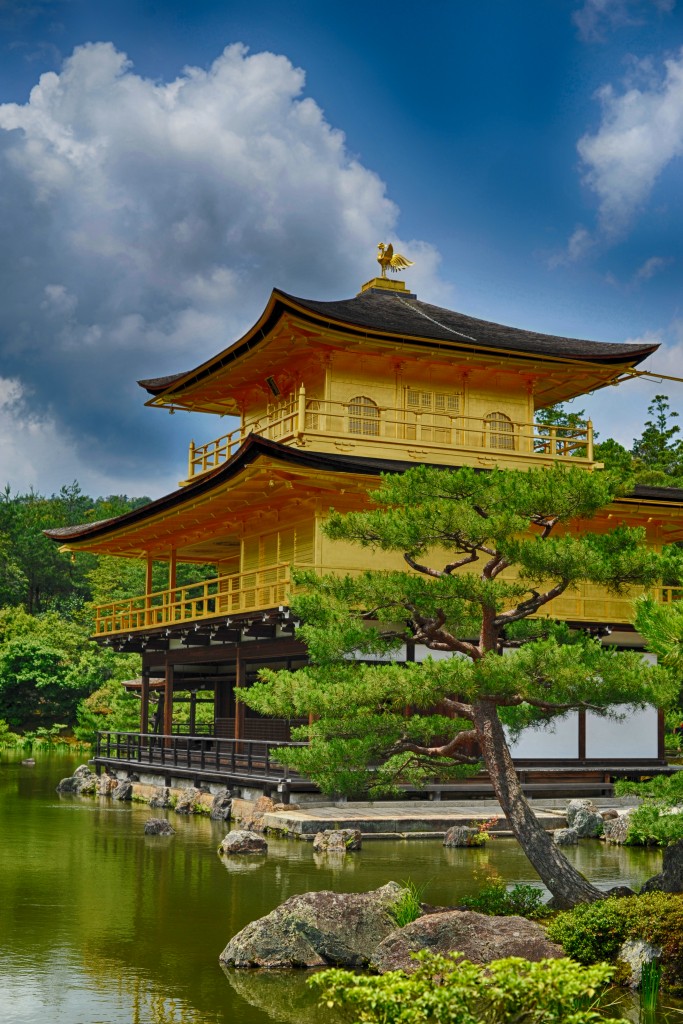
So I took the same 3 HDR exposures I took from the Golden Palace in Japan and ran them through the 3 different software packages. Here are the results.
HDR Efx – First NikSoftware Release. This is a pretty good result that I got using the Balanced preset. I think the image turned out ok in spite of having some dust spots on the sensor which appear in the sky.
Photomatix – I downloaded their latest version of the software which actually cost $20 and is not actually free. As I said earlier I always liked the dramatic effect of Photomatix and its speed. To process the image it takes about 20% shorter than using the Nik Software. One downside to Photomatix is that it is not integrated into Photoshop so you need to do all of your work outside photoshop with it and then import it in after. Another downside is the fact that it leaves these lines on the side of the picture after aligning the photos and those always need to be cropped out.
And the third and final image from HDR Efx 2.0. I used the Deep Color preset which is a new preset that I actually really like. I think the result came out good. I could have gotten a much more natural looking picture by using the default preset or the natural preset but I chose this one. I think overall my assessment is that HDR Efx 2.0 is the best HDR processing software out there and I will be making the $50 upgrade purchase. Well done NikSoftware. Well done again.
A visit from Maryann and Co.
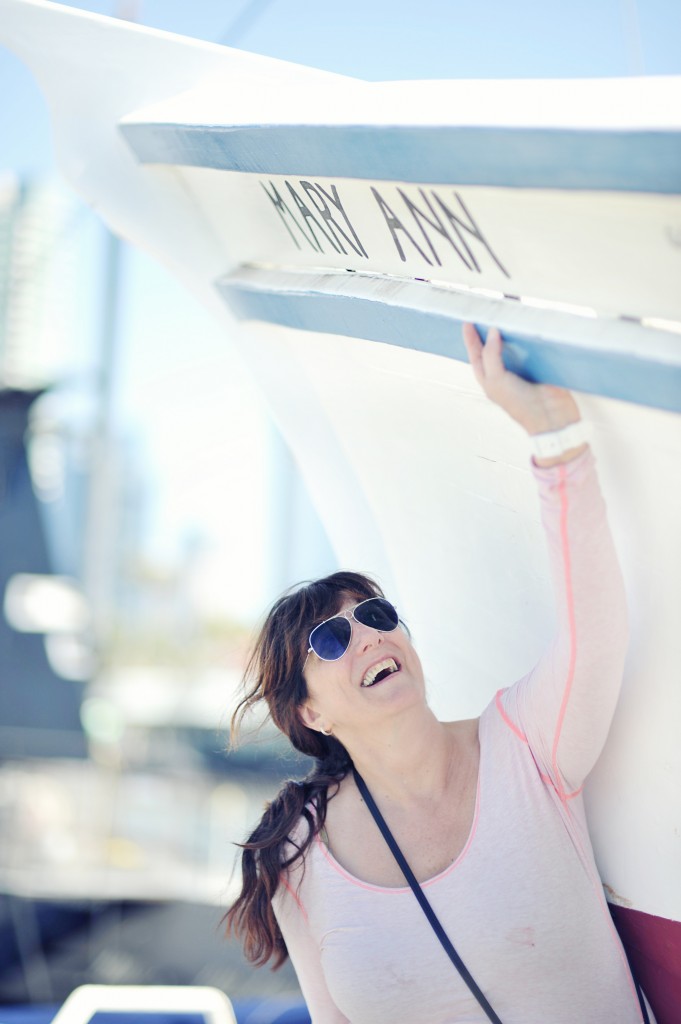
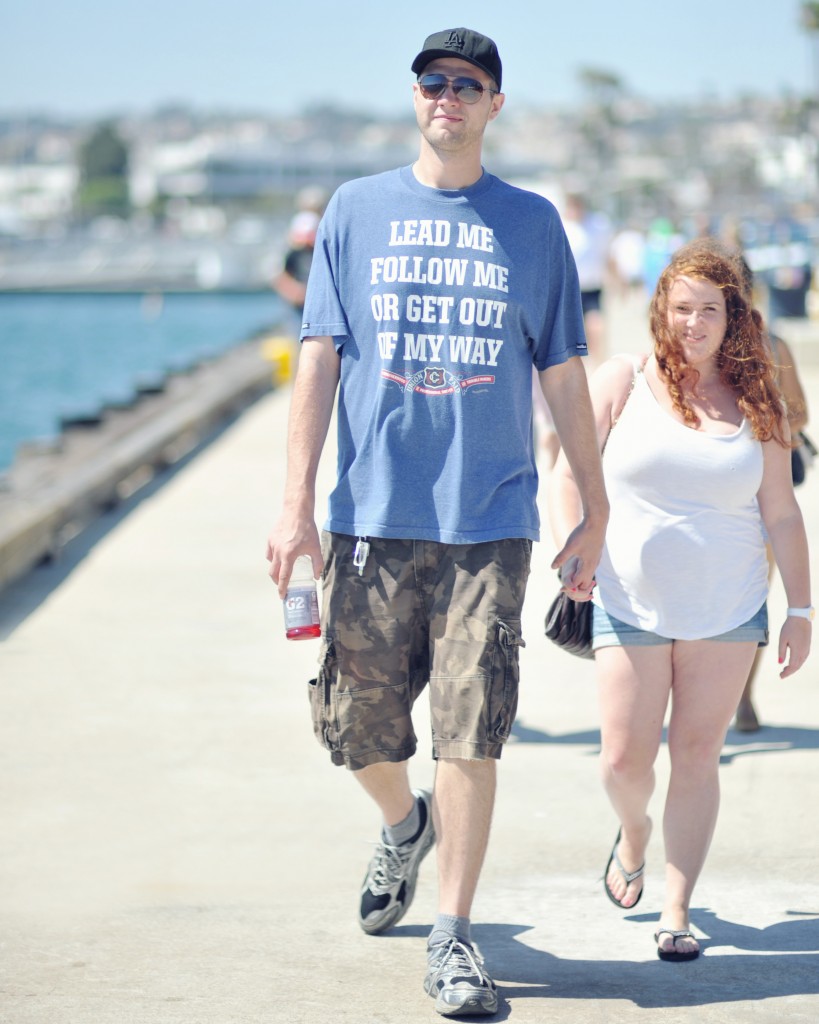
What a nice surprise. Guess who popped into town – the world hopper Maryann along with Lee and her son Jordan and his girlfriend Rosie. It was just a day trip but we decided to do a little touring of San Diego. Lucky I have a big car because he son Jordan is 6 foot 7 tall and needed the extra leg room up front. We packed 4 in the back and 2 in the front and we were off to see the best of San Diego.
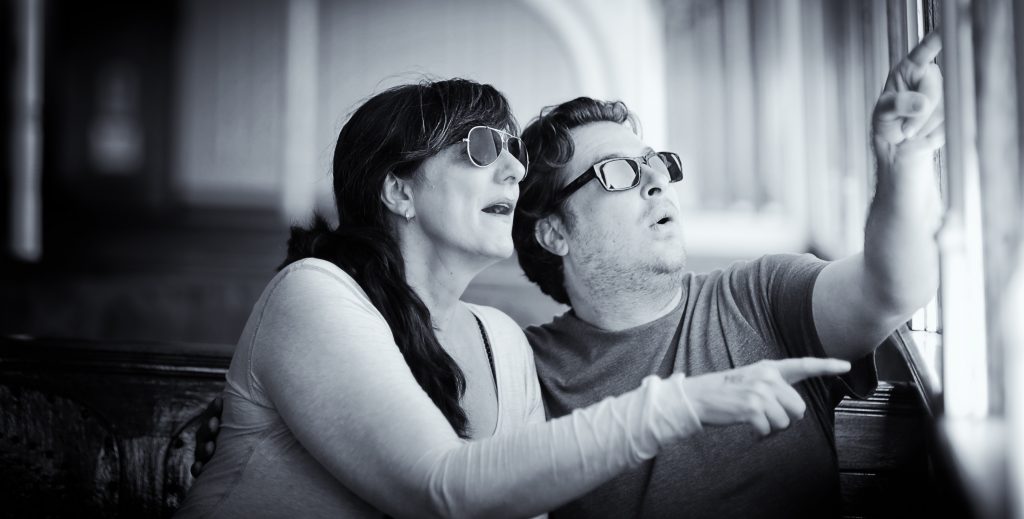
After catching the beautiful views of La Jolla’s cove we decided to take the long way to downtown San Diego to check it out. When we got to San Diego Bay we bought tickets to check out the old ships and tour a Russian Submarine. Maryann and Lee are catching some very interesting sights. They were obviously amazed at the ships in the area, some of which dated back 150 years or more.
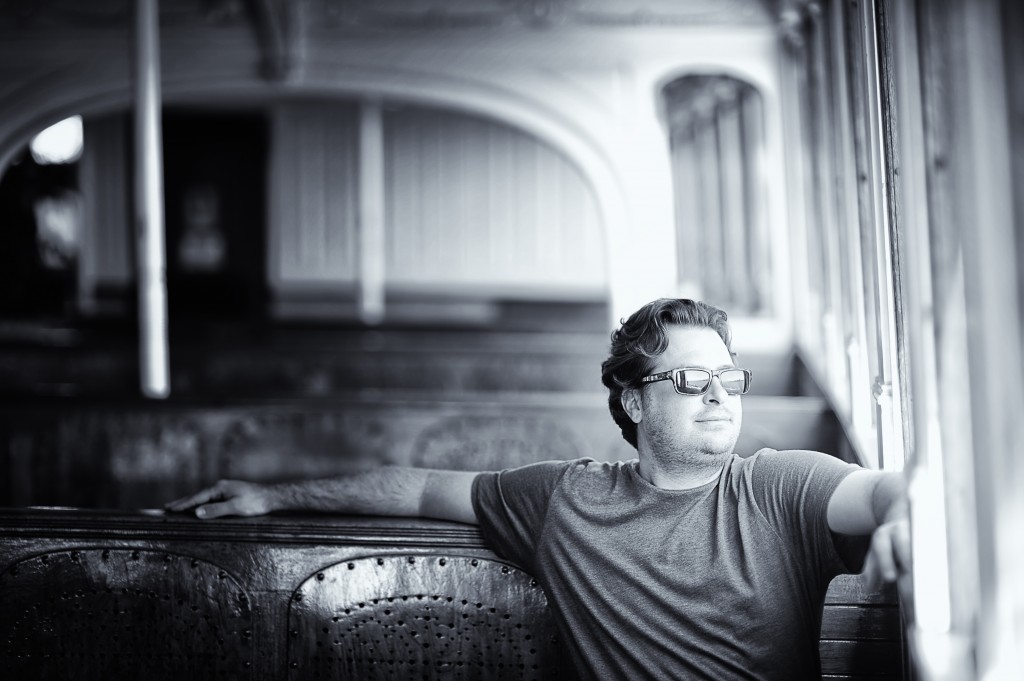
Lee catches a solitary moment and ponders all the great things the world has to offer. It’s a good day when your on a boat in San Diego he thinks to himself.
One of the highlights of the day was when Maryann showed us her Dinghy. Apparently Maryann has been keeping her little boat a secret for many years. Her little boat provides her an escape from the daily grind. When she gets stressed out she often finds herself taking her boat out singing Christopher Cross’s ‘Sailing Take me Away”. So Maryann has a boat. Now you now.
Did I mention her son is 6 foot 7? Here is a picture to prove it. Is he twice as tall as his girlfriend Rosie? Almost!
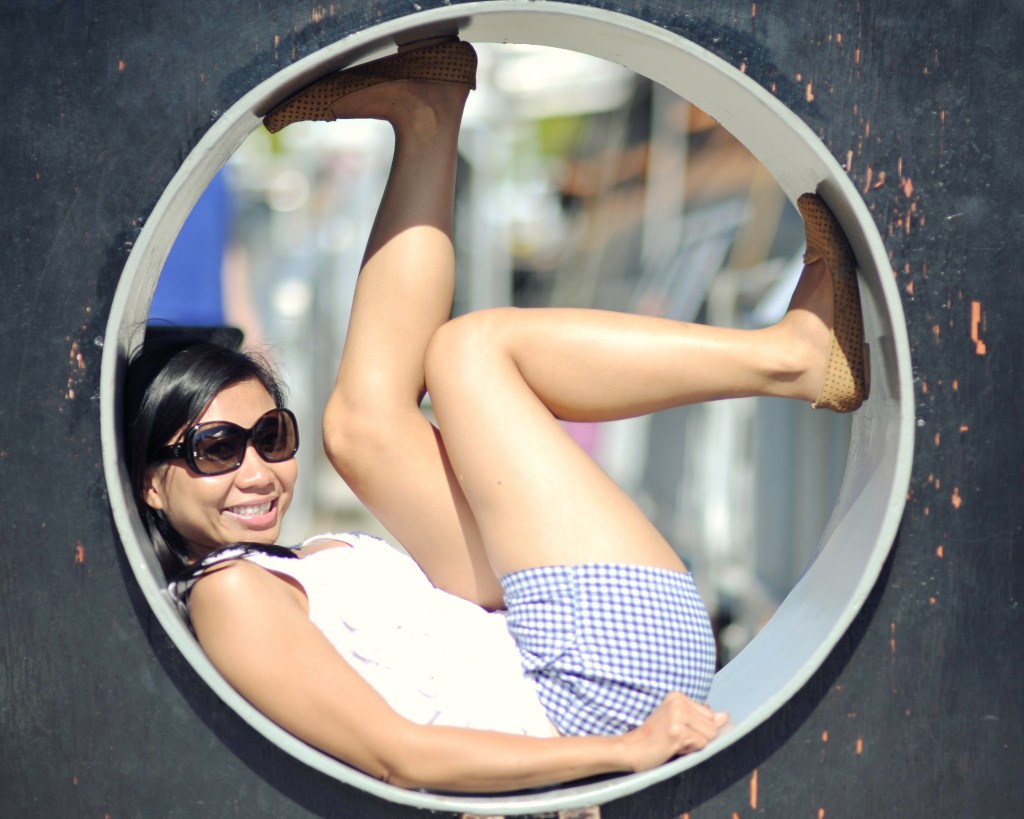
When you go into the Russian Submarine, it is very small so they provide a porthole for you to climb through to see if you can make it. It’s kind of like those measuring tapes that are on the wall in front of a roller coaster to see if you are tall enough to go on. Tu decided to take it to the next level and actually tried to do a 360 in the porthole. She almost made it. Check it out.
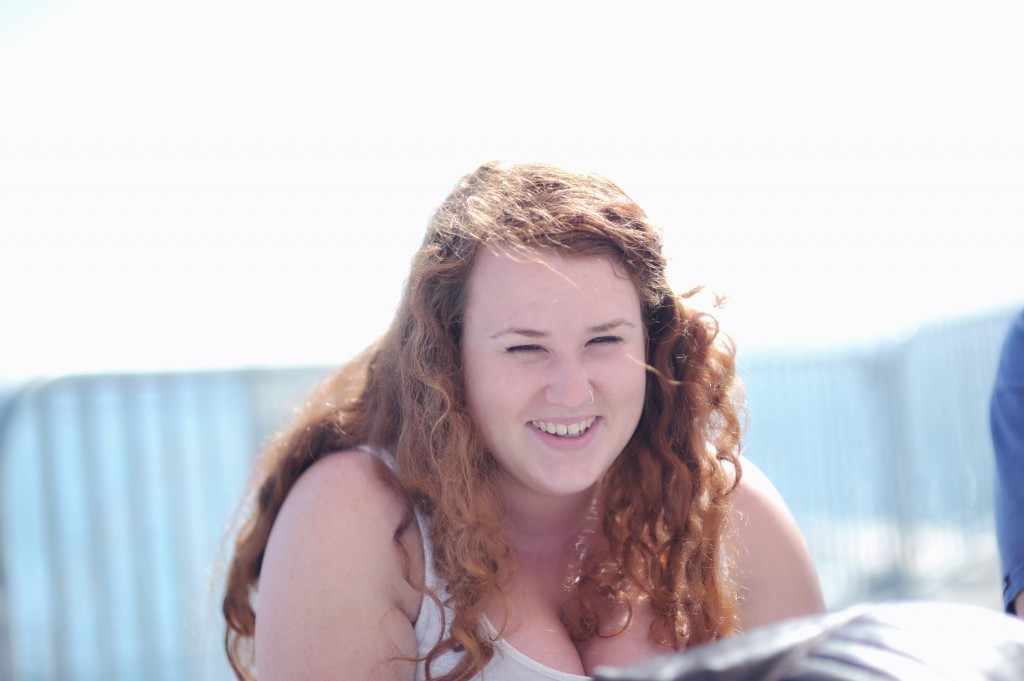
I met Rosie in London when Maryann was living there. Jordan and her having been dating for a few years now. It was nice to hang out with both of them and get to know them better.
Lee, Maryann’s boyfriend has been getting some acting gigs lately and some pretty good roles. He has got that X factor and leading man look so look for him in a theater near you soon.
We had some fun in the Star of India – one of the oldest shipping vessels in the US. This ship was in commission during the Civil War and it looks like the kind of ship that a pirate playing Johnny Depp would be very comfortable on.
Jordan contemplates on the history of the ship, imagining himself dressed in swashbuckling clothing fighting off Pirates and defending his fair maiden Rosie on the ship.
After San Diego Bay, we headed over and toured Chicano Park before arriving on the beautiful Island of Coronado. Now this park is beautiful and has some of the most amazing Chicano art in the US. We saw a mural that said “No Yonkes” which we thought meant “No Honkies” or “No Yankees” which is a term many of you will remember from the 70’s. We assumed this meant no Caucassion people but actually “Yonkes” in spanish means “Junkyards”. Chicano Park was established to get rid of the junkyard in the hispanic community that they wanted to keep there. “No Yonkes” means no junkyards.
In Coronado we went to the #1 spot in San Diego to catch the skyline view. Tu, my favorite model helped pose for a picture there.
It was so nice to see Maryann and spend time with people important in her life. Maryann is my good friend that I have known for many years and worked on many projects together. It was a fun day with great friends.
Tsukiji Fish Market
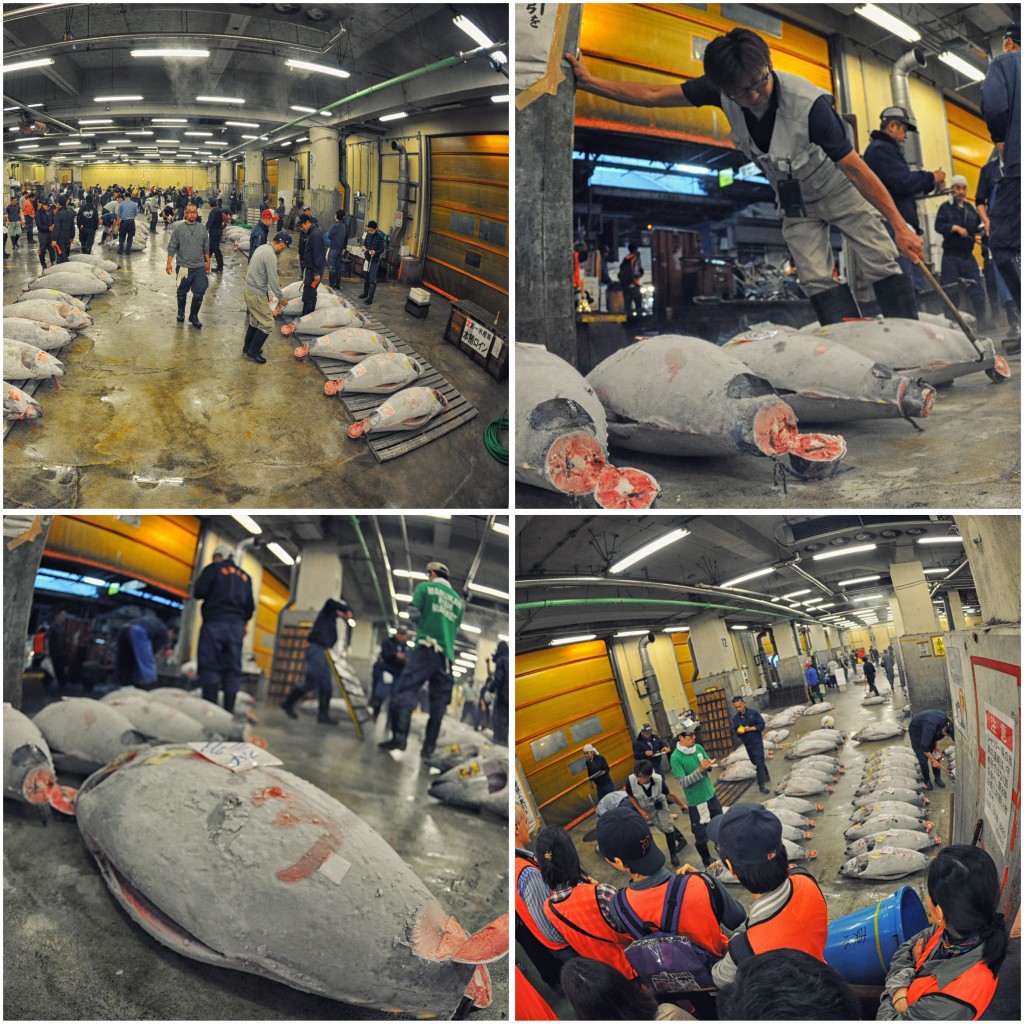
It’s the largest wholesale fish market in the world and they sell fish – lots of fish. The market also holds the record for the most expensive fish ever sold. A giant blue fin tuna sold in January of this year for a record $736,700. Every slice of sushi off that fish wholesaled for a record $96 dollars a slice. Don’t waste a slice.
Well if you like to get up early, and I mean really early you can catch all of the excitement of the Tsujiki Fish Market. The market allows the first 140 or so tourist that get in line each morning a chance to catch a glimpse of one of the most exciting fish auctions (or any auction for that matter). We got up at around 3:15am, caught a taxi to the Ginza district and found our way to the warehouse which was located in the front of the market. Arriving at about 4am we had about an hour and a half to wait in line and catch all of the action as truck after truck arrived with fish from all over the world to be sold as this incredible market.
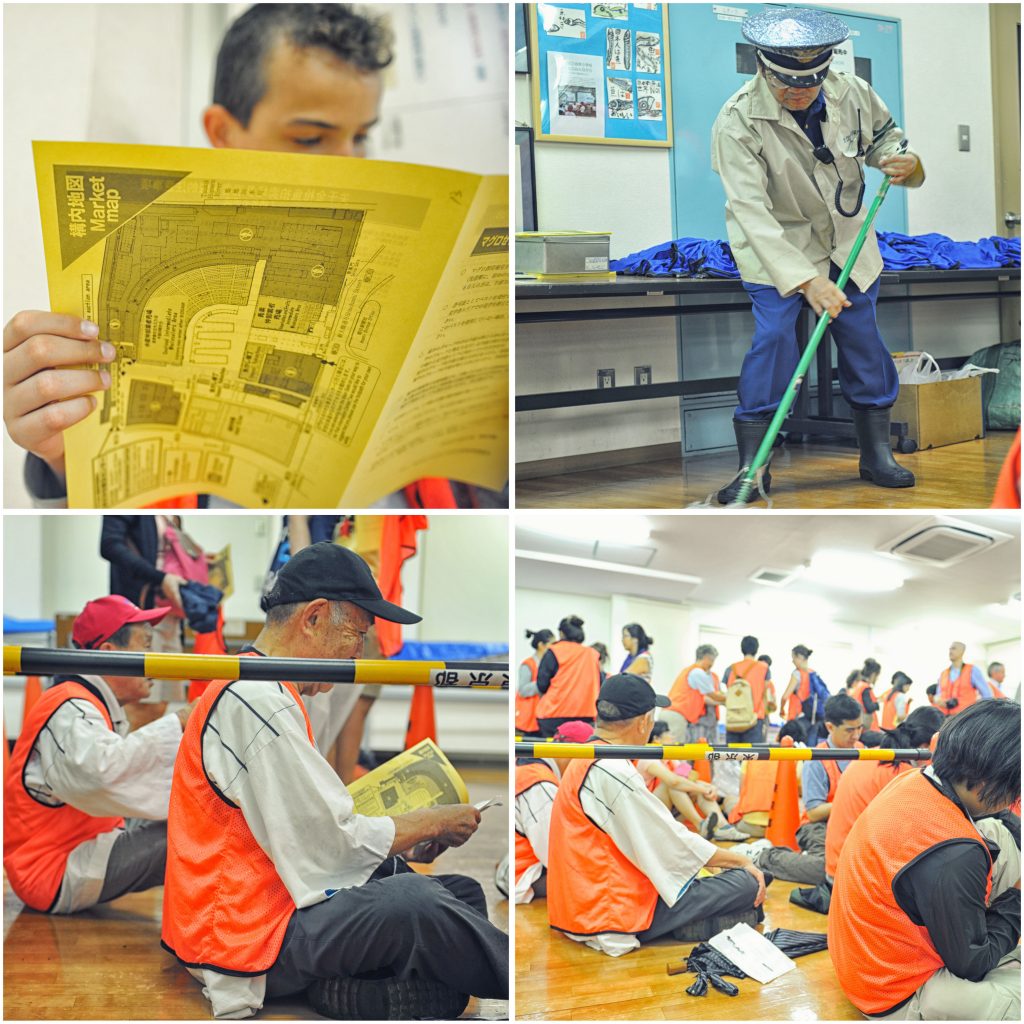
It was raining hard so they let us inside a waiting room earlier and gave us red vest to wear and sit with all of the other tourist from around the world. This place was getting packed in a hurry as everyone wanted to see what happened here.
Since there are so many people that want to get inside, they divide it into two groups. The first group gets in about 5:20 and stays for about 30 minutes and the second group gets in about 6 and gets 30 minutes inside the auction hall as well. In retrospect it probably is better to be the second group because you get to see a little less of the inspection of the fish and a little more of the actual excitement of fish being auctioned off.
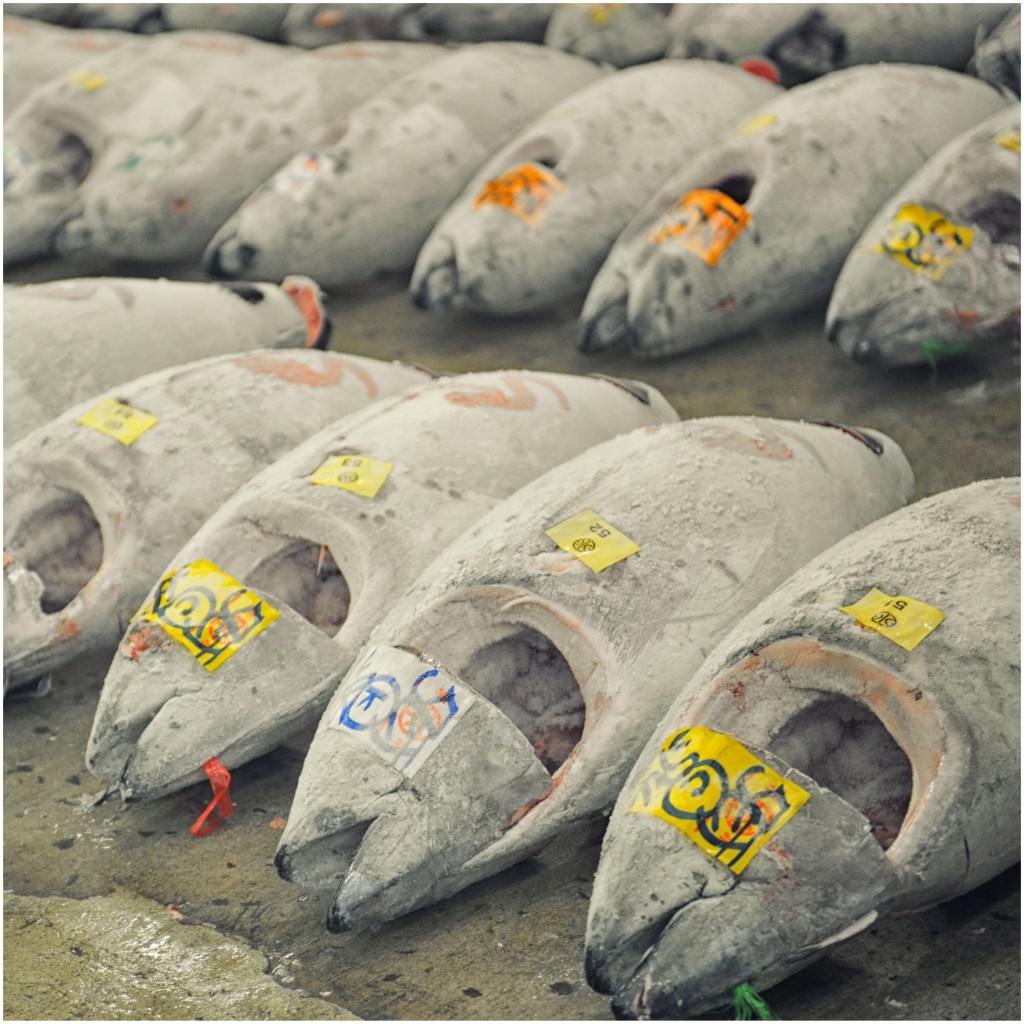
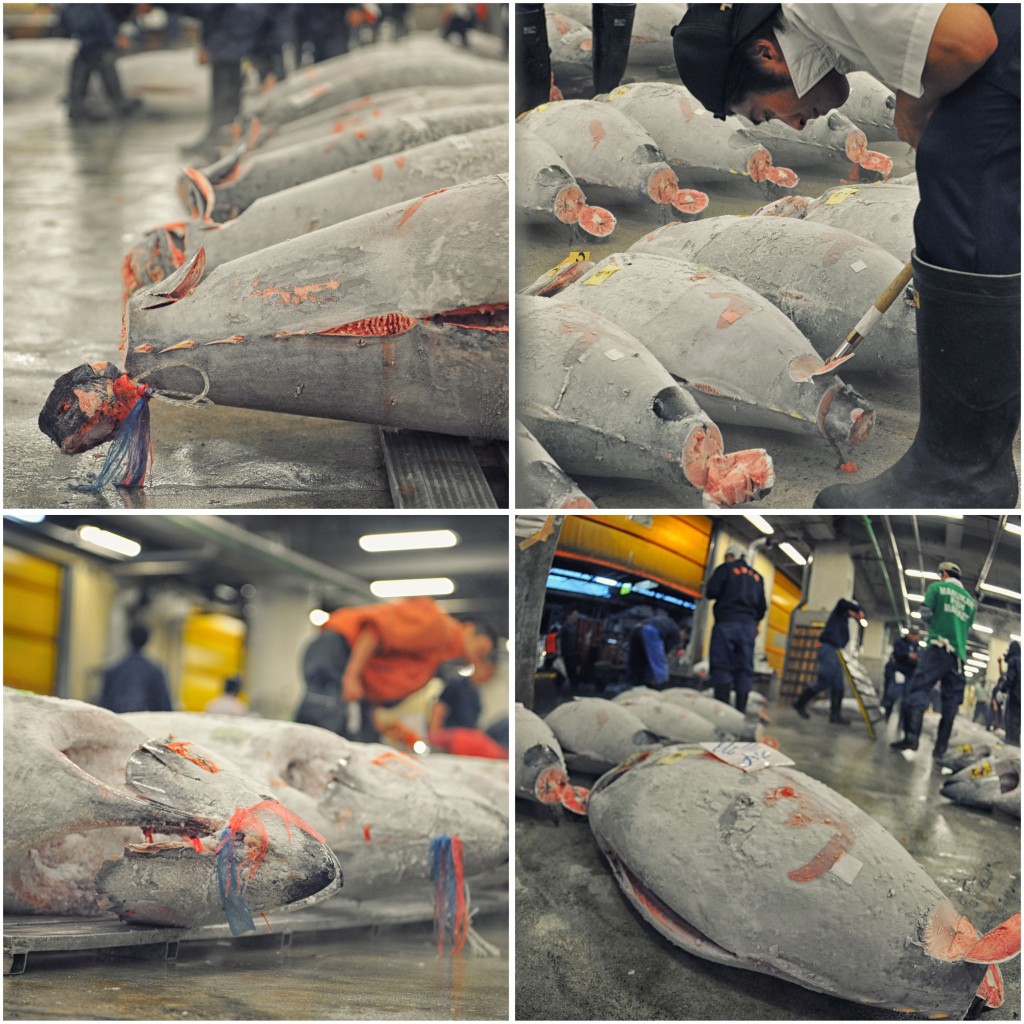
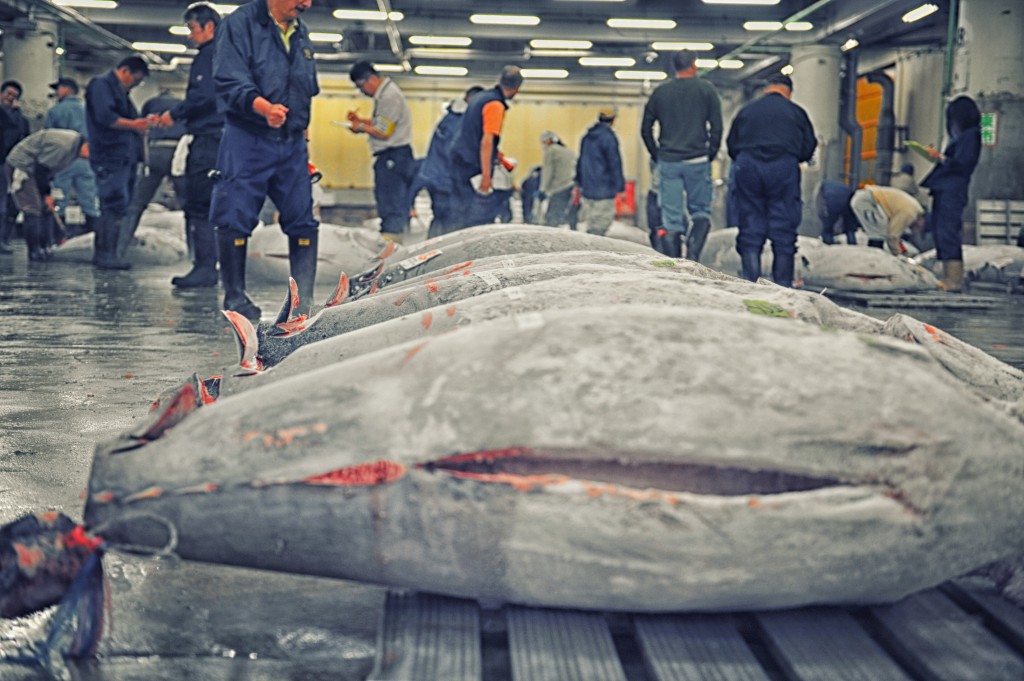
The auction hall is filled with frozen tuna. They look like huge blocks of frozen fish ice. It is quite remarkable to see hundreds and thousands of dollars of tuna in once place.
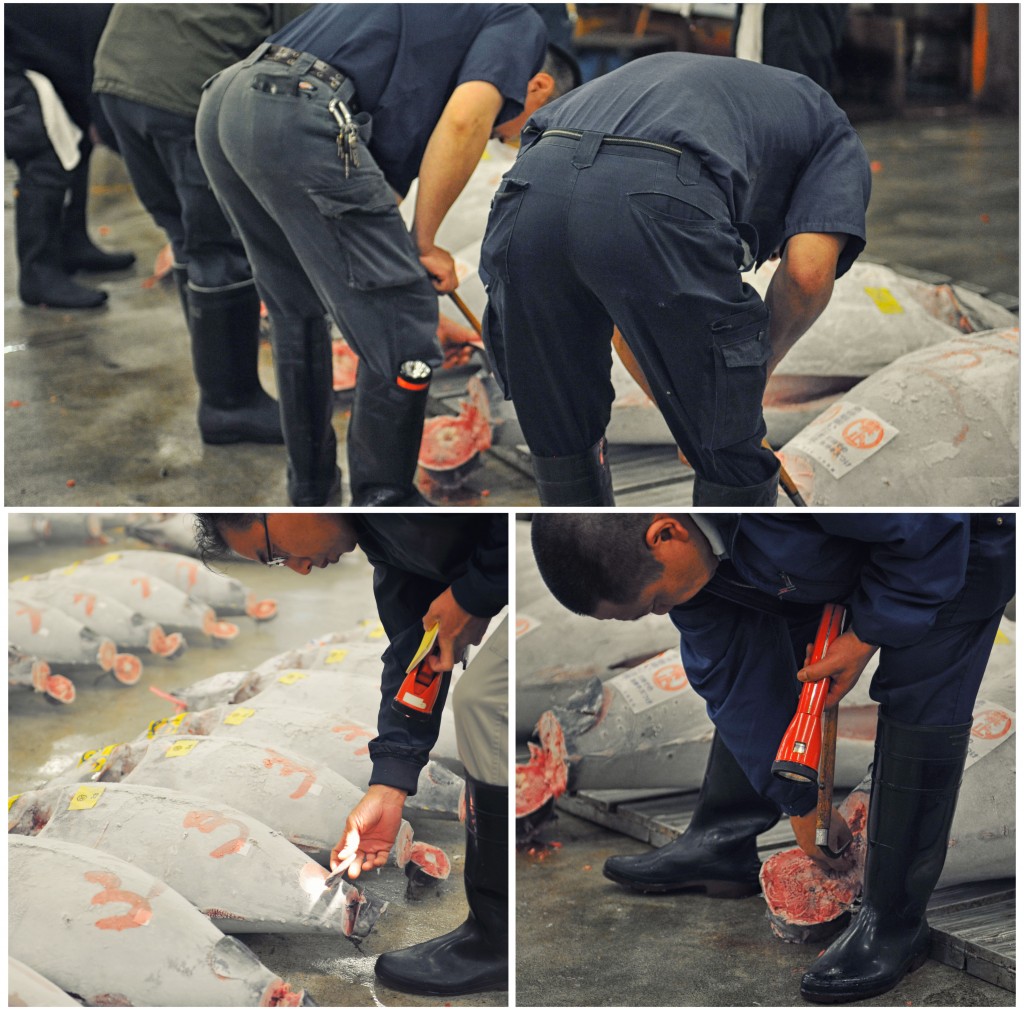
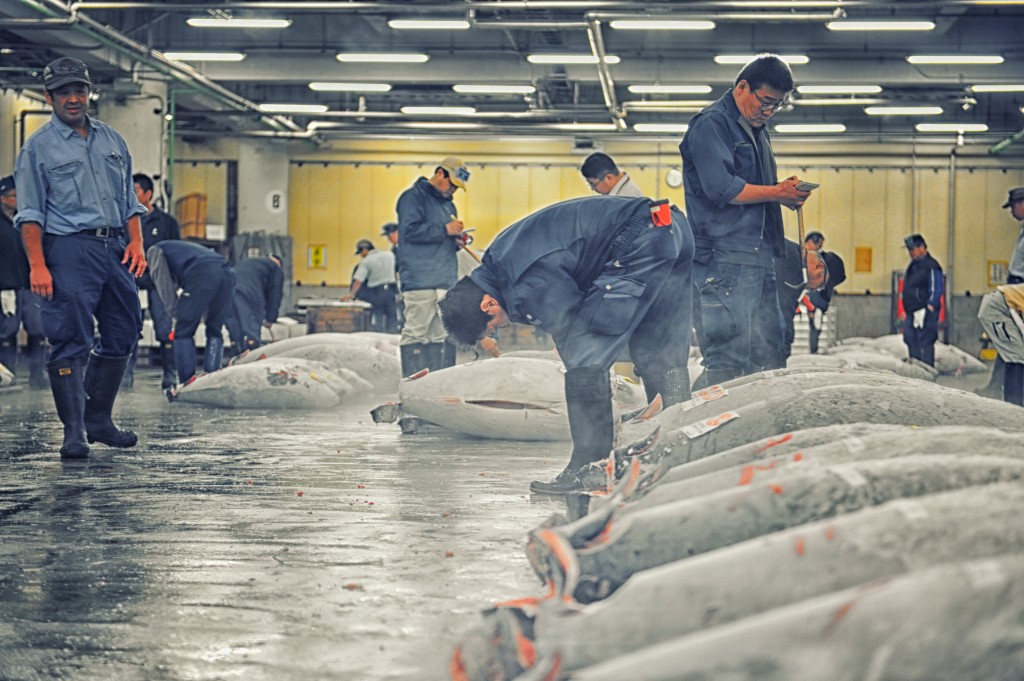
The gill-less and gutted tuna are prodded at, poked at and sampled by tuna expert guys that are expert at examining completely frozen tuna. These guys have figured out a way to take pick axes to the tail ends of the tuna and take a morsel out of it and gauge the quality of the sushi that will come of it. I don’t know how they do it but they were noshing on bits of frozen tuna at 5am and appeared to be enjoying it. I prefer a nice piece of toast and coffee in the morning myself but to each his own.
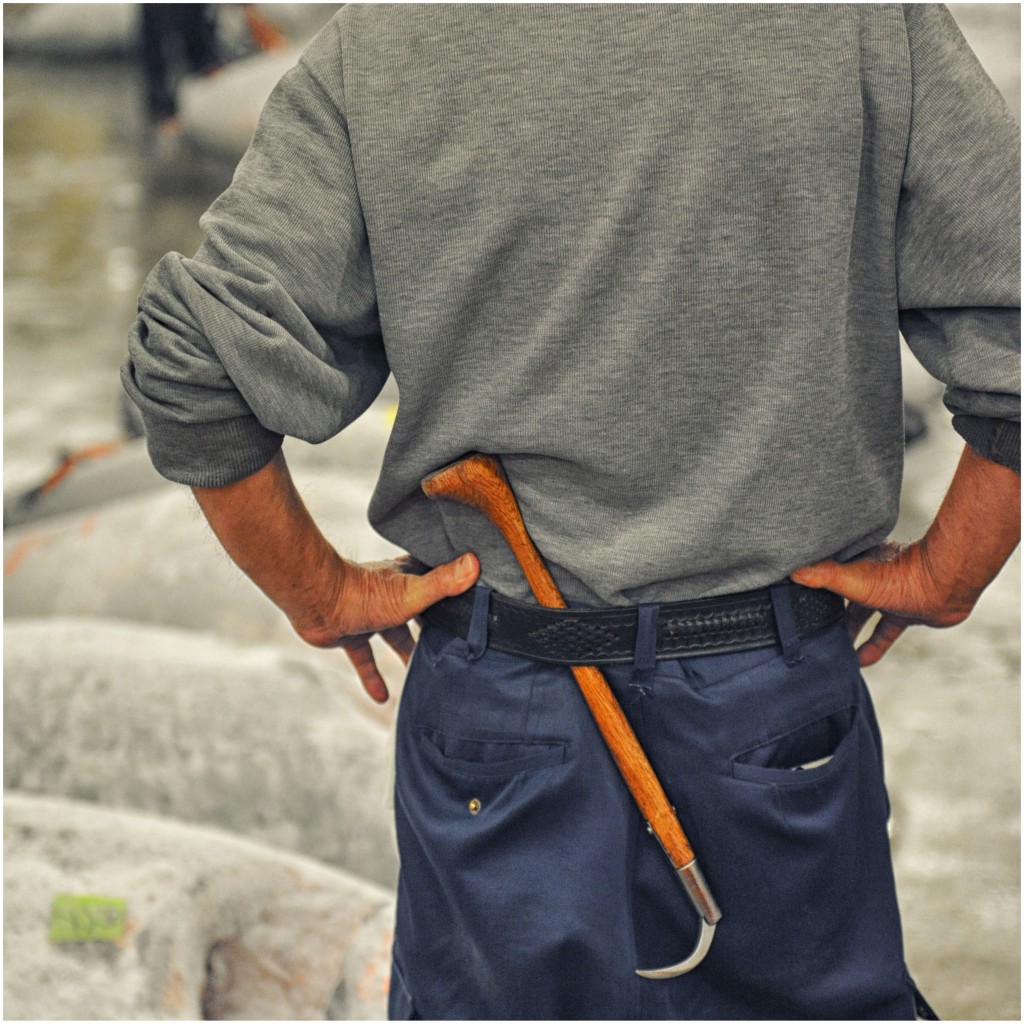
If you want to be a tuna auction guy in this market you will need a few things. One of those things is a pick axe, some rubber boots, a flashlight and a strong stomach. The tuna auction guys keep it simple and get the job done.
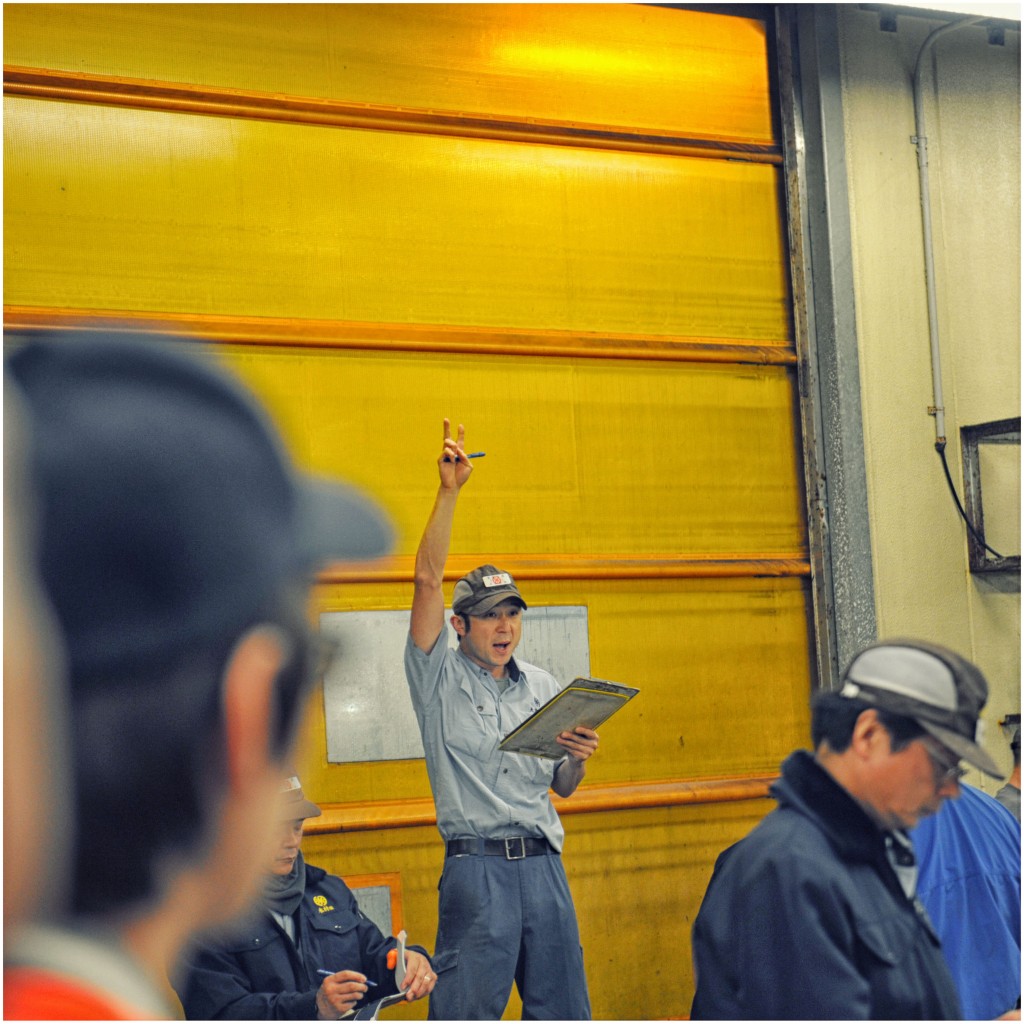
The hall seemed to get progressively more crowded and noisy as the minutes clicked by. When we entered at about 5:20 it was just guys testing the fish but in the next 10 minutes auctioneers came out of the wood work to score a deal. If I could have just gotten my hands on a million bucks or so I could have walked out of there with one of these tuna fishes.
Now you have to remember that the auction is all in Japanese, so you will not really know what the fish are selling for as the auction guy barks out things and auctioneers steadily raise the bids. You don’t here things like, “givemeda 4 givemeda 5, givemeda 5, givemeda 5, givemeda 5, givemeda5givemeda6, givemeda6, givemeda6…SOLD to the man in the rubber boots with the pick axe.”
The Tsujiki Fish Market is open almost every morning except Sundays and Holidays. Sometime tourist exhibit bad behavior by getting in the way or causing problems at the auction. Several times the market has banned tourist for periods of months to punish them and to show that they are serious about not having the tourist become a distraction. We were told to be extremely quiet and to not interfere with any of the business of the auction.
After these tuna are sold they are cut up in a separate room by a huge band saw. They typically cut it in quarters. After that it is shipped out to the finest Sushi restaurants in Japan and the rest of the world. Now you can actually get good Sushi in this market at some very famous locations but it was raining so hard we didn’t get the chance to do that.
The most surprising thing about this attraction in Japan is that it was completely free. Now, that is a pretty good deal.
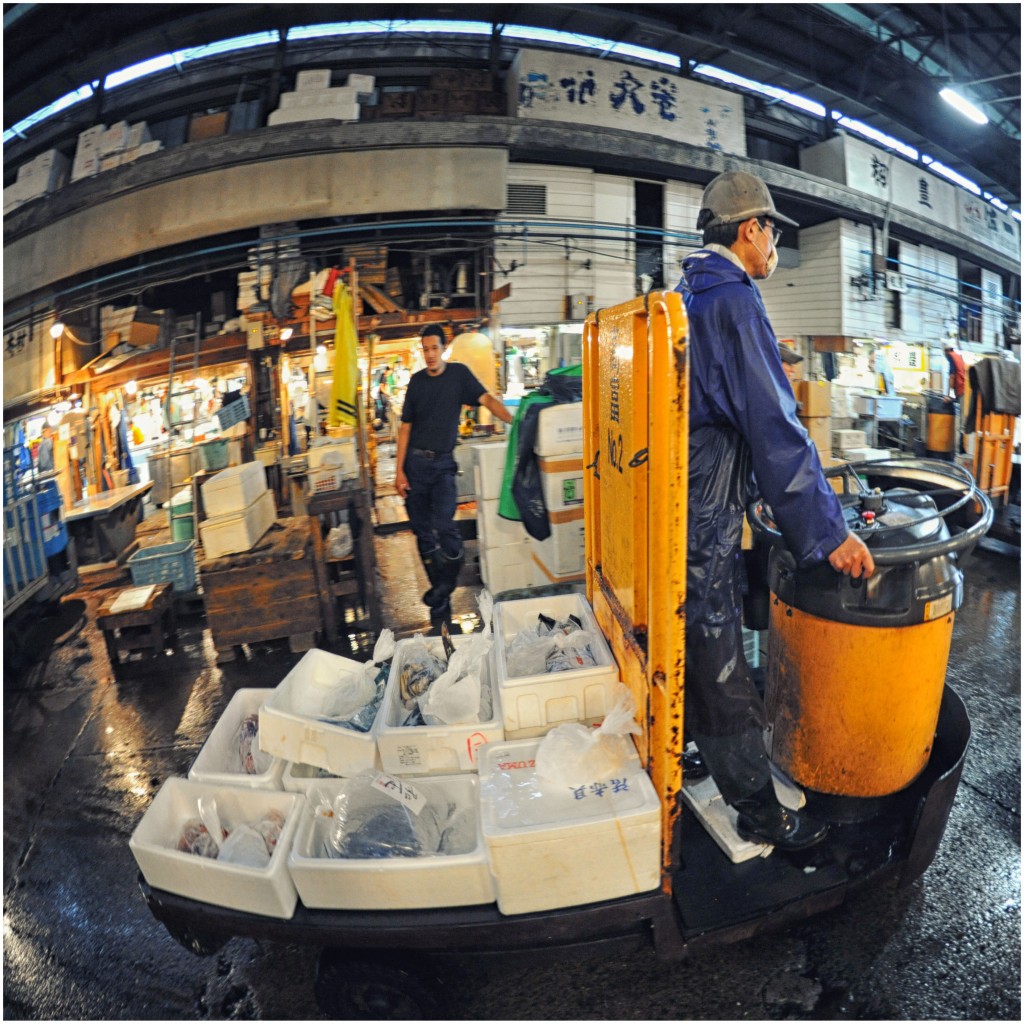
The fish market is abuzz with activity. There are fellas driving these sled carts everywhere carting fish on ice, big tuna and every other assortment of stuff that is served at Sushi restaurants. It’s no wonder this market sells about 600 billion yen and about 700,000 metric tons of seafood every year. This is the place where the market for fish prices is created. This is the center of all fish activity. Fish hate it but the rest of us love it.
If you’re going to Japan this is the place to check out. Do it on the first couple of days of your trip since you are still jet-lagged and getting up at 3:30 am is not a big deal since you’ll probably be awake anyway tossing and turning. You can get the train there (it’s the Hibaya Line) but we elected to take the taxi since we didn’t want to get lost. It cost about $35 to get the cab from Shinjuku but you catch the train for a few bucks. It can be some great fun checking out the Tsujiki Fish Market.

