5 Best Techniques to Get Better Bokeh and Depth of Field
Photographs where the subject is clear but the background is blurry and smooth (even creamy) are very esthetically pleasing. This phenomenon is known as “Bokeh” which refers to the out of focus areas of the image and many photographers attempt to achieve that Bokeh look in as many images as possible. The blurry background look even has another name which is called “shallow depth of field” since the photographer is attempting to make the subject stand out sharply against the blurry background.
An example of Bokeh can be seen in this shot where the bride is in focus, while the groom in the background is blurred out. This is just one example of the pleasing aesthetic of bokeh and blurry backgrounds.

Bokeh draws the eye to the subject in the photo.
In this post, I will give you 5 techniques that you can try to achieve that blurry background effect. These are things I do just about everyday with my camera.
Technique 1 – Set up your camera to Aperture Priority or Manual Mode
The best technique of all to get better Bokeh is to use the camera in Aperture Priority Mode. To get more Bokeh in you photos you have to use a very low aperture setting in your camera. To control the aperture correctly you need to take your camera off of Automatic or Picture mode and set it to Aperture Priority or Manual Mode.
I prefer to set my camera to Aperture Priority Mode and then dial the aperture back to the absolute lowest setting I can. Here is a quick guide on how to change to Aperture Priority Mode on most cameras. How to use Aperture Priority Mode on your DLSR. Because I love bokeh in my pictures so much I now actually leave my camera in Aperture Priority Mode all of the time and adjust the aperture setting to the level of blur that I want in my pictures.
1) Your lens will dictate how low you can go.
One of the most important things to consider when attempting to get better Bokeh is if your lens will actually deliver it. While there are techniques you can use to get Bokeh from almost any lens, certain lenses will give you better bokeh than others.
There is a number that you should pay attention to on your lens. And that is your lens speed. The lens speed number is often indicated on the lens itself and usually is preceded by an F. The lower the number, the better. So for example if you are using the Nikon 85 mm F.1.4 you have a great Bokeh lens. If you are using say the Vivitar 500MM f/8 you probably have a poorer bokeh lens because the speed of the lens is much lower.
The good rule of thumb when buying a lens for better Bokeh is that if the number is 2.8 or less you have a pretty good lens for Bokeh, if its higher the Bokeh might not be as good. Another good rule of thumb is the fact that Prime lenses are constructed to give better Bokeh than non-prime. You can usually tell the prime lenses because they are more expensive. So the more expensive the lens, the better the Bokeh.
This is the Nikkor 85MM F/1.4. I paid a lot for this lens but I believe it is the best Bokeh lens that you can buy for Nikon.

The Nikon 85mm is perhaps the most Bokehlicious Lens in the World. Check out the creamy bokeh it delivers in this portrait picture of Tu.

2) The more light the better
Good lighting in the background is very important to getting good bokeh. In fact the more the background has interesting and good lighting the better your bokeh will be. Here is an excellent article on how to use Christmas lights to achieve some stunning bokeh results. Using Christmas Lights for Stunning Bokeh Shots.
Photo Courtesy of Ryan Anger Flickr

The Oakland Bay Bridge Lights created a nice backdrop with this shallow depth of field.

3) Choose your focus point
It’s important to set the focus point manually and not just let the camera choose the focus point for you. The camera may choose to focus on the background and not the subject in which case you will get reverse Bokeh which is when the subject is blurry and the background is clear. That’s not what you want.
Technique 2 – Get close, Get really close
The second technique for better Bokeh is to get very close to your subject. I like to use this technique for portraits or even when I am taking pictures of something very small. I position my camera to get very close the person and then snap away. The important thing to remember is that you need to at least be further from the subject than the minimum focal distance of the lens itself. If you get too close than the whole image will be blurry.
To get the best result here you should make sure that the background is well lit. If the background is dark then this technique may not really work effectively.
Getting close up to Tu in this shot made for a nice depth of field effect.

For this shot, I got very close to the mother kissing her babies feet. Then I chose the focus point of the camera on the feet. Good Bokeh can create intimacy in a photo if done correctly.

Technique 3 – Fully extend your zoom lens
Do you ever seen wedding photographers shooting with these massively long lenses with their bride and groom 40 or 50 feet away? Many wedding photographers and portrait photographers prefer to shoot with large zoom lenses and then use a technique of lens compression to get nice bokeh around their subjects.
You can achieve great depth of field with Lens Compression by using the same basic techniques as these wedding photographers. First position your subject far from you. Then back up and zoom your lens as far as it can while putting the subject in focus. With the lens zoomed all the way out, you will achieve a nice Bokeh if you have good separation between the subject and the background. Extending lenses is a time tested technique used by many pros.
This is the Nikkor 70-200mm f/2.8 which is used by many wedding photographers. It gives a great creamy Bokeh effect when you use the lens compression technique.

Technique 4 – Separate your subject from the background
If your having trouble getting a nice Bokeh in a picture you have to remember that you need to create a separation between your subject and the background. To obtain the shallow depth of field that you are trying to achieve you need to make sure that there is at least 10 feet of separation between the subject and the background. You can’t achieve good bokeh in a picture if the subject is standing against a wall.
To get the shallow depth of field in this shot I needed to make sure Eoin was positioned much closer to me than the background. The effect was a creamy background and a sharp portrait.

Technique 5 – Put something in the Foreground of the picture
Another technique that I like to use when I am trying to get a nice depth of field is to use a wall or tree or something to obscure a portion of the picture. This allows me to have part of the foreground blurry with my subject in the distance. The effect can look quite artistic and pleasant.
For this shot I pretty much pressed my camera up against the fence making sure that about 30% of the foreground was out of focus. I selected my focus point of this orphan from Vietnam and the result came out nice.


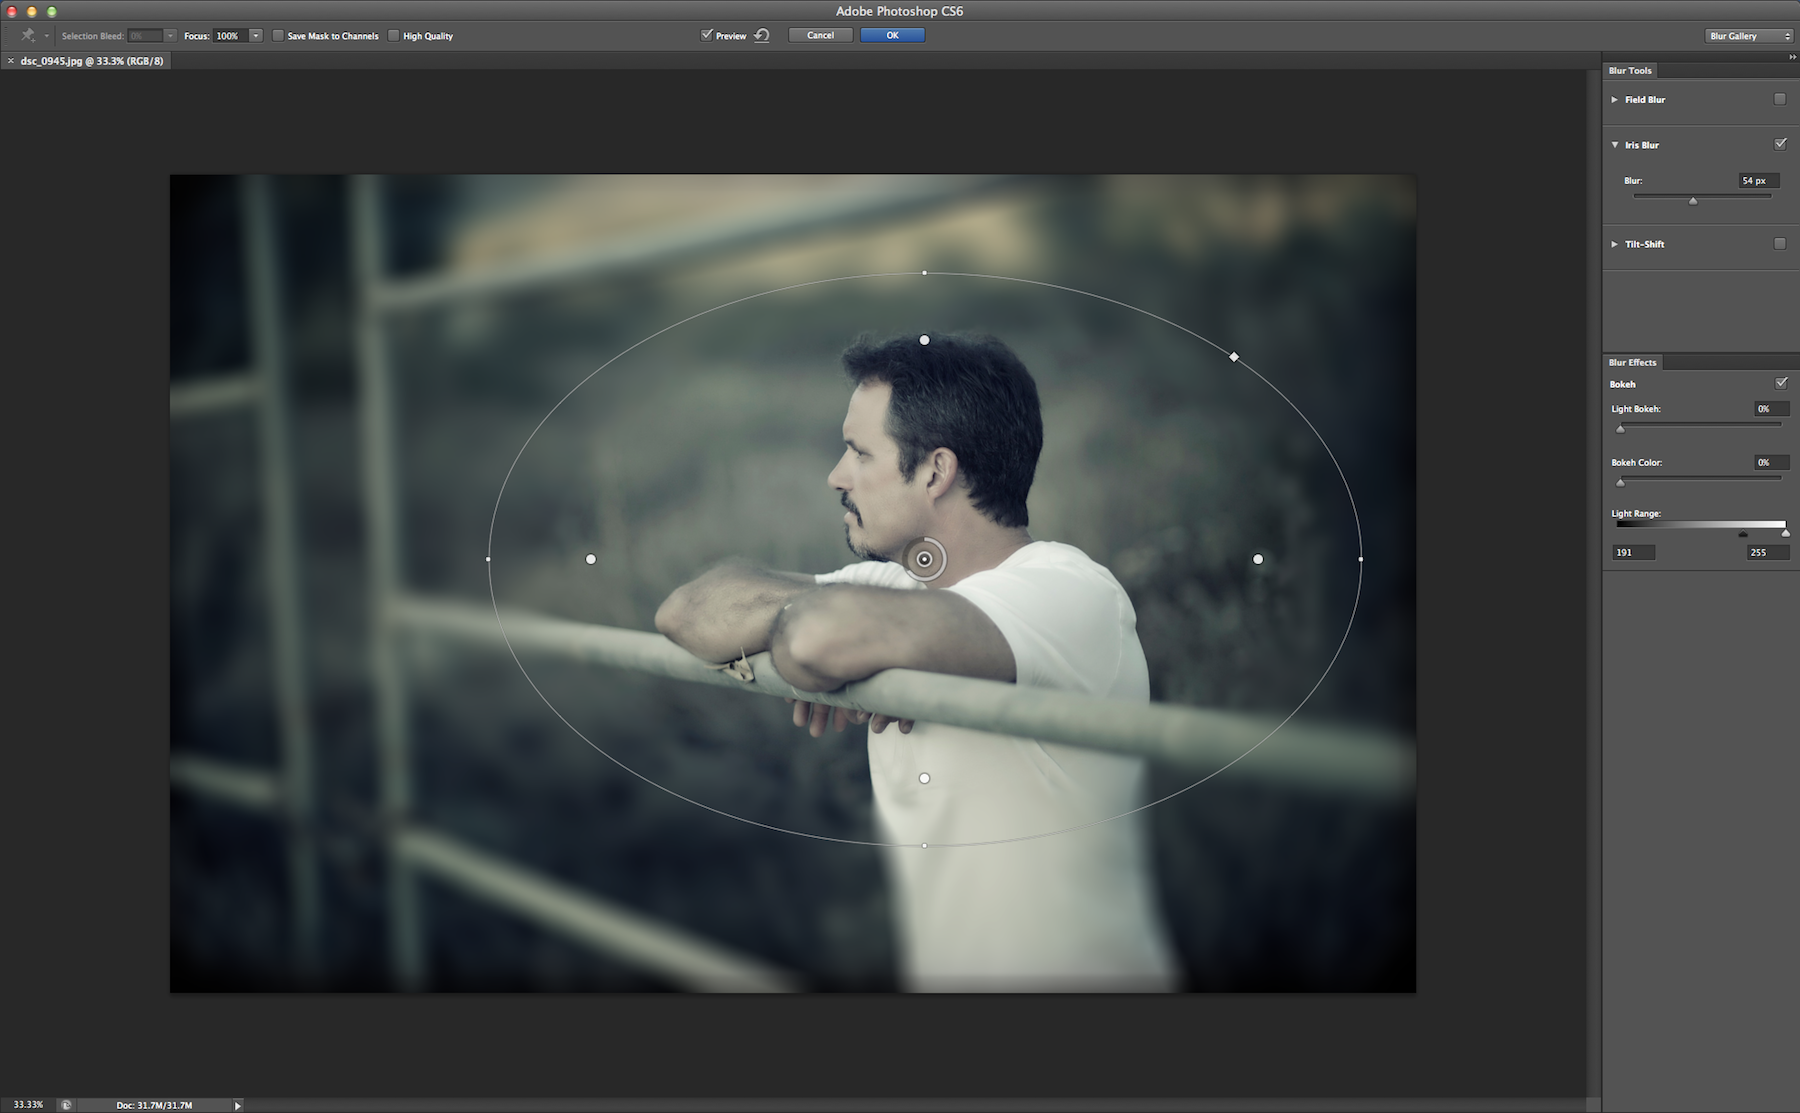
Technique 6 – Create Bokeh with Photoshop
When all else fails you can manufacture depth of field with Photoshop. With the latest version Photoshop CS6 they make it so easy. The easiest technique is to use the blur tool and choose the option of either Iris Blur or Tilt Shift Blur. In about 10 seconds you can have a photo that has some pretty good depth of field even if your photo was otherwise completely sharp. The effect can look nice regardless of how well it comes out.
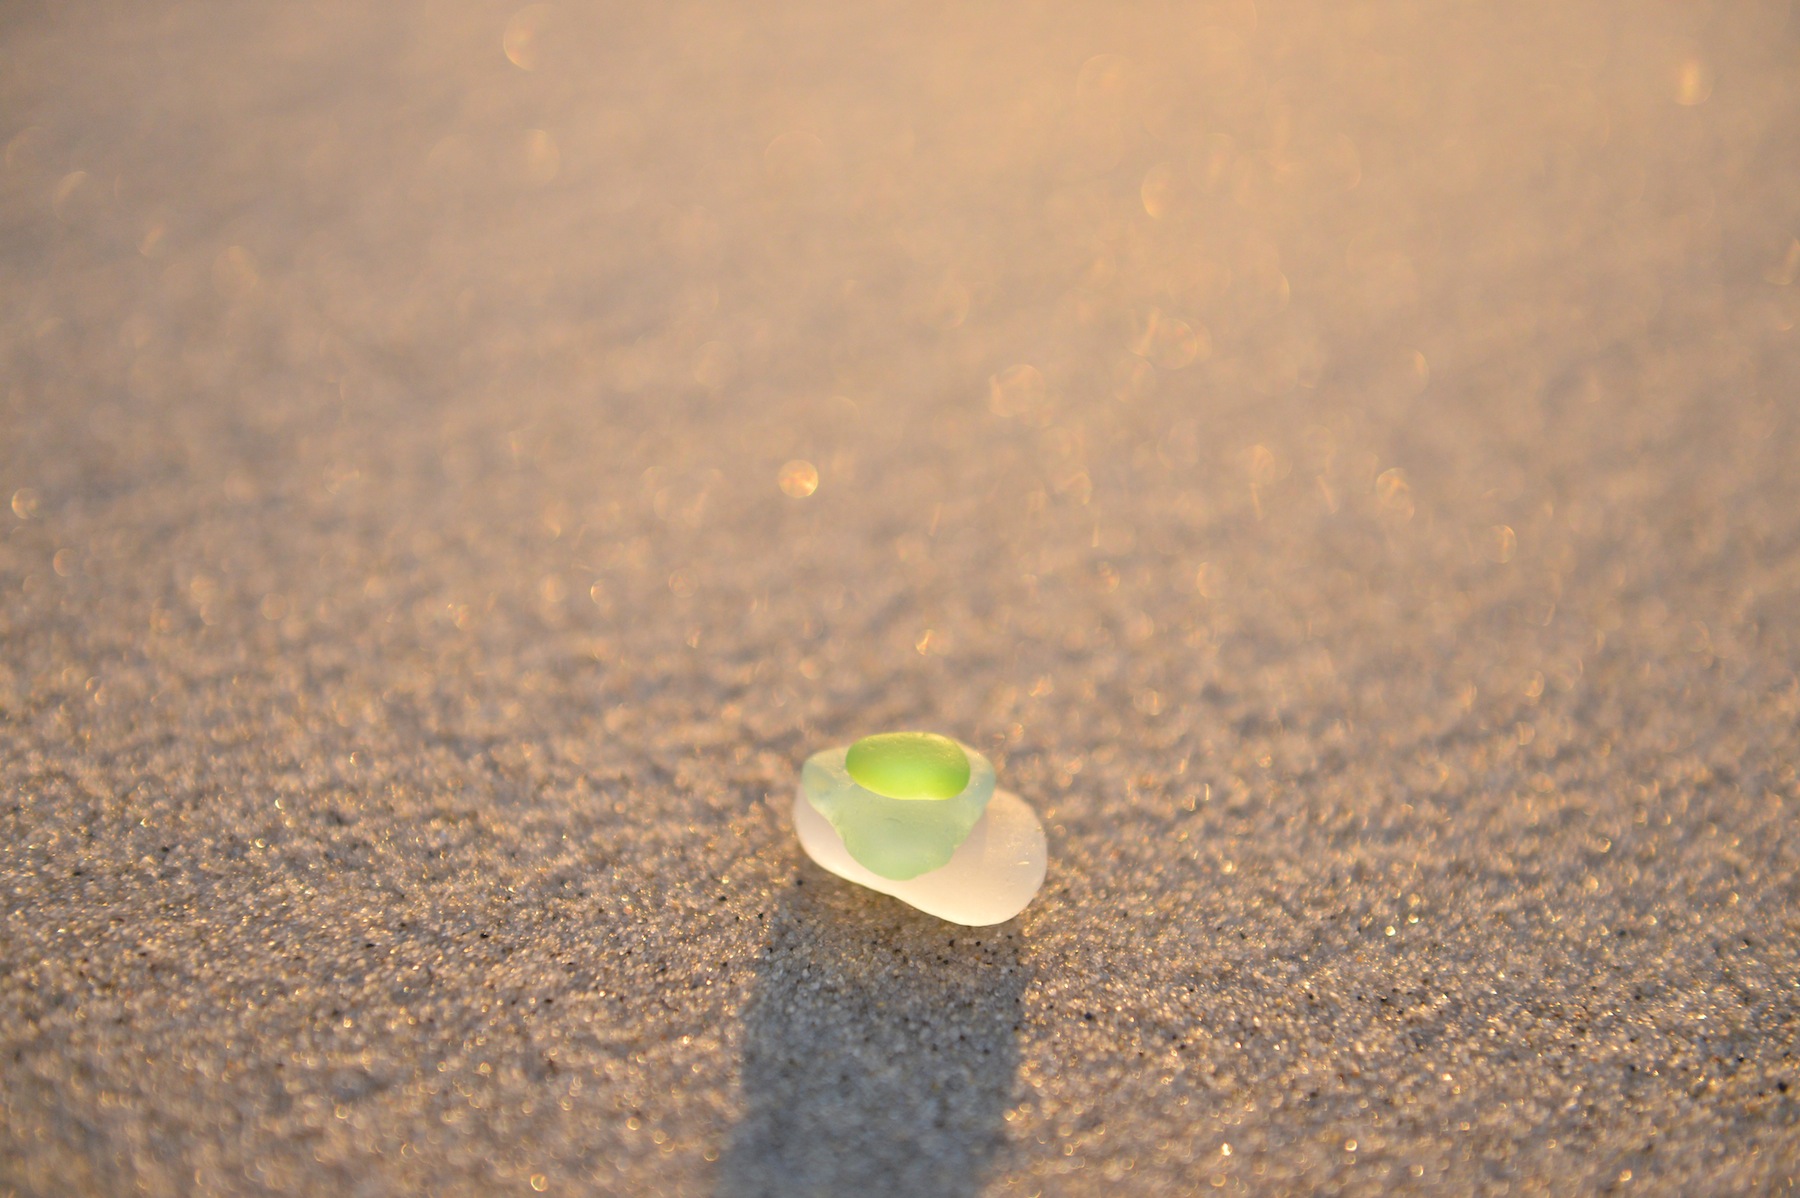
In this photo I applied the Tilt Shift effect to this picture of Sea Glass and I was able to achieve a nice depth of field on the picture.
Experiment and try different combinations
In the end, achieving good bokeh is kind of a hit or miss experiment. If you know the things you can control such as camera settings, lens choice, composition and the subjects position relative to you and the background than you can fully control the Bokeh and depth of field for each picture. In a rapidly moving setting achieving this is super difficult and you can end up with a lot of bad pictures or a completely awesome picture.
My recommendation is to experiment in all types of settings with all of the techniques in this blog post. If you have any questions, you can email me at [email protected]. Thanks for reading and happy photograph hunting.
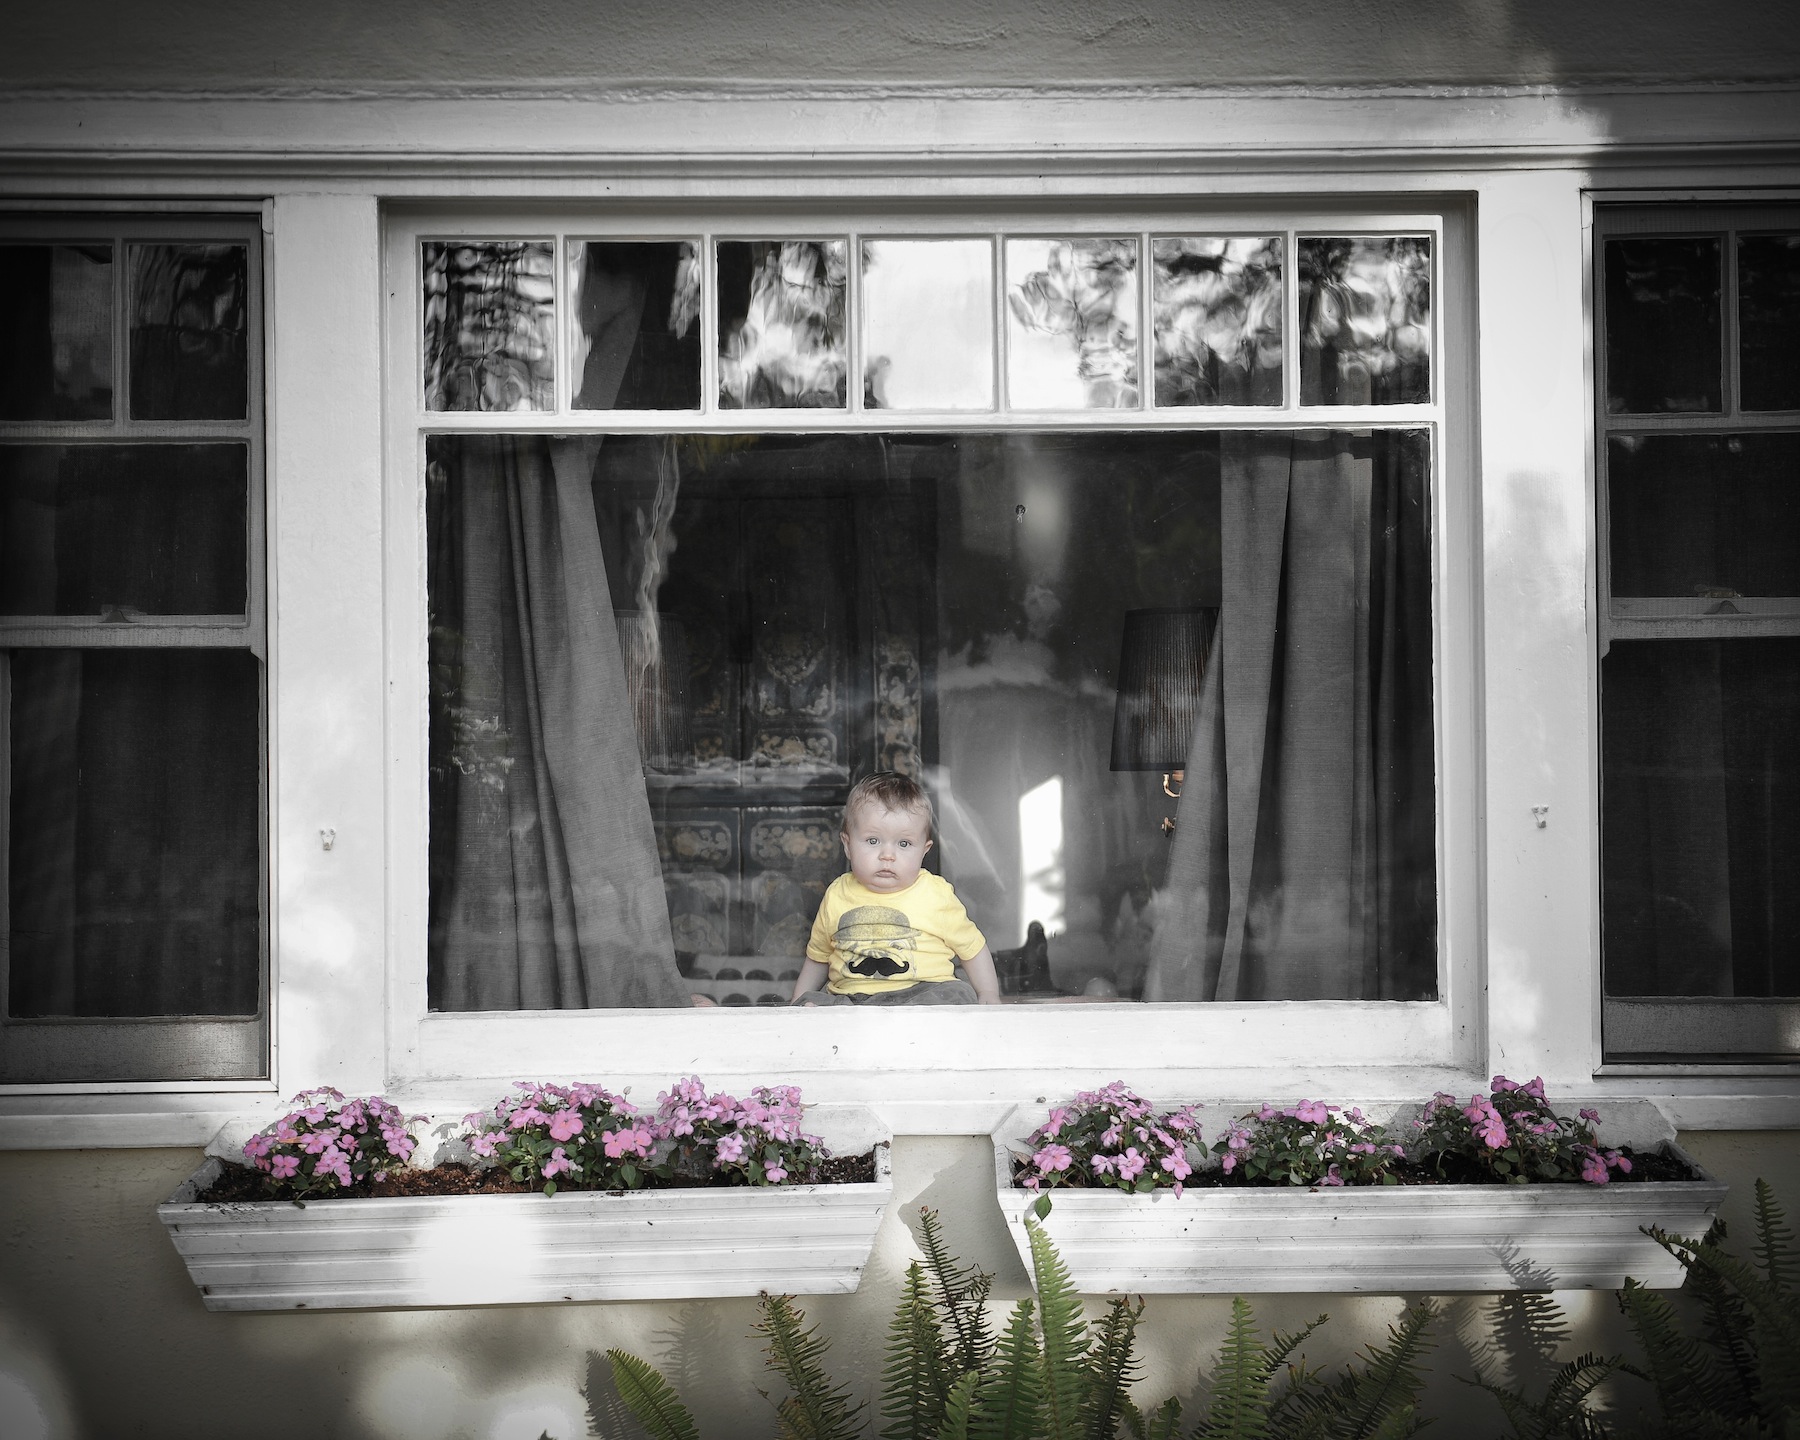
Waiting for Mom to Come Home
Poor Little John. He wanted to see his mom so he sat by the window for hours just looking out and wondering when she would come home.
She did come home about 30 minutes later and came rushing in the house to see him. Little John was happy to see her too.
There are Exactly Zero Fishes Caught at Ocean Beach Pier
One Man, Two Poles, Zero Fish. That was the theme of the afternoon and the scene on Ocean Beach Pier as Danny tirelessly put bait on fishing poles only to have it nibbled off by tiny fishy’s that had no intention of being caught.
But it was fun and that was what mattered. In fact the fish bites were so slow that we left the poles in the water, had lunch, came back and the poles were just as we had left them minus the bait which had been nibbled off of course. You can check out all the pictures of the afternoon here at this link – Day at the Pier.
Besides feeding the fishes, Geno had a big Slurpee. He loves his Slurpees.

And Eoin taught us how to do the crab walk which was helpful actually.
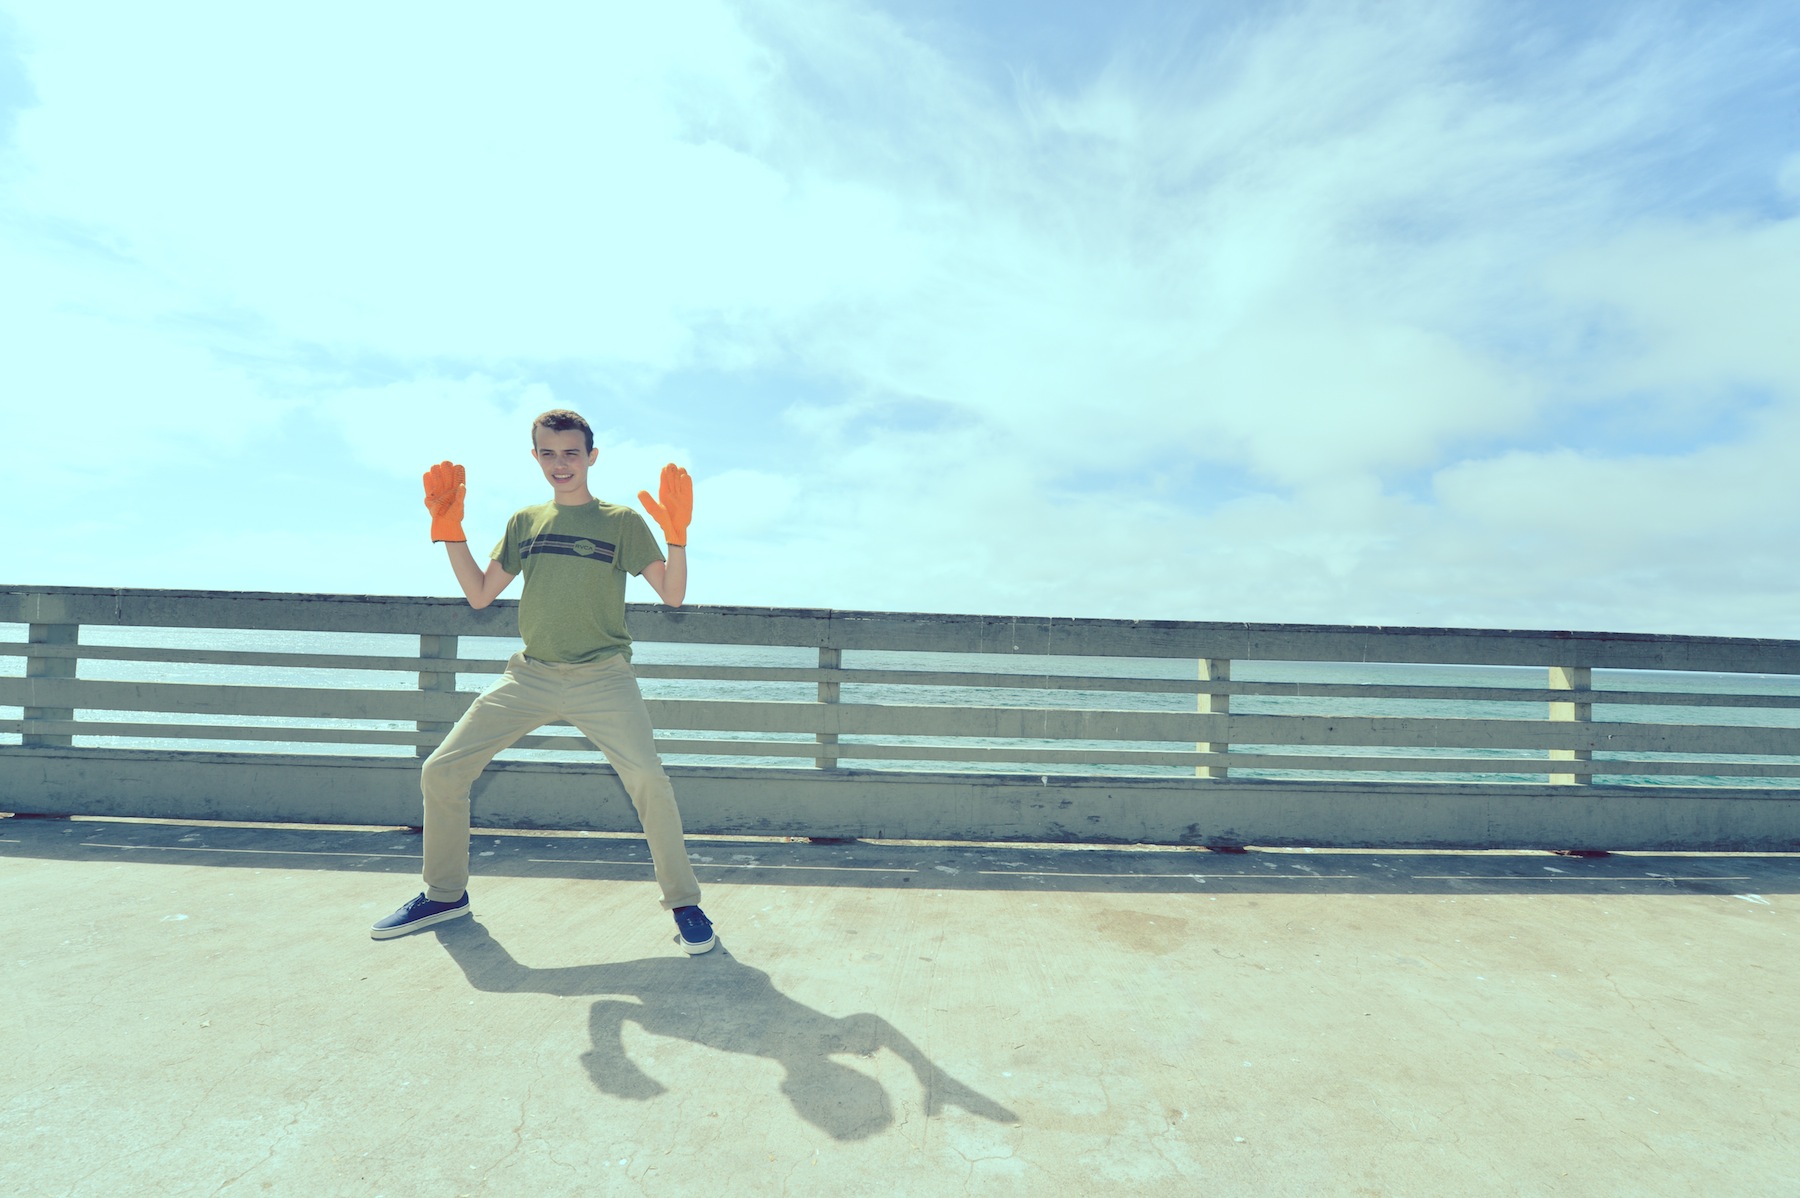
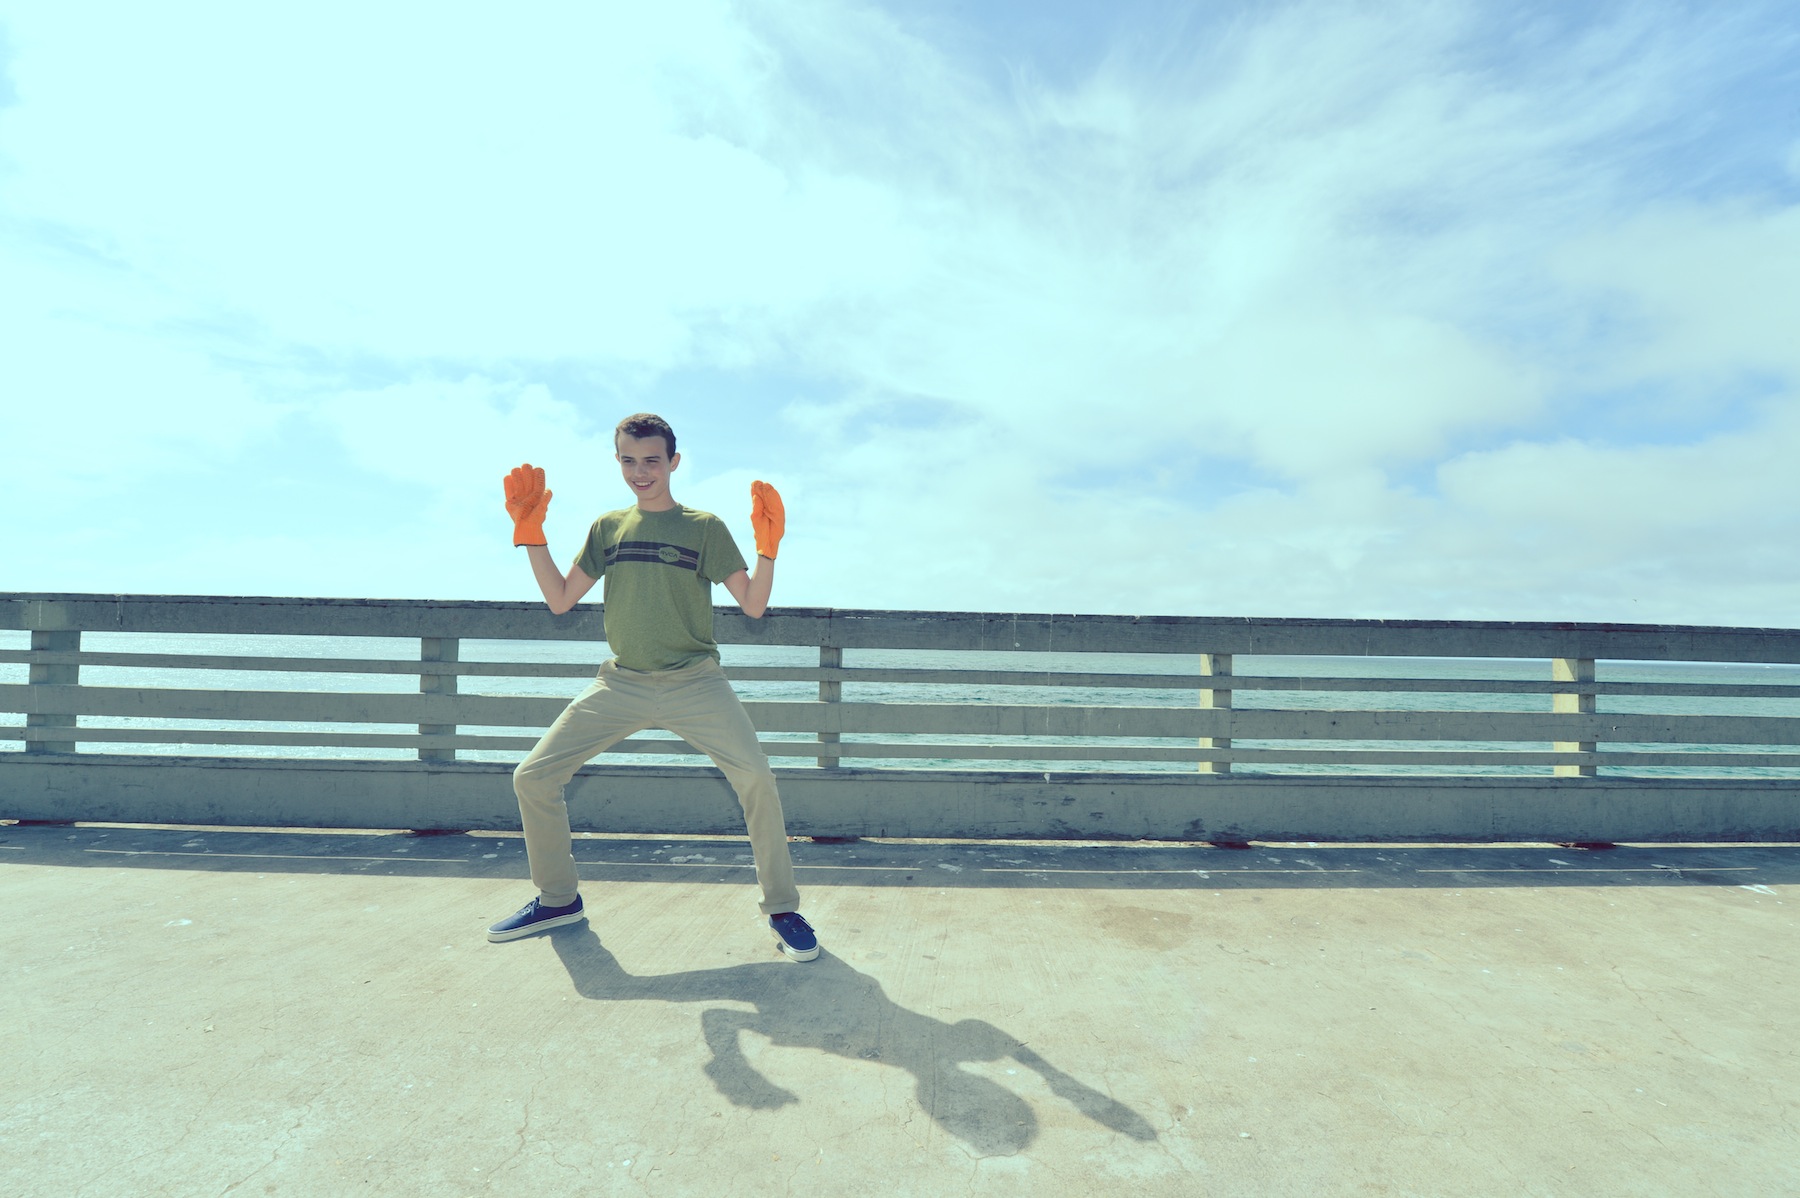
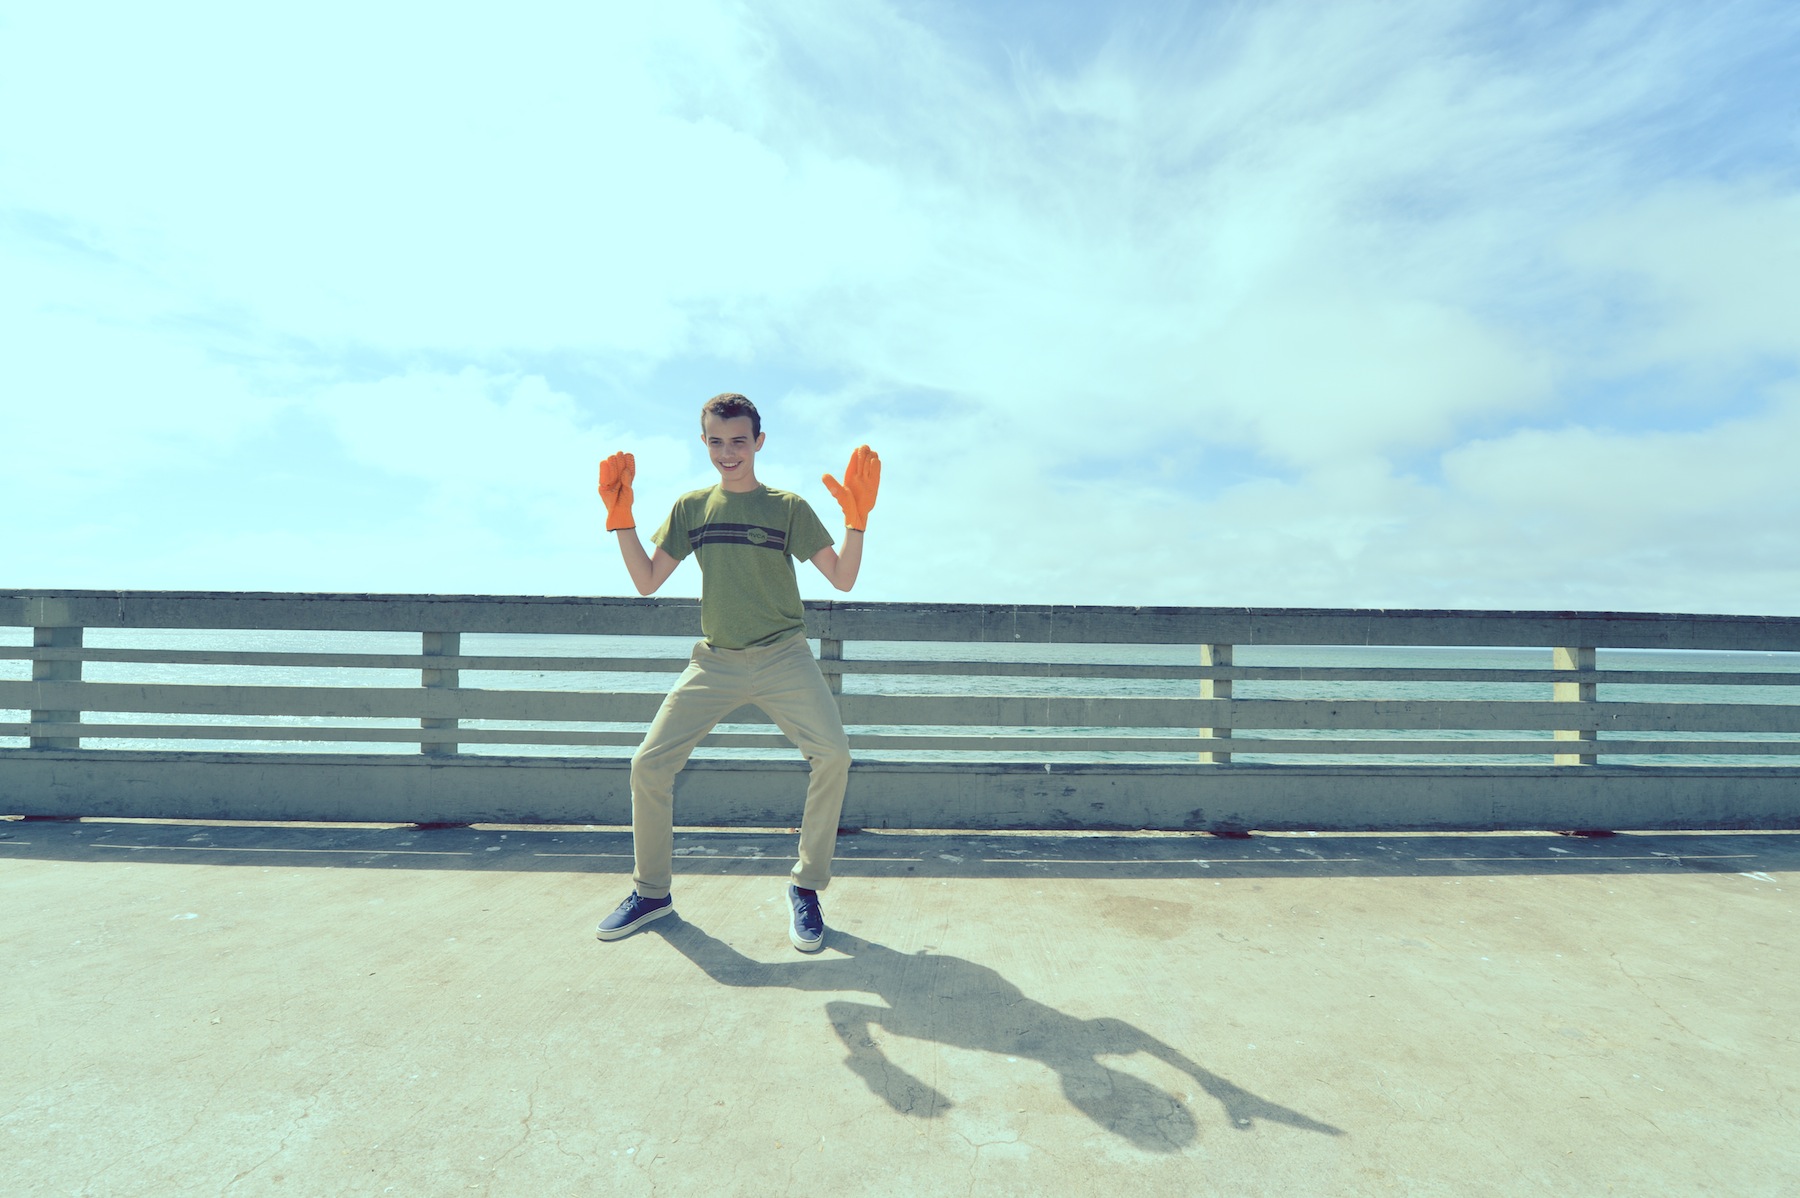
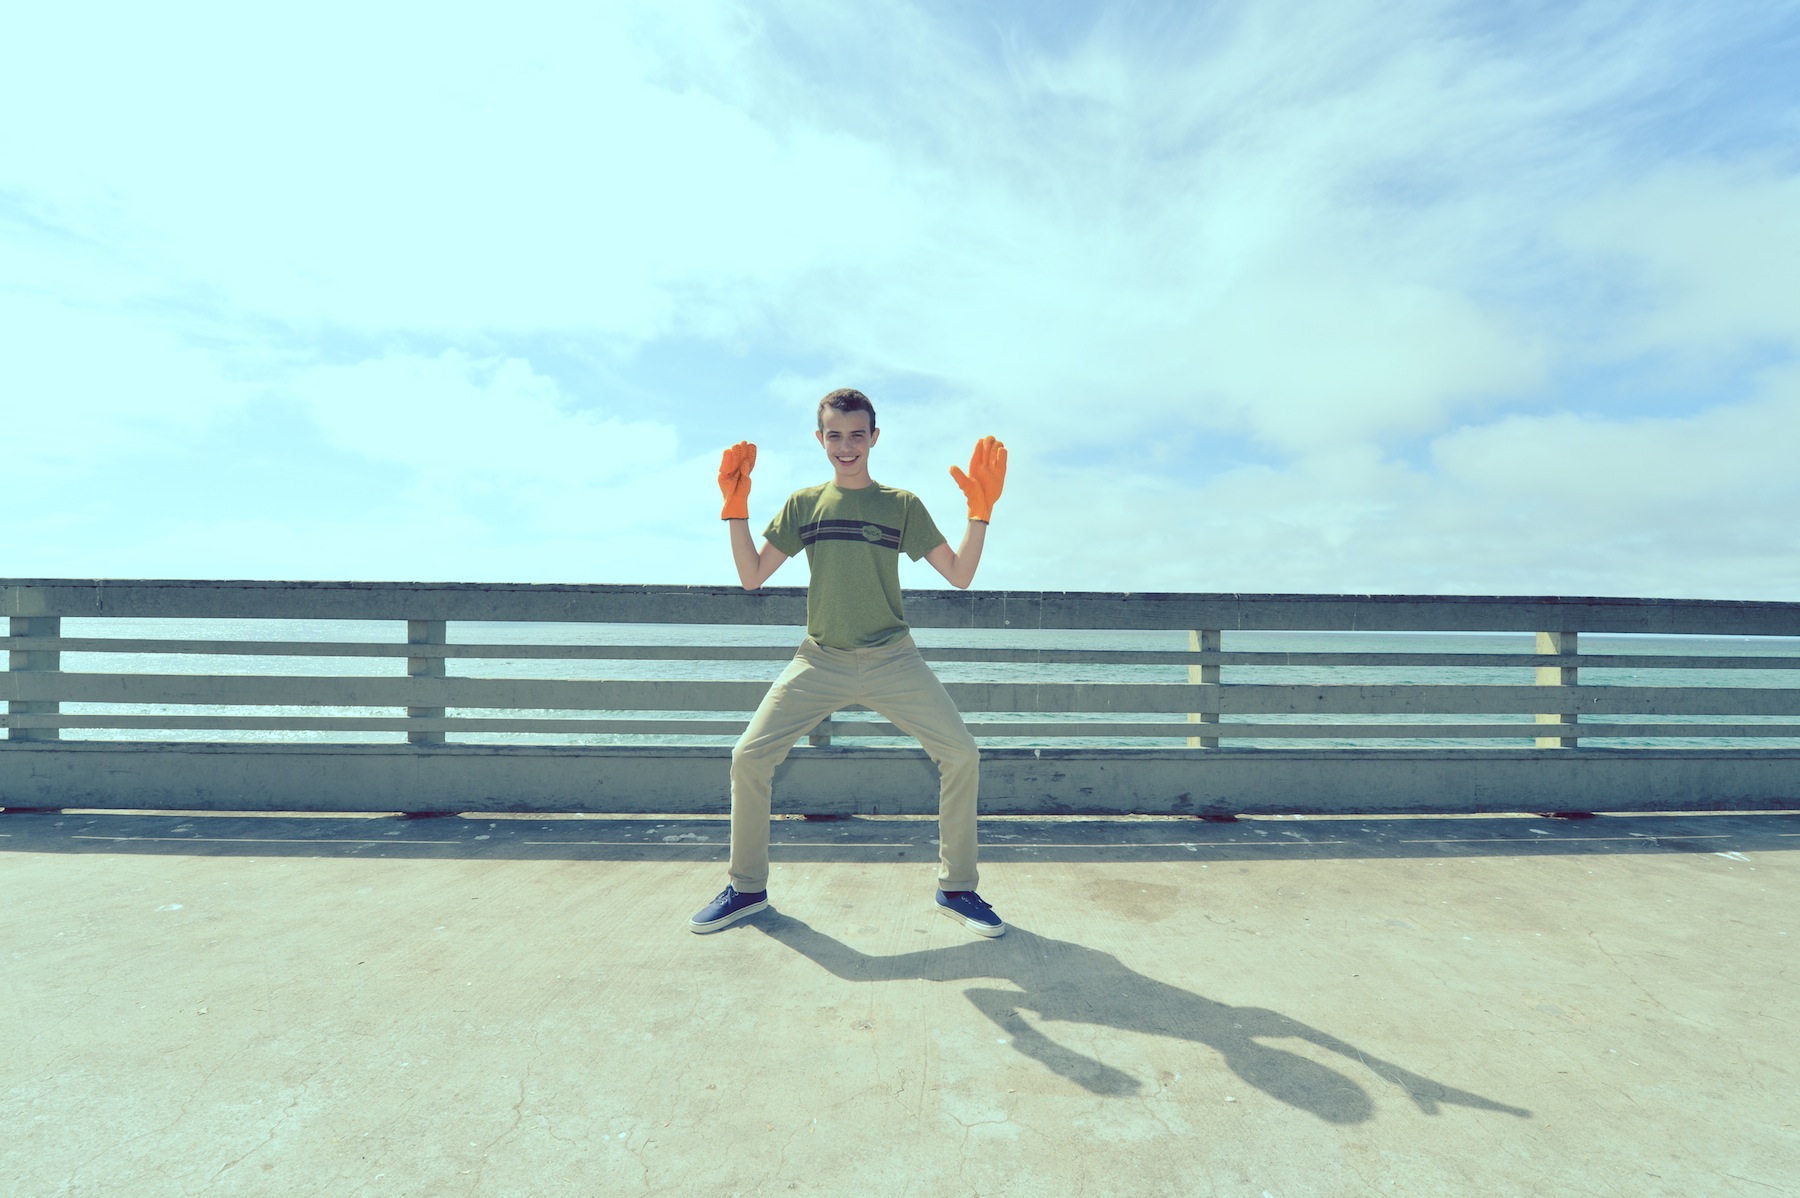
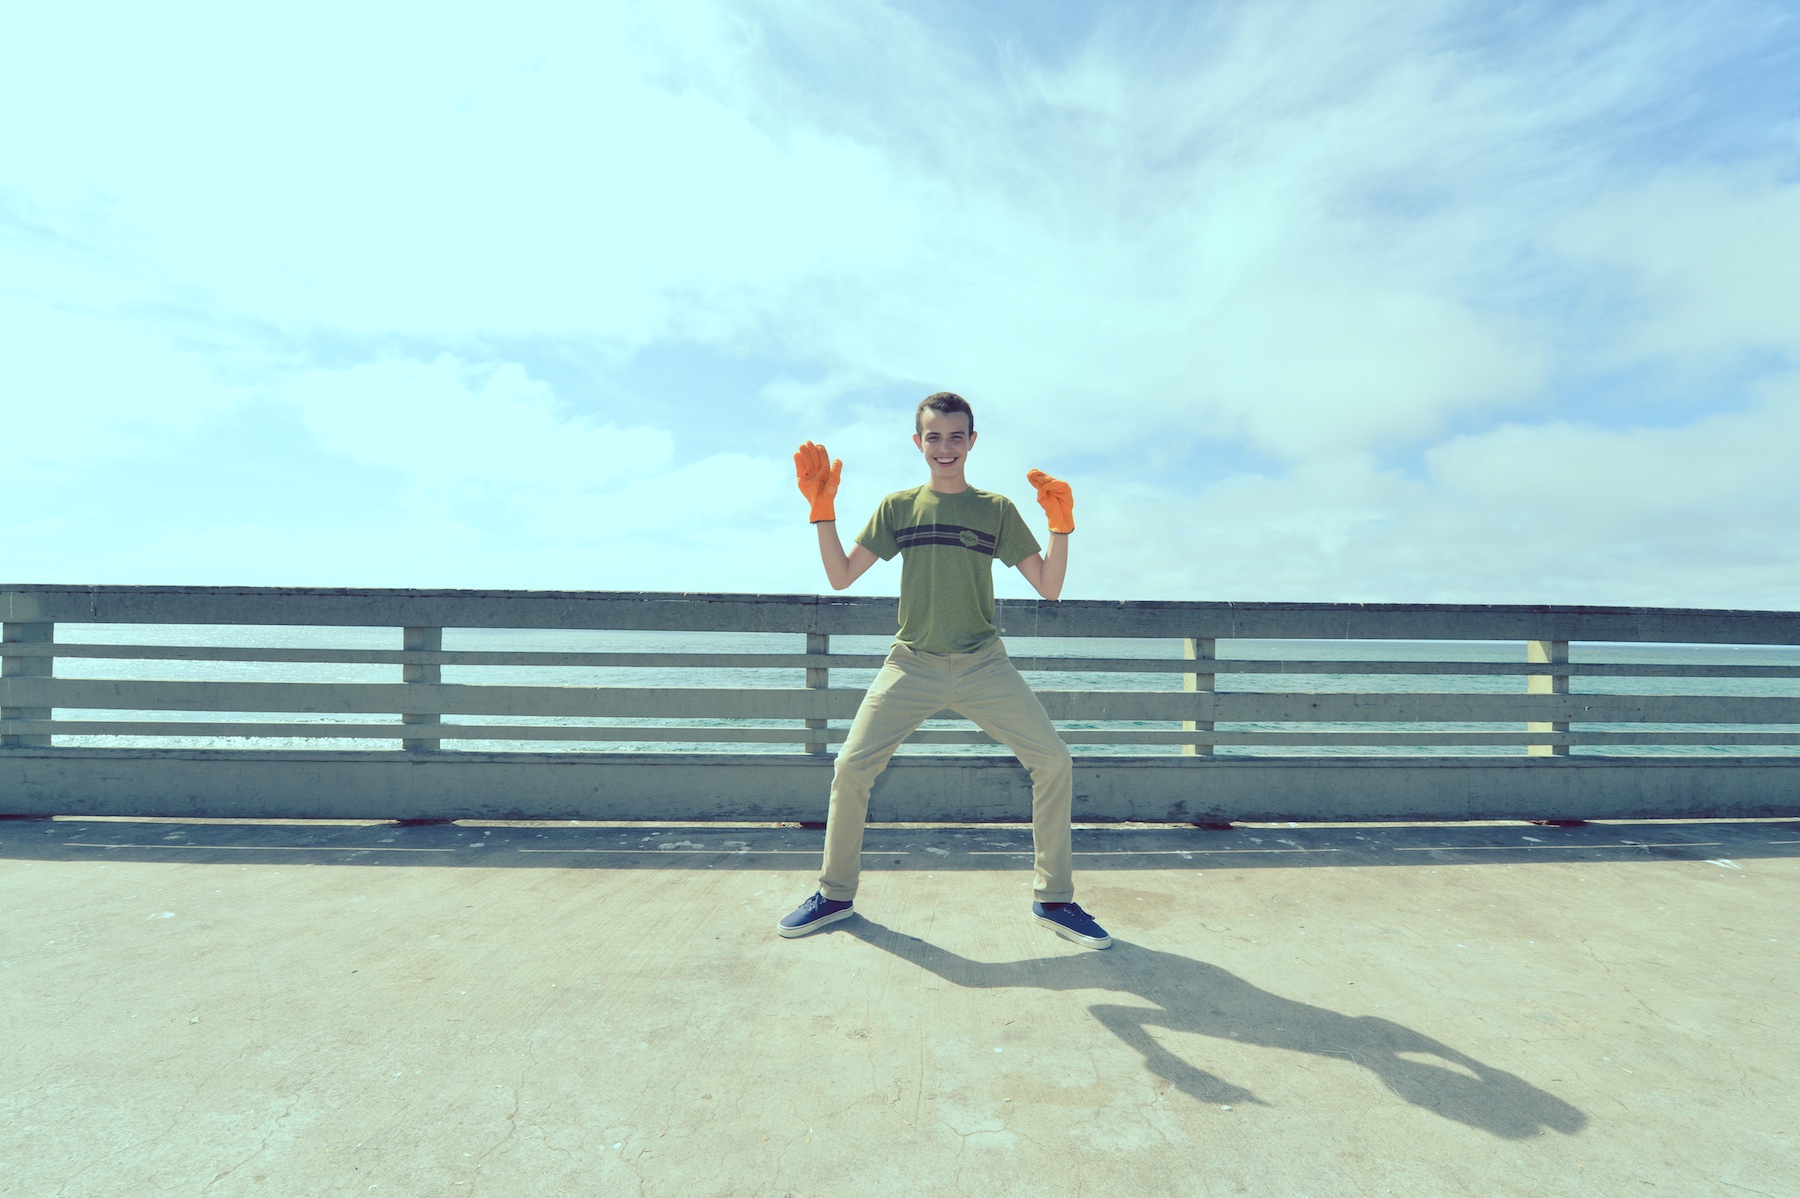
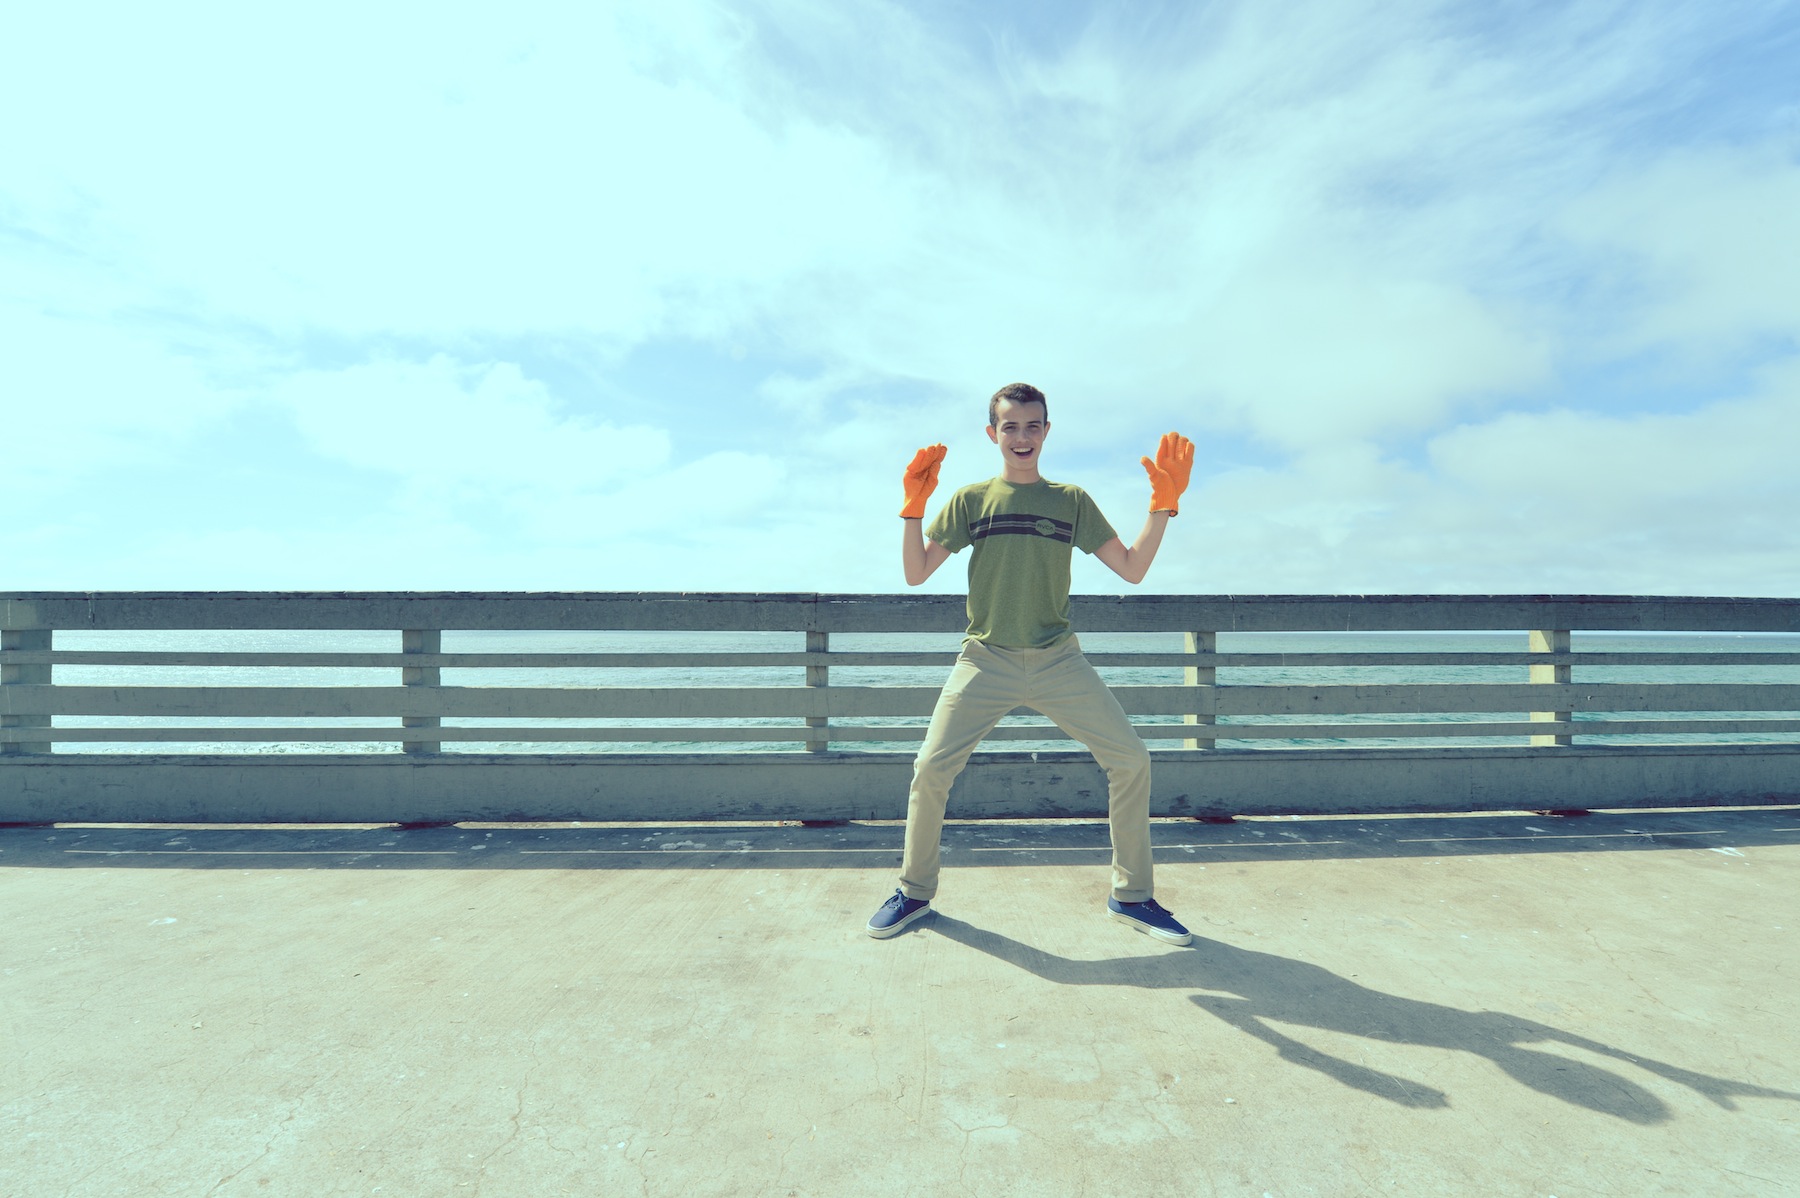
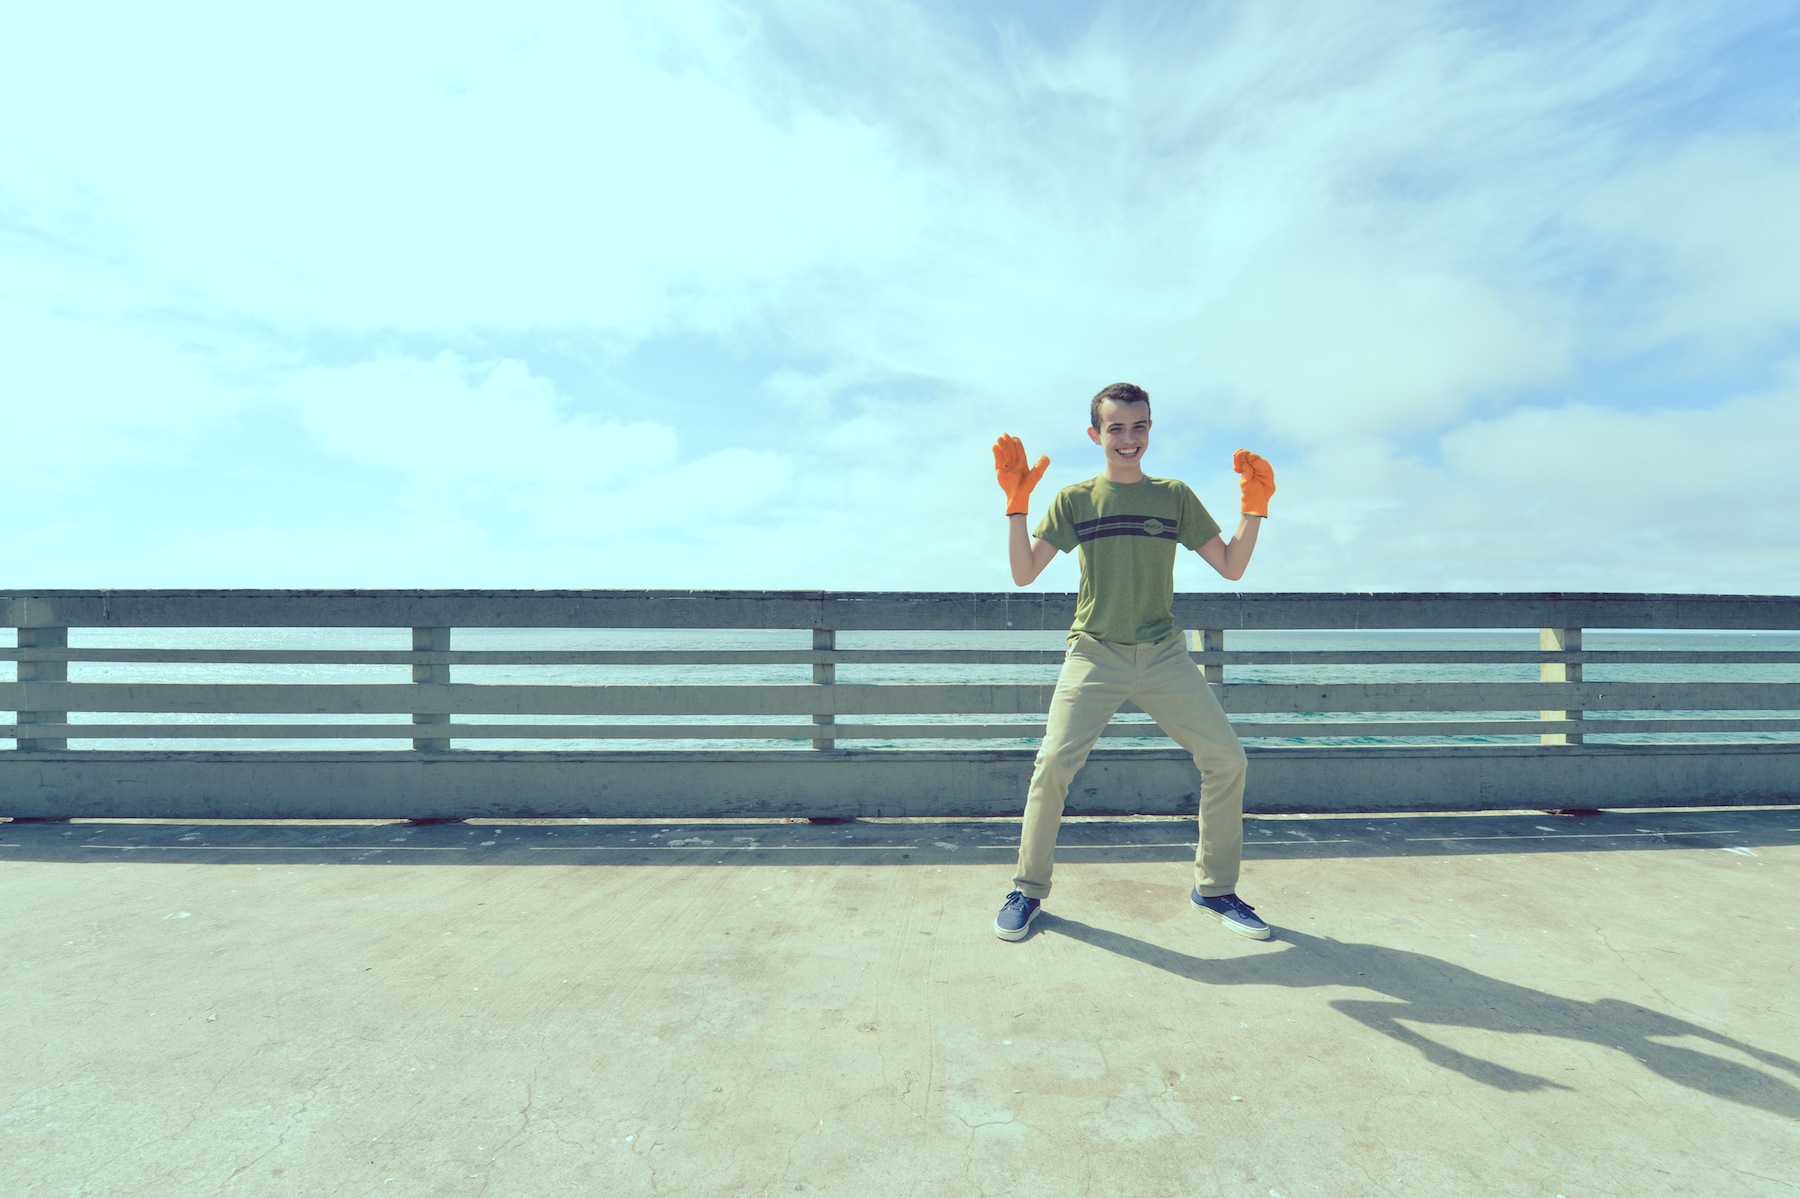
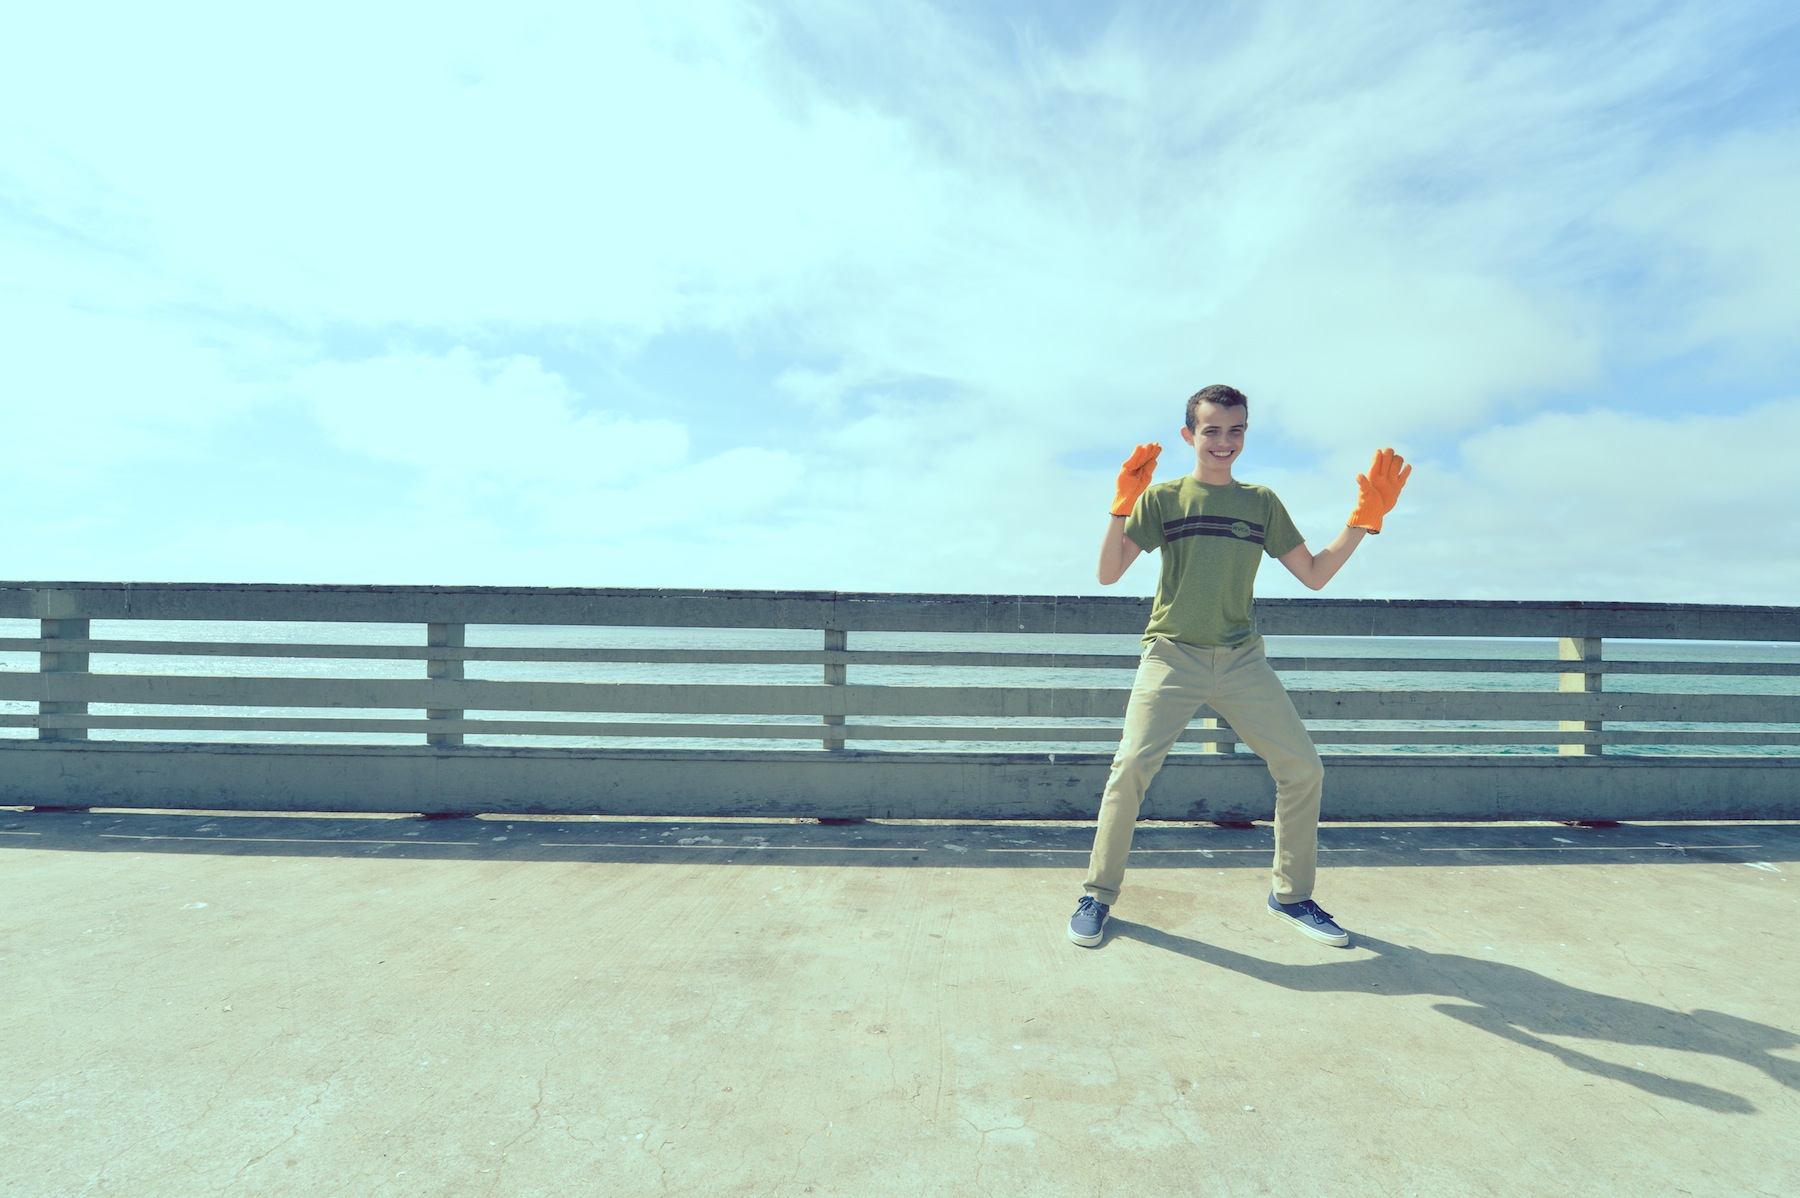
And of course there was Happy Hands Too.

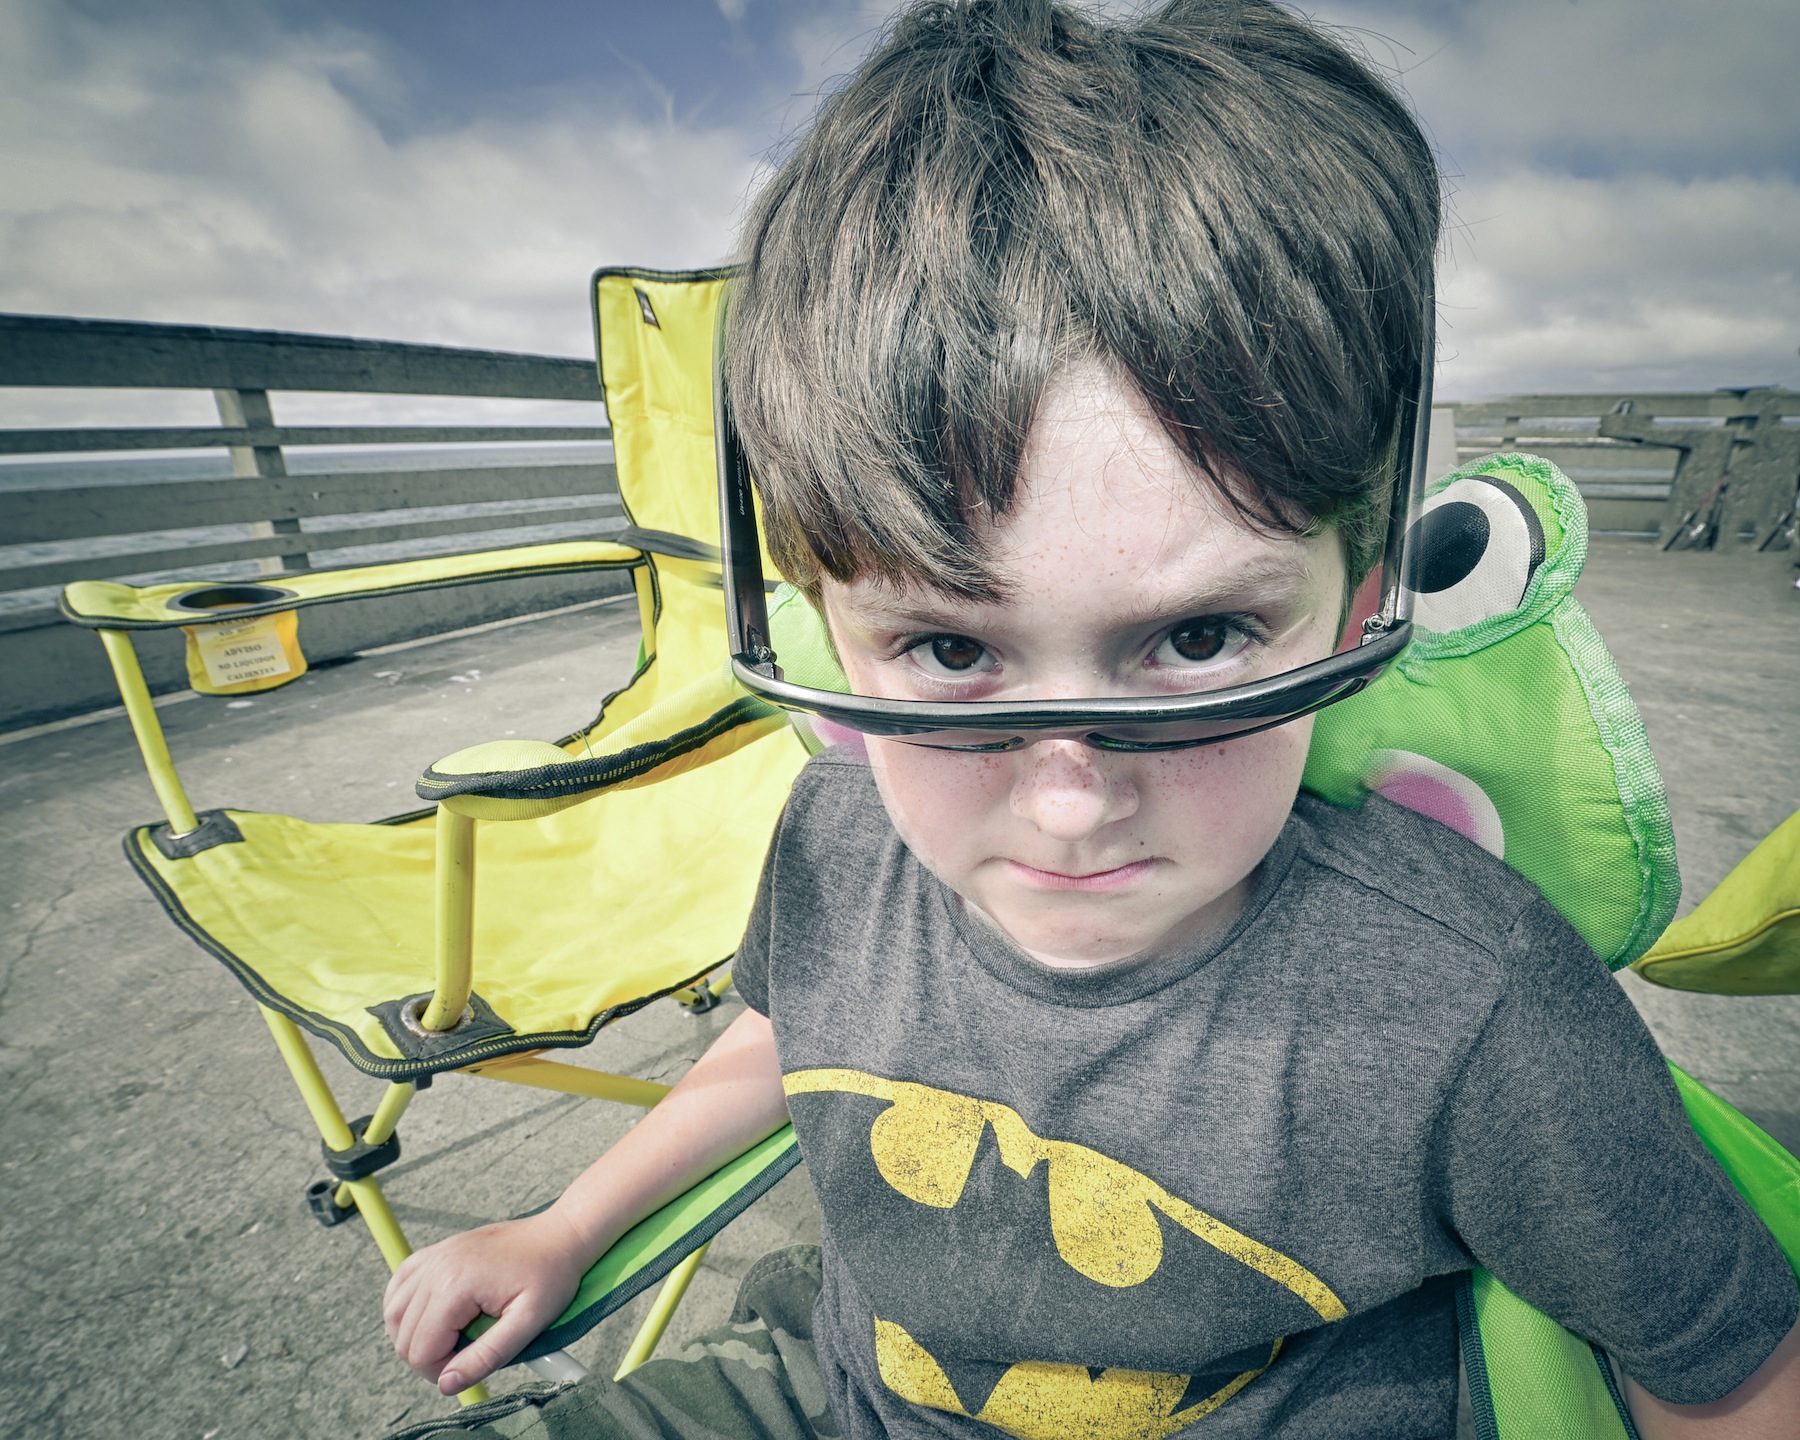
And then Geno looking very serious, like an elderly.
Camp Fire on Fiesta Island
Eoin Blue is in town and Danny finally decided to burn his Christmas Tree about 4 months after Christmas. To me that sounds like a perfect excuse to have a Camp Fire on Fiesta Island.
It started with Patrick deciding he wanted to drive the Range Rover all over the sand and then next thing I know, Eoin had my car in 4-wheel drive and he was spinning donuts on the beach. Well not really, he was actually being pretty cautious being that it was his first time 4-wheel driving.
We took some night shots which everyone likes doing and we caught some pretty neat stuff that night.


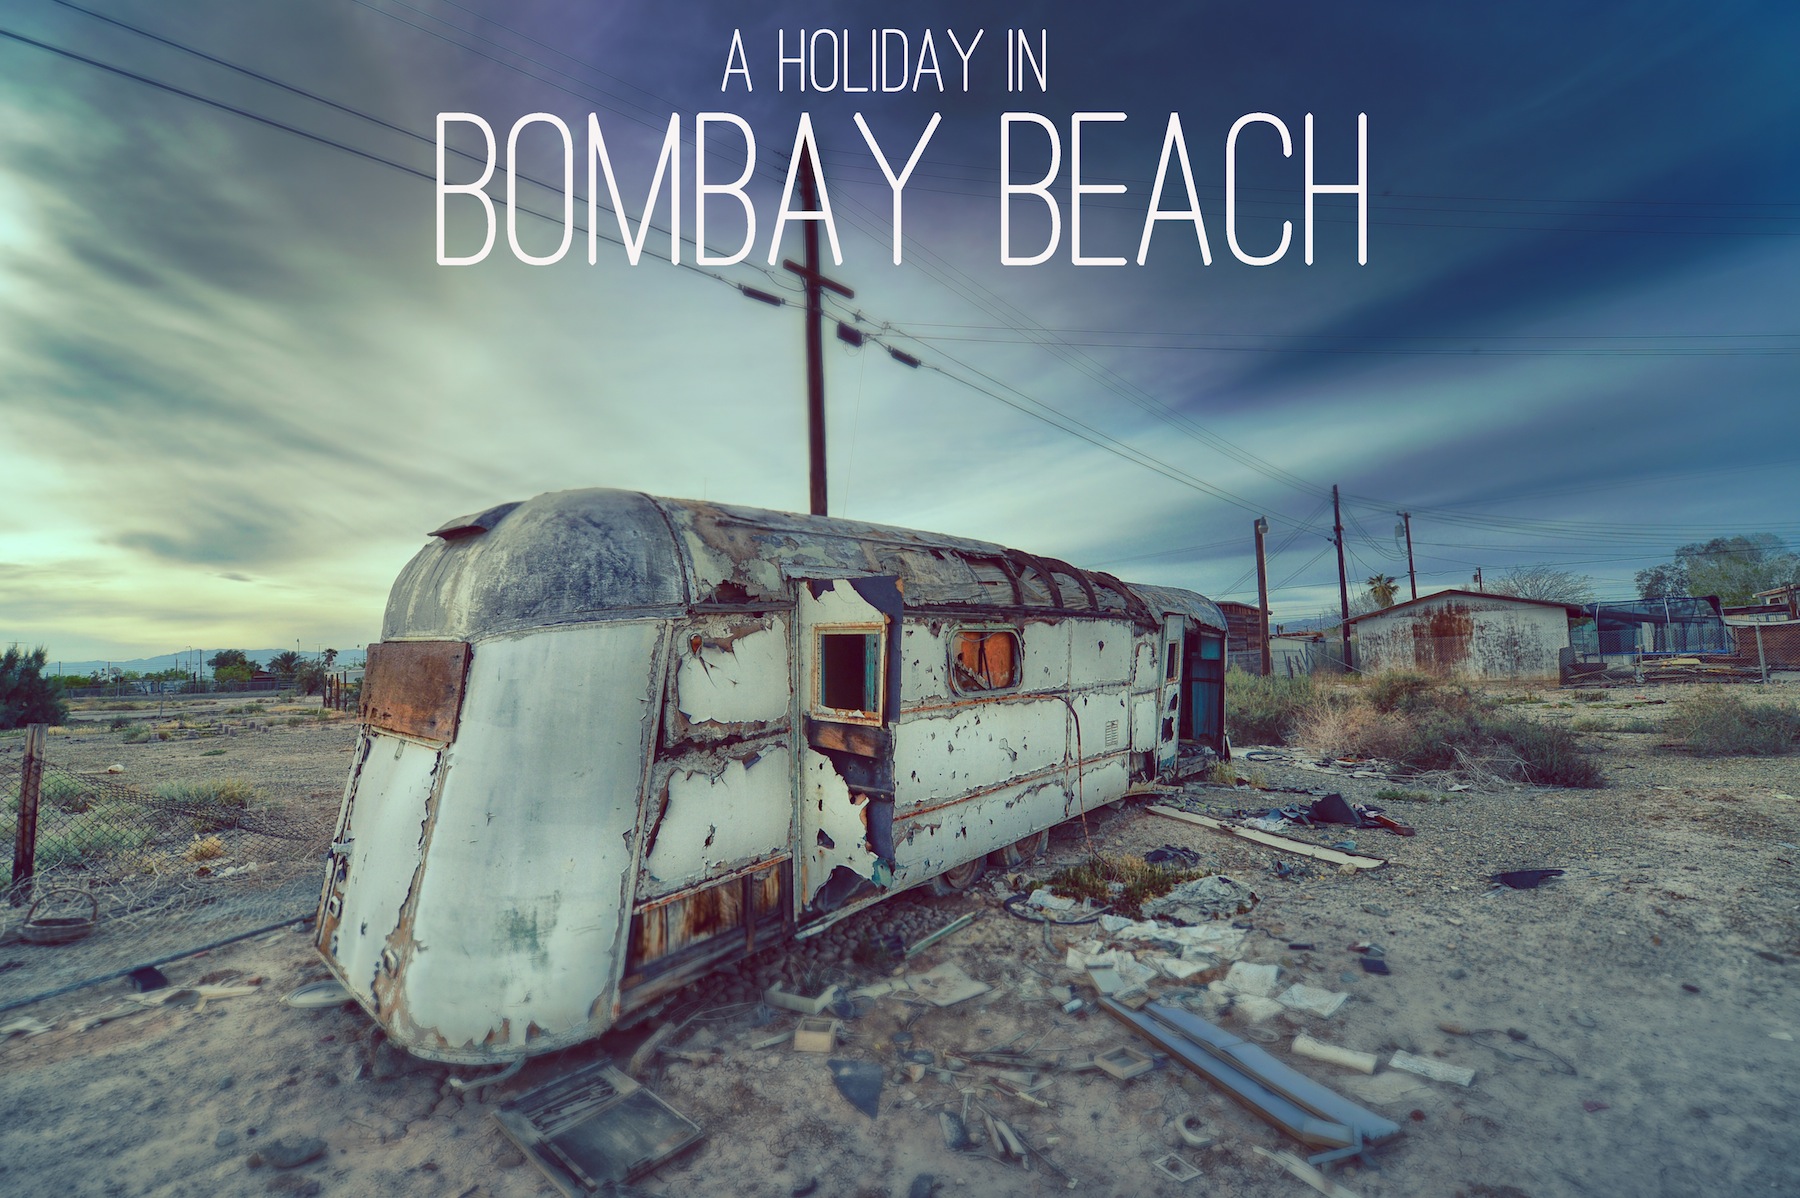
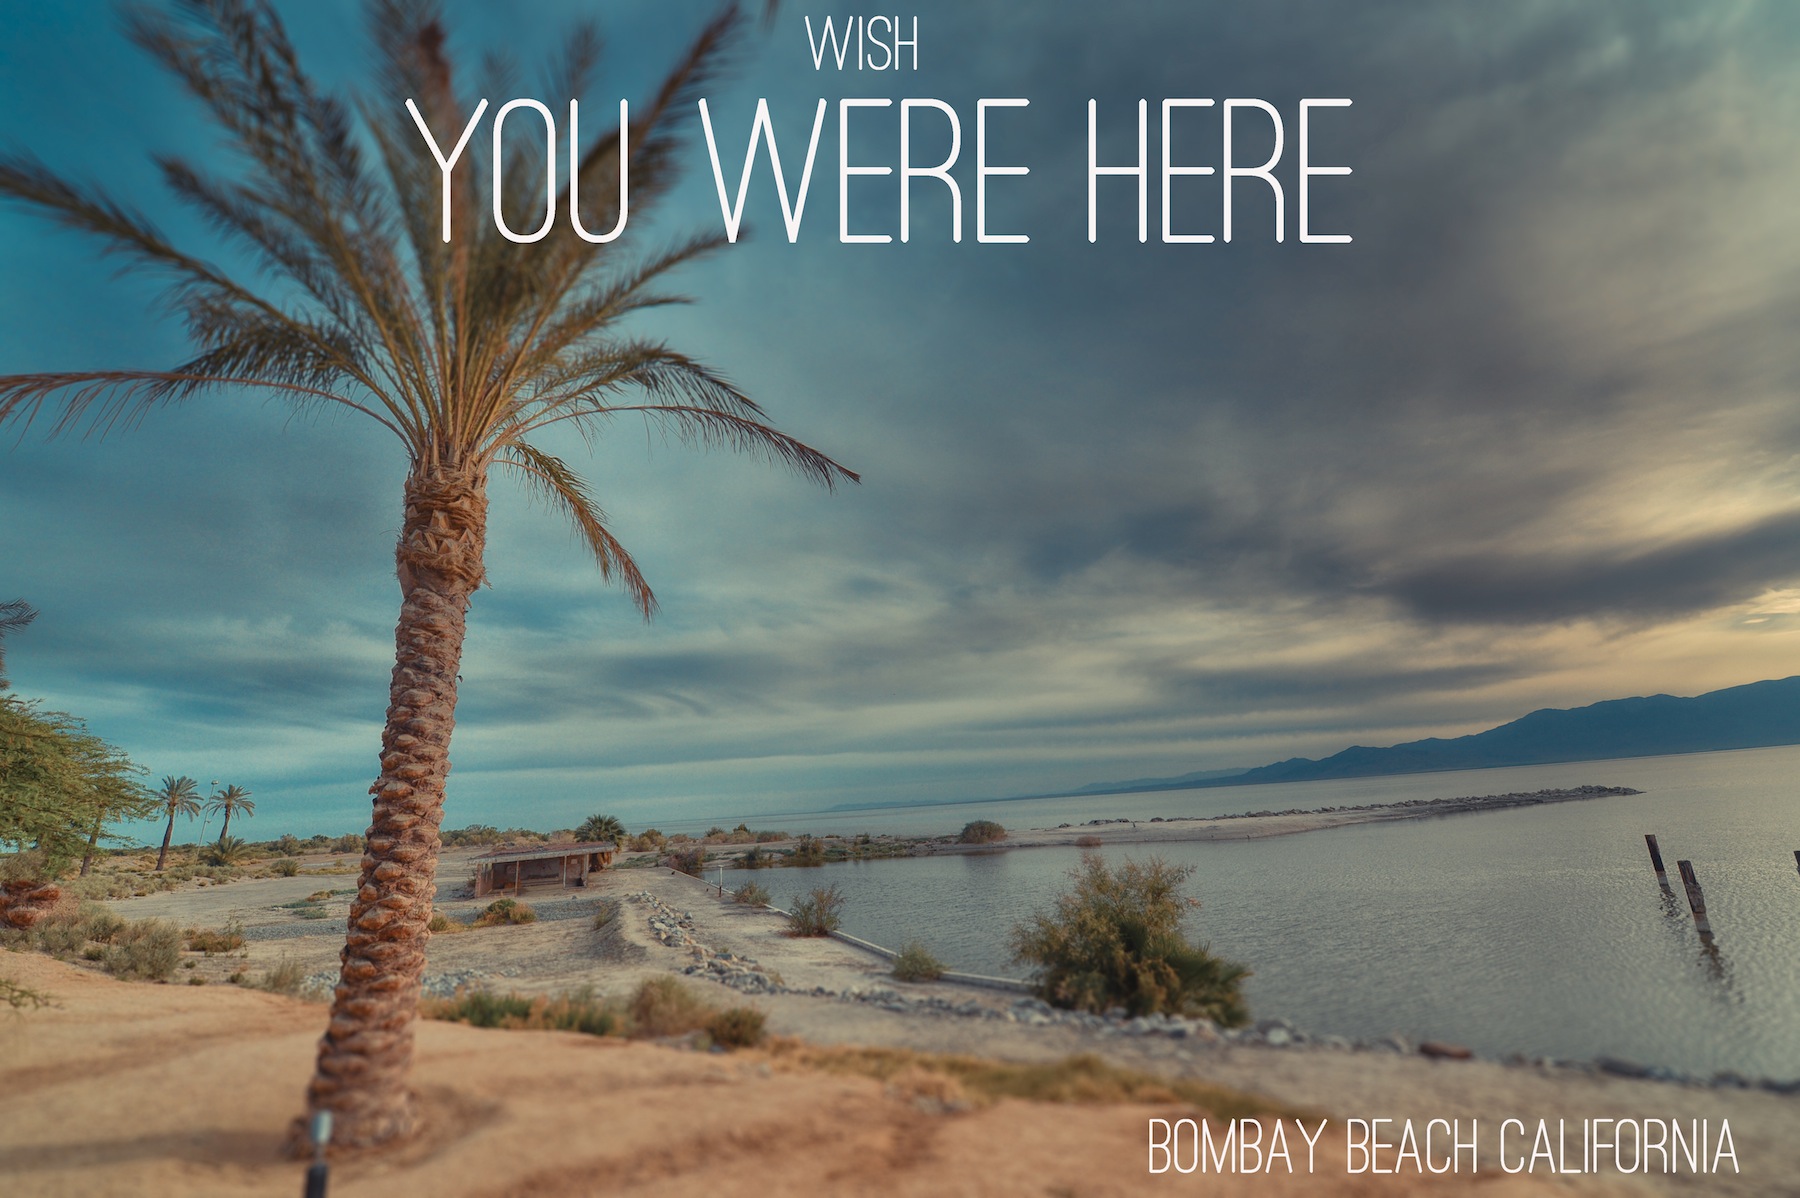
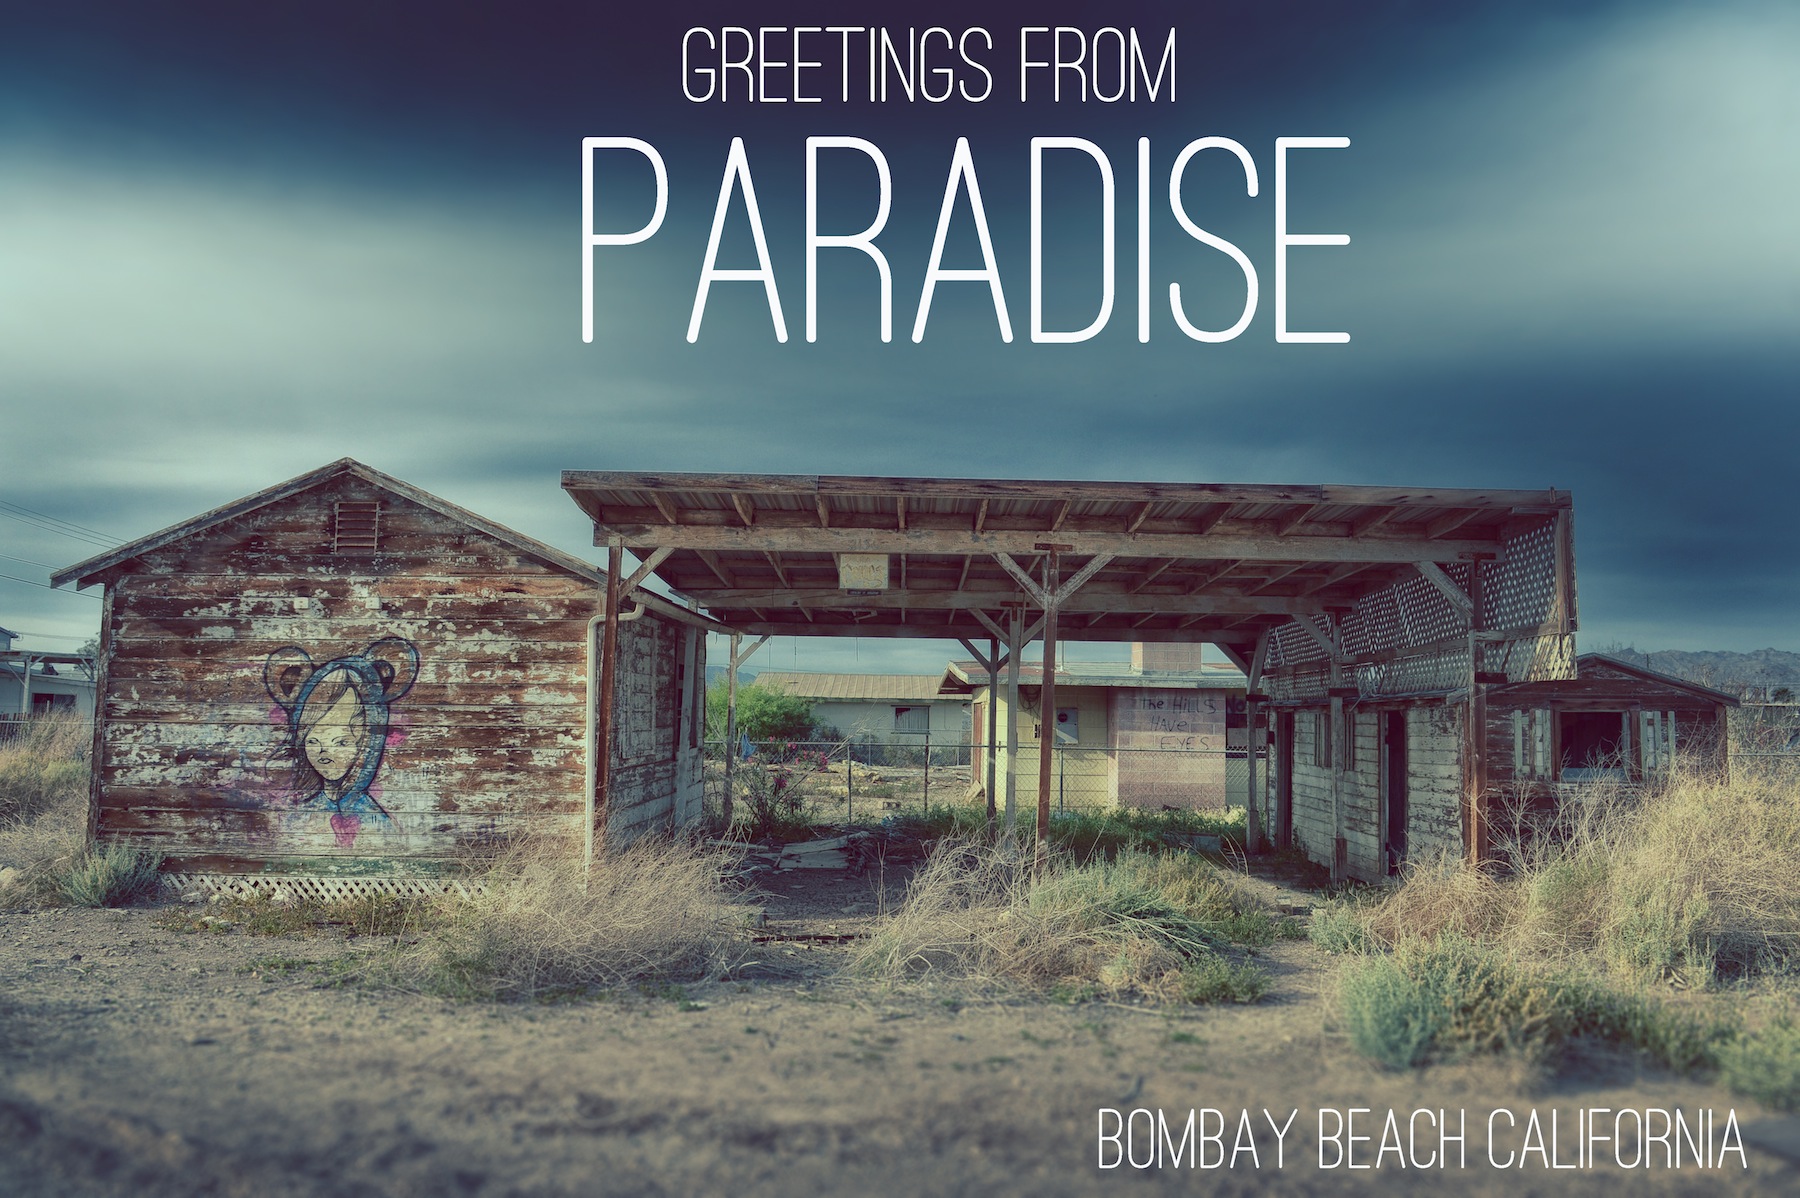
Postcards from Bombay Beach
There is nothing like getting a postcard from someone from a beautiful beach resort to make you jealous. Here are some Postcards from what was once a beautiful beach resort called Bombay Beach located in the Salton Sea.
The Salton Sea is drying up. Fish are dying and it isn’t quite postcard perfect anymore but here are my renditions of postcards you might receive from Bombay Beach today.
If you find yourself in the area. There are quite a few really cool places to visit around the Salton Sea. Bombay Beach is just one of the quirky and awesome places. You can check out Salvation Mountain – Check out My Post Here. You can also check out Slab City and East Jesus which is minutes away from here as well. Finally, if your headed to the Salton Sea you can find more information about it on my blog post here – The Salton Sea. As you might be able to tell, I love this place. It is so cool.


Living Off the Grid in Very Strange Slab City

“You better be buying something”, she said to me as she took a long zip from the Tall Miller High Life she was holding. She was managing what appeared to be a permanent yard sale and from the looks of it some of the stuff she was trying to sell looked like it had probably been there a long, long time. She looked pretty sunburned there under her trucker hat but to tell you the truth everyone here did. I smiled in agreement.
I poked around a bit at the stuff on the table and decided on something better. “I’ll tell you what”, I said, “I’ll give you a few bucks to let me take a picture of you and your boyfriend.” I figured a picture of some local folks from Slab City was the best souvenir I could ever bring back from this place. They were pretty happy with that.
They were even happier when I told them they could bring their Miller High Life’s and smokes for the picture. Something tells me they never leave home without each – Millers and smokes.
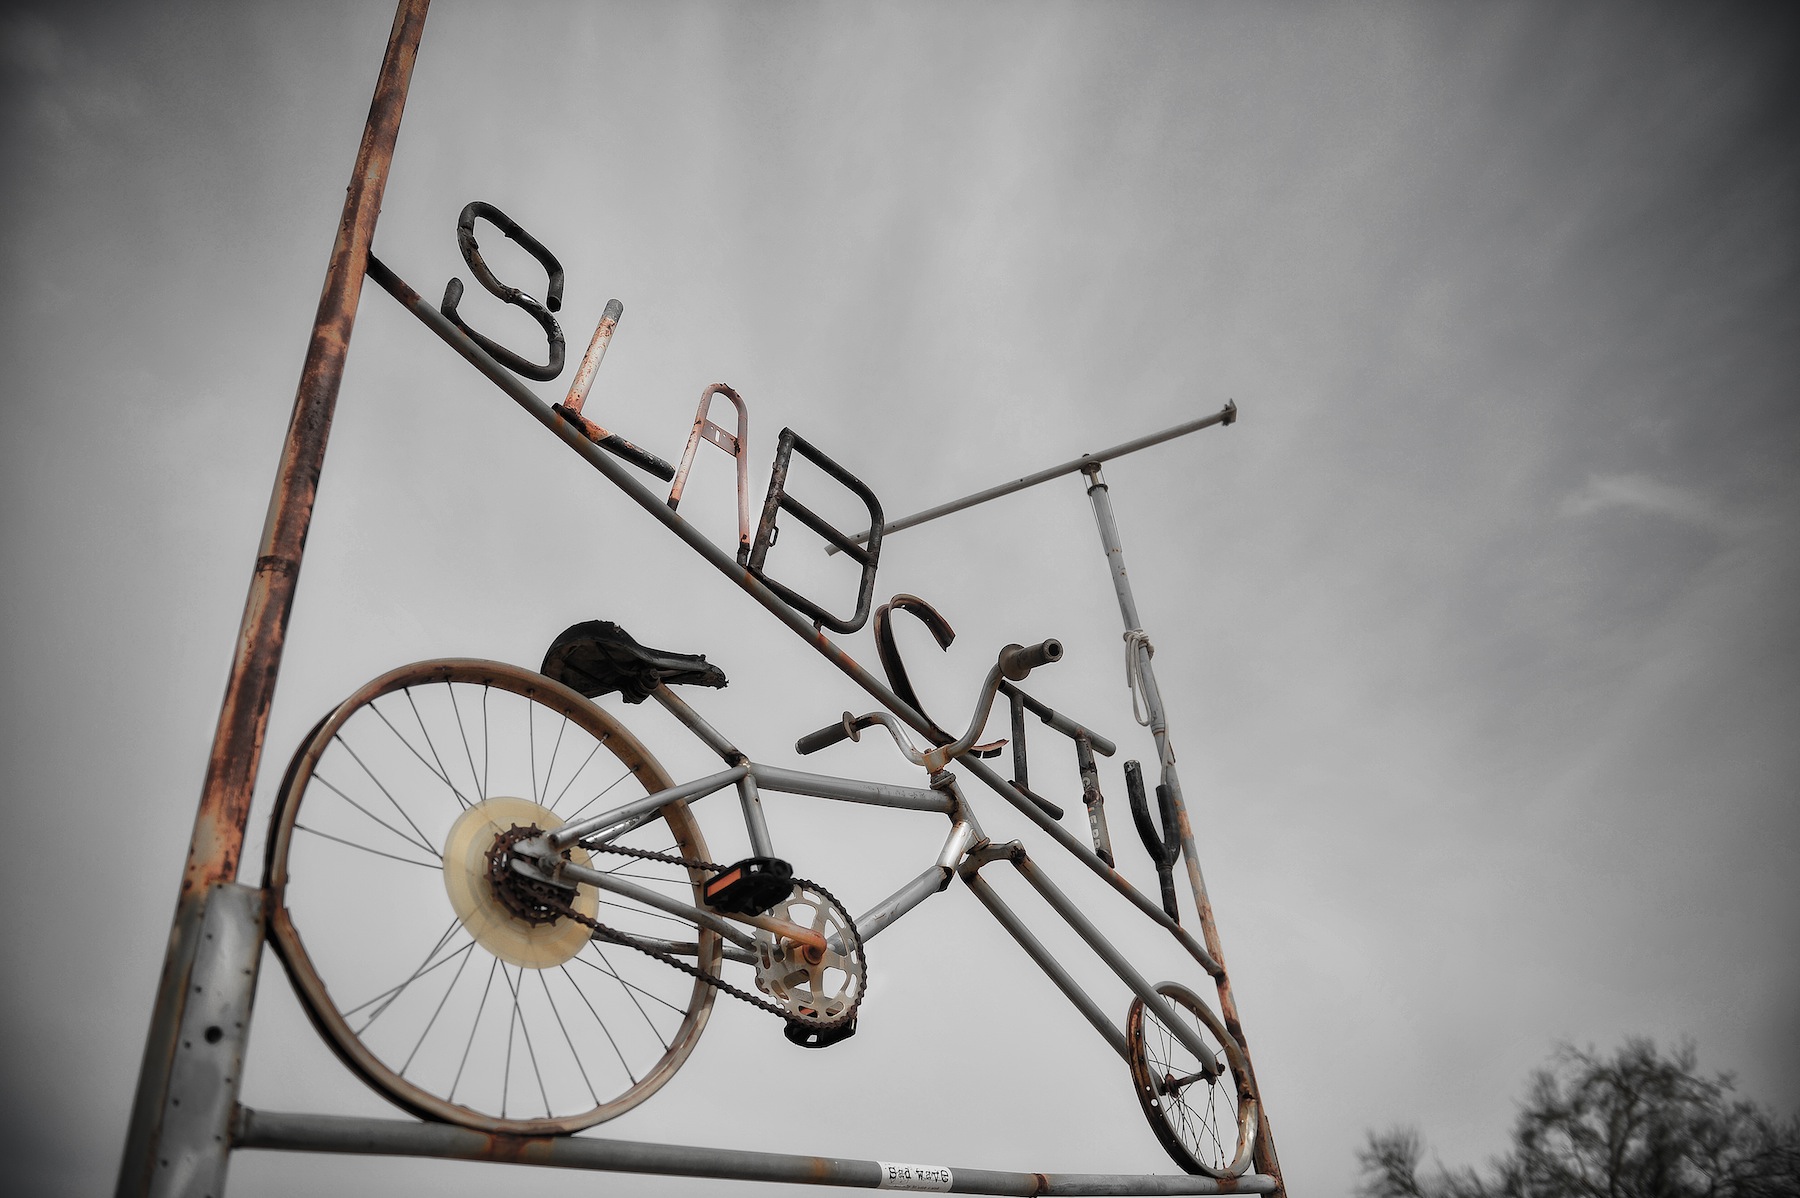
I was on the outskirts of a small town with a sign that read, “Slab City – The Last Real Free Place on Earth”. I had stumbled on it quite accidentally while driving to reach somewhere else. Living in the last free place on earth certainly sounds attractive but I was not sure from the looks of it if this was a place I would ever settle down in.
I mean this place is so far off the beaten path that police would probably never venture out here. There were no roads. No Traffic Lights. No running water. Nothing, just Trailer Homes, Yard Sales and something else interesting I would come to find out – Art and a small community of people that cared for each other.
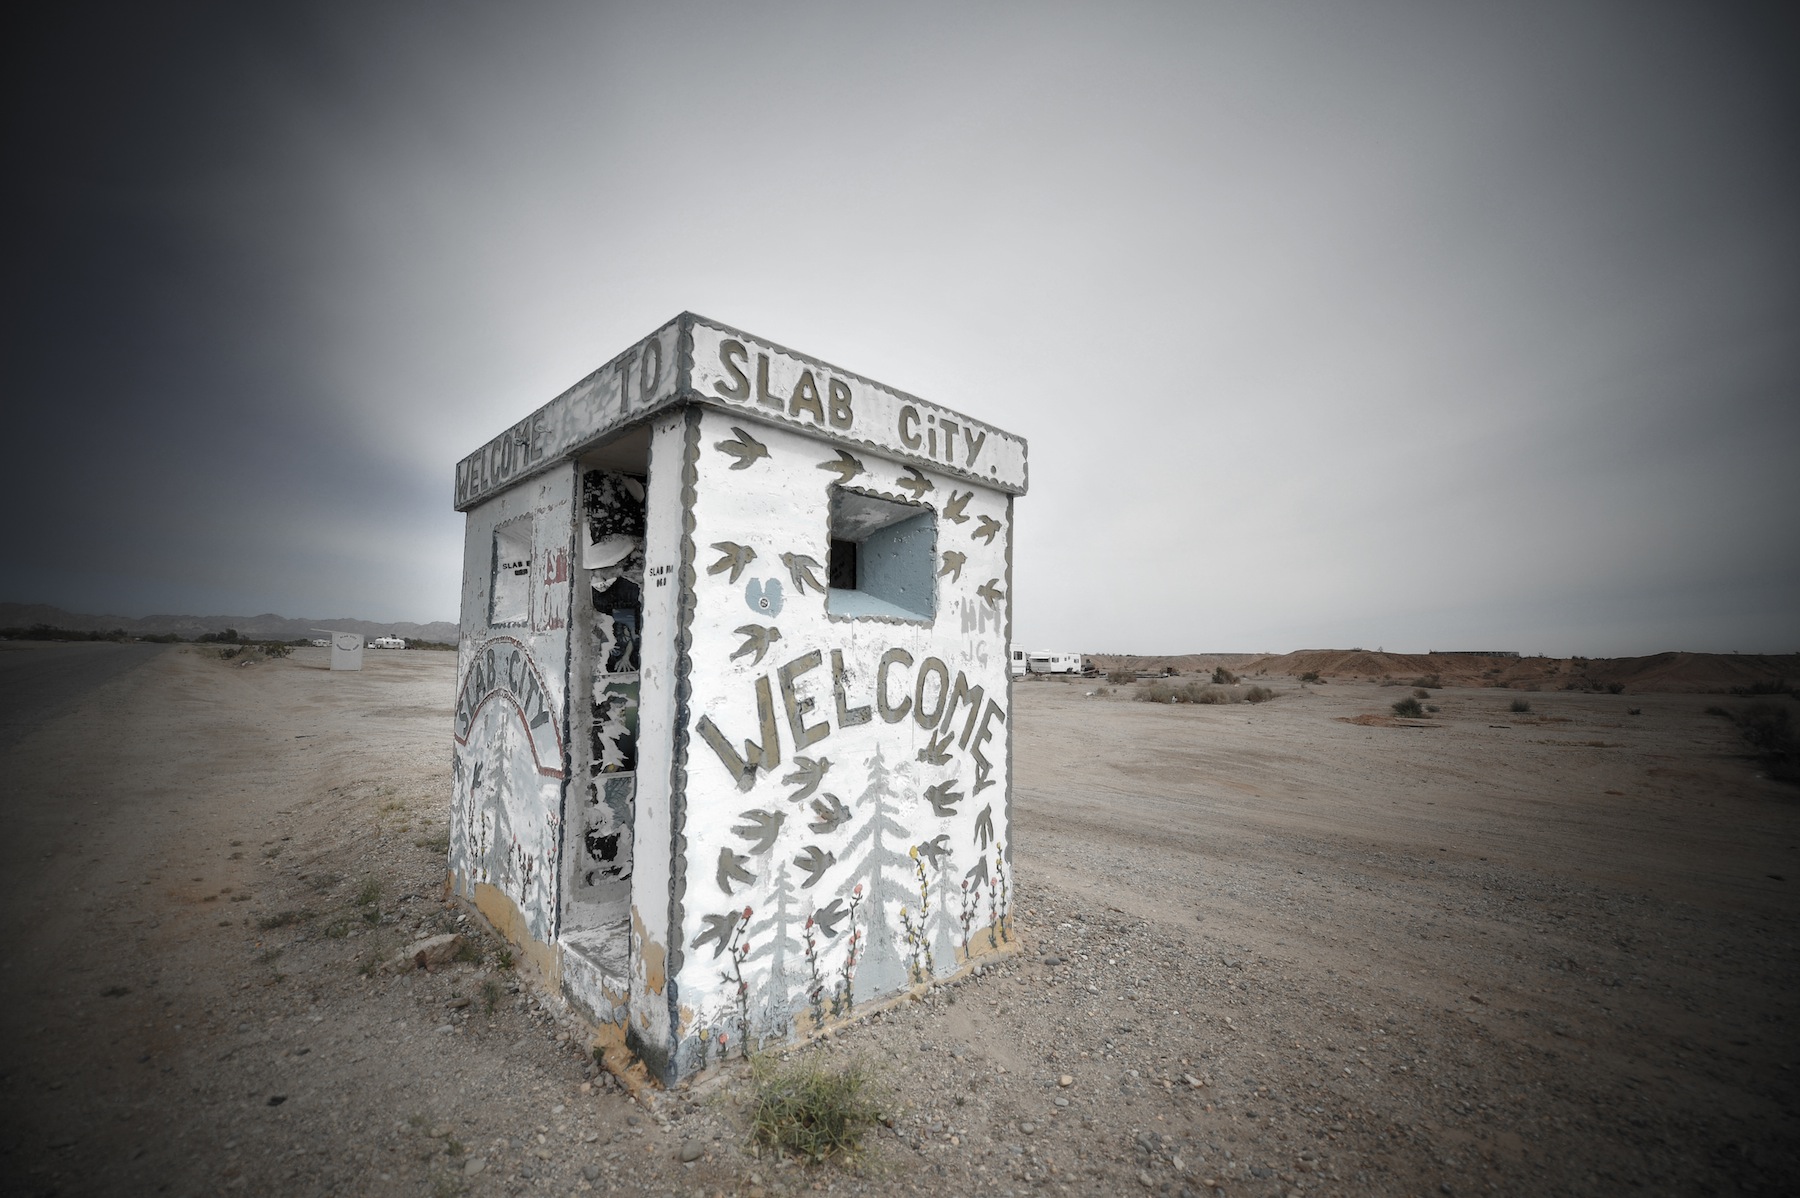
Grand entrance to Slab City greets travelers, tourist and Slabbers
World War II put the “Slab” in Slab City
In 1942, the Marines built a marine base in the middle of the Colorado Desert to train Marines to fight the Germans and Japanese. The 640 acre compound was called Camp Dunlap Marine Training Facility and it was 120 feet below sea level. Soldiers trained at this camp until the end of the war.
When the camp was later dismantled in 1956, the only thing they left were the huge concrete slabs that they had used for the foundation of the buildings and tents.
The concrete slabs started to attract Trailers and RV owners who loved the free parking and the ability to camp in a location with pretty mild weather during the winter. Later when the Salton Sea grew in popularity, Slab City as it became known was the premier location for snowbirds from all over the country.
Slab City Community Bulletin Board in the town center
Slab City not only attracted snowbirds however. Soon Slab City was attracting fugitives, derelicts, gypsies and people that just wanted to live off the grid. There is no electricity, no running water, no gas, no restaurants, no stores in Slab City – just people living in trailers, tents, RV’s and any where else that they can find.
The Slabber’s Life
If you live in Slab City, you’re a Slabber. Slab City is the Wild, Wild West – the last truly free place on earth. Slab City was featured in a movie called “Into the Wild” and has since attracted more people.
It’s part hippy commune, party art community and part drop out society. They tend to take care of each other here in spite of the fact that slab city is one of the poorest cities in the poorest counties of California.
While Slab City is free, its not without it’s problems or disputes. Builder Bill (one of the most famous residents here) and the guy that takes care of Salvation Mountain believes that there is a growing divide in the town between the younger generation and the older generation, a conflict that is hurting the town’s carefree but caring culture. Slab City is just like any other city in many ways.
An Encounter with Cuervo and two mules
One particularly interesting Slabber is Cuervo. While driving along a dusty road into Slab City there he was. He had two mules. He was wearing a cowboy hat but certainly didn’t look like your typical cowboy.
I had to do a double take while I was driving because seeing two people riding mules down a desert road just look so unusual. It was just one of many things that made me do a double take during my day in Slab City. Cuervo was on his way into Niland – another derelict town 3 miles away.
I am not sure why they call him Cuervo but something tells me he might have liked Tequila at one point.
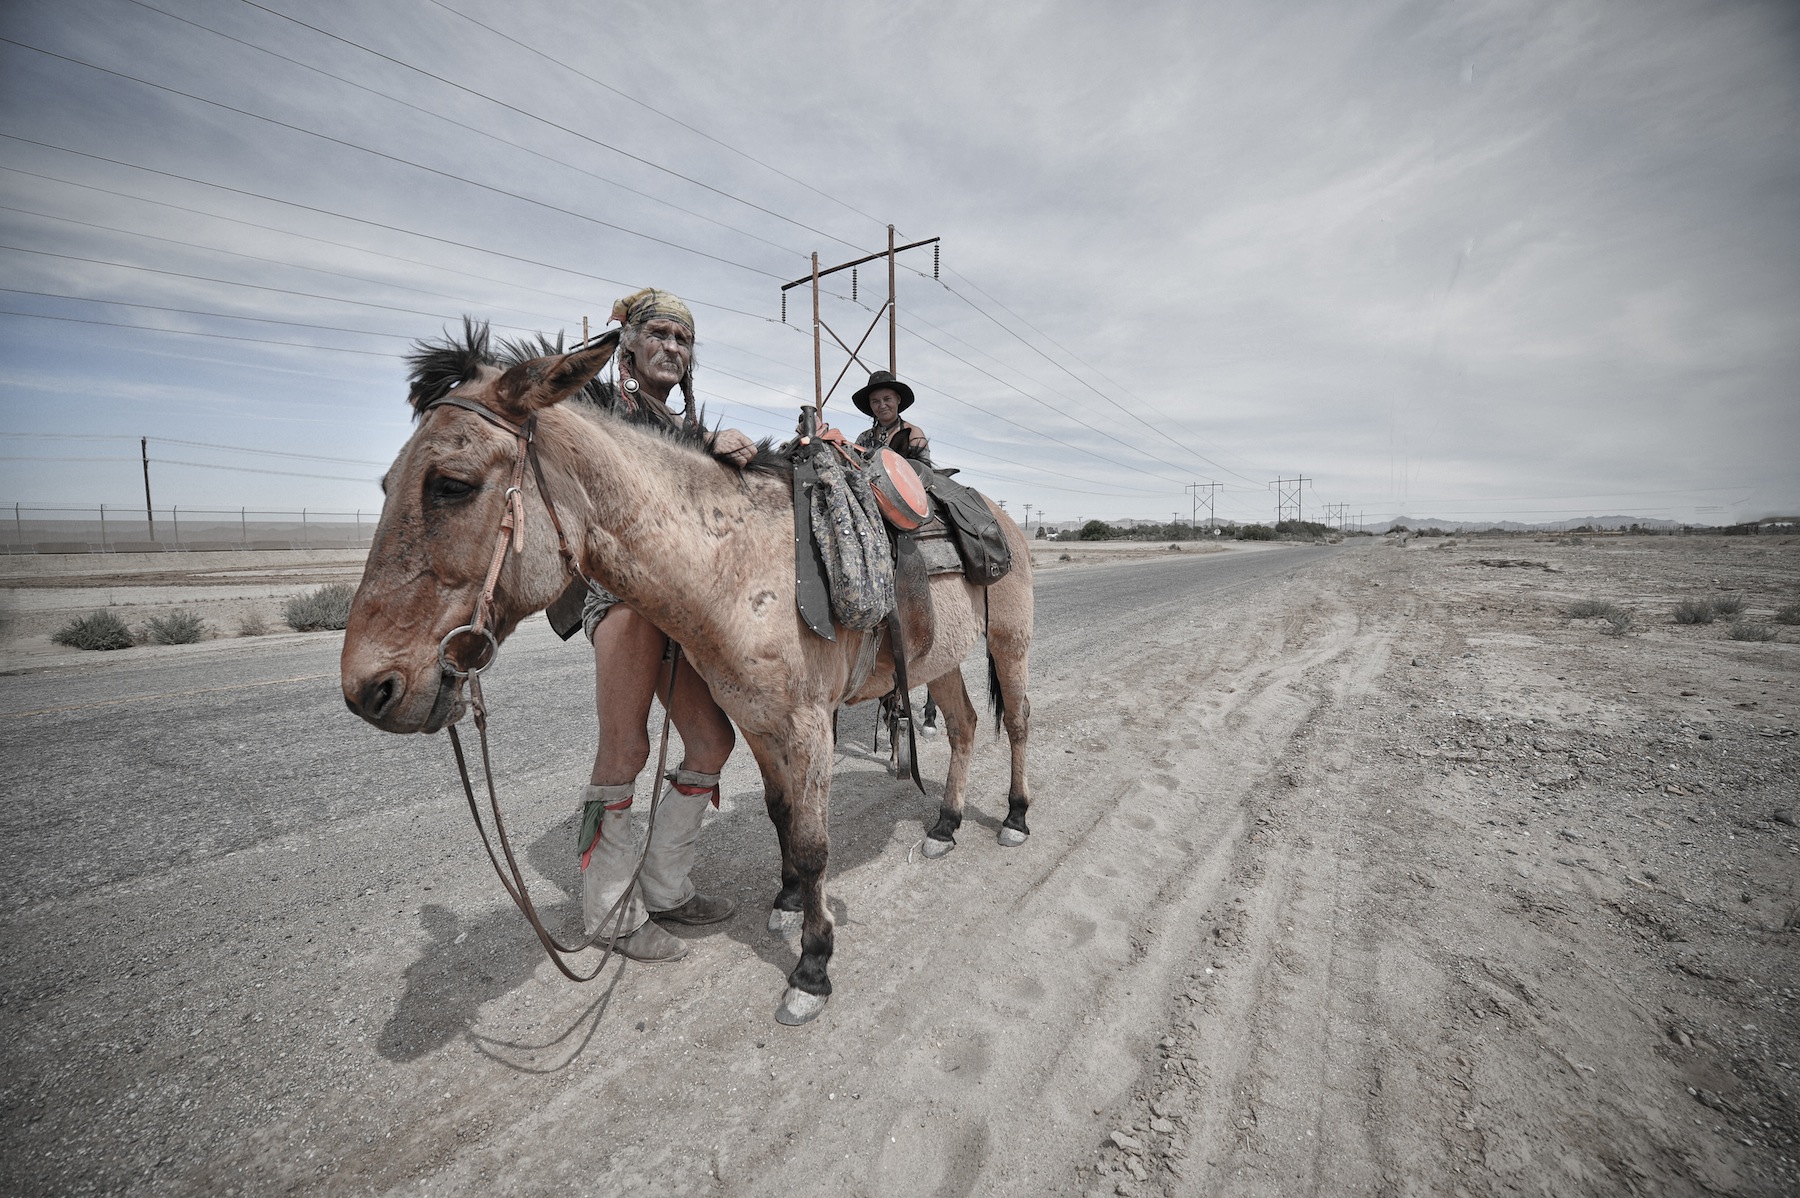

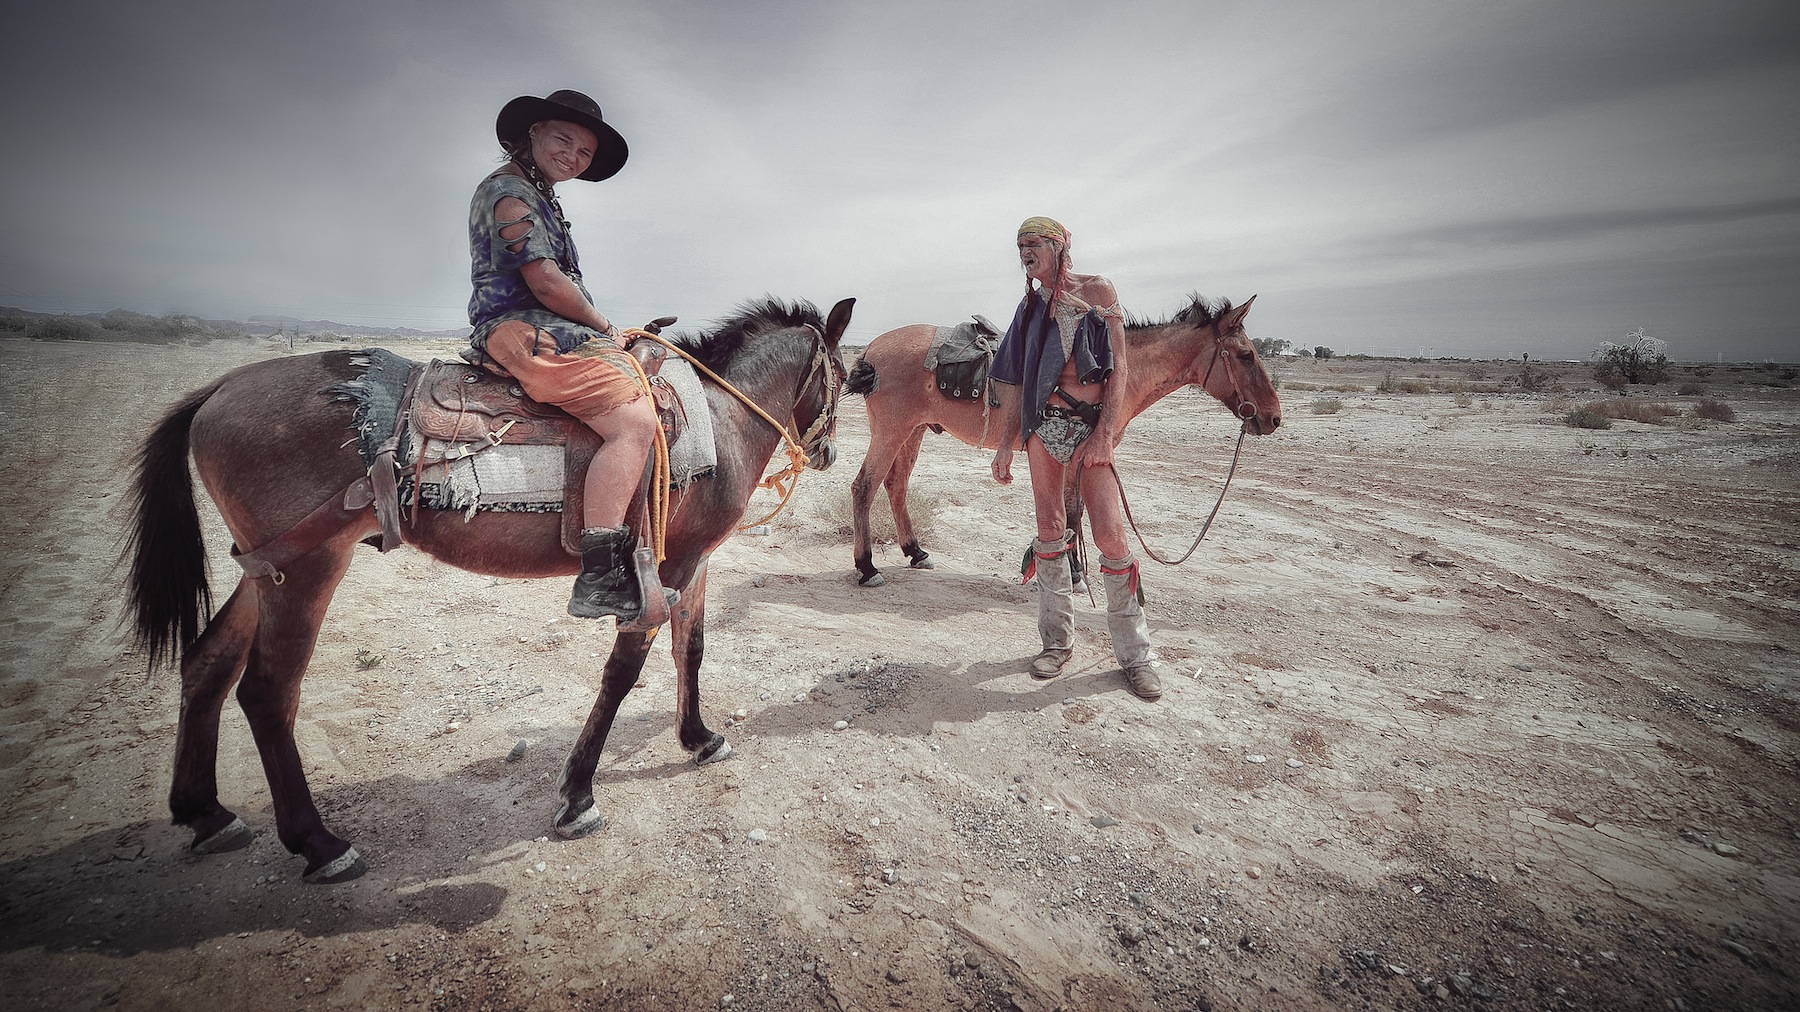
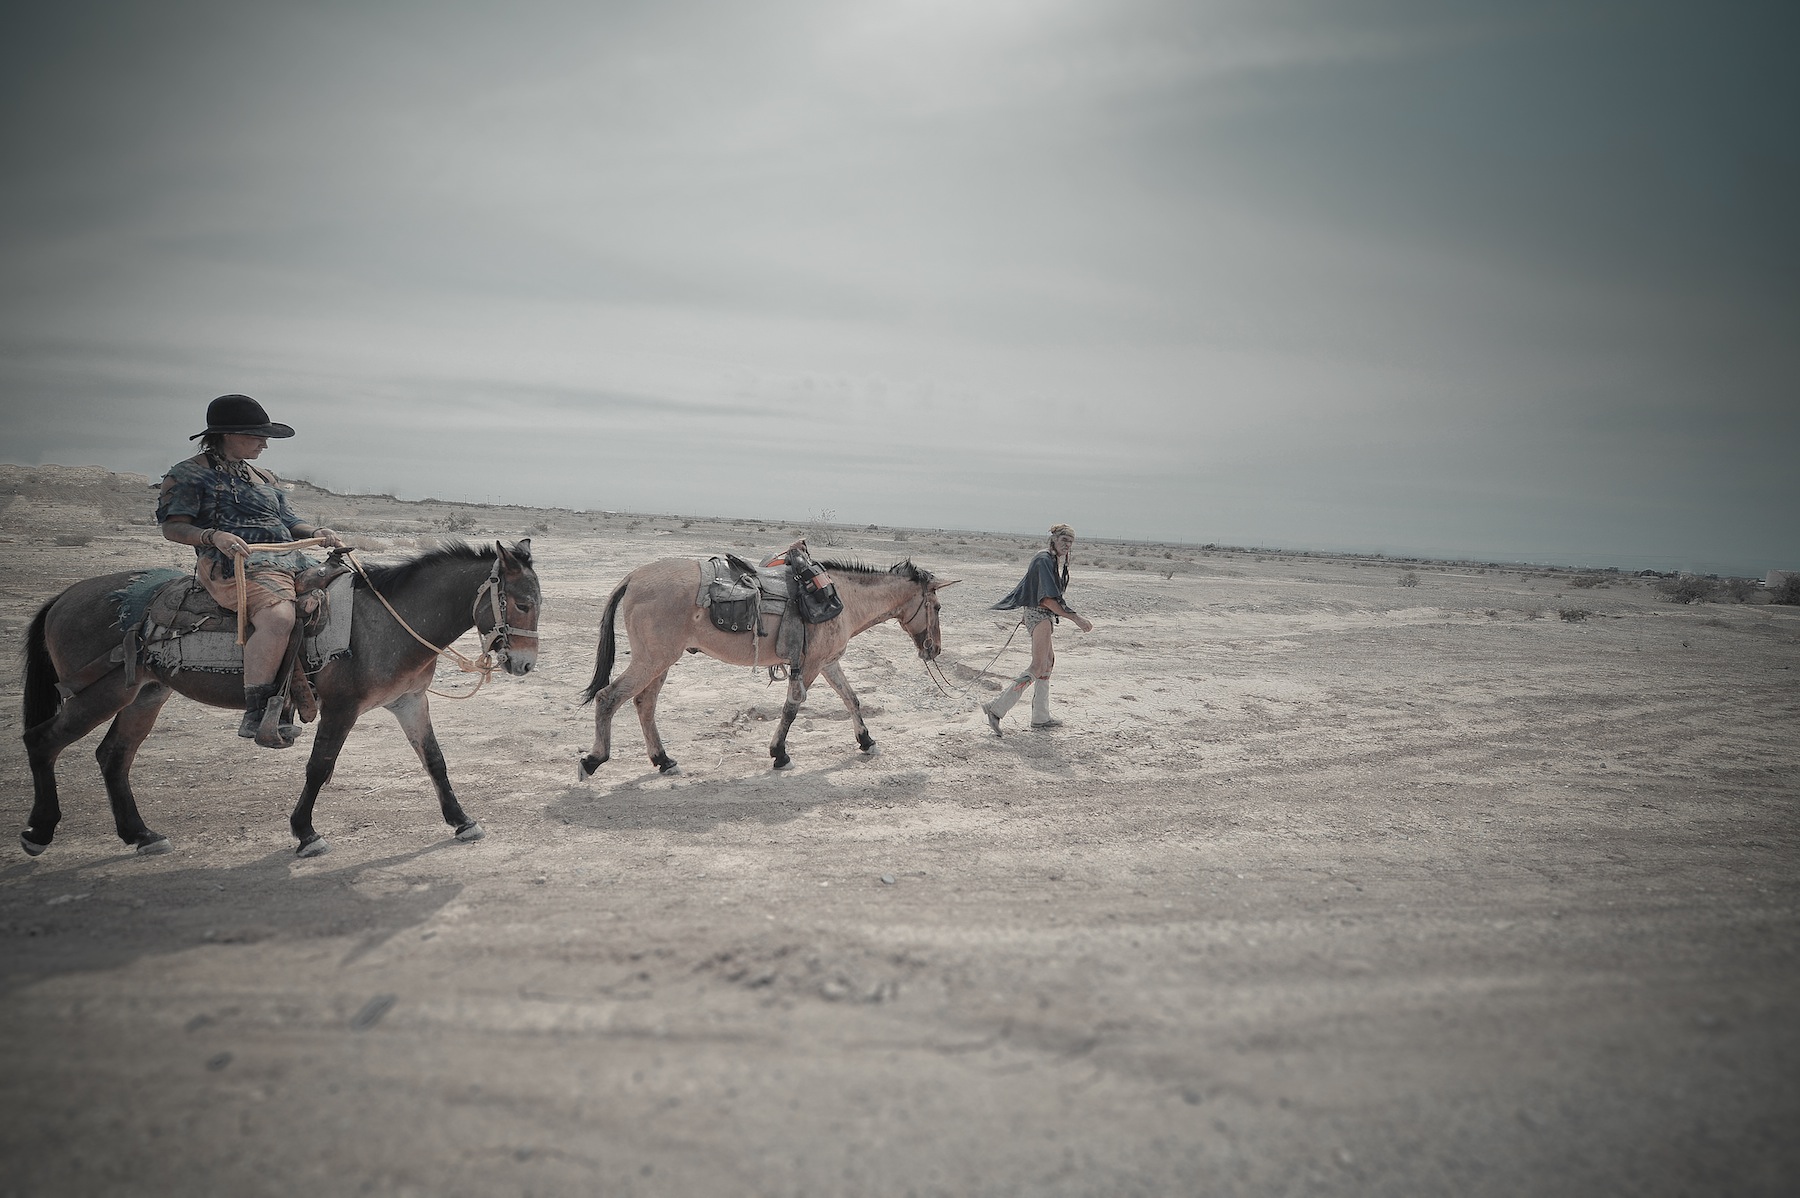
Cuervo and his lady companion stop for a breather along the road to Niland.
After taking a few pictures, I said goodbye to Cuervo. I watched them ride off on their mules into Niland. I saw them a couple of more times during the day – as it turns out they were camped out at Salvation Mountain where I was spending some time.
Discovering the art and passion of Slab City
I have to admit. When I was on my way out to visit Slab City I thought I was really going out to see motor homes and some strange guy that made a mountain of paint. And I did see that, but I also so much more.
I wrote about my experience at Salvation Mountain and Leonard Knight which you can find here: Lord Take me to Salvation Mountain.
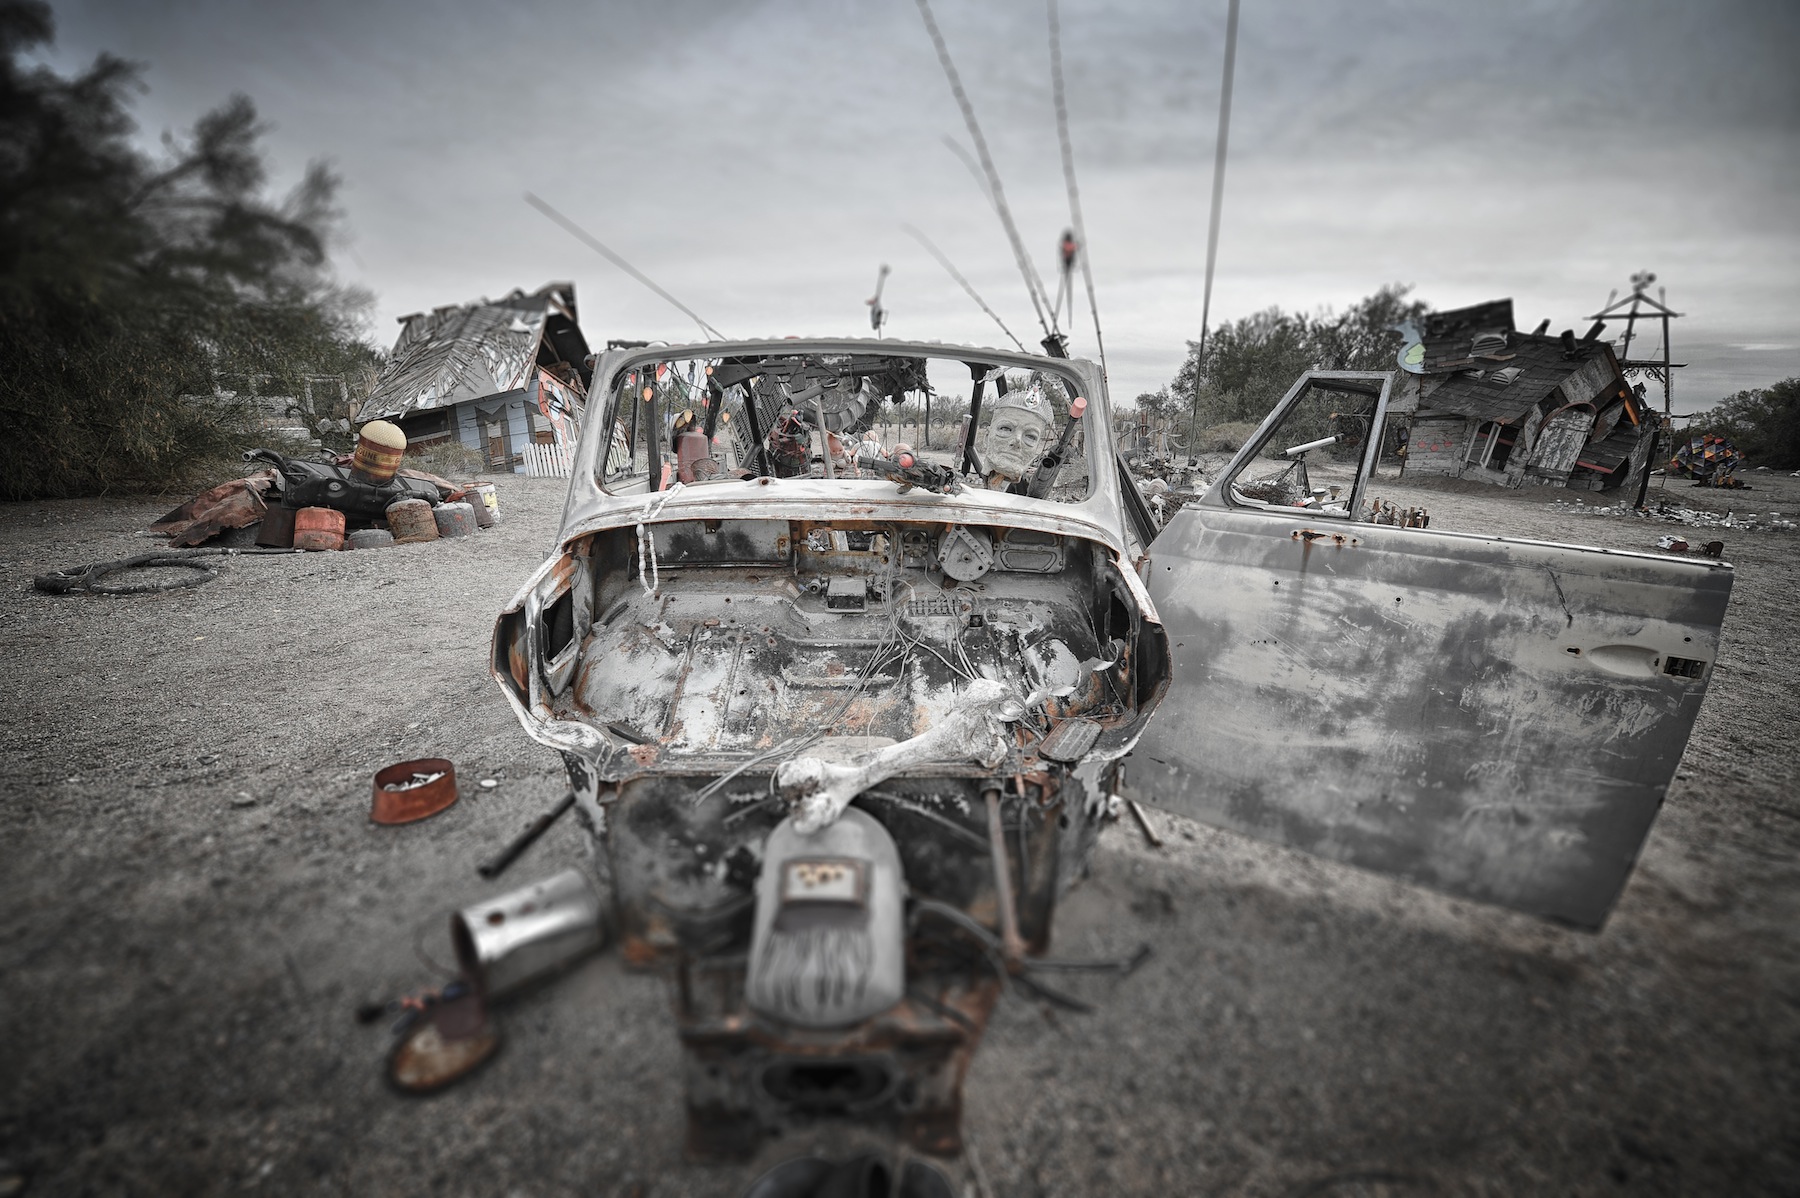
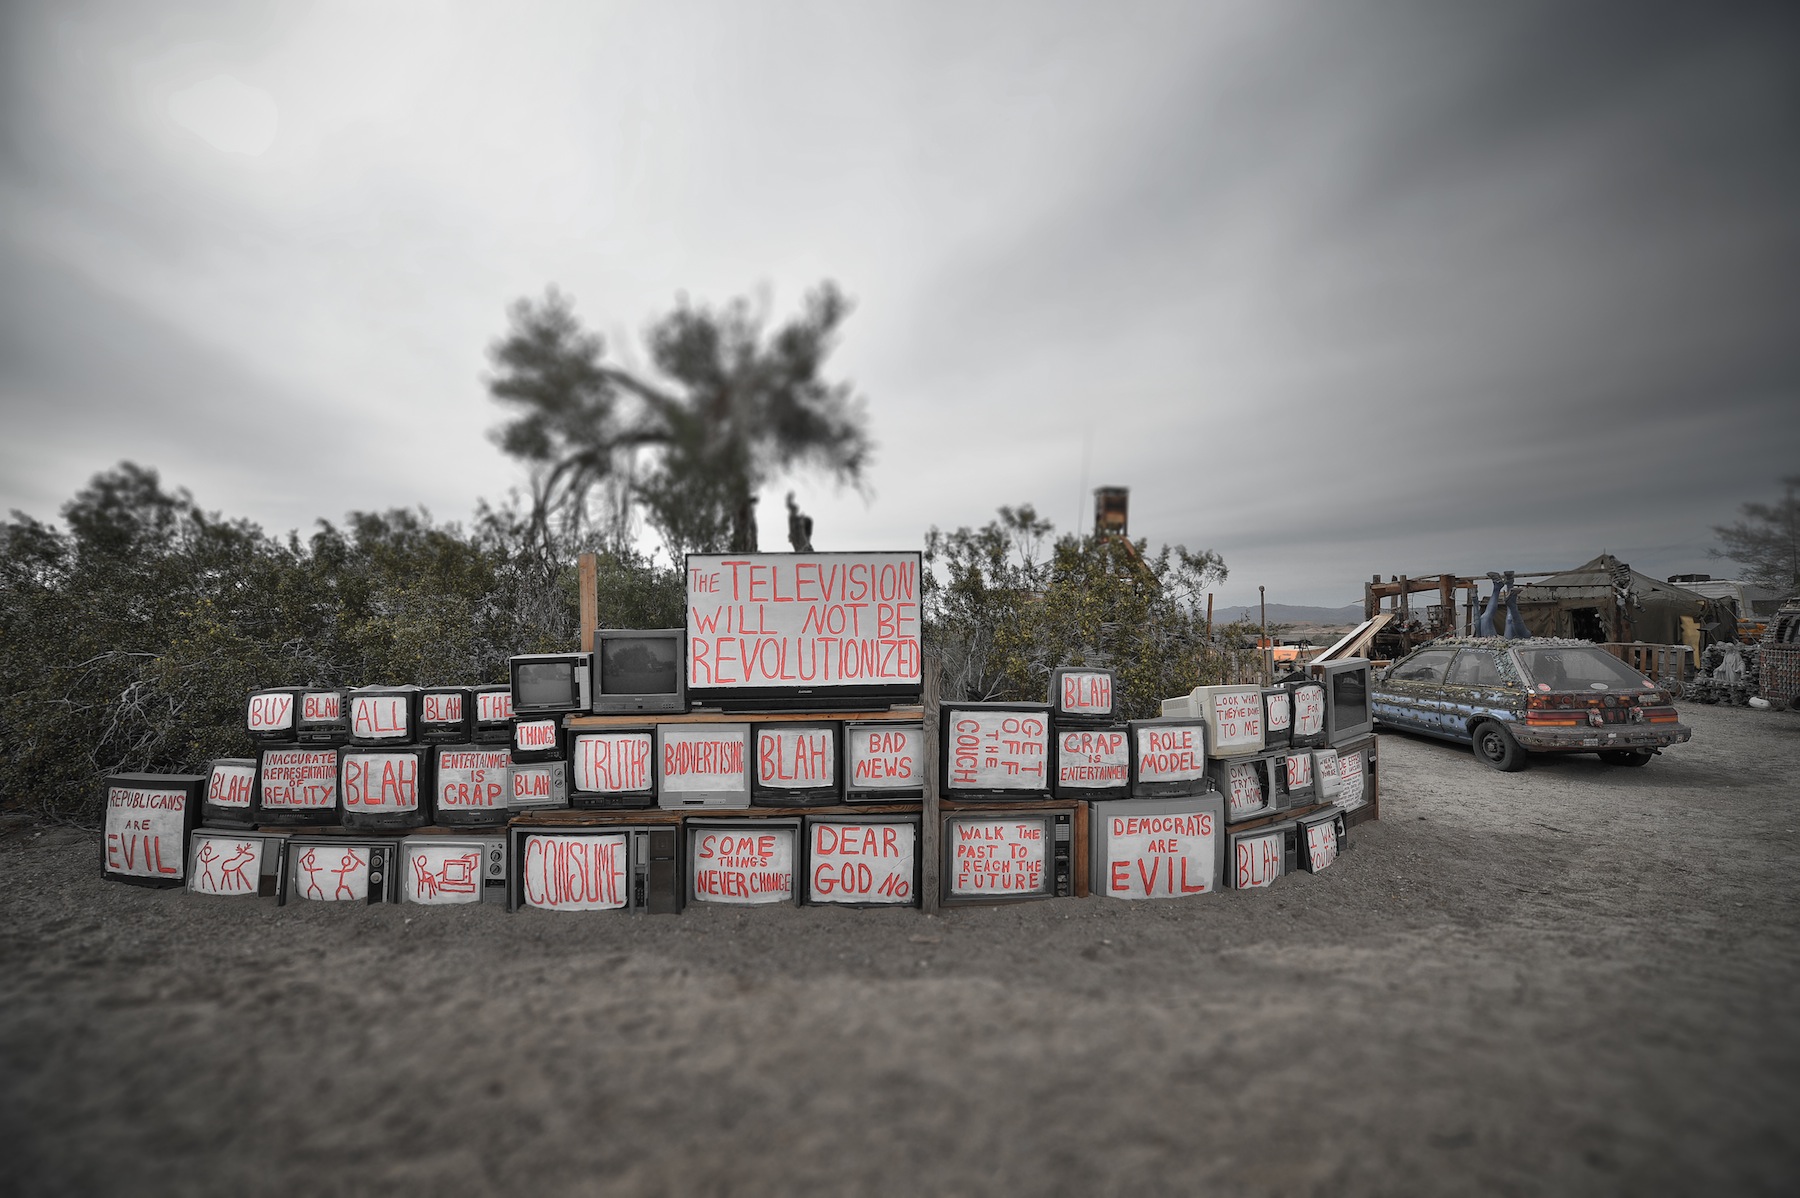
But there was a lesser known art camp in Slab City called East Jesus that a photographer prompted me to visit as well. You really get the feeling out in Slab City that your going to find something interesting every time you turn around.
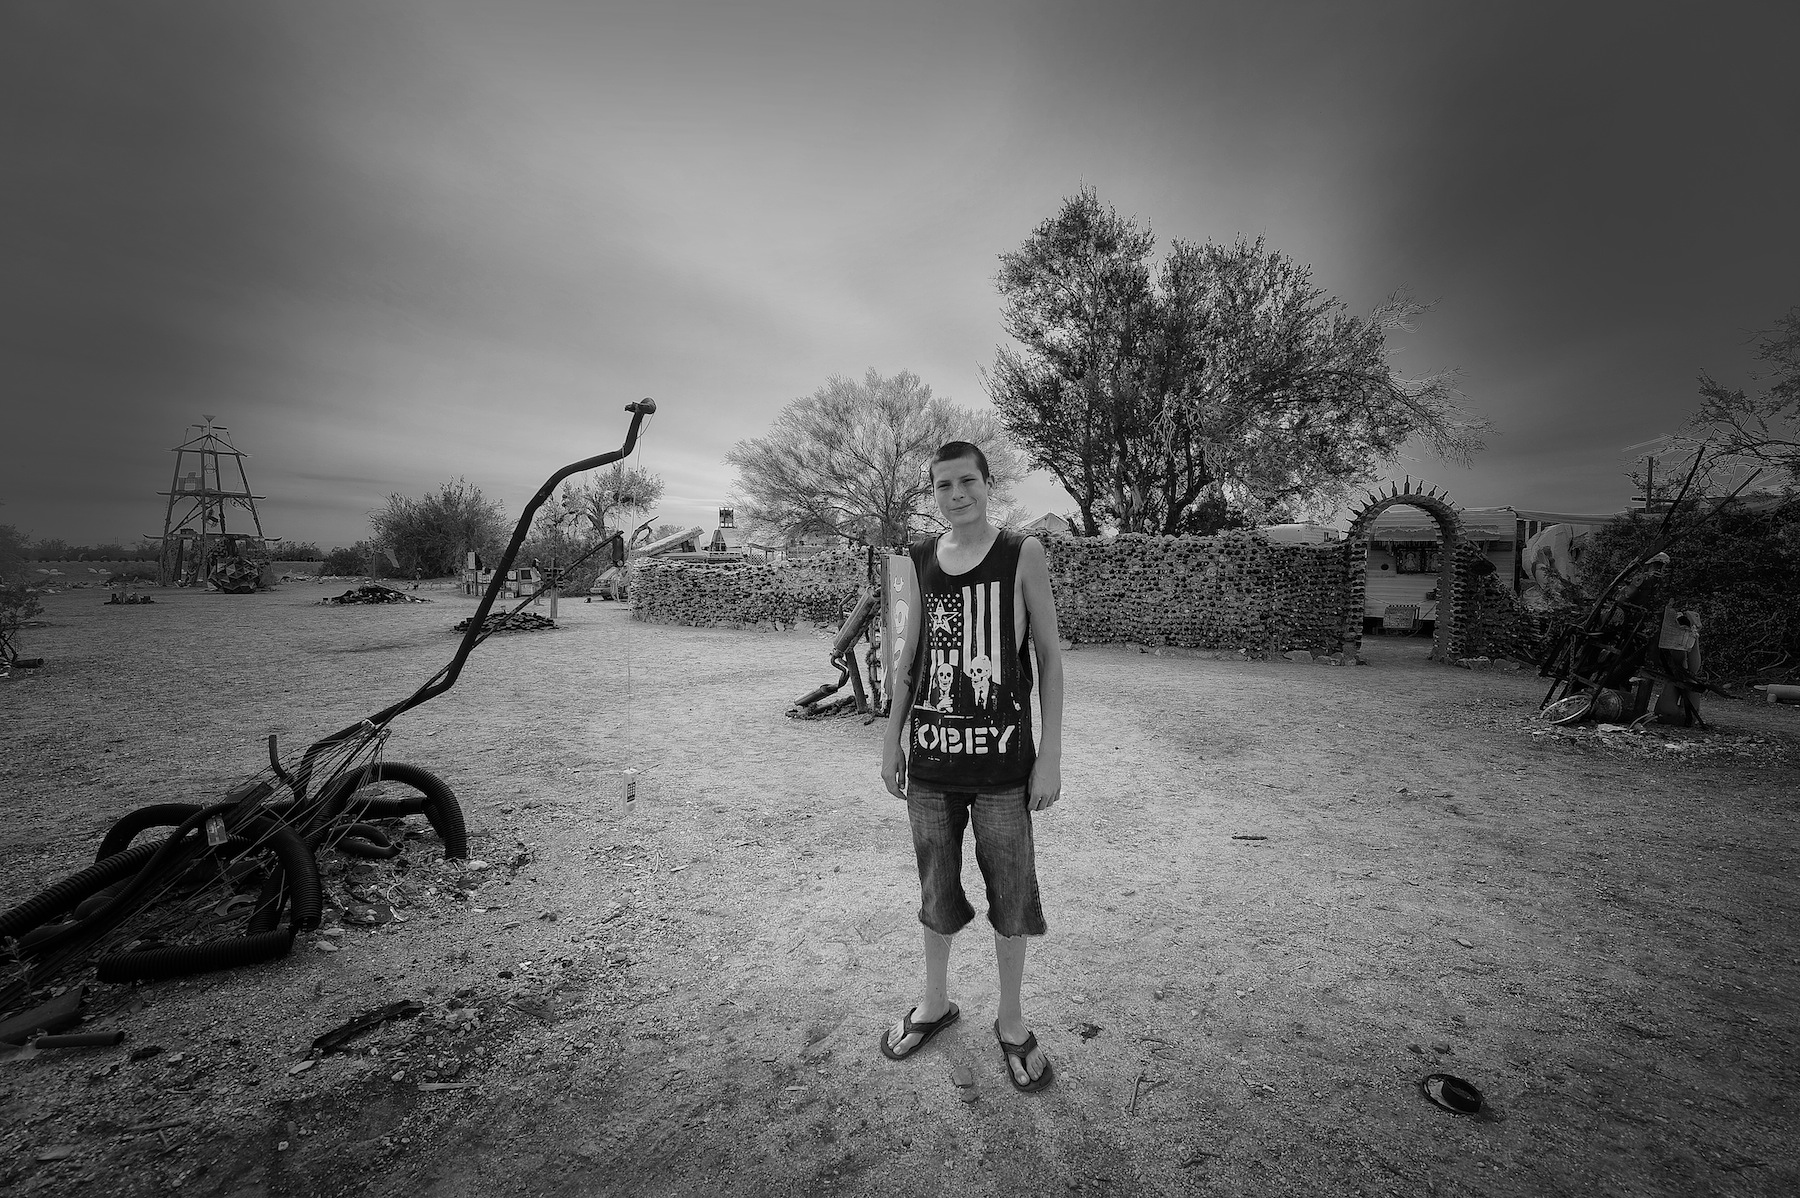
A tour guide at East Jesus can walk you through the camp and tell you the stories of the art
East Jesus is an experimental, habitable artwork project that has been around since 2006. There is not a single artist that creates the pieces rather the pieces are created by volunteers that stay at the camp for short or longer periods of time. They make it clear that they are not a dumb-ass hippie commune rather an art community where you have to do work. Actually there is a whole list of rules if your going to come to here and if you don’t you risk “staring down the barrel of a 12GA” as they put it.
If your going to visit or stay at East Jesus, I highly recommend you read the hilarious East Jesus Survival Guide which I found on their website.
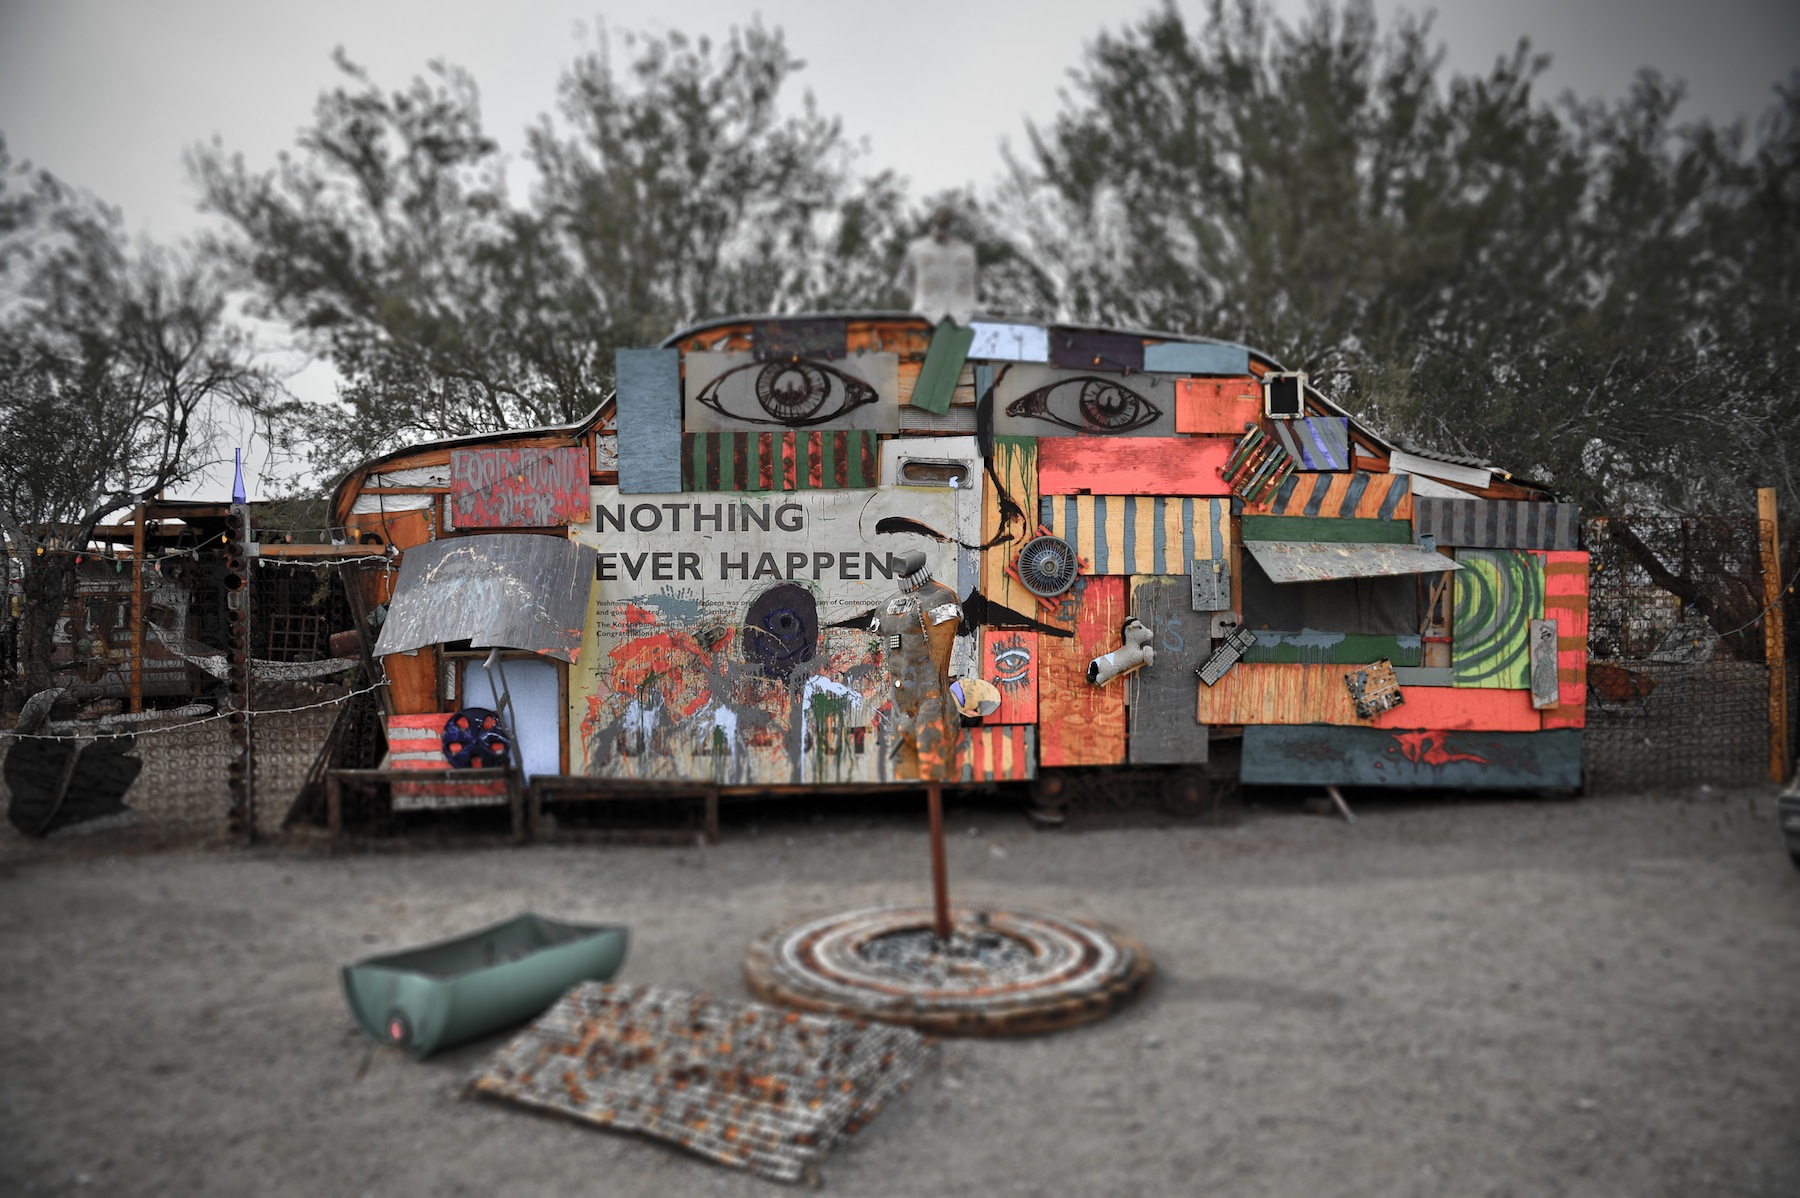
Much of the art is not only interesting but habitable, meaning that you can camp out in it. For donations of $10 a night and agreement to follow all of the rules you can stay in a work of art. This place was getting quite interesting.
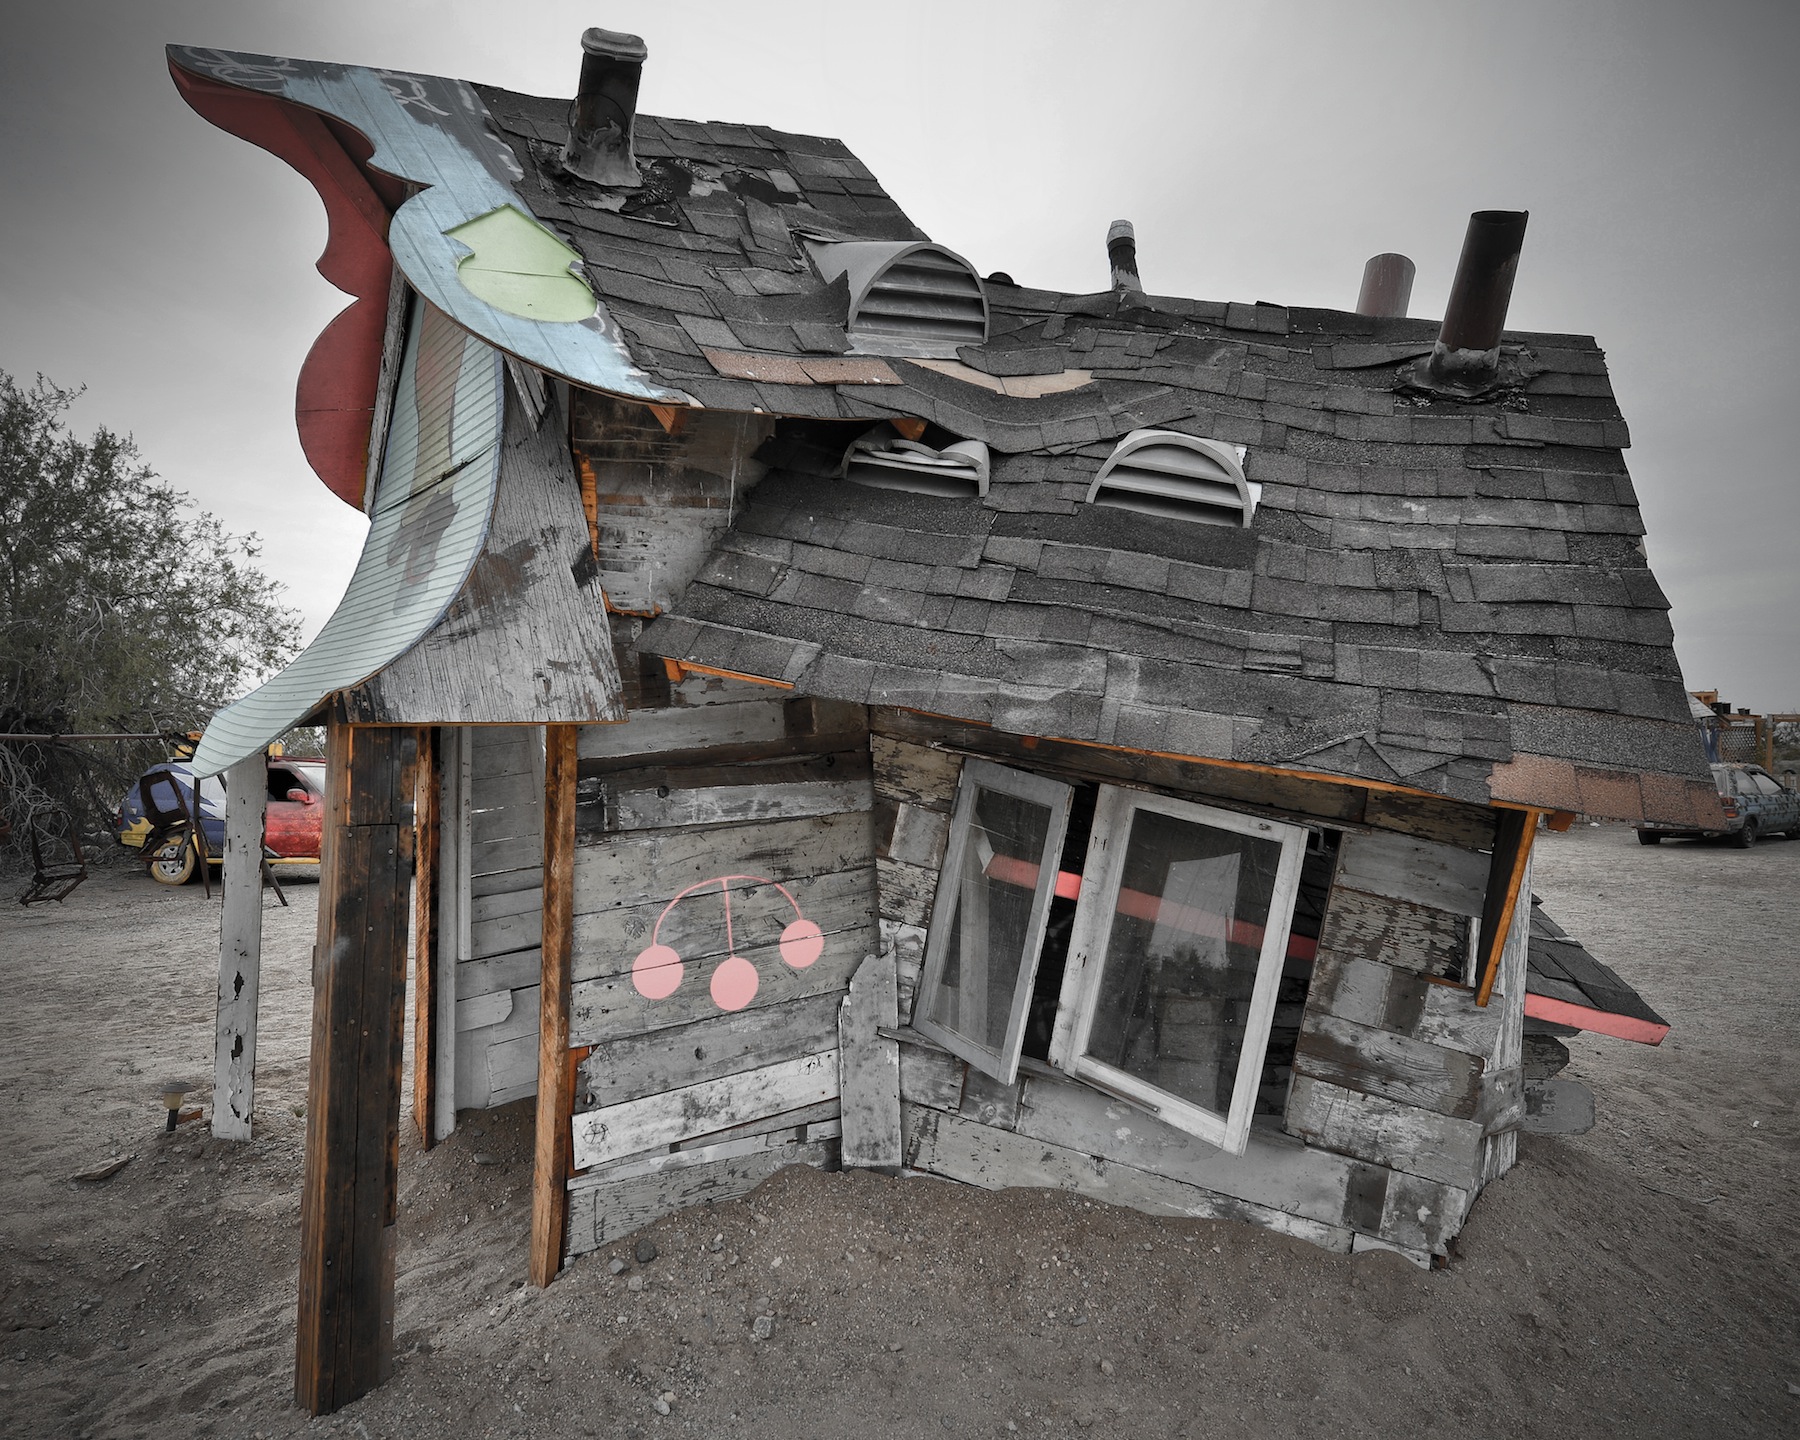
You can’t help but think of the Mad Max movies when you are wandering through East Jesus. The works of art here are just extraordinary and interesting.
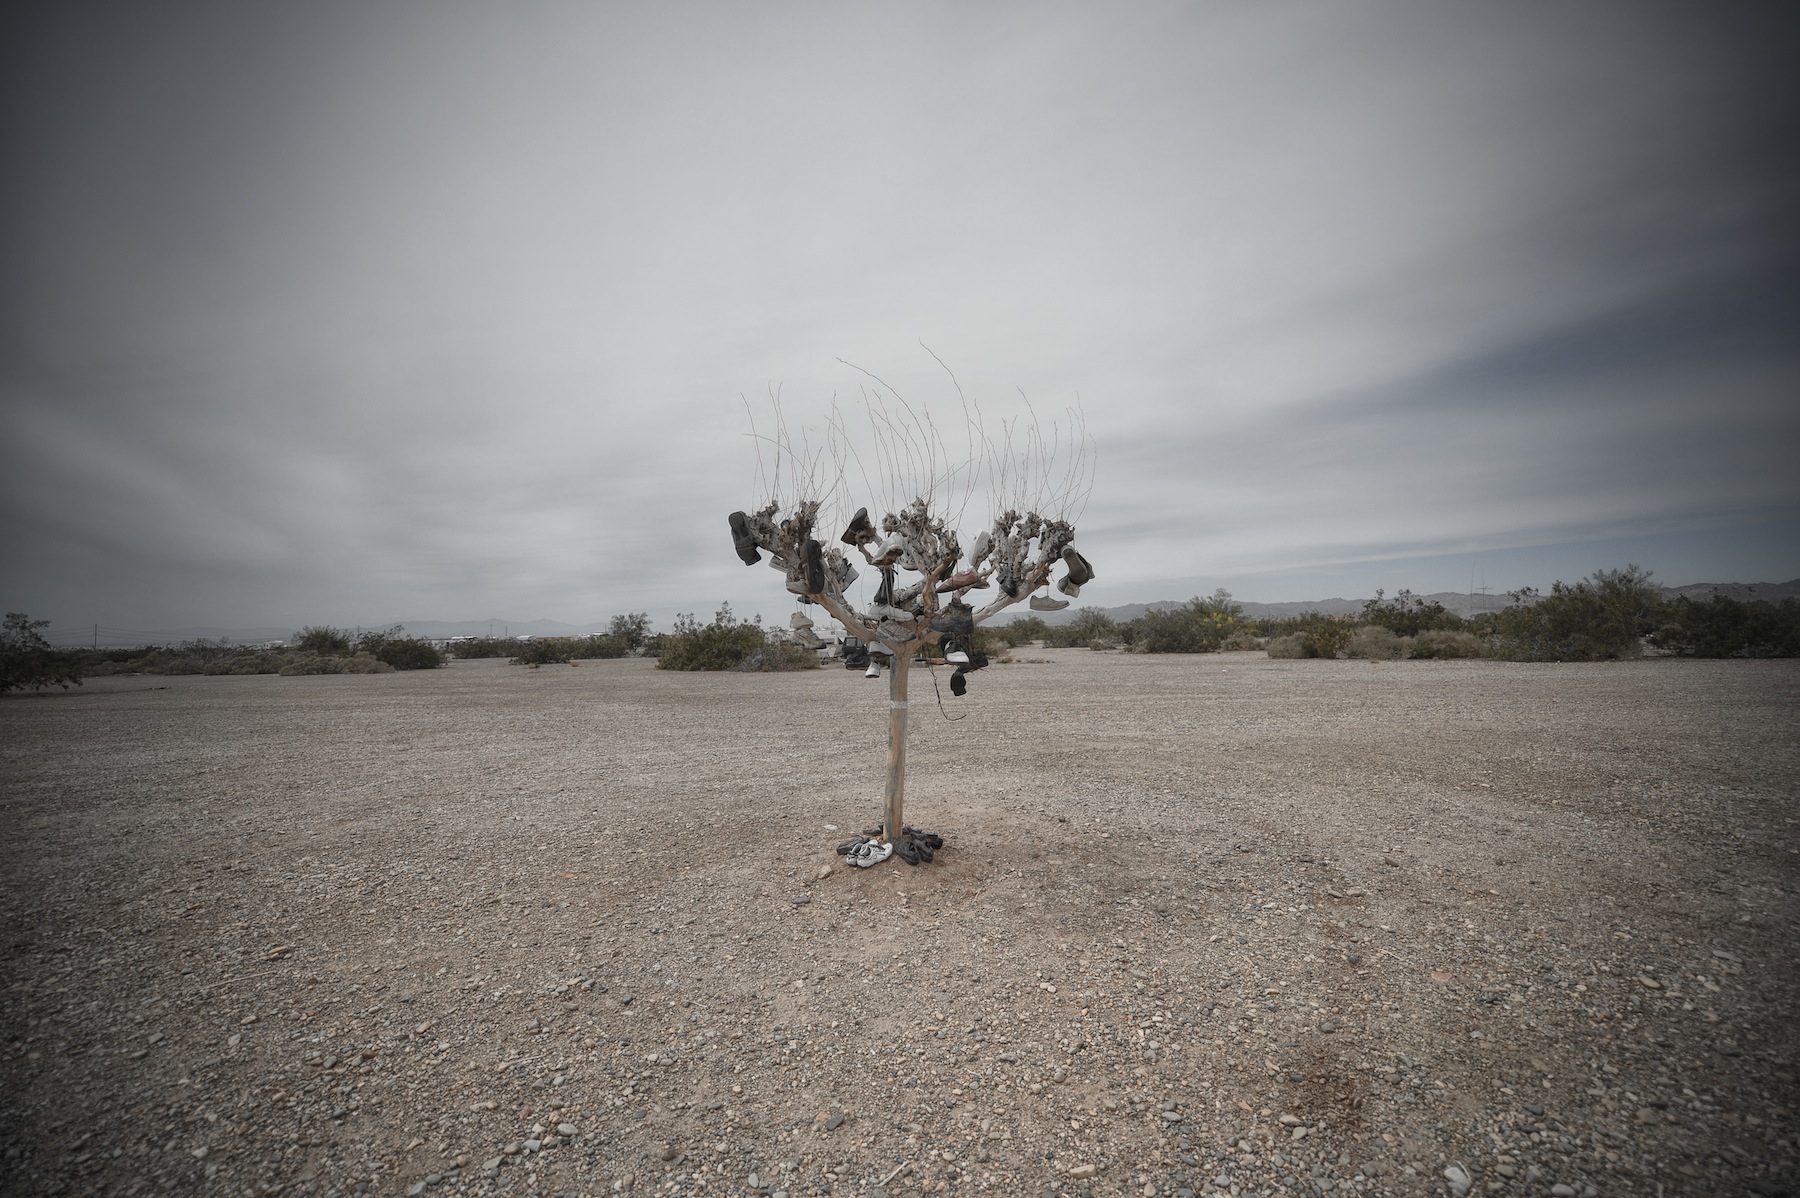
A shoe tree. How could you not have a shoe tree in this place. I love shoe trees and take pictures of them everywhere I can find them.
Ingenuity, Survival and Proms.
Slab City is under threat to be permanently closed down by the government. I am not sure why, maybe it has to do with the trash and how people just dump stuff out here.
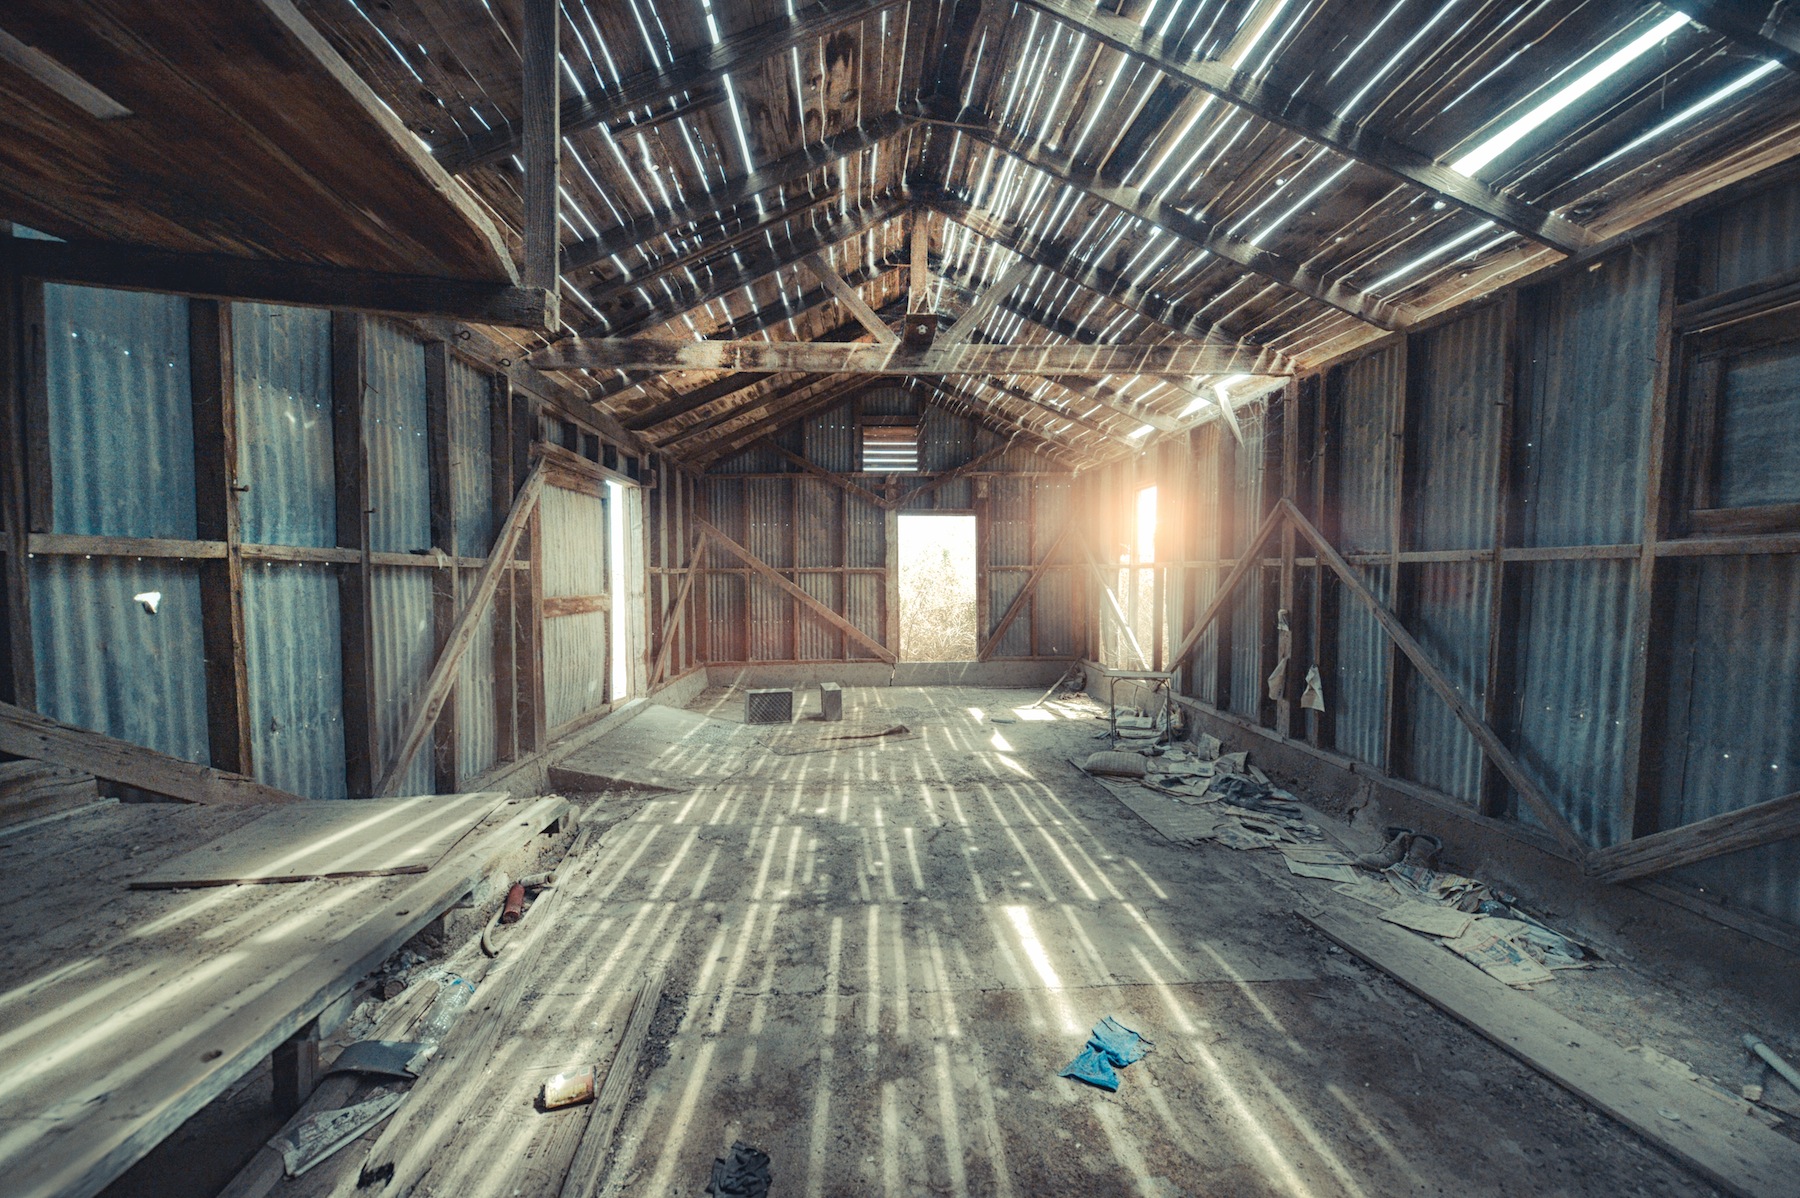
One of the many abandoned houses and businesses in the area.
In any case, Slab City has been a story of ingenuity and survival. Everywhere you look the residents take things people have left behind and make art with it. From swimming pools to Marine Water tanks, everything here is used to create art.
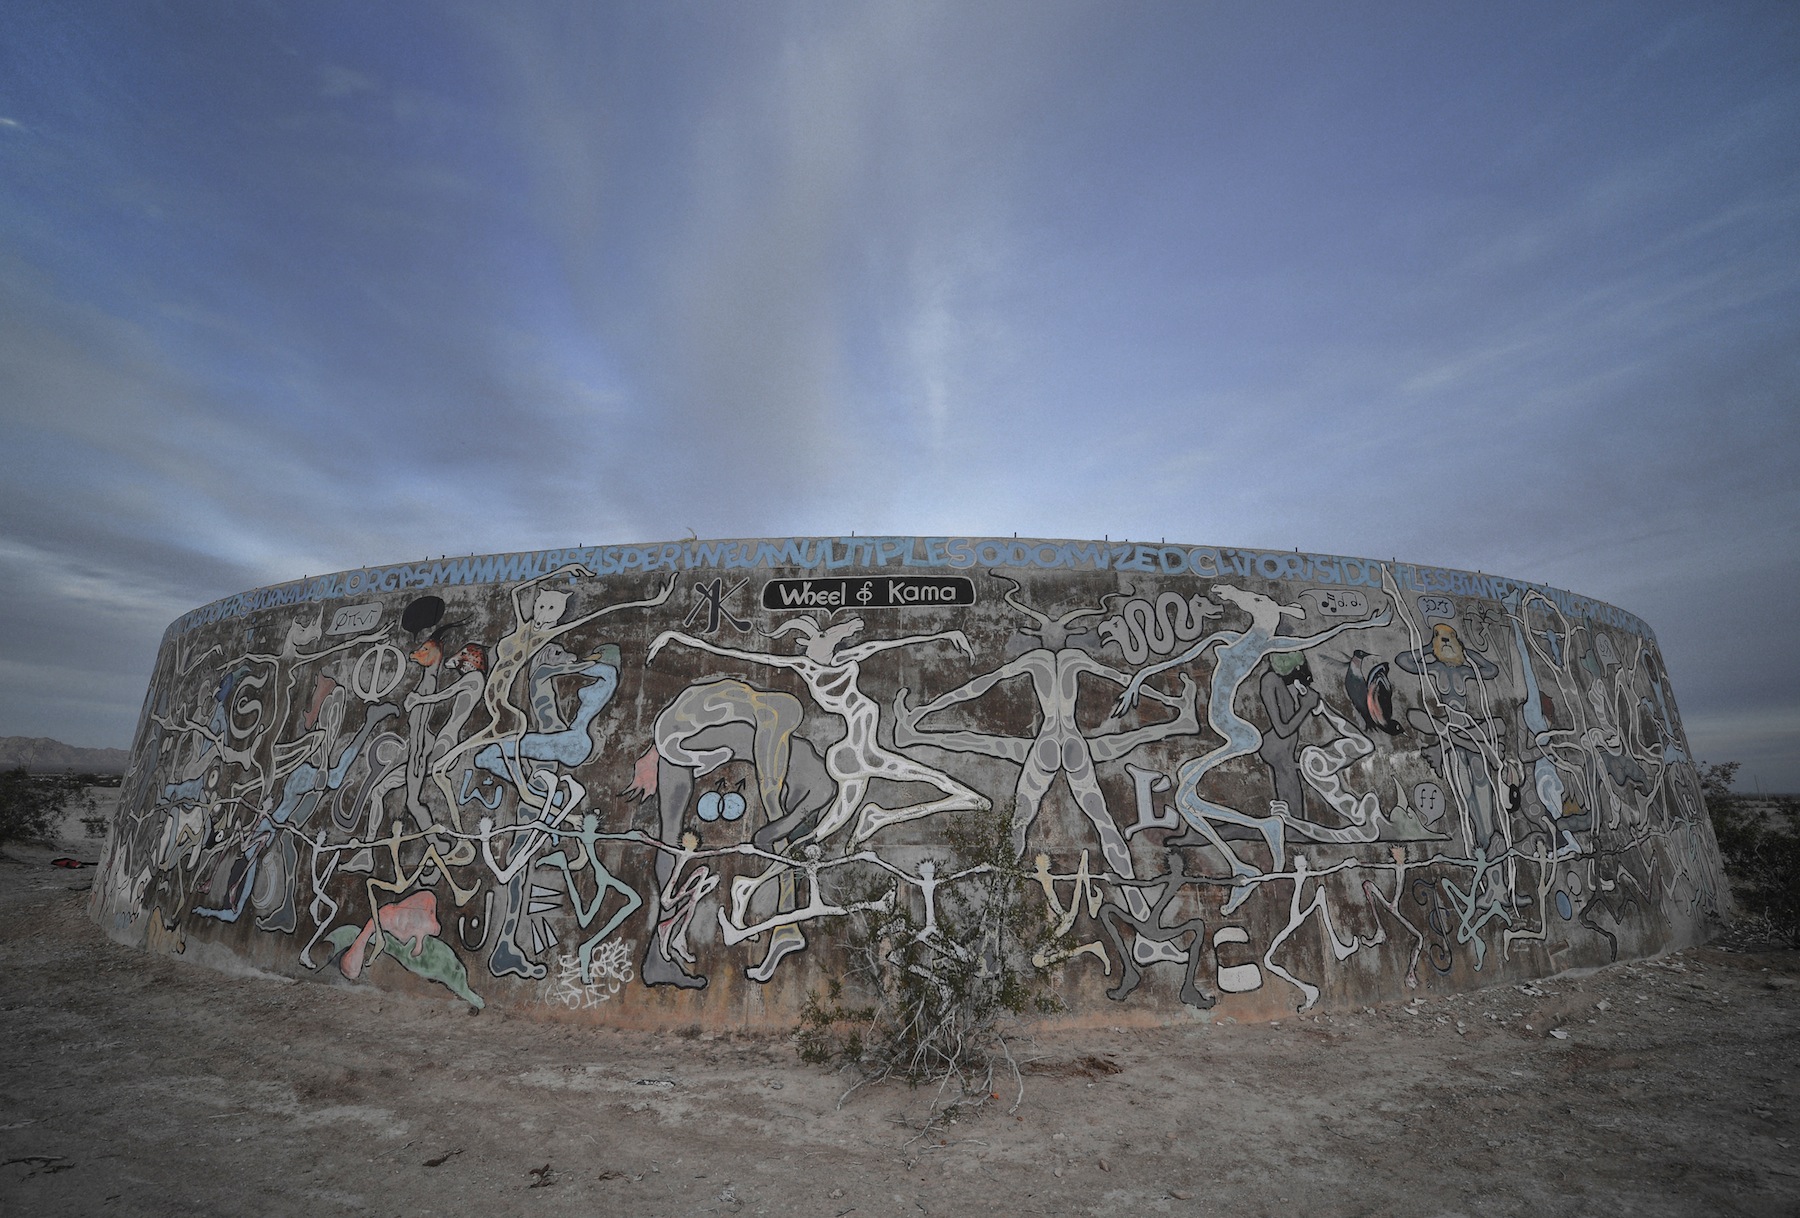
An abandoned Marine water tank has been retrofitted to become a Wheel of Kama
As, I was getting in my car to make the long drive back to San Diego, a guy stopped me and said, “why are you leaving?”. I had to get home I told him. He said, “YOU CANT LEAVE TODAY!, Tomorrow is Slab City Prom. The biggest day of the year. People get dressed up like a prom. You have to stay!”.
I got into my car smiling and shaking my head. I couldn’t believe it. Slab City even has their own prom. I’m definitely coming back again to see that someday.
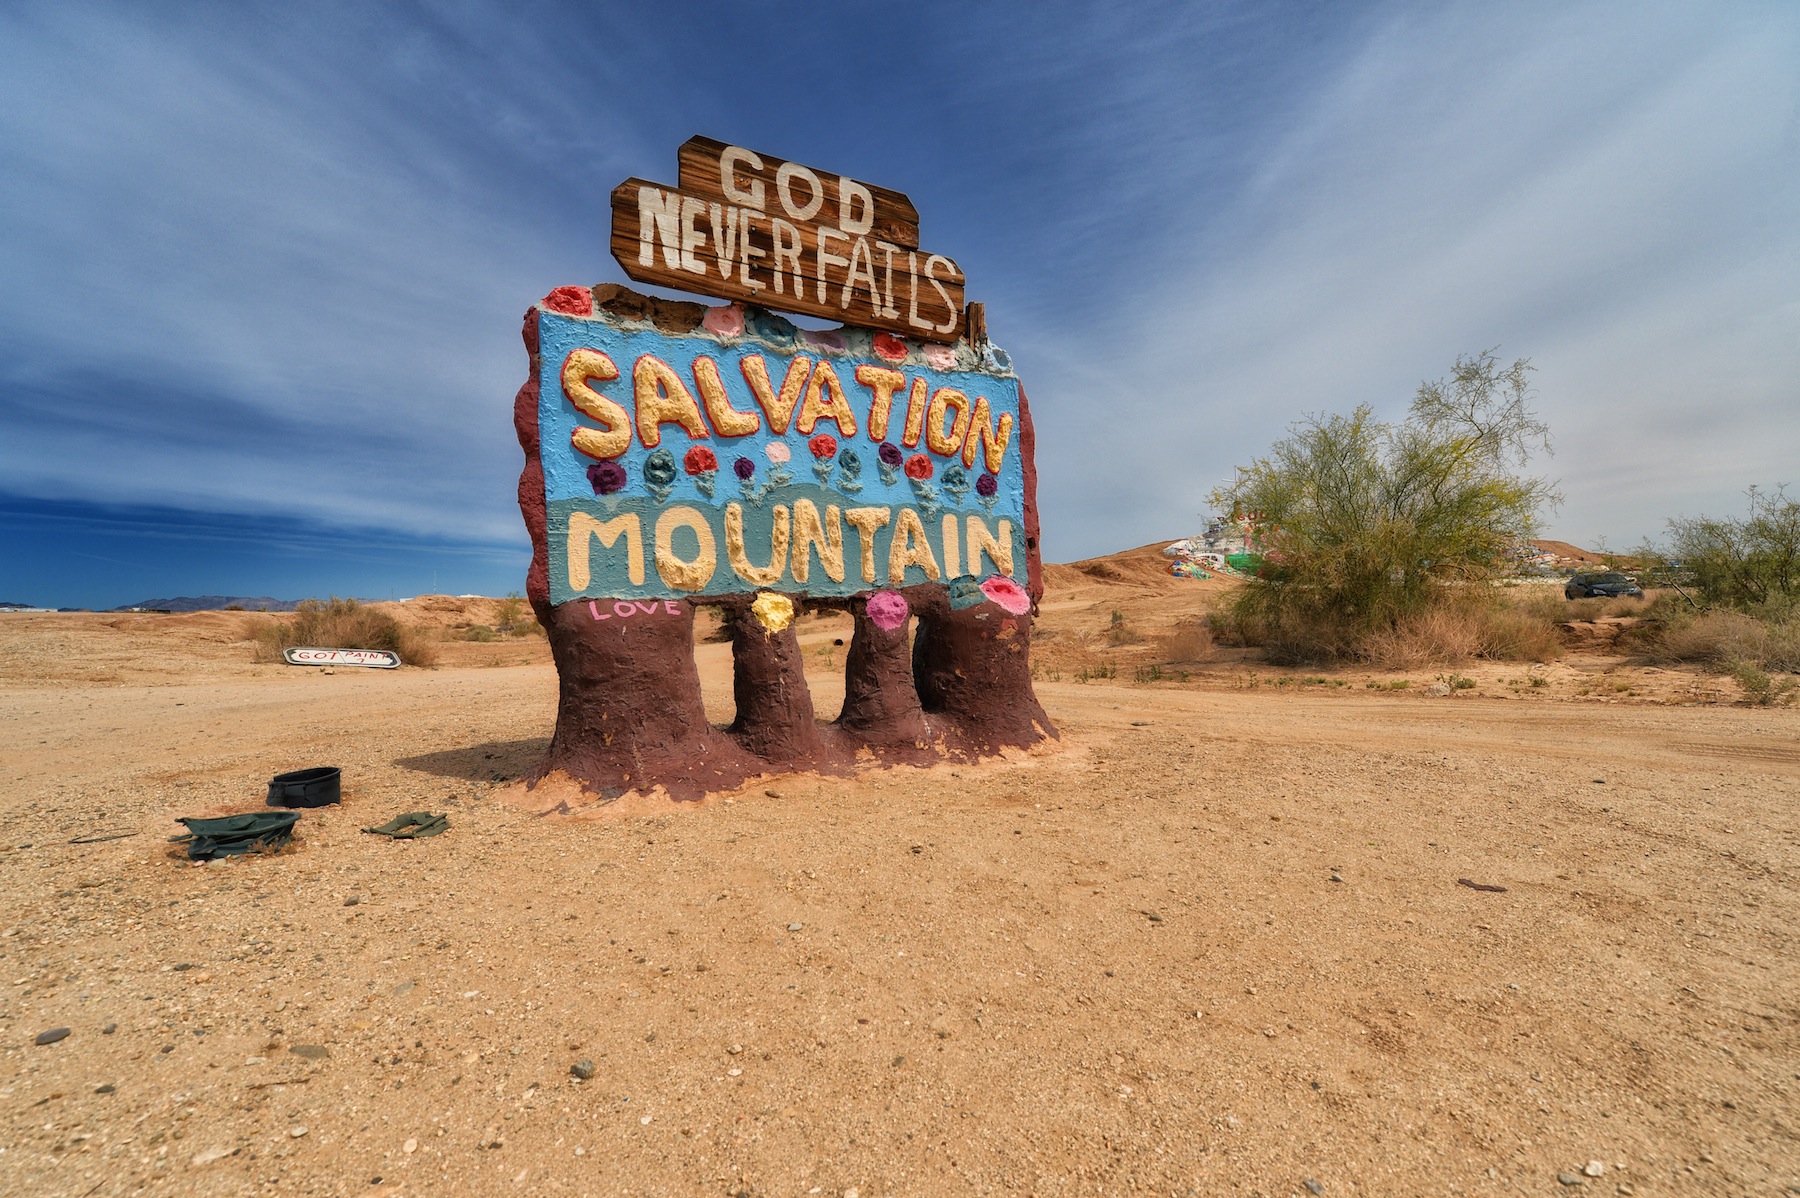
Oh Lord take me to Salvation Mountain

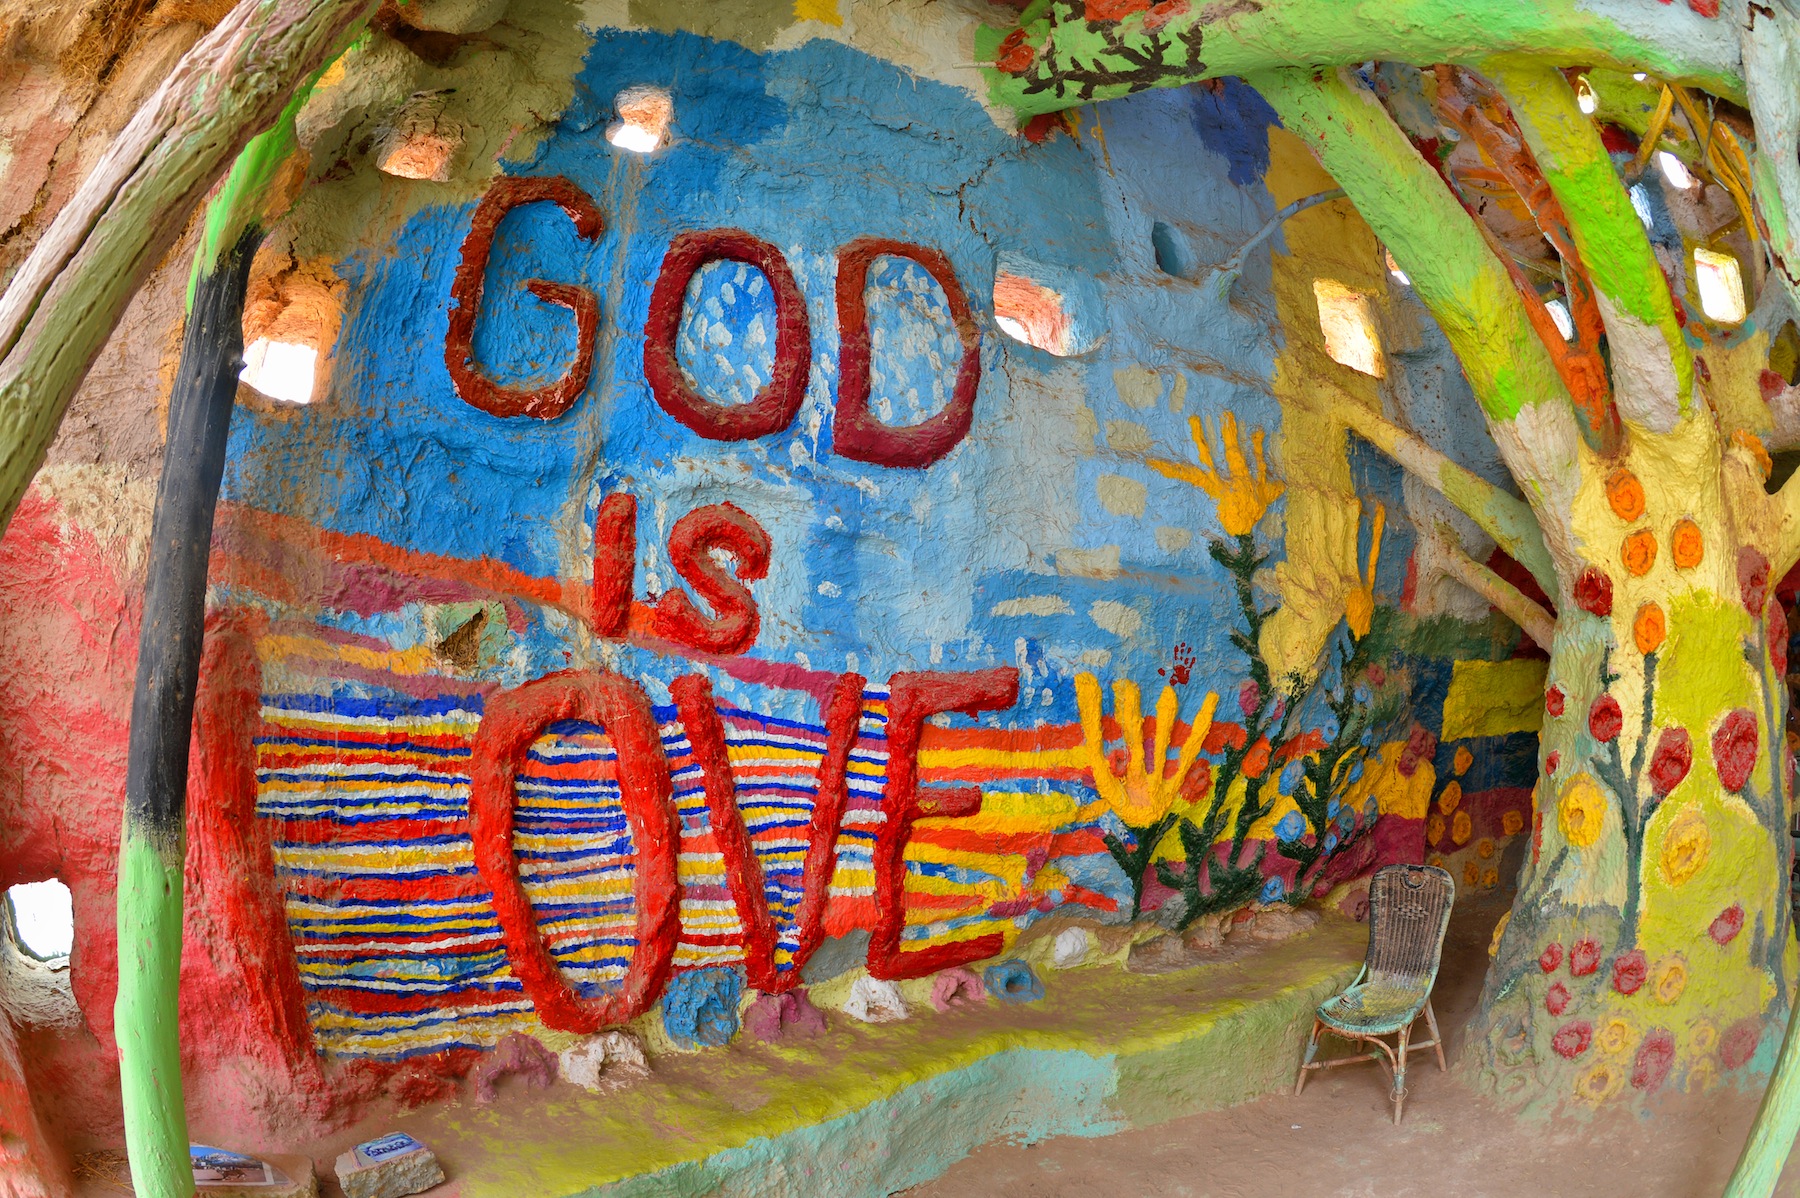
I pulled into the dirt parking lot which seemed to be an eclectic mix of heavily graffitied cars and dusty trailers, trucks and sofas. I had arrived at Salvation Mountain, all 50 feet high and 150 feet wide of it. There were no other mountains around, in fact everything around the surrounding desert was flat and rocky. This was not a mirage in the middle of the desert but a mountain built by one man and made entirely of paint and adobe. His mission was to spread the word that “God is Love”. Many people in the world have the same mission but the man that built this strange and beautiful shrine has done something more extraordinary than anyone before.
The Man
Leonard Knight was born in 1931 in Vermont and moved to San Diego in 1956. A devout Christian he had a dream to build a hot air balloon where he would advertise the Lord’s Prayer to spread the word. Over many years he stitched together a huge balloon but after many failed attempts to inflate it the balloon began to rot and fall apart. On to Plan B.
Many people became introduced to Leonard Knight when he appeared in the hit movie “Into the Wild”. You can sense his passion for his creation in the movie.
In 1984 Leonard Knight traveled to the little town of Slab City and liked the weather so much he decided to stay. Since his balloon attempt failed he decided to build a small monument in the desert with a single bag of cement. One thing lead to another and his monument started to get bigger and bigger each day. For four years he built what started to become a mountain. Then one day the ground underneath the mountain was so unstable that it all came falling down. On the Plan C.
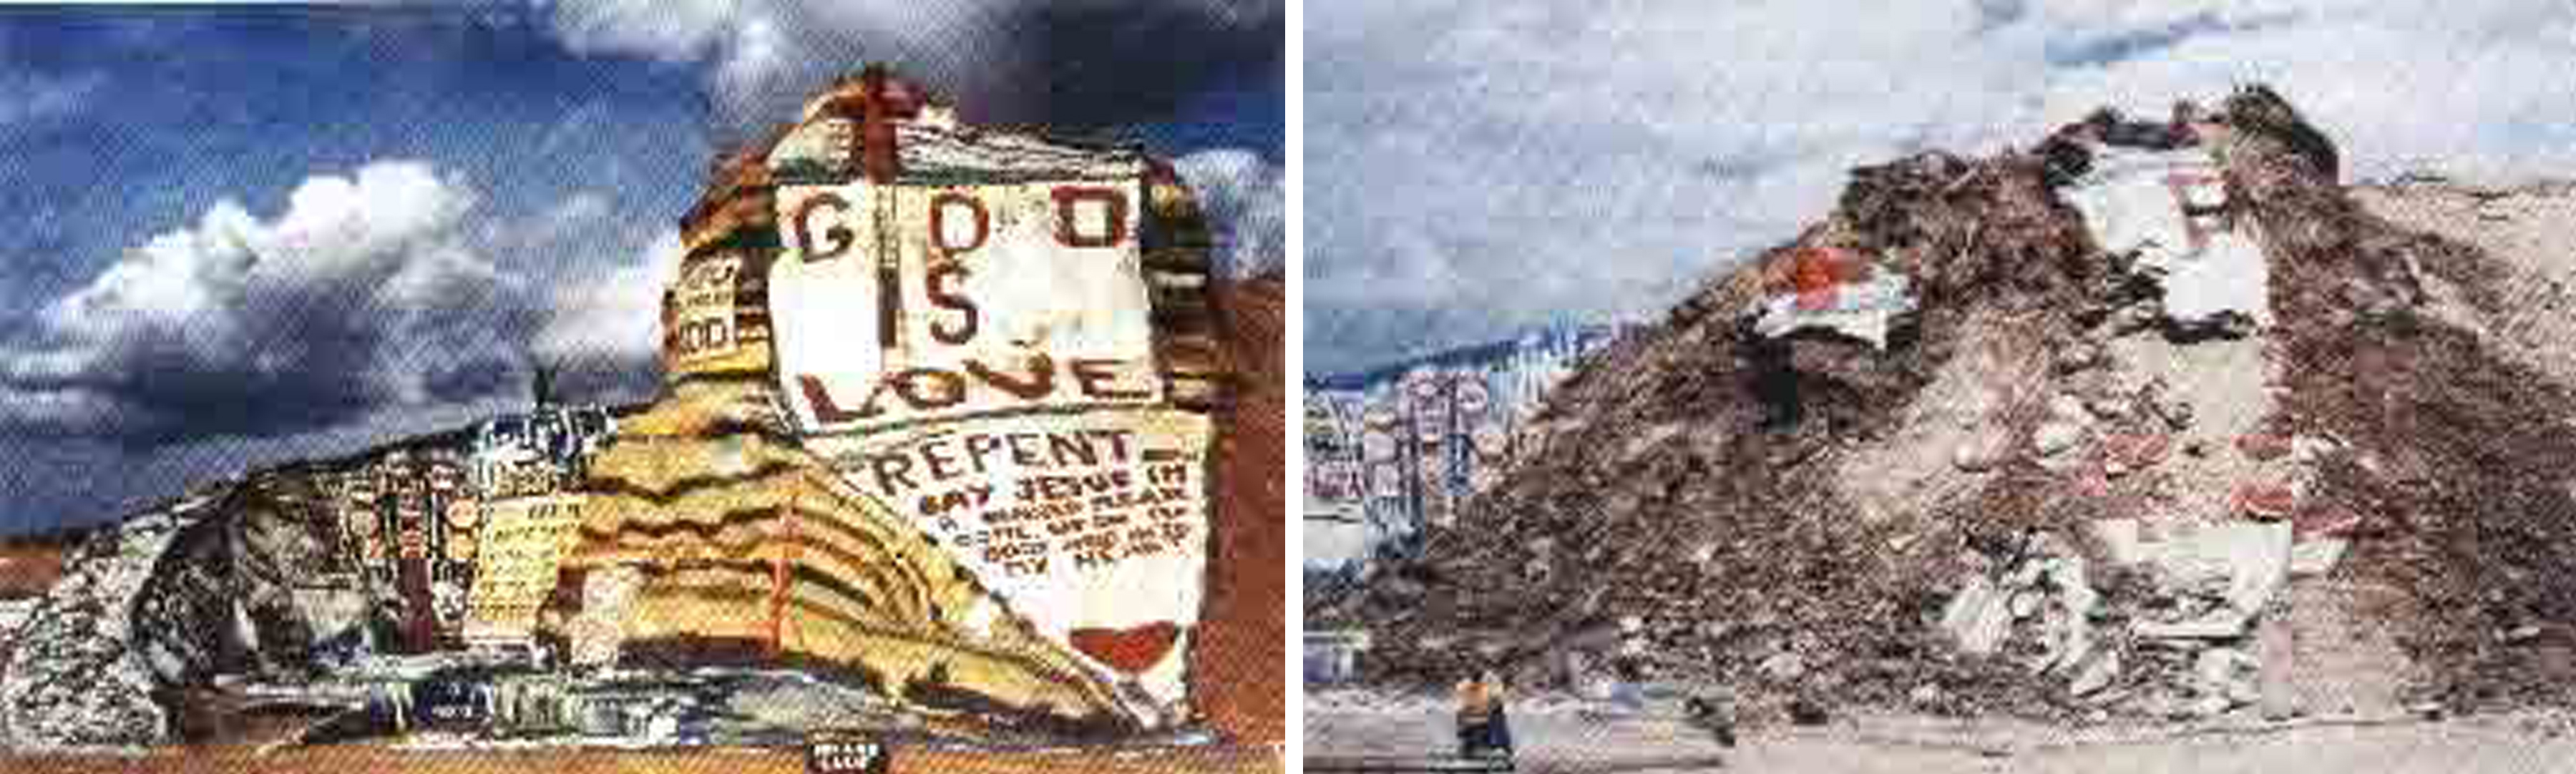
Larry Yust, Photographer took this picture of the original mountain before and after it crumbled. (Courtesy of SalvationMountain.com)
Leonard did not give up, rather changed the material that he was using to native adobe clay and straw. As he built up the mountain be began coating it with paint to keep the clay from eroding. Leonard had found the secret mix that would keep Salvation Mountain together. The more he painted, the stronger the mountain became and the more people that started to come. Leonard had built something infinitely more valuable than a hot air balloon. He had built a mountain in the desert.
Leonard, now 80 years old is in a care facility back in San Diego so he does not care for the mountain anymore. Rather volunteers keep the mountain up which to this day continues to grow and attract people. The mountain is a testament to the tenacity of one man to build something in spite of failure after failure.
You can check out a selection of my pictures from Salvation Mountain at this gallery link – Gallery of Salvation Mountain in Niland California.
Builder Bob or Bob the Builder
A dusty man greeted me at the mountain. Deeply tanned he told me his name was Bob but I could call him Builder Bob because that is what he did. He takes care of the mountain now that Leonard is gone.

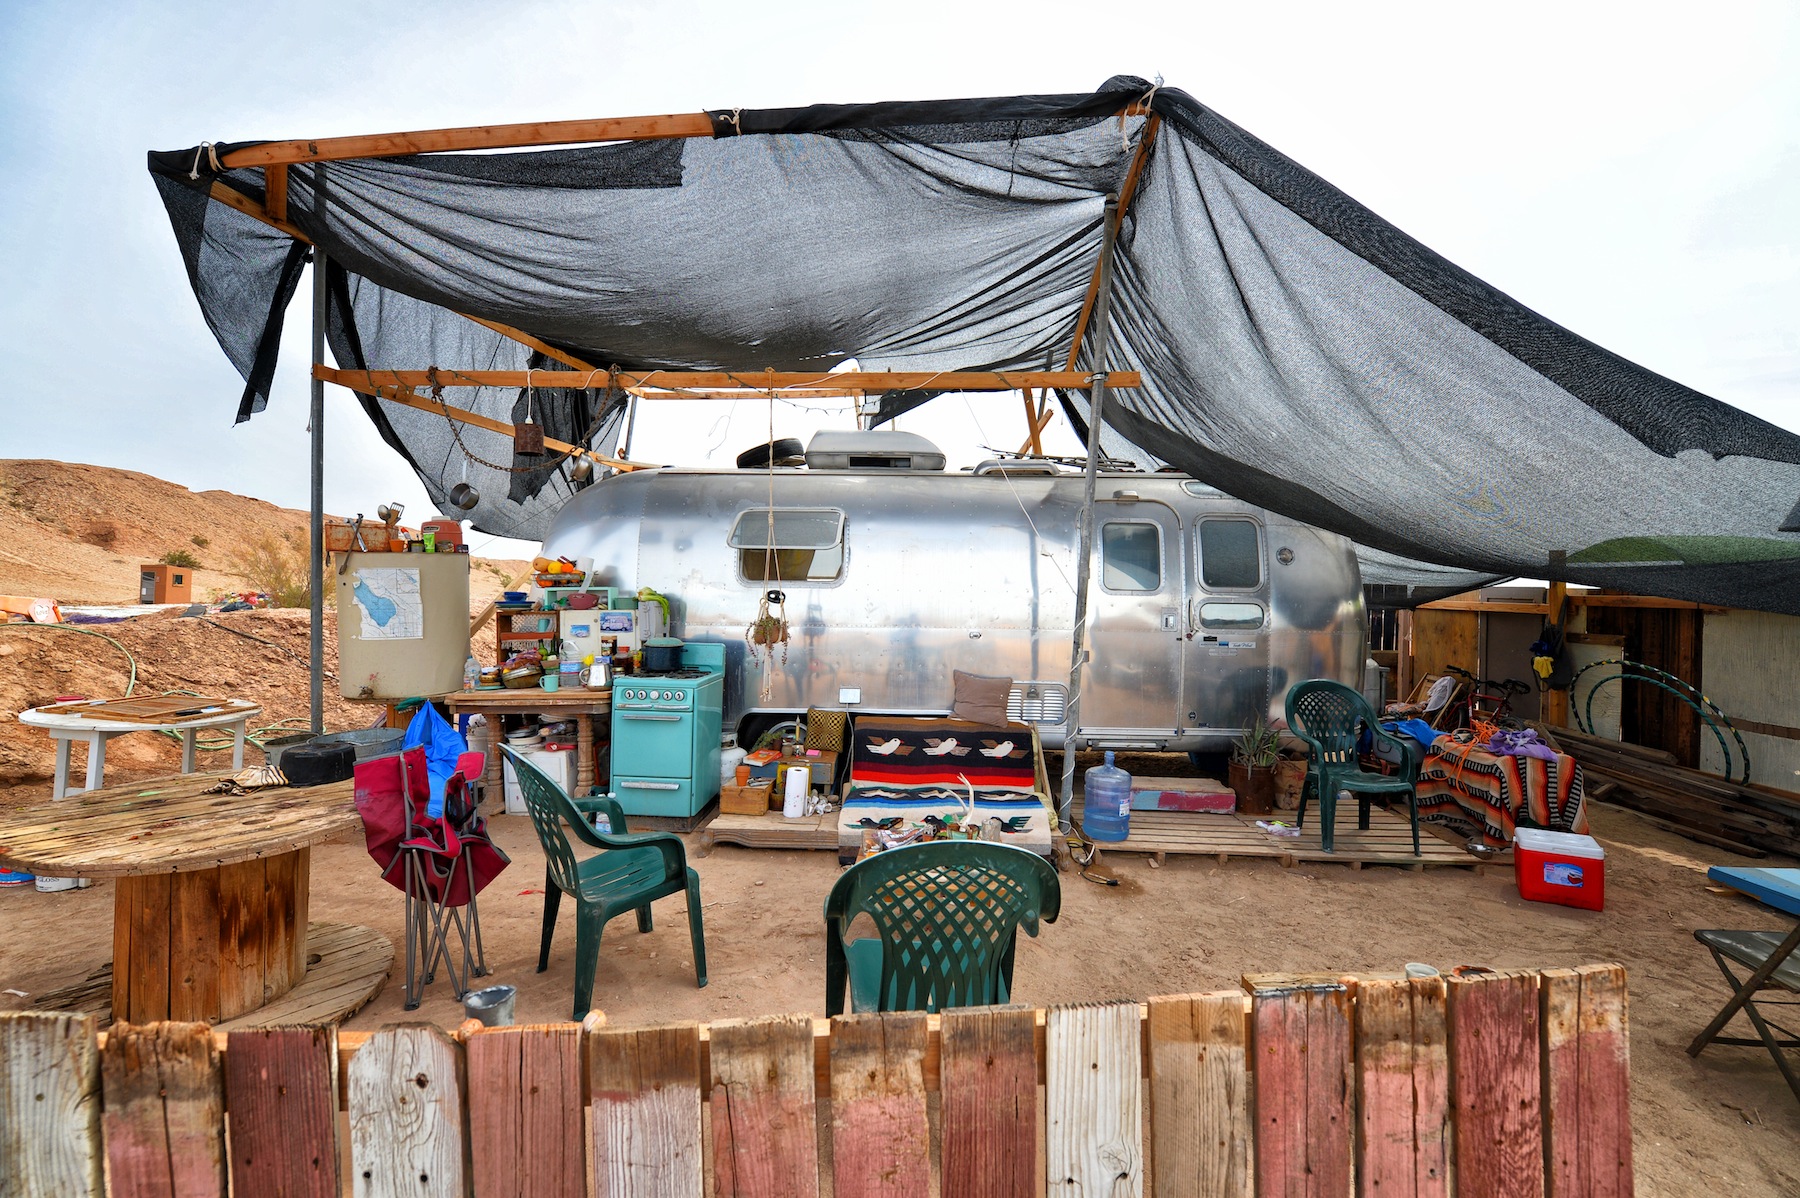
He lives in an aluminum Airstream right next to the mountain. On the day I was there he was taking in a band of roving musicians called “Cadaver” from Germany to stay with him and help maintain the mountain.
Bob the Builder smiled as I gave him a $20 donation and said that it would go towards paint on the mountain. In some ways I was quite thrilled to know that I would somehow be responsible for helping to build up the mountain. But part of me questions how long the mountain would actually remain standing. I mean Bob the Builder seemed to be doing an admiral job of keeping it up but the real passion behind the mountain – Leonard Knight – was aging and now in a nursing home. Would the mountain still be here in 50 years? I am not sure of the answer. Part of me doubts it.
The Message
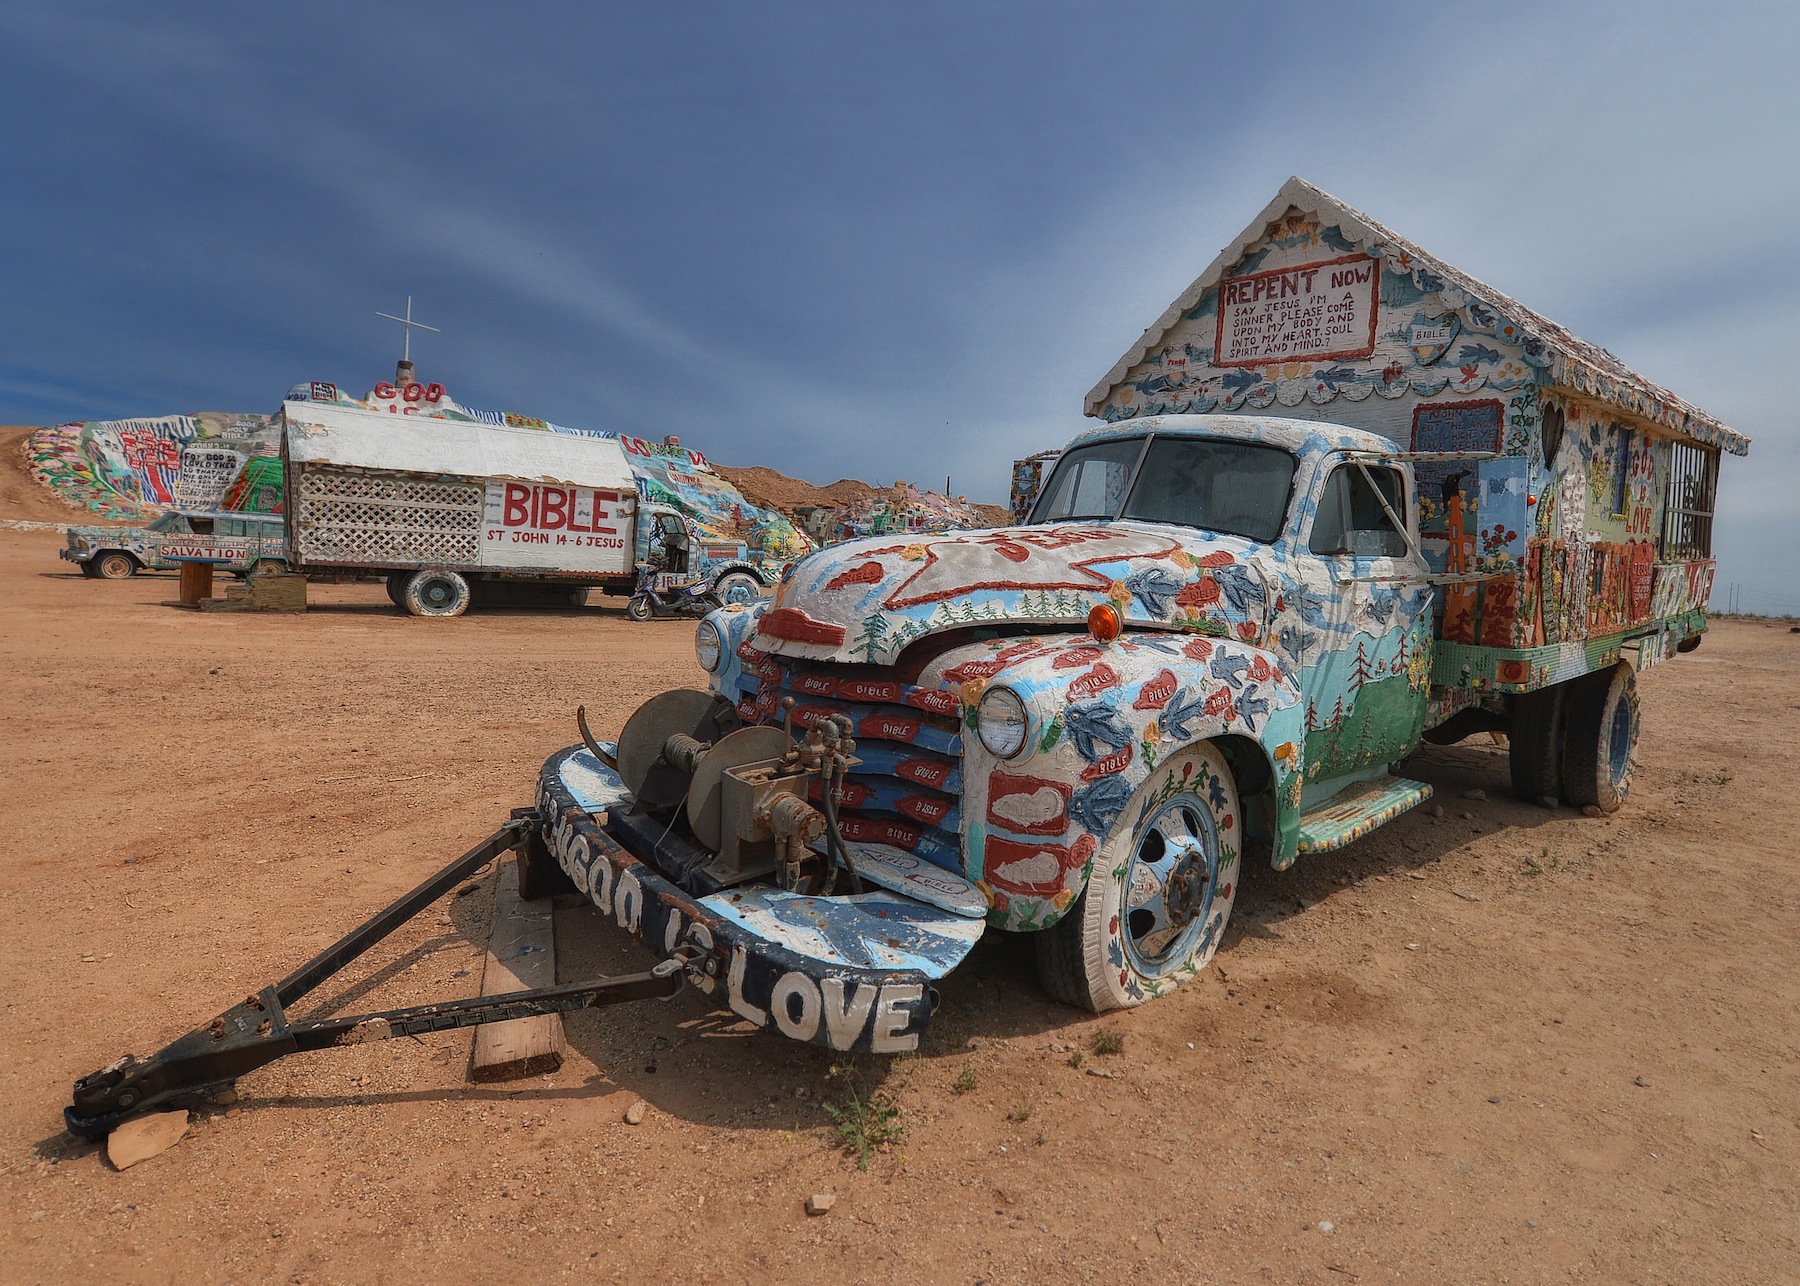
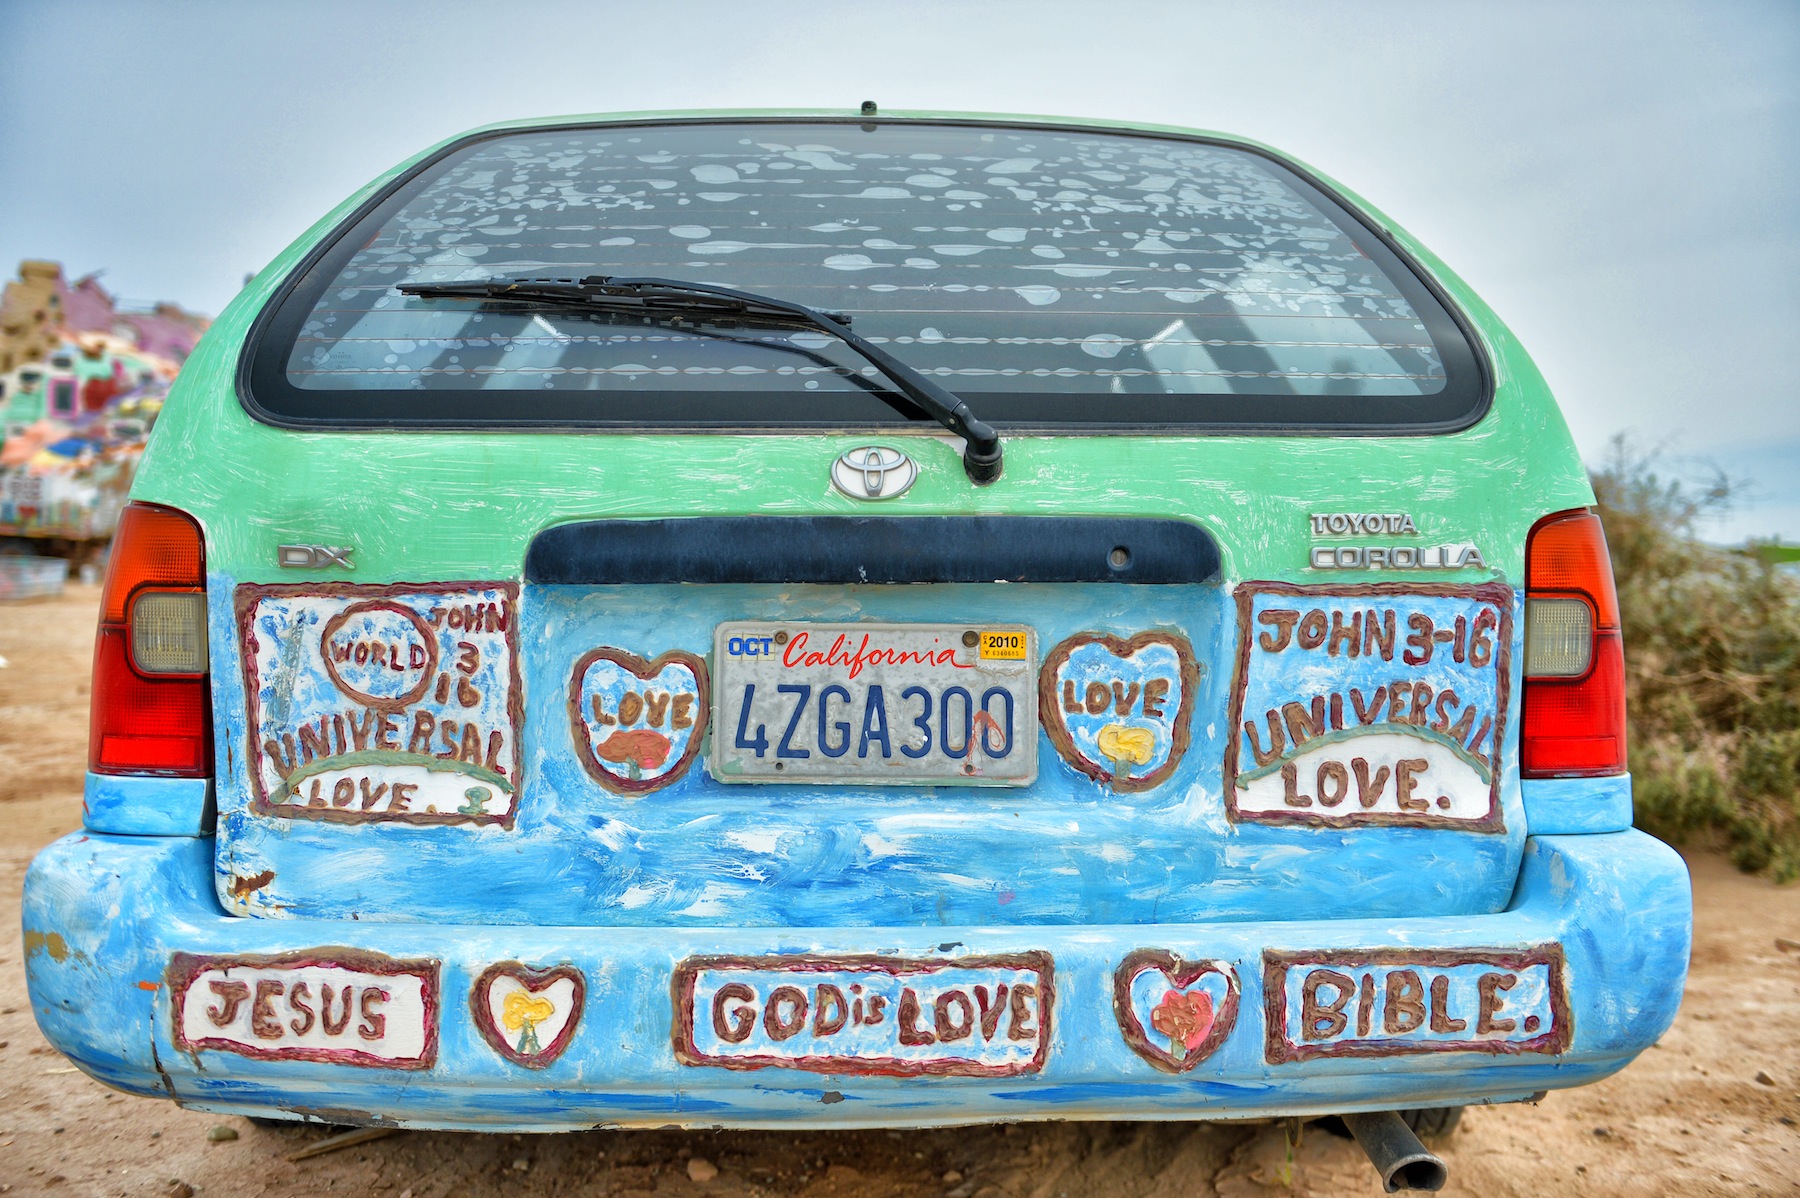
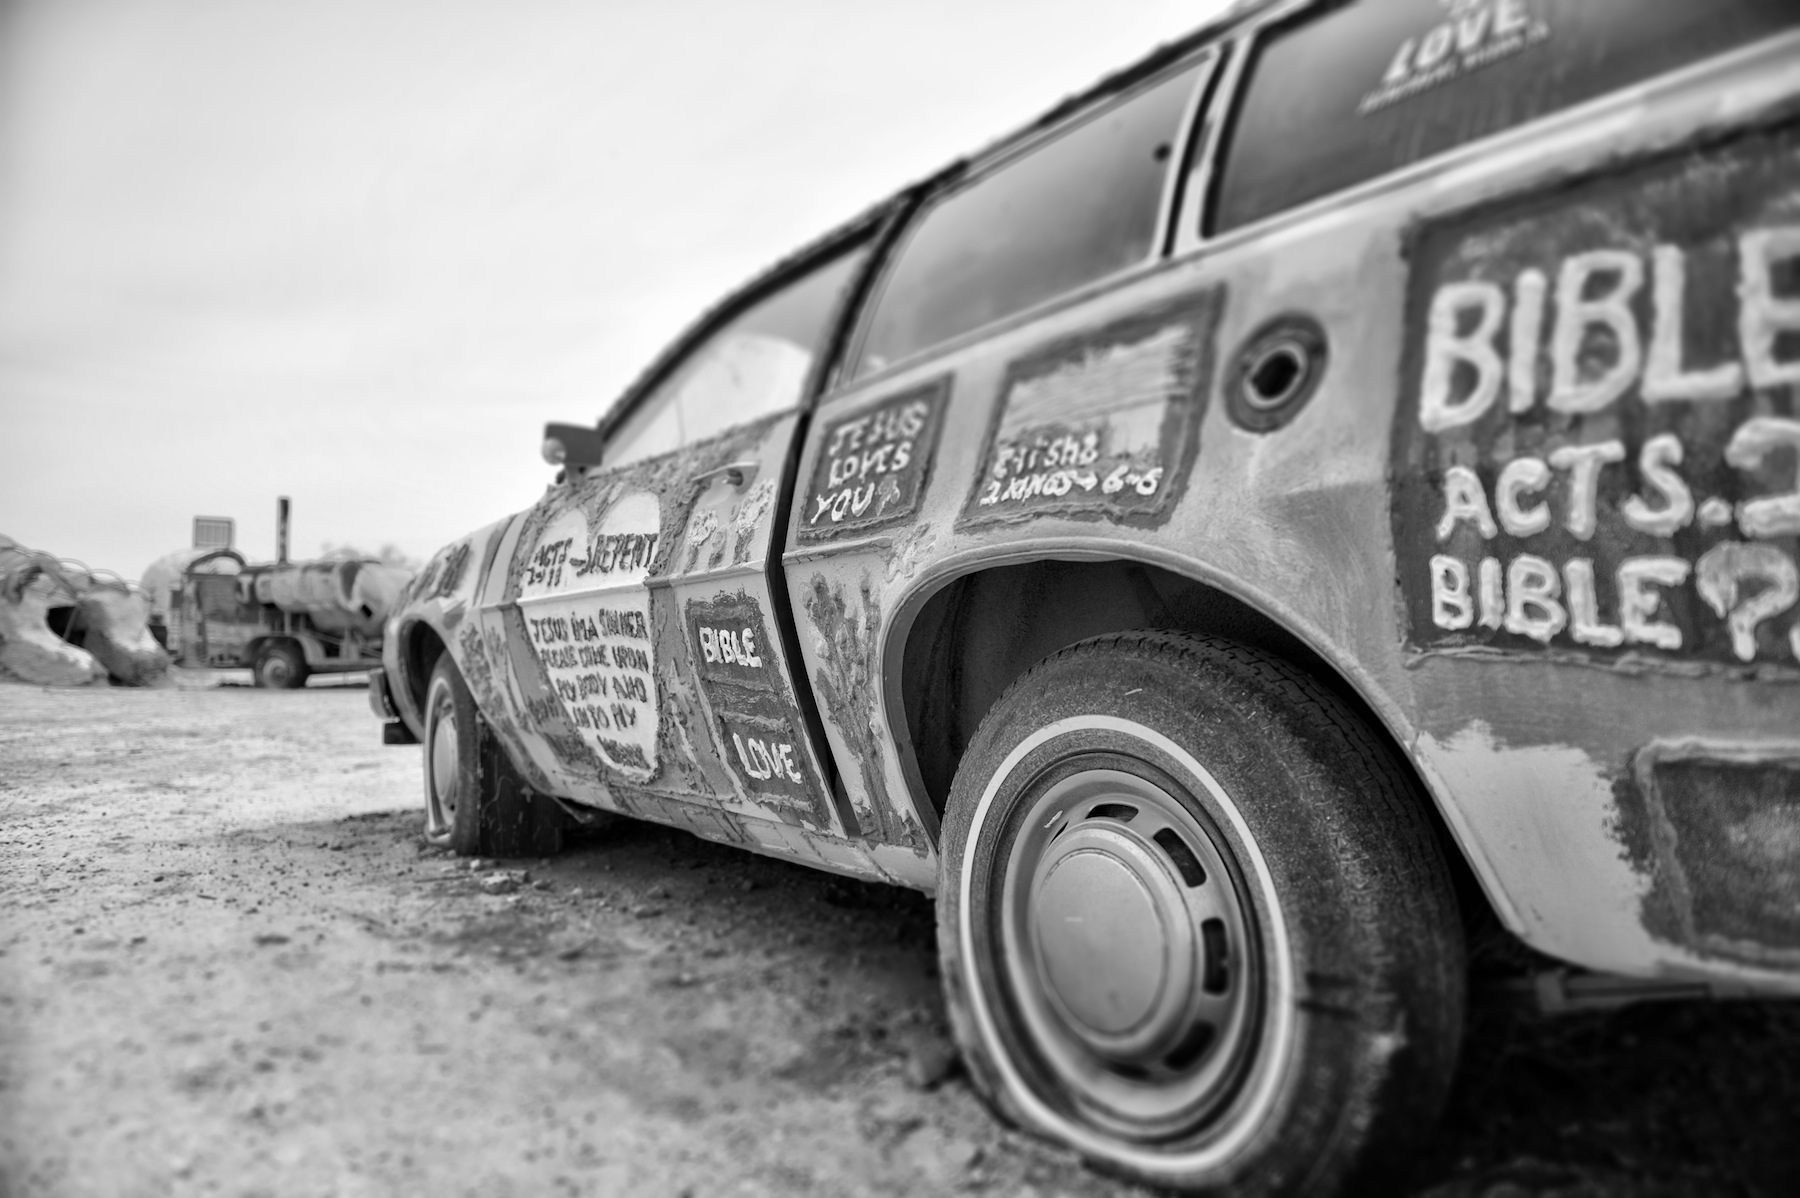
The message of the mountain is Love. That much is clear because that word appears hundreds of times – painted into everywhere you look. The other message is repentance. That word appears everywhere too. There are old trucks that are painted and they are scattered everywhere around the mountain. You can go in some. The trucks wheels are buried in the sand. They have not moved for years.
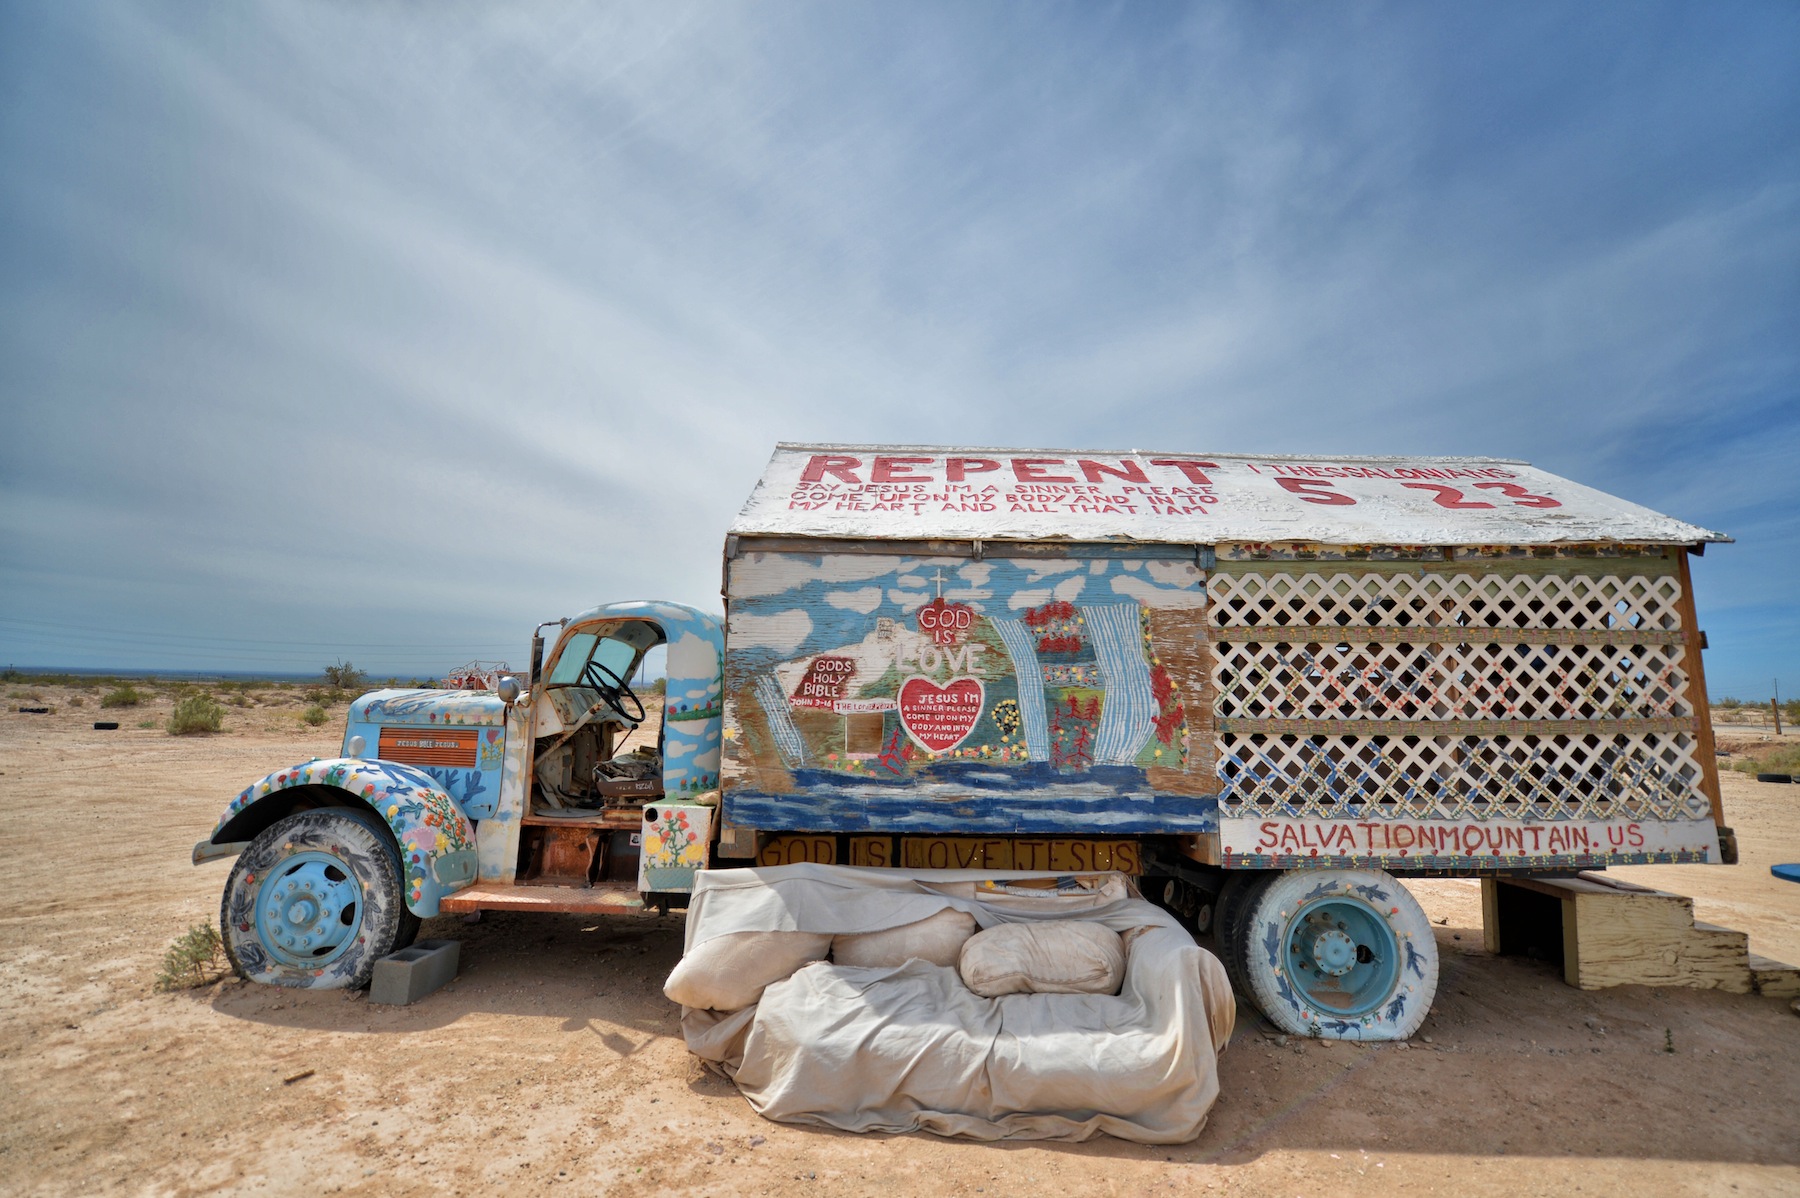
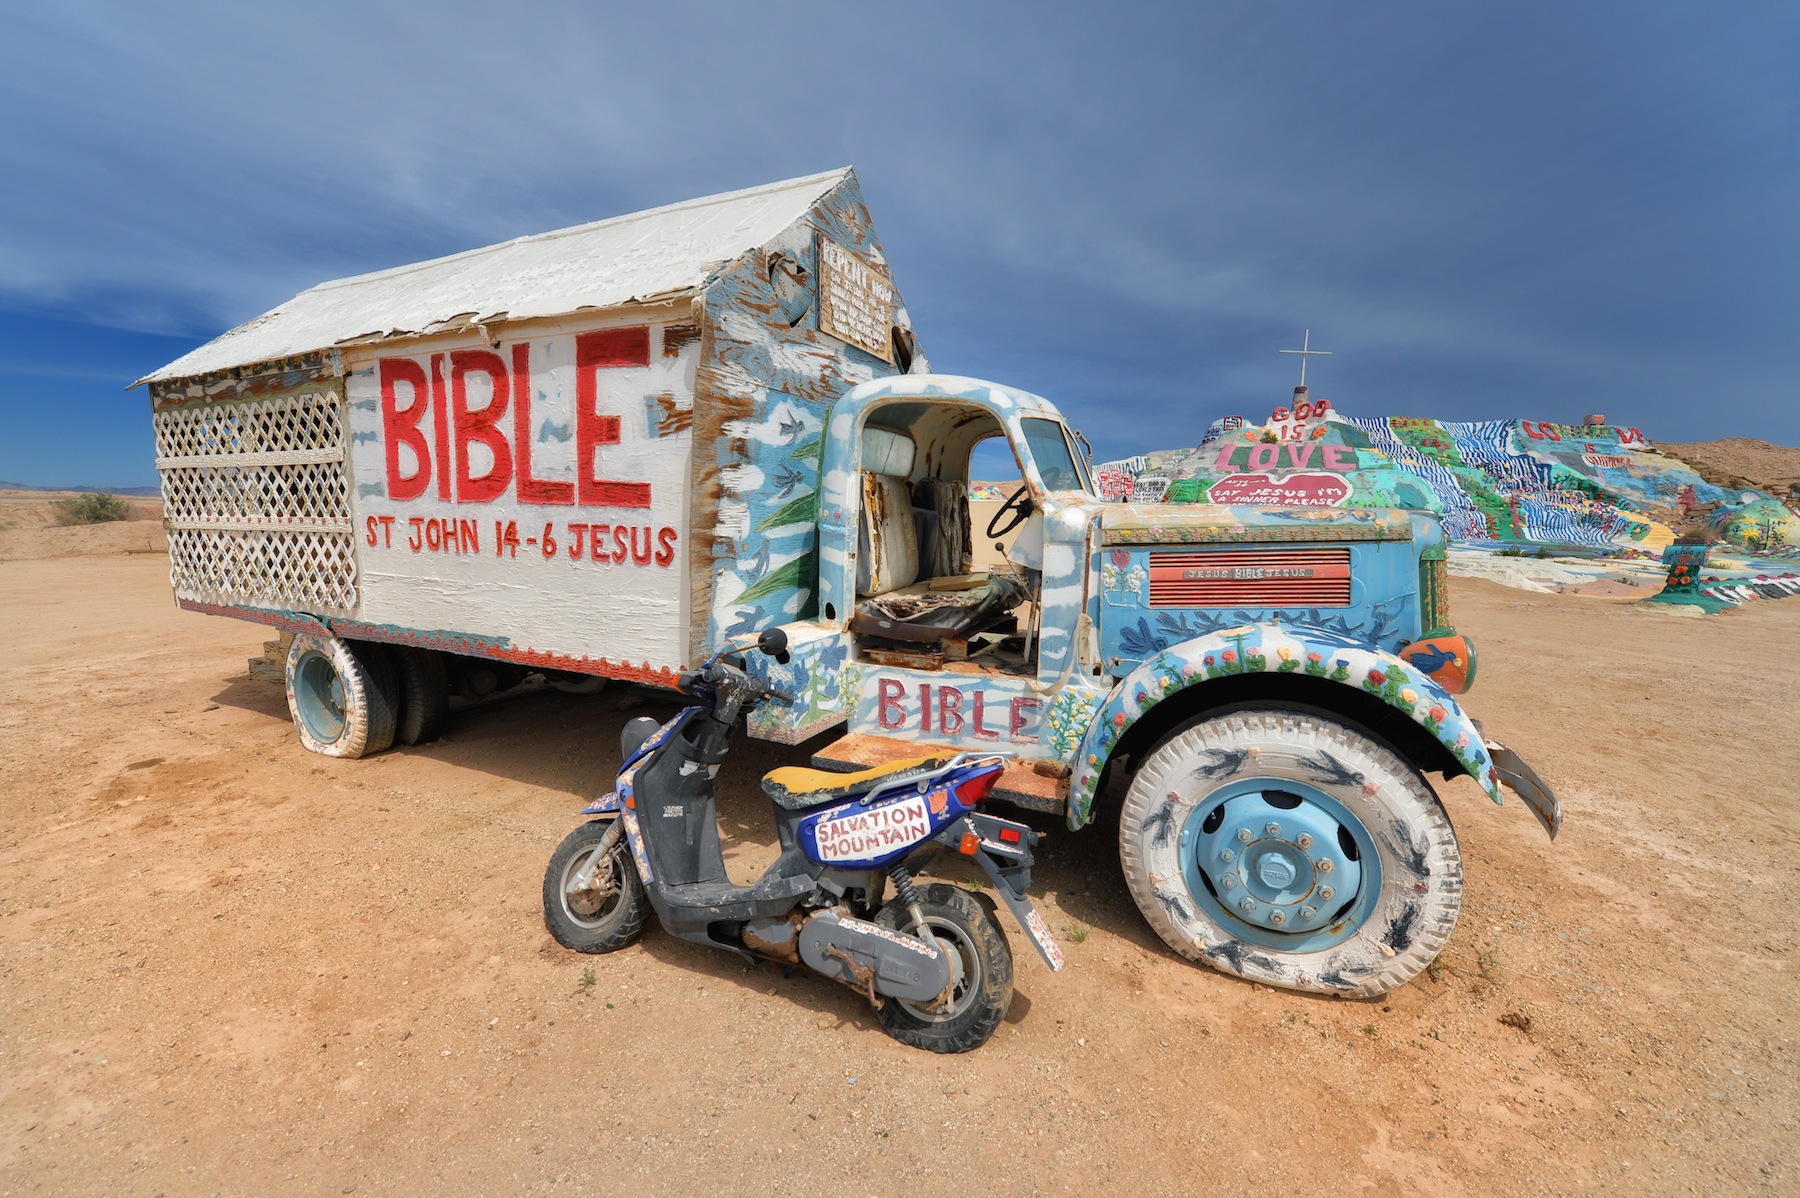
If you have ever watched the TV Show Breaking Bad and you love it then you might want to head out to this area. The dusty desert roads and derelict scenes are reminiscent of Walter White and his Motor Home Meth Labs. This truck in particular reminded me of something you would have seen in the show. This motor home was actually working and moving. Someone lives in it. I am not sure who but it was cool.
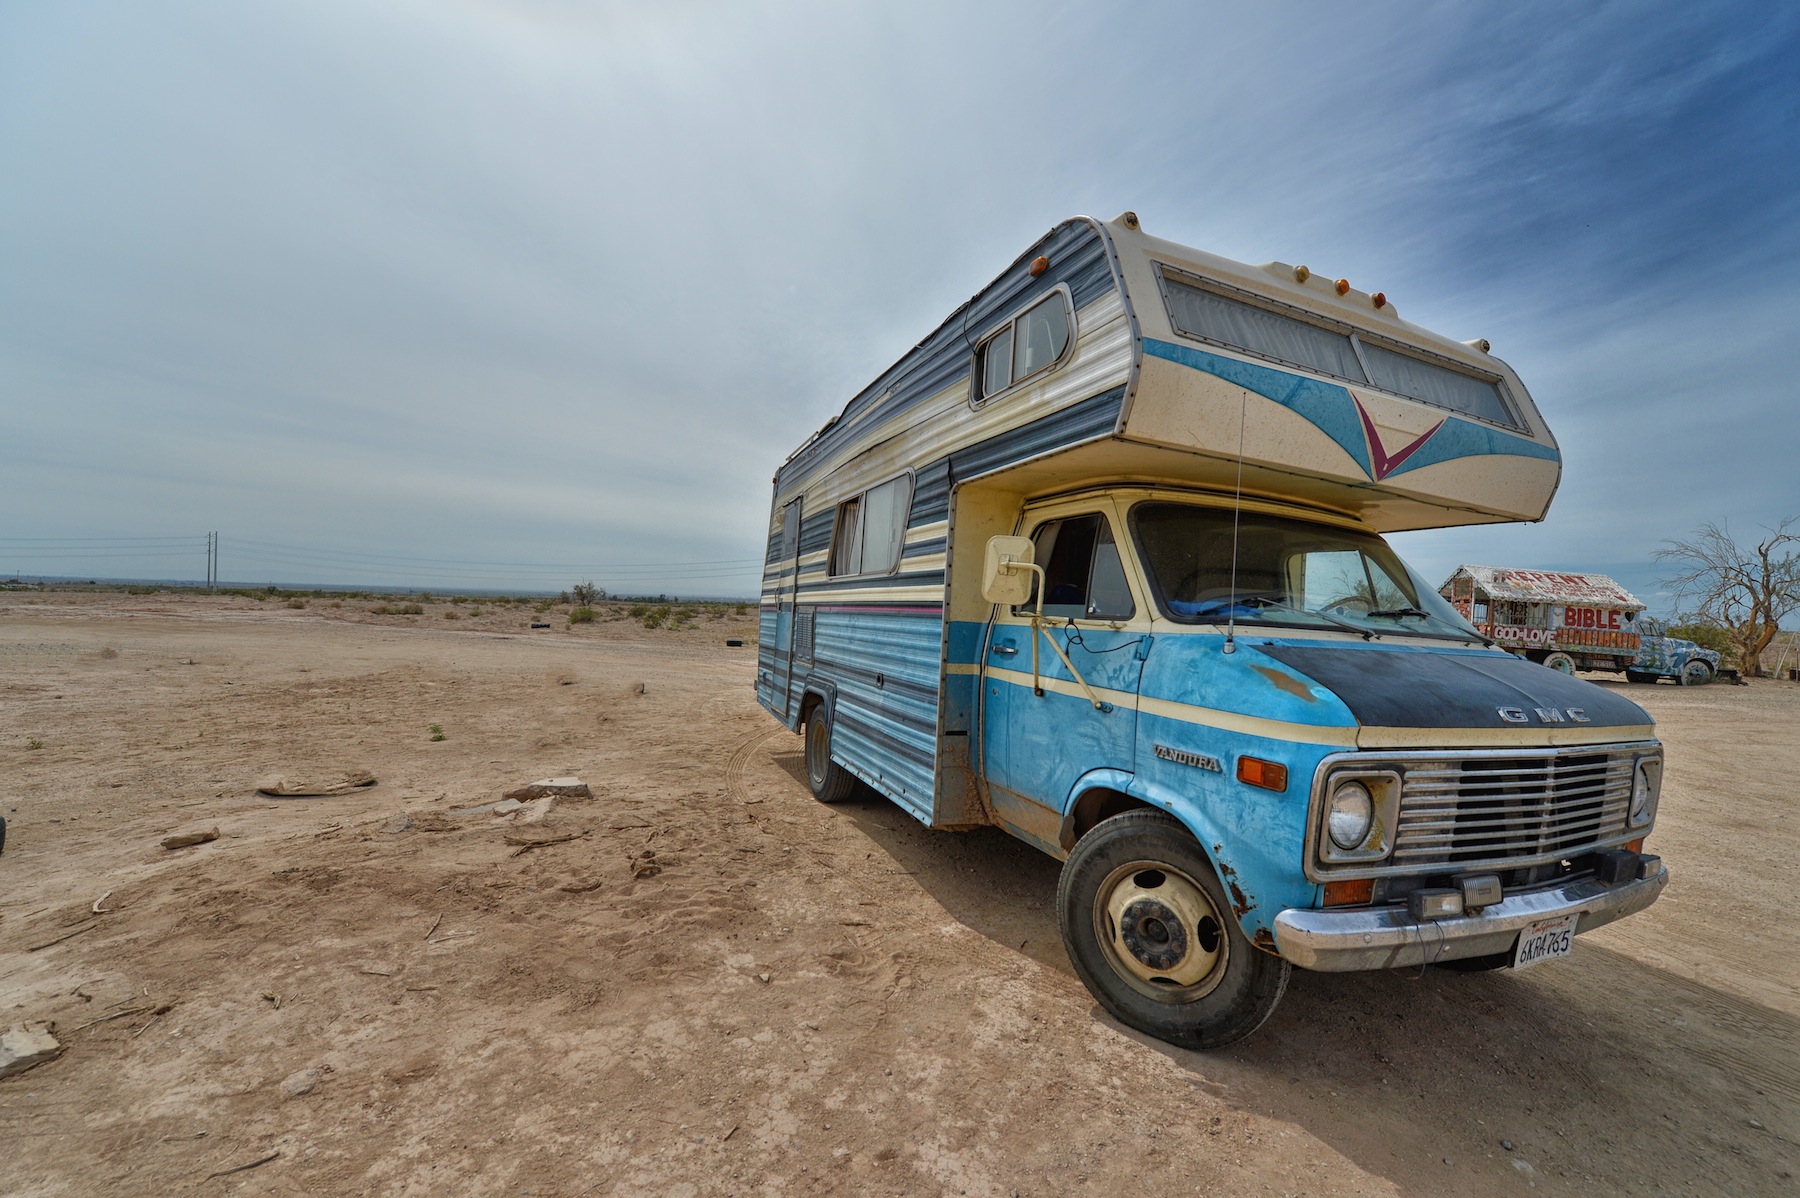
The Graveyard for Old Motor Homes
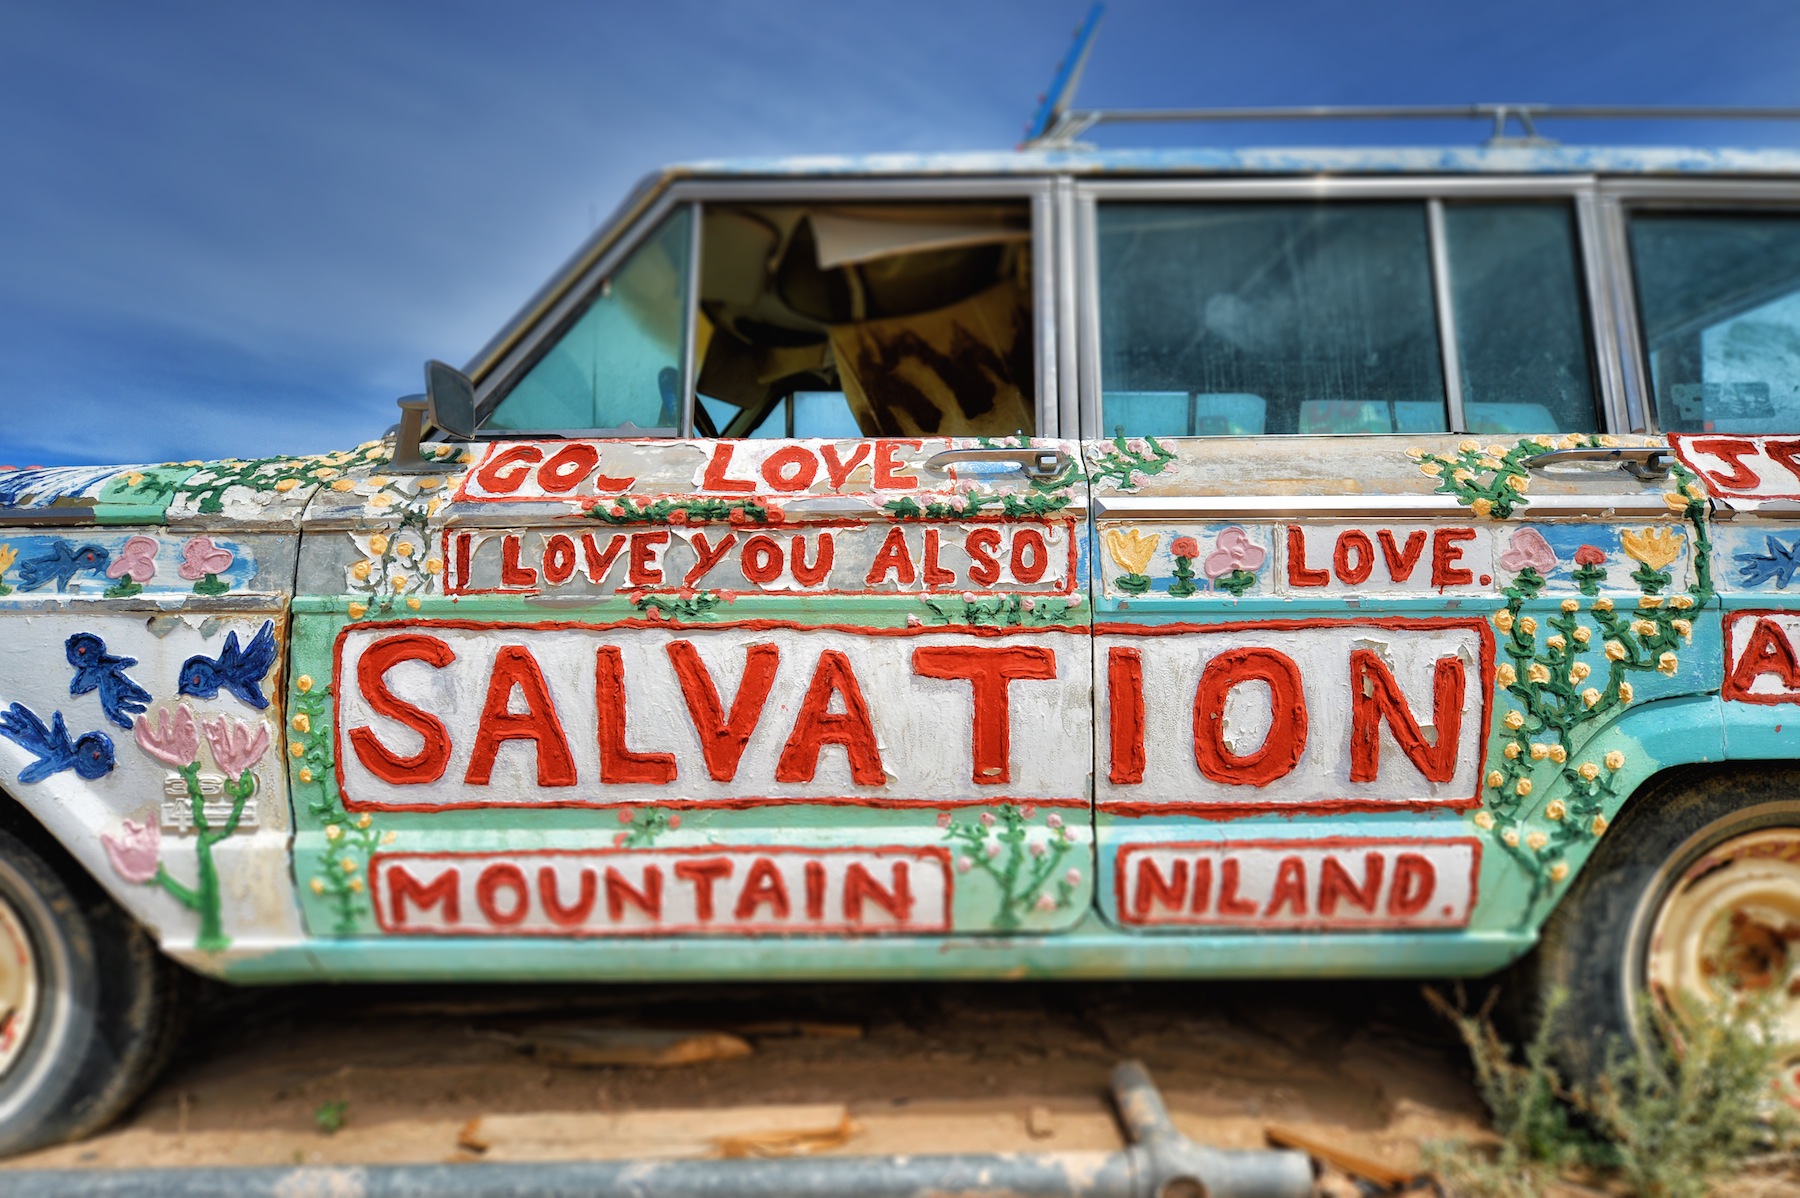
I love Airstreams. There are a few here. They look they have not been moved in many years. They are painted with hundreds of pounds of paint anyway, I am sure that it would crack off and fall if they ever tried to move it. You can take a walk around these old cars and motor homes and just read the painted signs for hours. There are so many interesting messages everywhere.
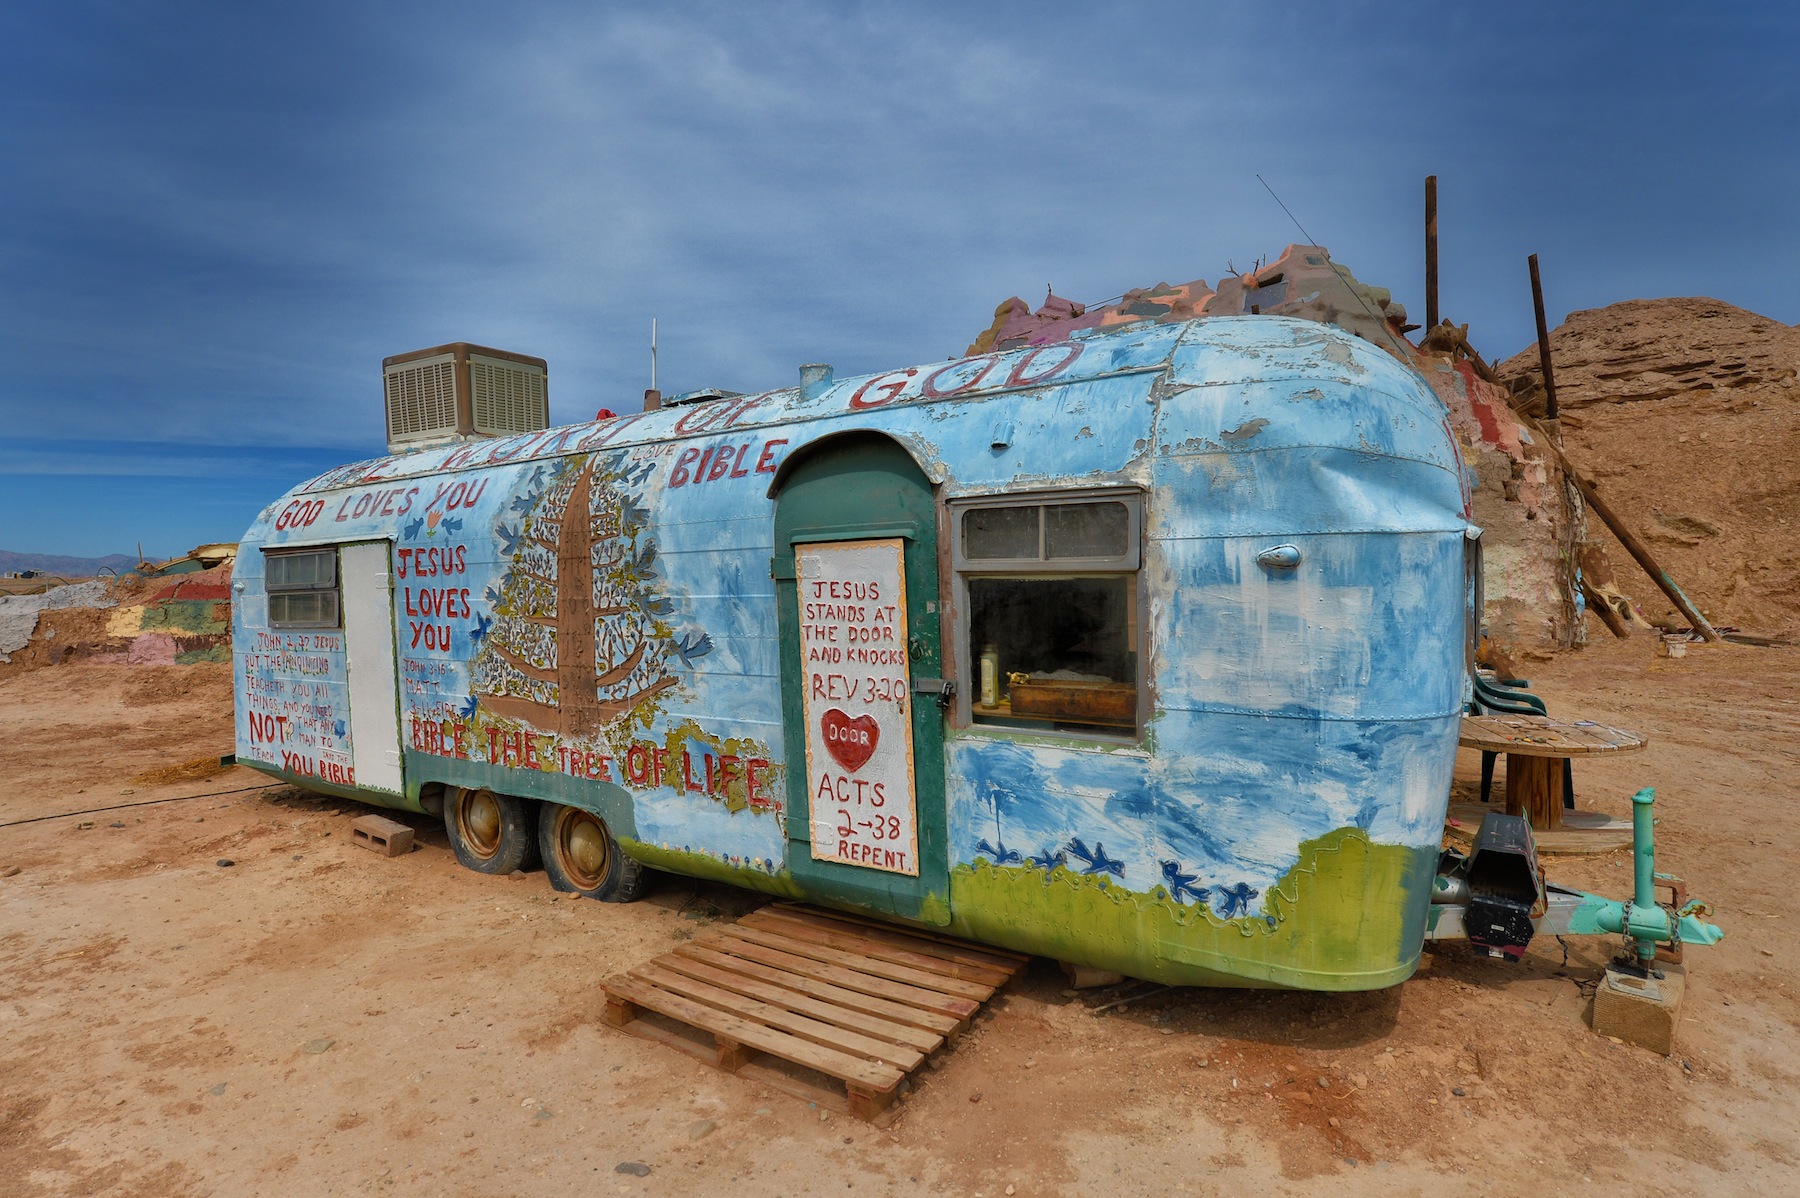
The Tunnels
In addition to the mountain, there are tunnels that Leonard Knight built. These underground cave like structures are cool, brightly colored places where you can get out of the heat and see shrines made out of trash, old cards and just about everything you can imagine.

I went twice.
I arrived at Salvation Mountain at 1 pm. I stayed for an hour or two taking pictures, talking to Builder Bob and just getting the know the place. I wanted to be there at sunset so I decided to tour the dusty roads and visit Slab City down the road so I could come back later and take sunset shots. I was glad I did because the place literally cleared out at sunset and I had the entire mountain to myself. It was the best part of the day and no one was around. It was perfect.

Mules. Transportation for Builder Bob and his band of helpers.

A beautiful glowing desert sunset against the scenes of Salvation Mountain.
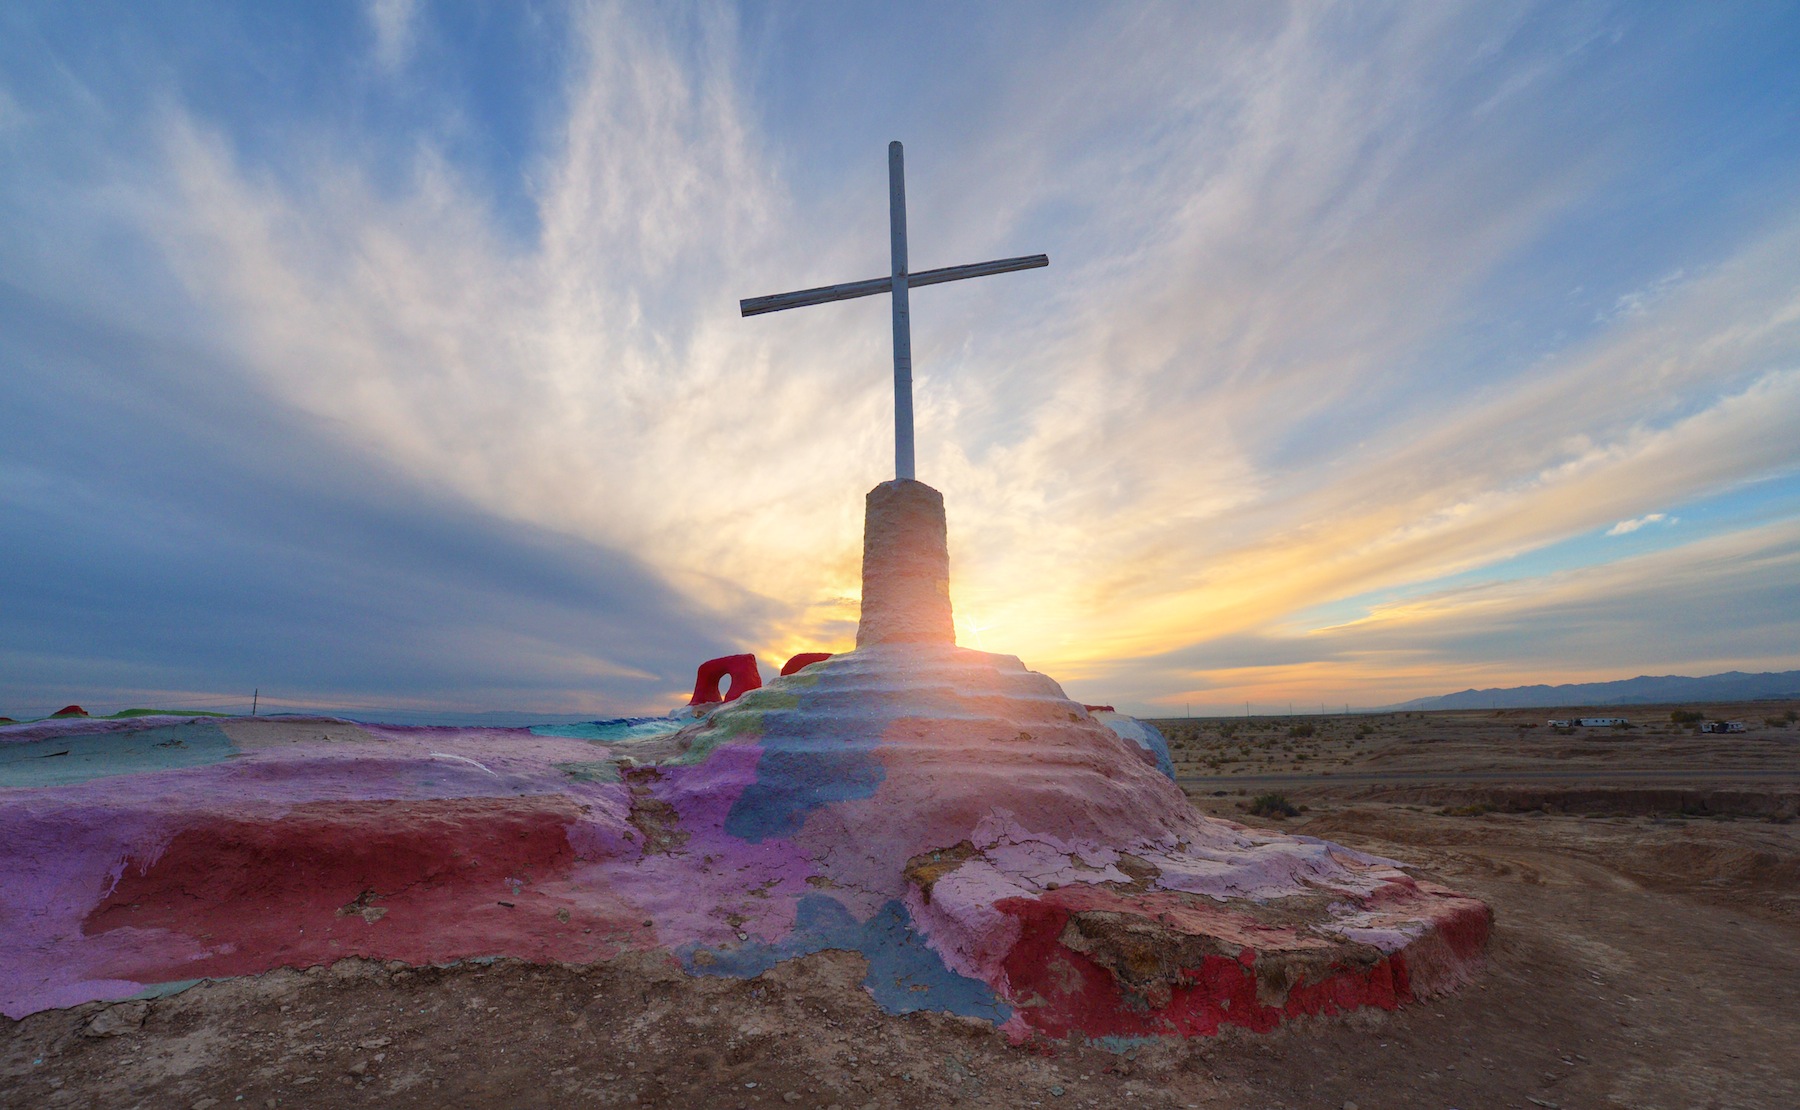
Leonard Knights makeshift cross, glowing against the sunset.
Photographing Salvation Mountain (Google Map It)
With Salton Sea, Slab City, Bombay Beach, North Shore and so many cool areas to photograph, I recommend a full day in the area. If you are driving from San Diego it is approximately 2.5 hours to get out to Salvation Mountain. You can leave San Diego at 9am and head back after sunset at about 7 to 8pm. The best time of day to photograph this area is sunset. Surprisingly most people don’t wait for sunset and miss the most spectacular views of the day. Trust me you want to stay here until the sun goes down to get your best shots.
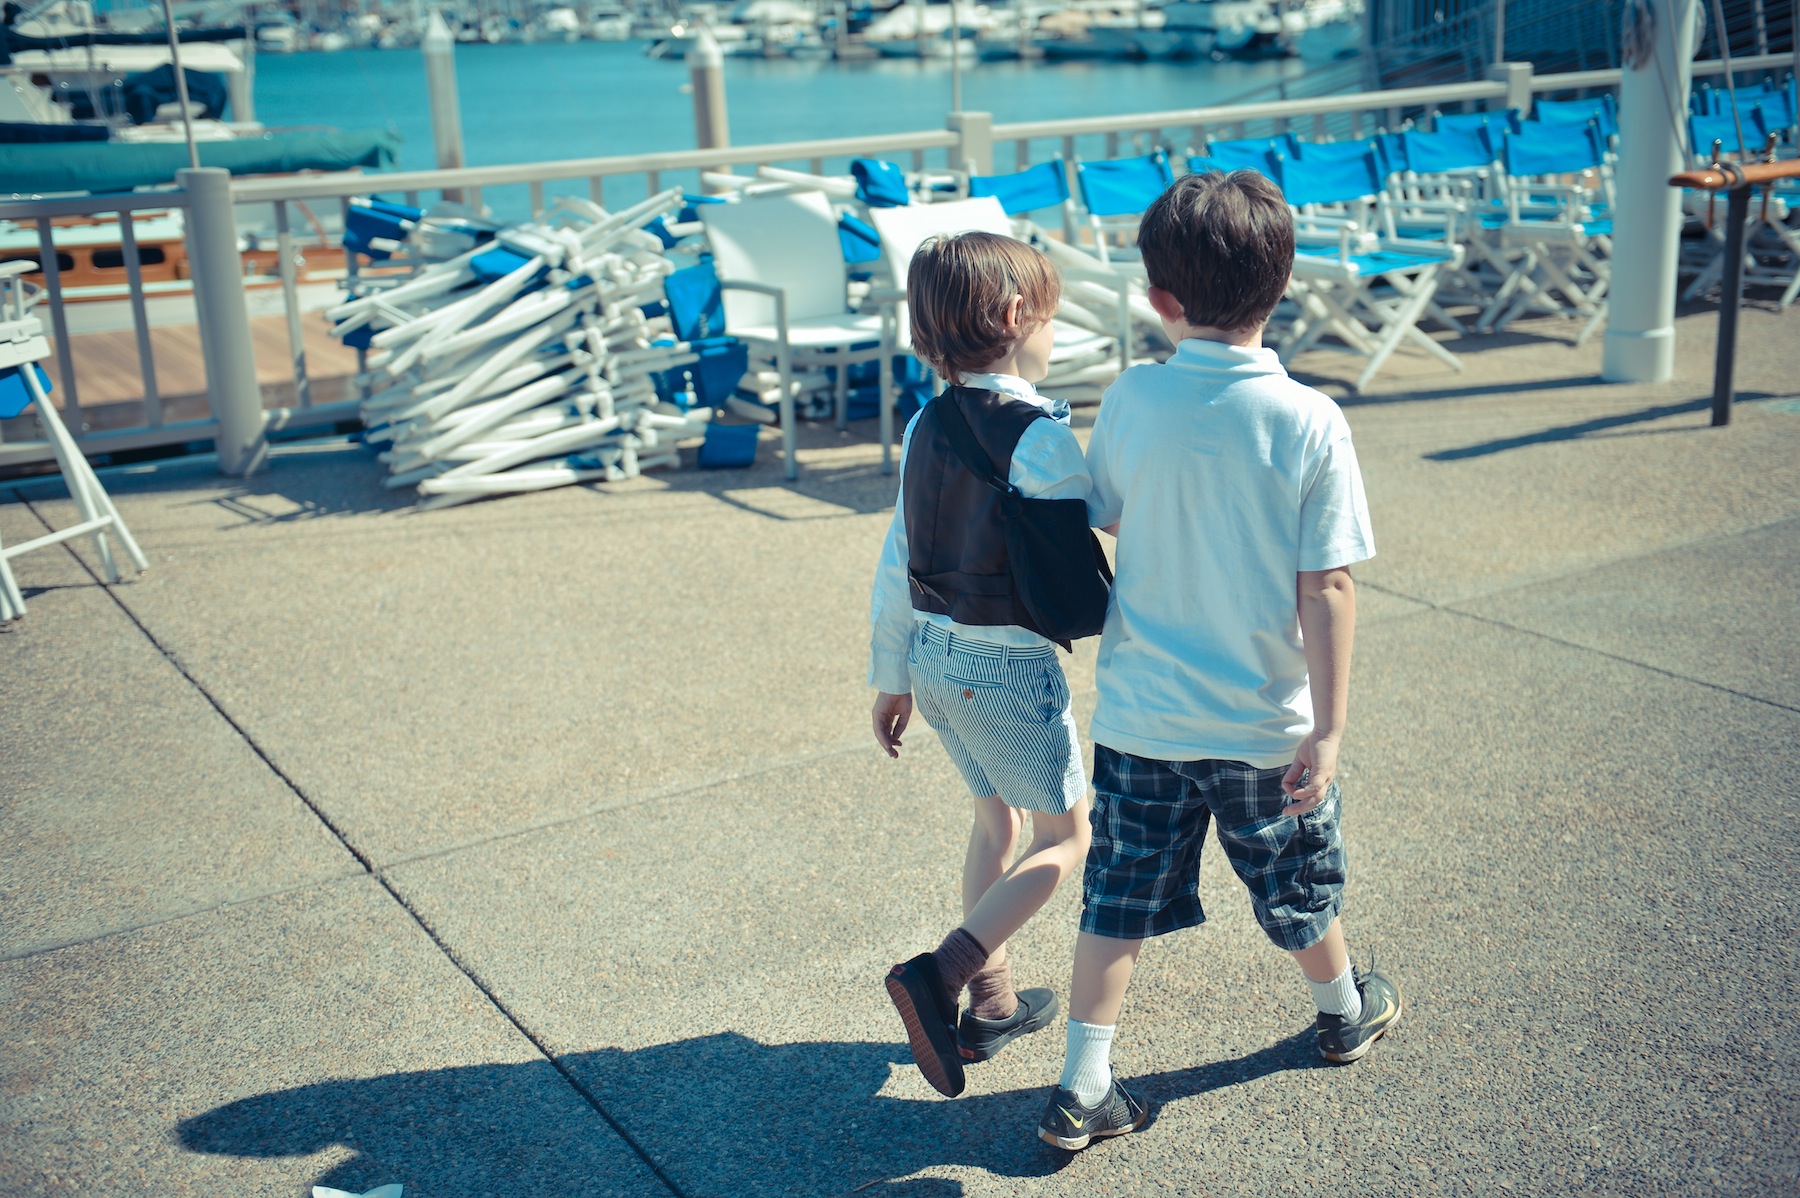
Easter Sunday was a Fun Day
Everybunny came to the Easter Brunch at the San Diego Yacht Club. There were lots of high flyers at the Yacht Club and then there was the McKenna Clan. There was Roast Beef, Shrimp, Filet Mignon, Expensive Hams but all the McKenna’s pretty much just piled up their plates with bacon and then went back and got more bacon. What a day. Check out all of the images I was able to take in this gallery. Ollie and Geno were the only ones hamming it up so that’s why they are in almost all of the pictures. Gallery for Easter Sunday 2013
Tu made cupcakes. She had all of the bunnies lined up in the refrigerator chilling out until the party started. The bunnies were standing at attention.

Frankie and James had cute little bow tie outfits on. Frankie saw my camera and he went oh no, here we go again with that thing and immediately bust out crying.

Geno and Ollie were looking dapper dressed to the nines for Easter Sunday. Geno even wore a tie!
Geno and Ollie are good friends and had a great time together. They are almost the same age and they like doing a lot of the same things.

Did you see that Oliver is wearing a cast. A bunch of people signed it. Darth Vader even signed it. Cool.

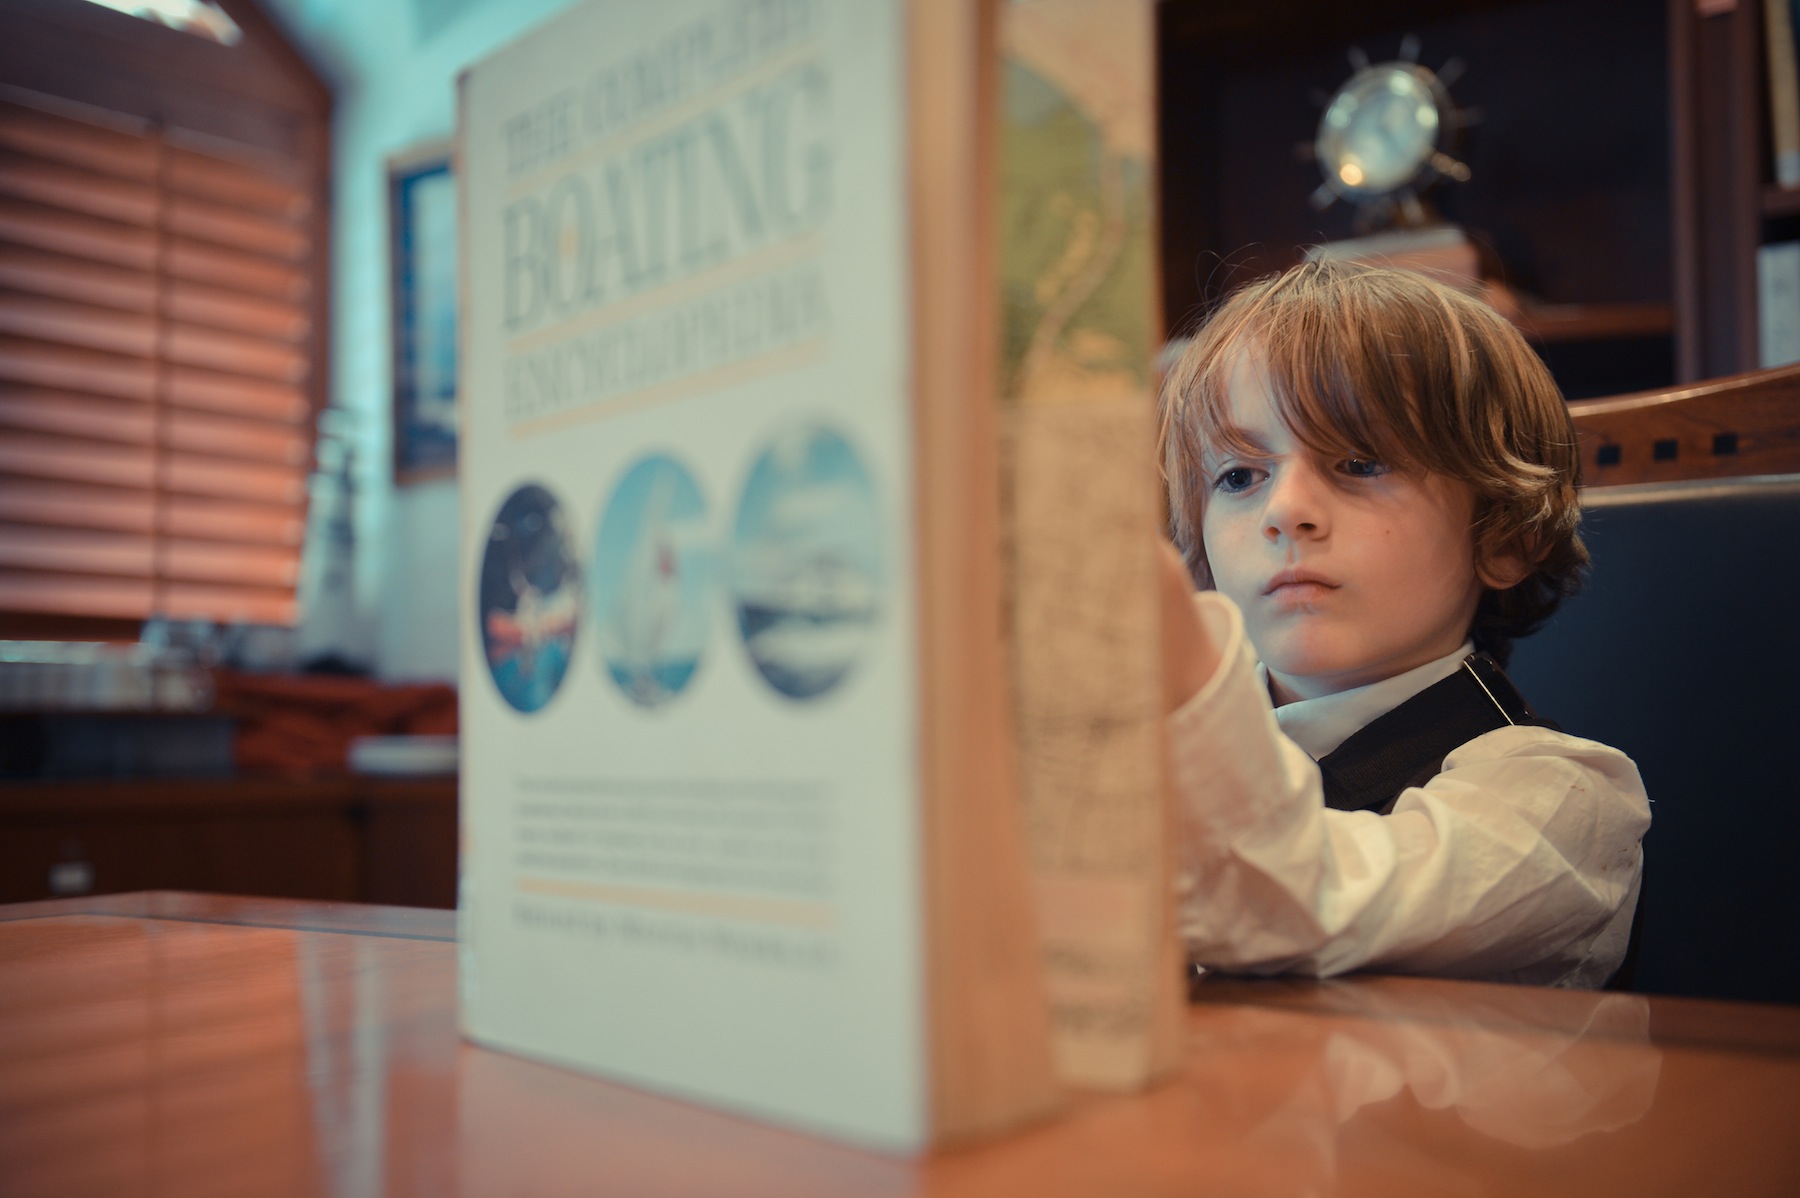
Oliver was so studious. This is not pretend. He is doing homework in the Library so that he can get all A’s on his report cards.

Look who was there cute as a button. It’s the boy with the rosy cheeks and button nose that never stops laughing and smiling. Cute boy.

And Frankie and James had fun in the end too. Look at these guys and their shades! What a couple of cool kiddos.