Chinese Camp, the Most Haunted Town in America
There were 5 of us in the car. My friend Aaron and his wife Gem, Tu, myself and a baby – Chet. We were on our way back from Yosemite National Park after an awesome couple of days in the park when we spotted a sign on the side of the road. The sign indicated we were coming up on a town called Chinese Camp (population 146). Now it sounded like a pretty cool name and with a population of 146 people we knew we were probably in for something different.
Aaron pulled his car off the small road we were on and headed onto an even smaller road. We were headed into Chinese Camp. I am not sure what we were expecting on this little off-road excursion but 1 hour later when we pulled back on the road to go home we had gotten a taste of more strangeness, more weirdness and paranormal activity than we could have ever expected.
A California Gold Rush Town for Chinese or “Chineee” as they were called then
Chinese Camp is located in what was once gold rich country just south of Yosemite. The town was first known as Camp Washington or “WashingtonVille” according to history. When a nearby Camp called Camp Salvado forced the Chinese miners out, many of them ended up settling in Camp Washington down the road. Well so many Chinese moved into the Camp that they ended up changing the name to Chinese Camp.
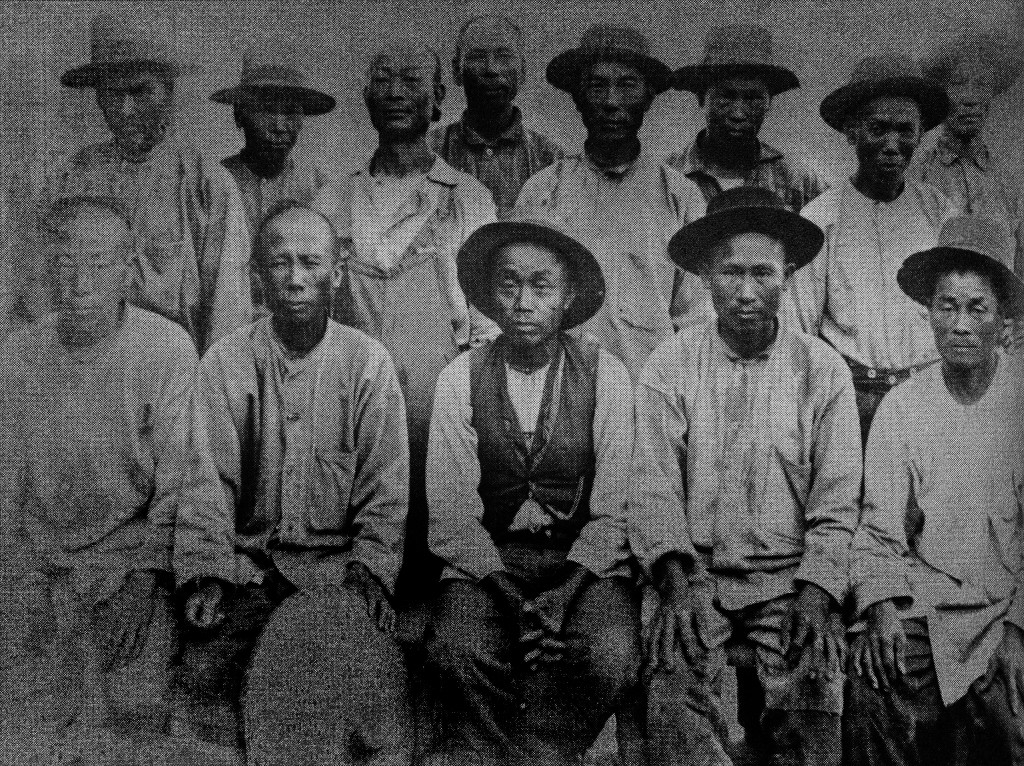
Chinese American’s Miners in the Sierra NevadaThe town became a major transportation hub and even had it’s own train station which you can visit just south of town. The town was also a bit like the wild west towns portrayed in the HBO Series Deadwood. In 1856 a disagreement among Chinese miners resulted in a battle challenge between two local tongs (secret Chinese-American societies). 2,500 Chinese gathered with weapons to fight at the foot of Table Mountain, four were killed before one side retreated.
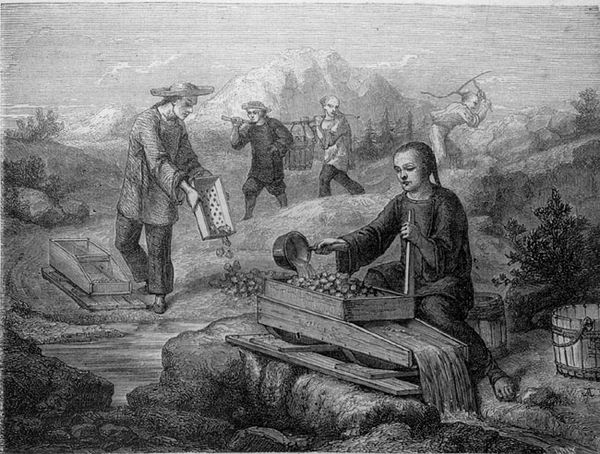
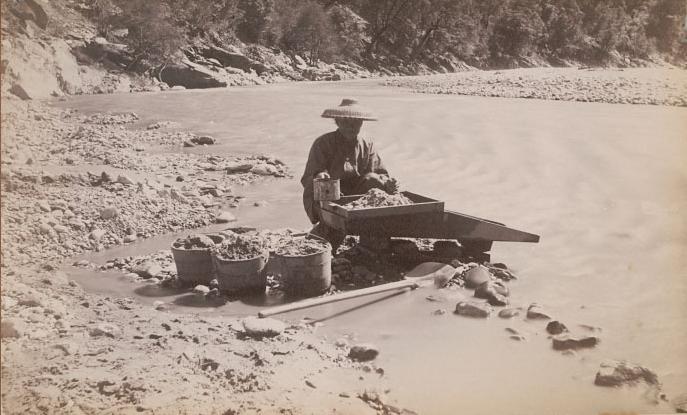
Chinese Miners in Yosemite washing for Gold
Apparently so many Chinese Miners were immigrating to the area that they began to go at war with each other over territories and other money making opportunities. The battle was epic apparently and since many of them did not have guns it was an all out knife fight.
Imagine thousands of Chinese fighting each other in the hills with nothing but knives. It was a battle where Chinese Camp was declared the winner. And so the camp continued. A very comprehensive history of the town is captured on this link here.
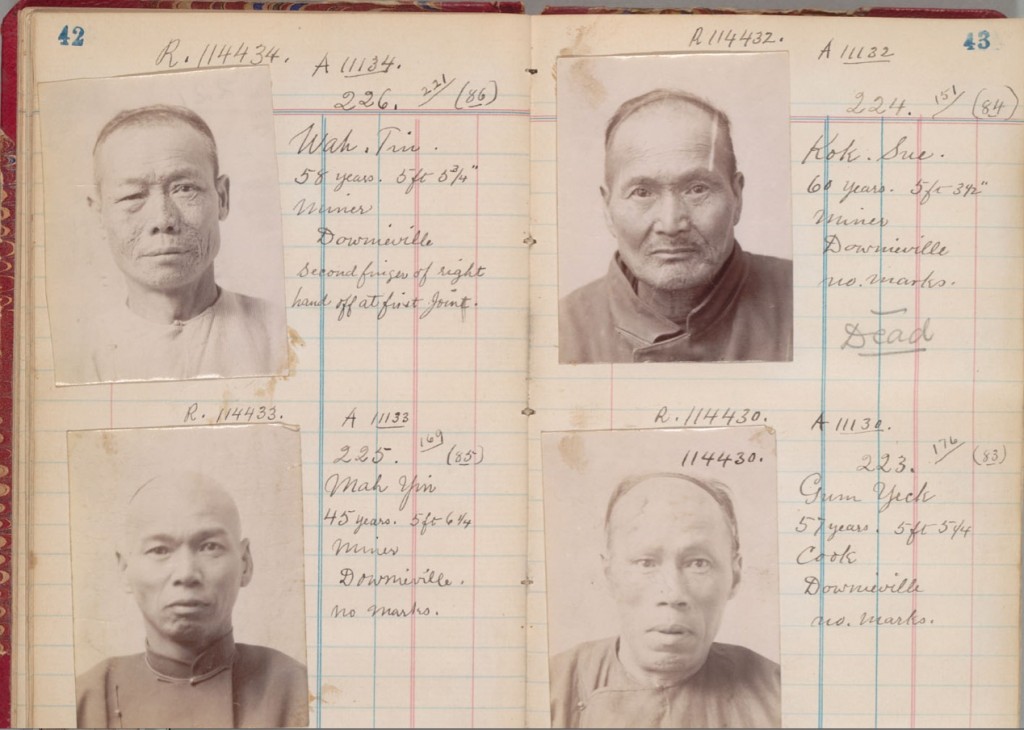
Photos of Chinese American Miners in an old notebook from Chinese BlogSpot
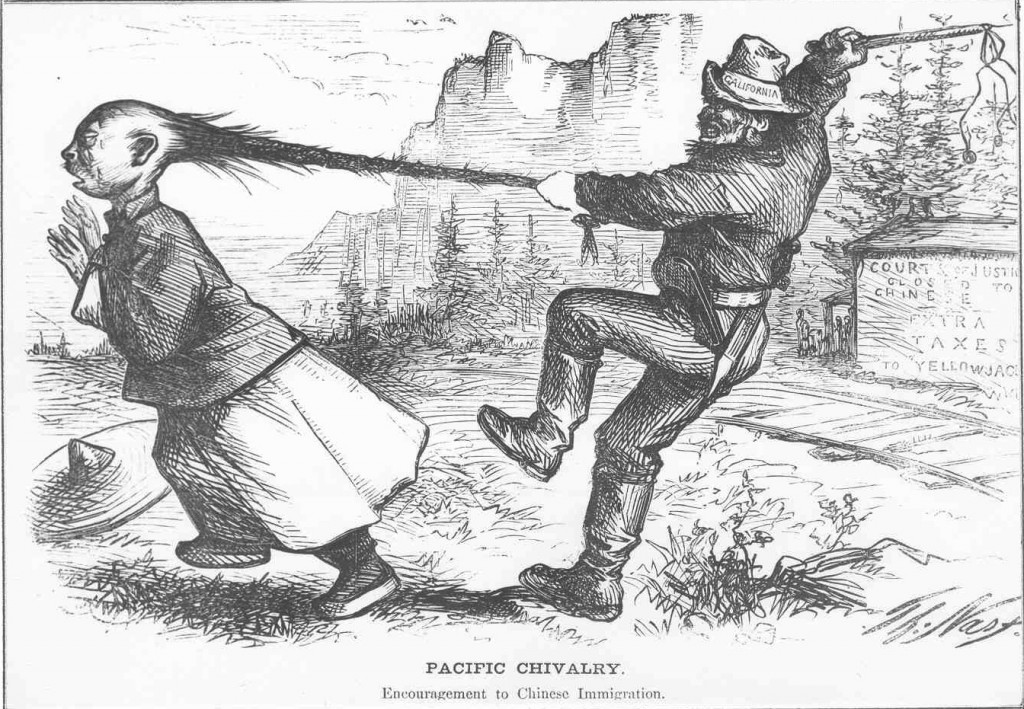
Now the Chinese Miners didn’t only have to worry about other members of the Chinese American Secret Societies but they also had to deal with hostile White California miners that wanted them out of the state as well. There was a very active effort to remove the Chinese from California at the time.
There was a movement in California to kick Chinese Miners and Railroad workers out of the state.
With so many adversaries and hardships , it is no wonder that the camps eventually disbanded as the gold began to dry up. What was once a boom town began to shrivel up and die. But the town never completely died which is the strangest thing of all.
Devolution to Semi-Occupied Ghost Town
Chinese Camp today is but a fraction of what it once was. It is best described as a semi-occupied ghost town with trailers and some small ramshackle type houses spotted on the various streets in town. What was once home to more than 5,000 Chinese Miners that extracted $2.5 million in gold at its peek is now home to less than 150 people. Interestingly enough, there is not a single Chinese person or person of Asian descent for that matter living in town according to the latest census. Actually no Chinese person has lived in this city since 1930 so perhaps the name of this town is the most ironic of all American towns.
So the last stage coach service was cancelled in 1914 and when the automobile became popular in the 1930’s even the trains became of little use. The Chinese moved away and the town slowly devolved to what it is today – A semi-occupied and falling down Ghost Town. Maybe the only thing that has kept it barely alive is it’s proximity to Yosemite National Park.
Thousands of visitors travel up this lonely road to head into Yosemite. Most of them barely notice the town which passes them by in a blink of an eye. Maybe some are too afraid to enter the town which is over-run by weeds and trees. Maybe they have heard the haunting stories and want nothing to do with it. In any case, the town has remained in many ways just as it was over 150 years ago.
We spoke to a couple of locals who happened to be walking around that day. They told us that until recently the town had been over-run by meth labs that had been setup in some of the houses. They’ve worked hard to remove that element in the city and are now focused on restoring the city back to what it once was. From what I could see, they have a lot of work in front of them.
Chicken Coops, Graveyards, Abandoned Homes
As you drive down Freeway 49 South of Yosemite, you’ll come upon the sign for Chinese Camp. It’s 5 miles south of Jamestown and if you blink your eyes, you’ll probably pass it without even noticing it. But if you look a little more carefully you will be intrigued.
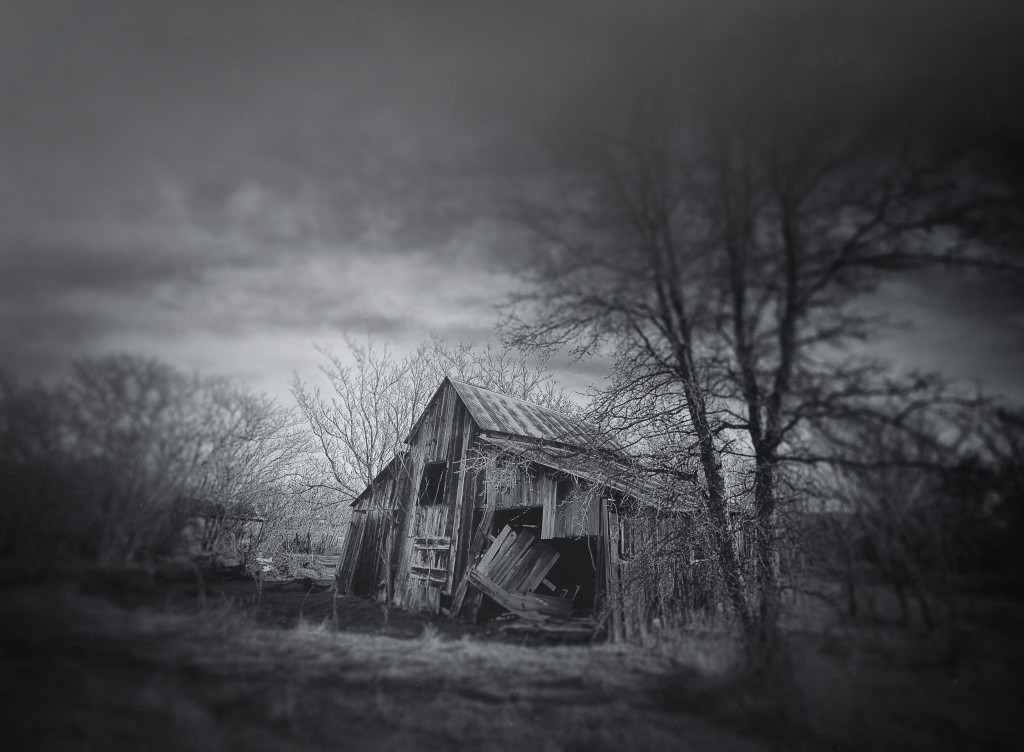
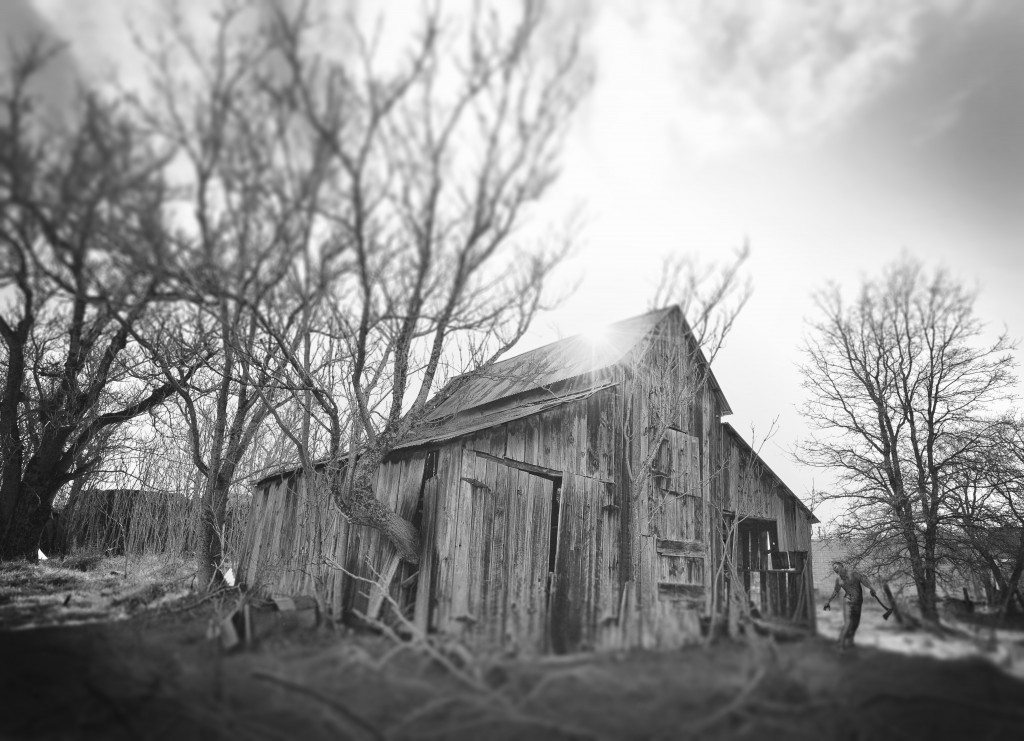
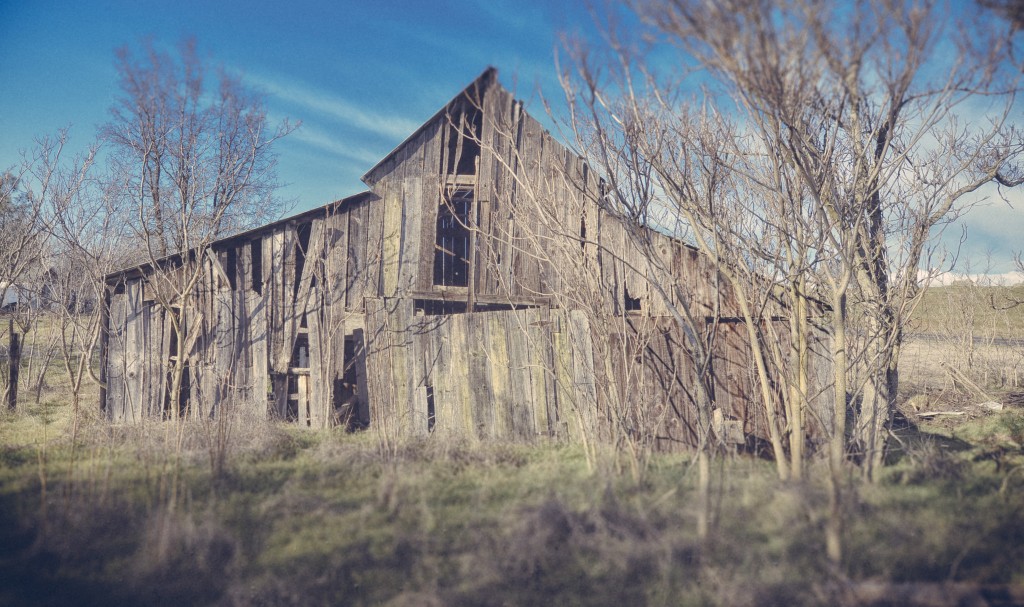
An old barn sits abandoned and crumbling in Chinese Camp California.
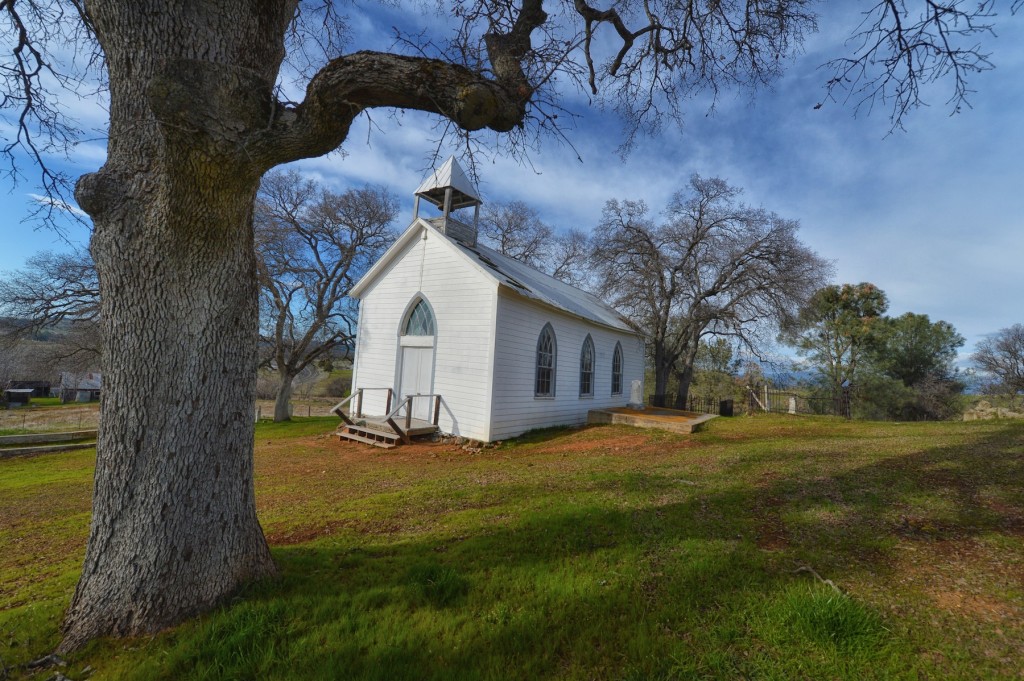
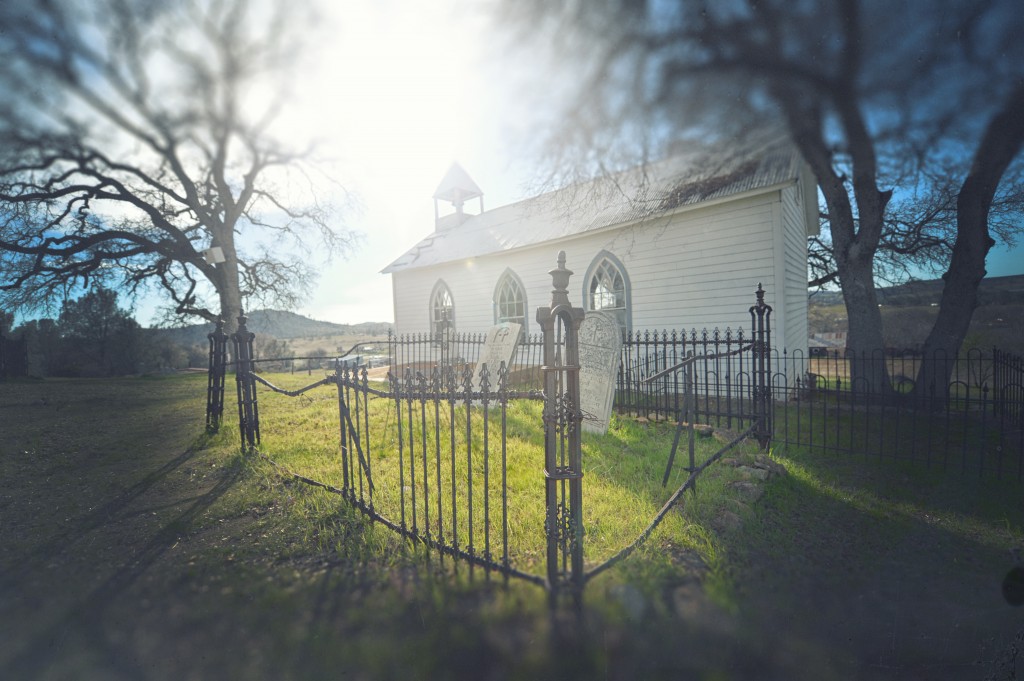
As you get off Highway 49 to head into Chinese Camp, you have two choices. You can go left or you can go right. We decided to go right, up to the beautiful little empty 1 room church. At least we thought it was empty.
The first thing you’ll notice is broken down chicken coop houses. Somebody had obviously raised chickens here, lots of chickens but even those seemed to be gone now. We winded slowly up the hill passing the broken down chicken coops half afraid of what we would find and half astonished at what this place seemed to hold.
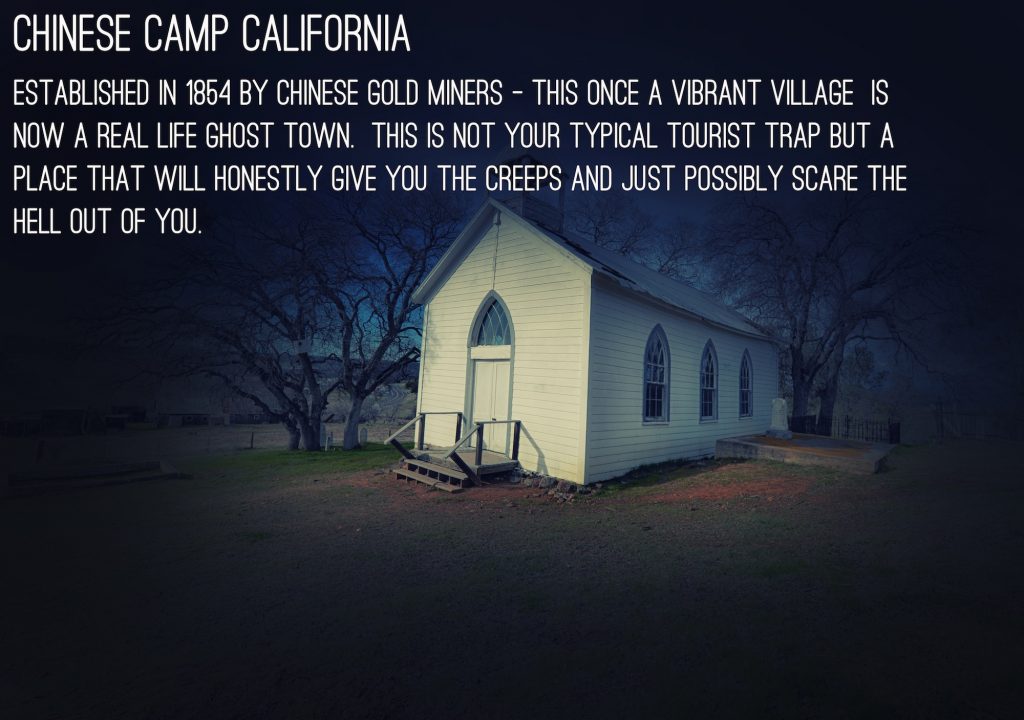
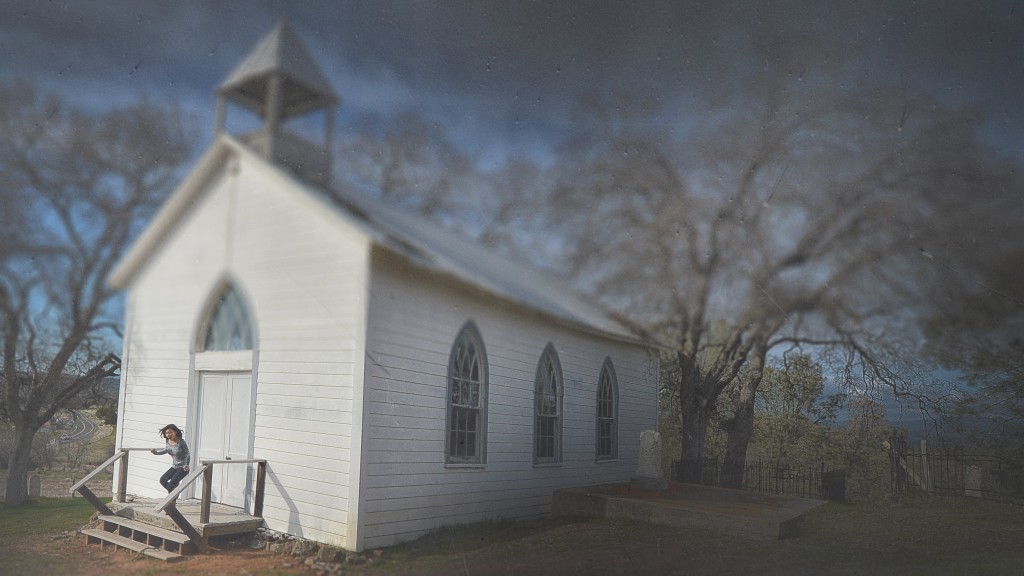
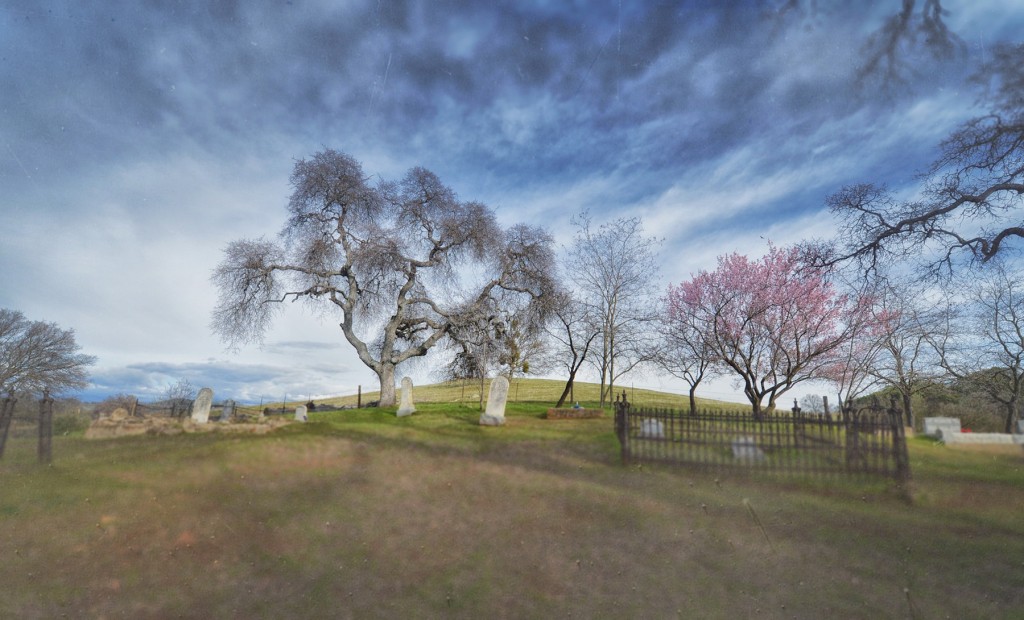
At the top of a hill is a scene out of a movie. There it sits – St Francis Xavier Church – the oldest surviving church in the county. A small graveyard and lonely beautiful trees surround the church which is gated off with crude barbed wire.
The church is beautiful. It’s spooky. The ancient gravestones and wrought iron fences that surround graves are fascinating. We felt like we were in an episode of the Walking Dead. We felt like there was strange energy about this place. It was beautiful and historical but we just felt like there was something else here.
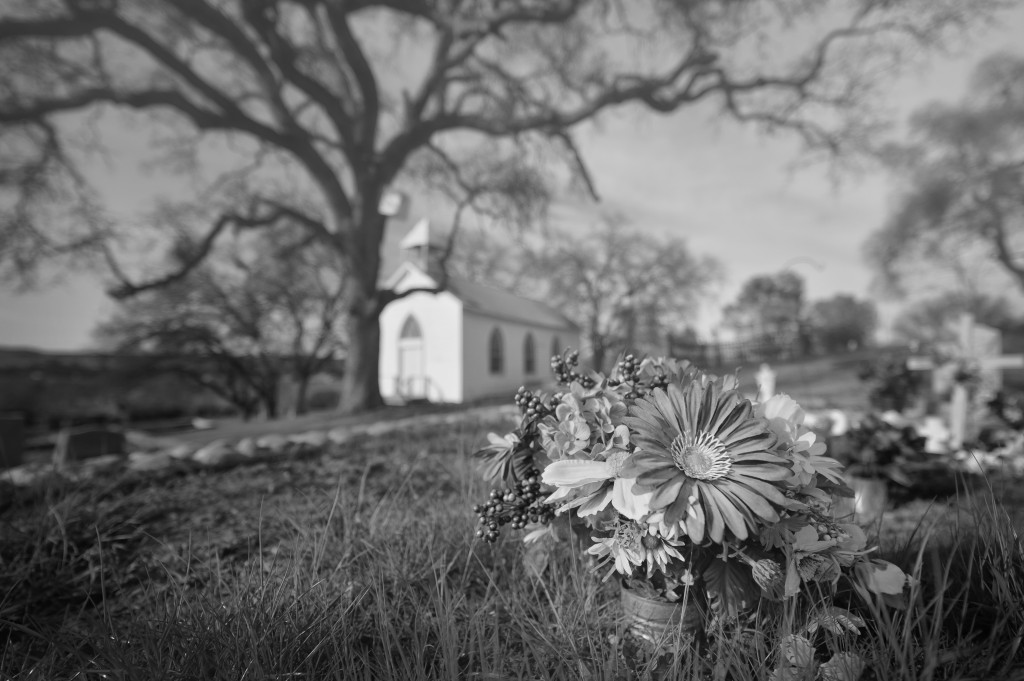
Why were there new flowers on a gravestone that read that a person was deceased over 150 years ago. Who was placing flowers on these ancient graves?
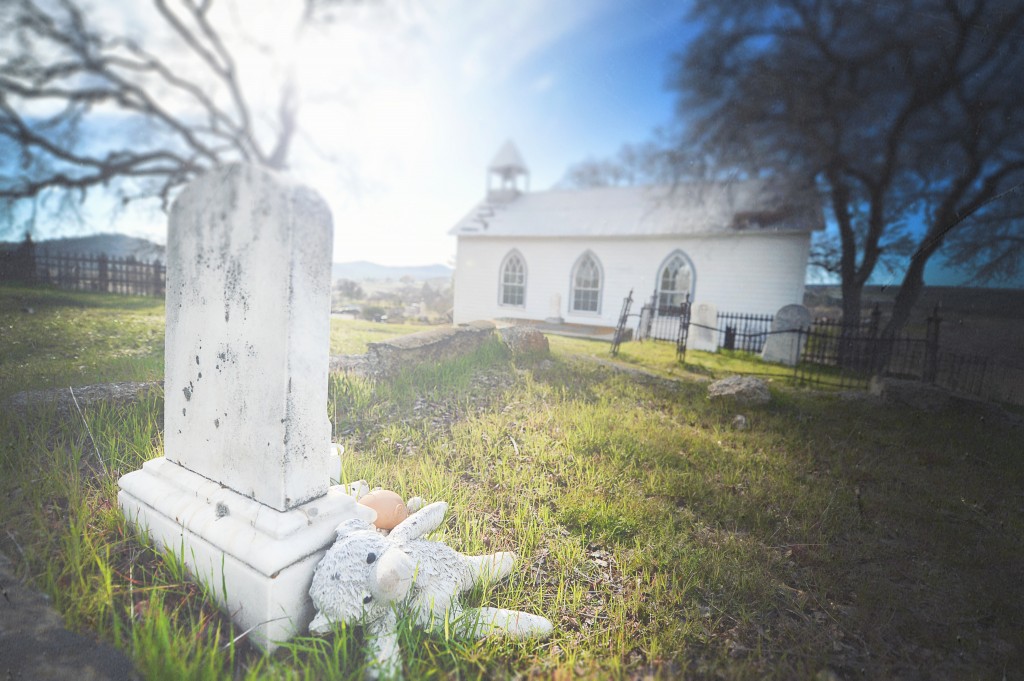
A teddy bear on a child’s grave stone. This scene haunted me. Why was there a Teddy Bear on a grave from so long ago? This church has not been used of 120 years but someone was still caring for these graves.
Barbed wire fences surround the church but there are nothing but endless rolling hills around. So many unanswered questions filled our minds. None of the gravestones in the church were for Chinese American names. Where were the Chinese miners bodies – the 5,000 people that had lived here? Where were they buried? Were their spirits still around us?
History of the town reports that at the time, many of these gravestones had the pictures of the deceased engraved right on the gravestones themselves. Children used to wander through this graveyard looking at the pictures of people, like wandering through an art gallery.
As an amateur photographer, I felt like I had found a hidden gem. Here was the most picturesque church and graveyard I had ever visited. I could not believe more photographers had not discovered this place. What was it about this place that made it so unknown, so hidden?
We learn that Chinese Camp is experiencing high levels of Paranormal Activity
We got back in the car and winded down the hill and into town. That’s when things started to get even stranger. As we pulled up to the main street in this ghost town we noticed people. We were surprised. We thought there was no one around for miles. The people were there because Discover Channel producers were there investigating high levels of paranormal activity and ghost activity in several of the buildings.
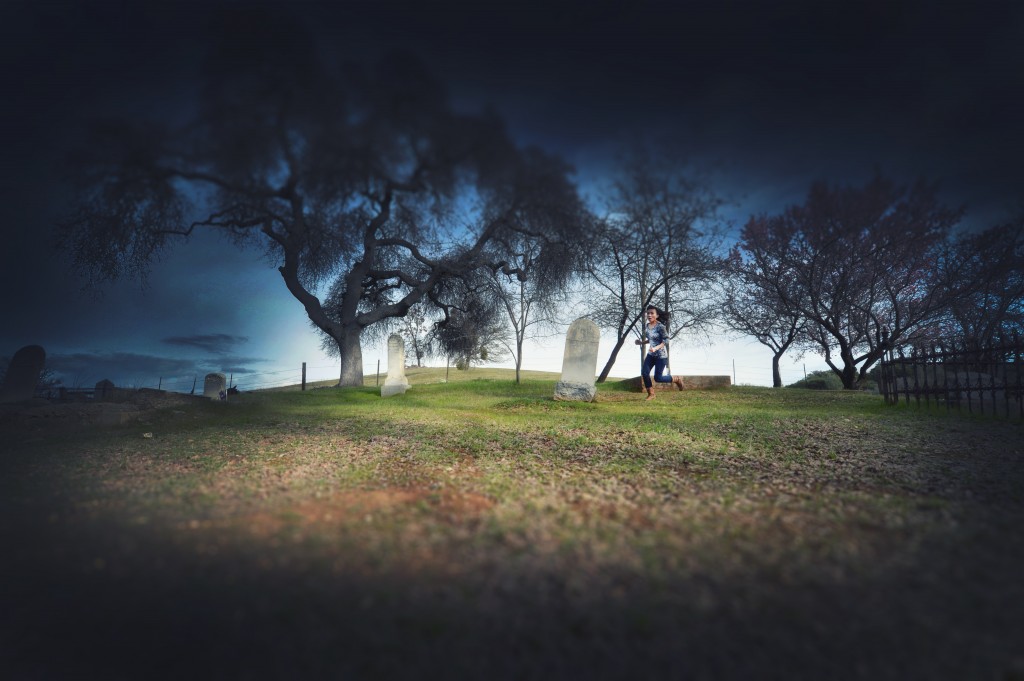
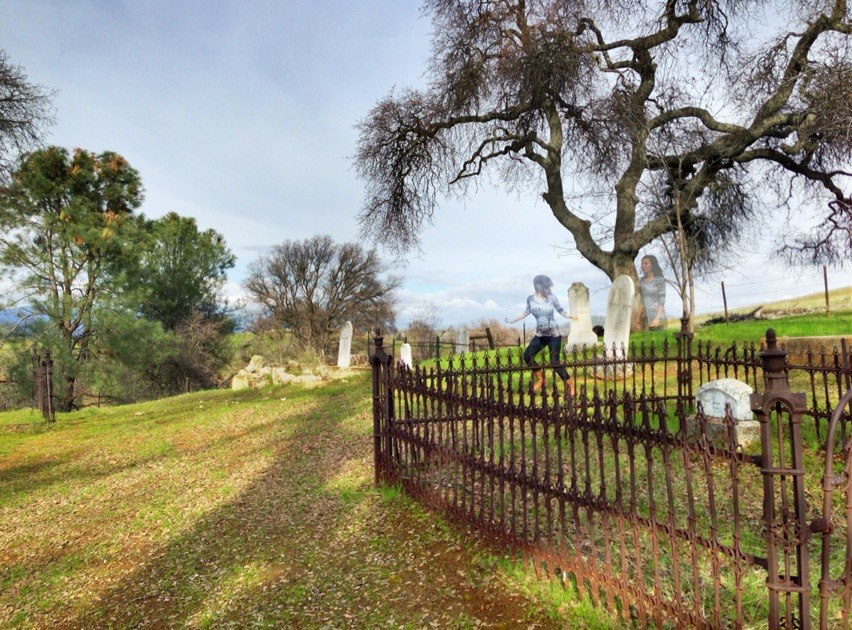
Then my friend Aaron looked at his iPhone to view some pictures he had taken of my girlfriend Tu running through the cemetery on the hill. Now I am sure there is a reason for it but the camera had actually captured her own ghostly image chasing herself. The odds of a glitch in the phone causing this seemed unlikely.
We were beginning to spook ourselves out and the Discovery Channel became very curious in that picture. So curious, that the producer of the show even came over to investigate. What was going on? This place was strange and getting stranger by the minute.
After returning home, I discovered websites and paranormal investigators reporting unusual “K2 hits” which apparently is unexplained bolts of energy emanating from buildings in the town. Apparently the week after we went another investigation team apart from the Discovery Channel headed into the area and wrote this update – Paranormal Investigations.
The homes have eyes
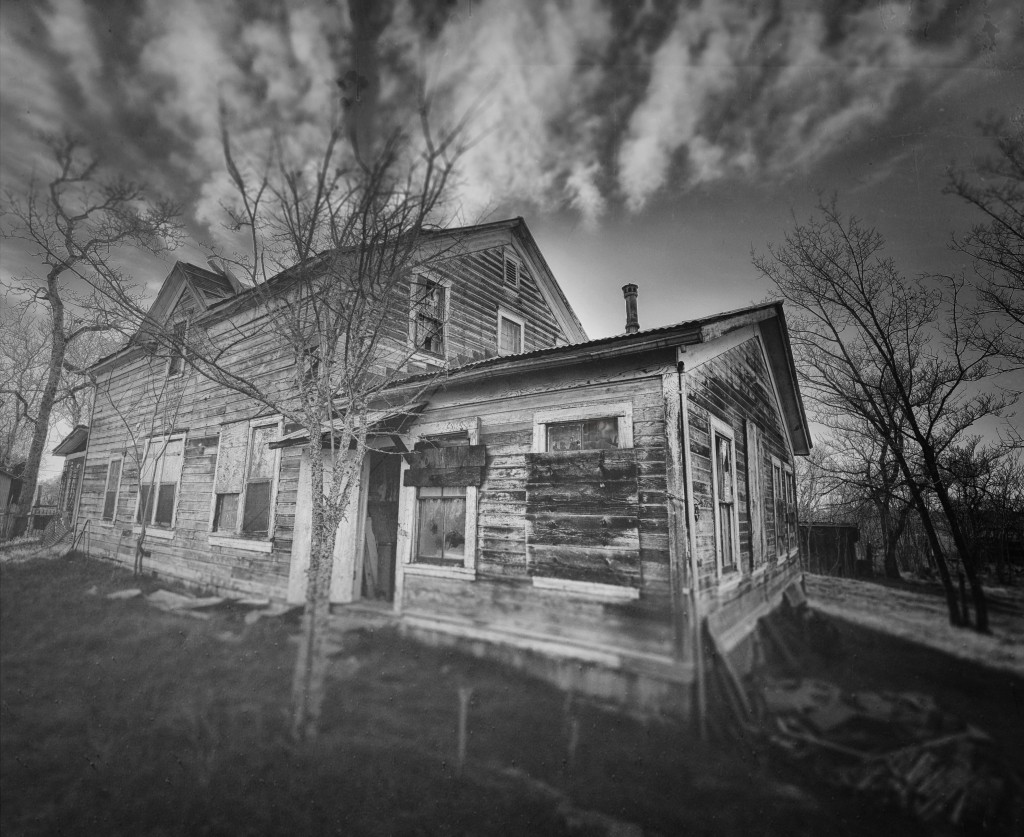
While Aaron and Tu reviewed the spooky picture with the producers of the Discovery Channel. I decided to explore on my own. I’ll admit I was a bit creeped out as I wrestled with weeds and branches and clawed my way into the heart of Chinese Camp. The falling down homes, barns and building were awesome. But I always felt like I was being watched.
I found myself wishing I wasn’t alone – that I had some backup.
Do you feel the same when you look at these pictures? Do you feel like you are being watched? Because I did and I began to slowly realize that maybe this town was haunted. I had heard of ghost towns before but most of the times that was just clever marketing by locals to get you to go.
This place was not staged. This was a real ghost town. I have been to Ghost Towns before. I think this just might be the most spooky and haunted ghost town in America.
If you look very closely, it looks like a ghostly figure is in the windows
The Post Office, The Town Hall
Some of the locals opened up the old post office and the old dance hall (I believe that is what it was, or perhaps it was a hotel) and we looked inside. I felt like I was taken back to an old Western Town. Everything was dusty. They let you touch everything too not like most places where there are signs that say “Don’t touch this”, or “Don’t touch that”. No this was a full immersion back through history.
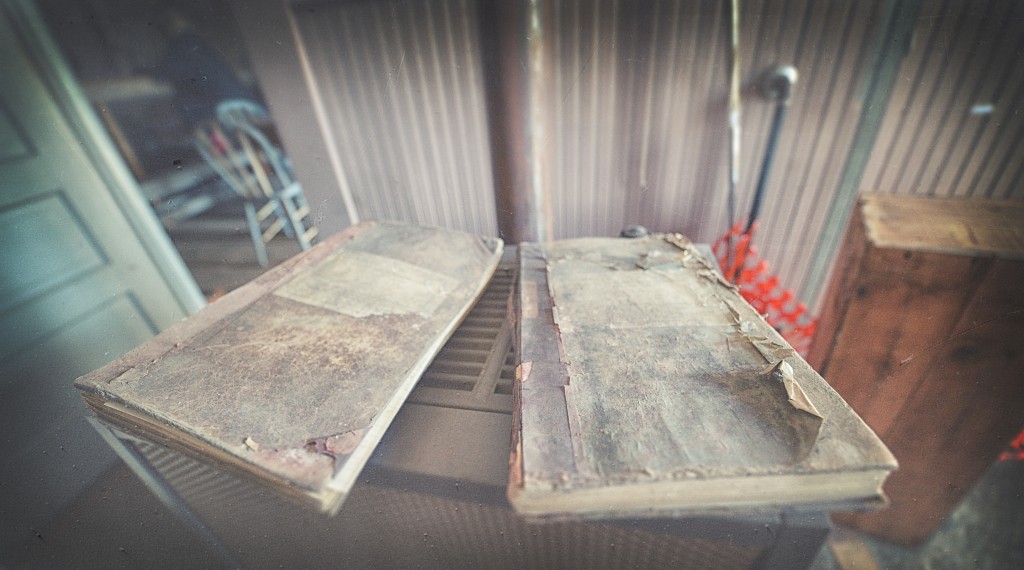
You could even comb through the old general ledger books that someone kept about who owes who what. I guess someone kept records of what happened in this place a long, long time ago.
A Plan to return to this spooky and weird place
As we left we passed by a house. A house occupied by two men. Two mysterious and ominous looking men that looked at us as if they had never seen humans before. Aaron had to turn the car around and they stared us down. I looked one of the guys right in the eye. He looked like a redneck killer from a horror movie. If I had half the guts I like to believe I have I would have stepped out of the car to take a picture of this guy because you probably would have agreed with me.
We ended up high tailing it out of there. We all breathed a collective sigh of relief feeling like we had dodged a bullet. I got back to San Diego and while I combed through the pictures I had gotten while I was there I began to realize just how interesting and unique this old Ghost Town was.
We had originally taken the trip to photograph Yosemite which we did, but we ended up getting pictures of something much more extraordinary and unique then we ever could have expected. Chinese Camp was an incredible to go. A place to visit which will probably change or disappear in a few short years.
If your a photographer or Ghost Town enthusiast, I highly recommend you pay a visit to America’s Spookiest and Haunted Ghost Town – Chinese Camp California.
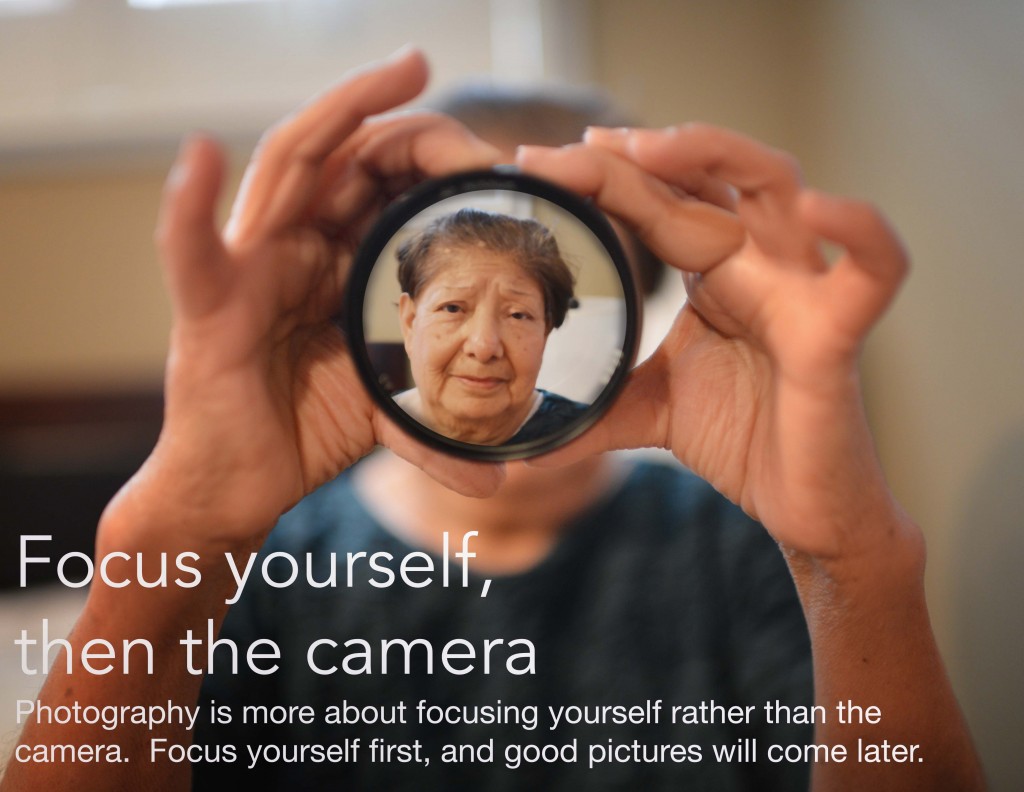
For better pictures. Focus yourself first, then the Camera
We were on our way to take some pictures and he gave me some interesting advice on how to take pictures. It was interesting because it actually had nothing to do with my camera, or with the lighting or with the lens. He said, “Frank, you need to focus yourself before you focus the camera”.
What an interesting, and surprisingly true thing to say. I thought about it a lot, then started to practice doing just that – focusing myself first before I even started focusing the camera. I wasn’t sure how to really do it at first, but eventually figured out exactly what he was talking about.
First Step: Think and plan about what you want to photograph. Focus your mind, before your Camera.
Just going outside with your camera without a plan will typically yield pretty low odds of a good shot. If you want to have a good picture you need to plan first, to think about what you are trying to do before you go out and just take shots. Focus yourself first by understanding what it is you are trying to shoot, then focusing your camera will me that much easier.
Second Step: Take the Right Pictures at the Right Time. Focus your time, before your Camera.
I went the pier at 1 in the afternoon. It was a great place and looked like the pictures should be fantastic but when I got home the pictures were just, well, blah. What went wrong? The problem was that I was shooting the right place at the wrong time. I had not focused myself first, rather I went to the beach when it was convenient for me, not when the pictures would look the best.
Next time I went to Scripps Pier I planned much better. I went at Sunset. I brought a Tripod. And I spent time trying to get pictures that I had in my mind. The results were dramatically different this time around. I loved the pictures and I realized that I needed to take the right picture at the right time. I could spend all day trying to take pictures at Scripps Pier, or I could go there at sunset and take 5 minutes of pictures that would be better than the pictures I took all day. Focus your time, before you focus your camera.
Step 3 – Go to the right place. Focus on something new first to capture something interesting with the camera.
Einstein said, “Insanity is going to the same place to take pictures and expecting different pictures that you had the last time”. Well he didn’t exactly say that but it was something close and he was right (if he said that). I do it myself all the time – I go to my favorite spots over and over again because I know that I can take a good picture there. I get home and the pictures that I take look exactly what they looked like before. It’s not rocket science to figure it out. They look the same because I am essentially taking the same picture!
Going back into your comfort zone is comfortable but you can’t grow as a photographer unless you push yourself to increase your range. Focus your mind to think of new creative places, go there and take pictures. Take pictures of places and people that are not in your comfort zone and you just might find that you take some photographs that will surprise you.
Step 4 – Bring the Right Equipment.
How many times have I run out of the house forgetting to take the right lens, or my flash, a spare battery or my tripod. Not having the right equipment is the killer of so many good photograph opportunities. I think you start to learn how to pre-plan the equipment that you will most likely need while you are on your way to shoot something.
One way beyond this is to keep a checklist of things that you need and then just reference it before you go out. Basically do the same thing that pilots do with their aircraft before taking off. In the excitement of things there is always something you need. Or, alternatively you can do what I do and that’s basically just keep everything but my camera and lenses in the trunk so I am always prepared no matter where I go.
Step 5 – Focus your mind and your attitude.
I used to fish a lot. There was this sixth sense you would get in your body when you are going to catch fish. Maybe it’s optimism but it worked. If I felt like I was going to catch a fish, I was able to. If I felt negative, I just sat there with my pole in the water all day. Photography is the same way. You need to focus your attitude to a positive mental state first before you can take pictures. Remember the camera is just a reflection back to you what you are taking pictures of. A negative attitude will rarely result in fishing out the right image.
Focus, its just a matter of being succesful.
I suppose learning to focus yourself before doing anything is just a good idea in every facet of your life and work. The ability to focus is the number one quality I see in successful people. They can work, without distraction and towards perfection in the task at hand. Their focus allows them to get stuff done and done right. If you look at successful people, this is generally true.
Your camera focuses you, not the other way around.
I noticed over time, my camera started to focus me more than I was focusing it. It was helping me to make better decisions and spend more time thinking about what I was doing. I was slowing down and thinking before I clicked the shutter. It made my pictures that much better, and me, that much happier.
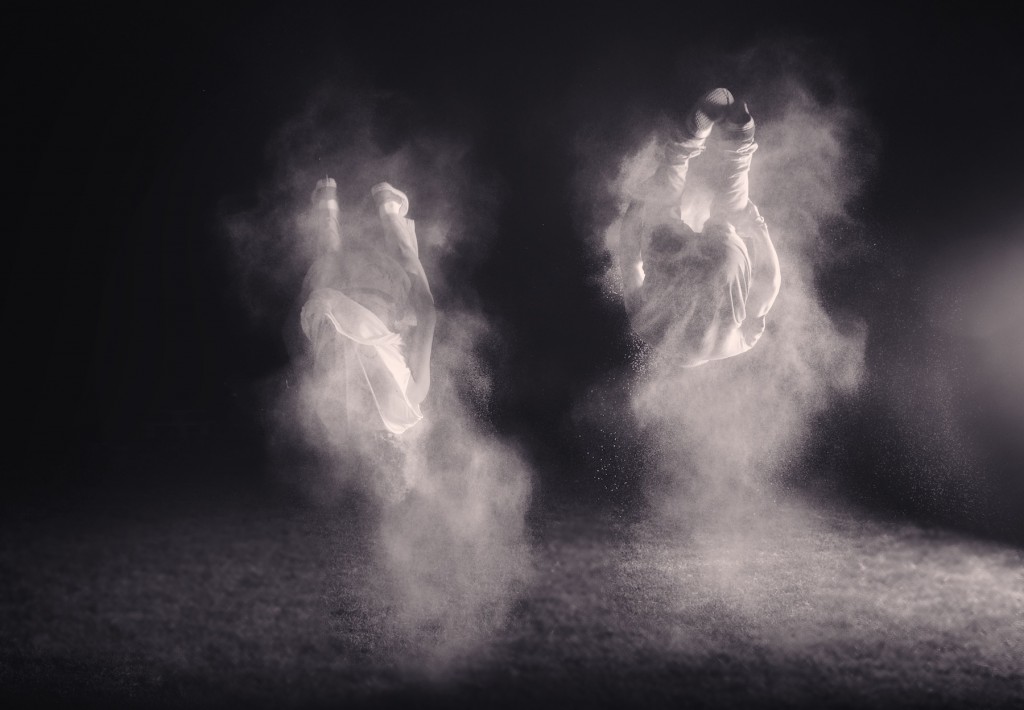
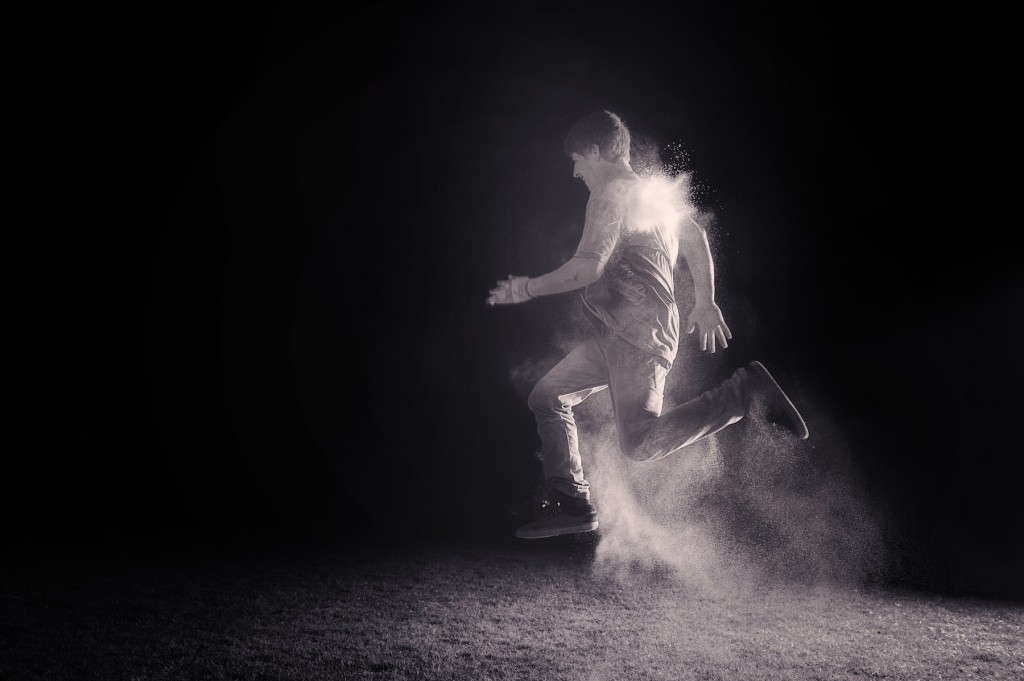
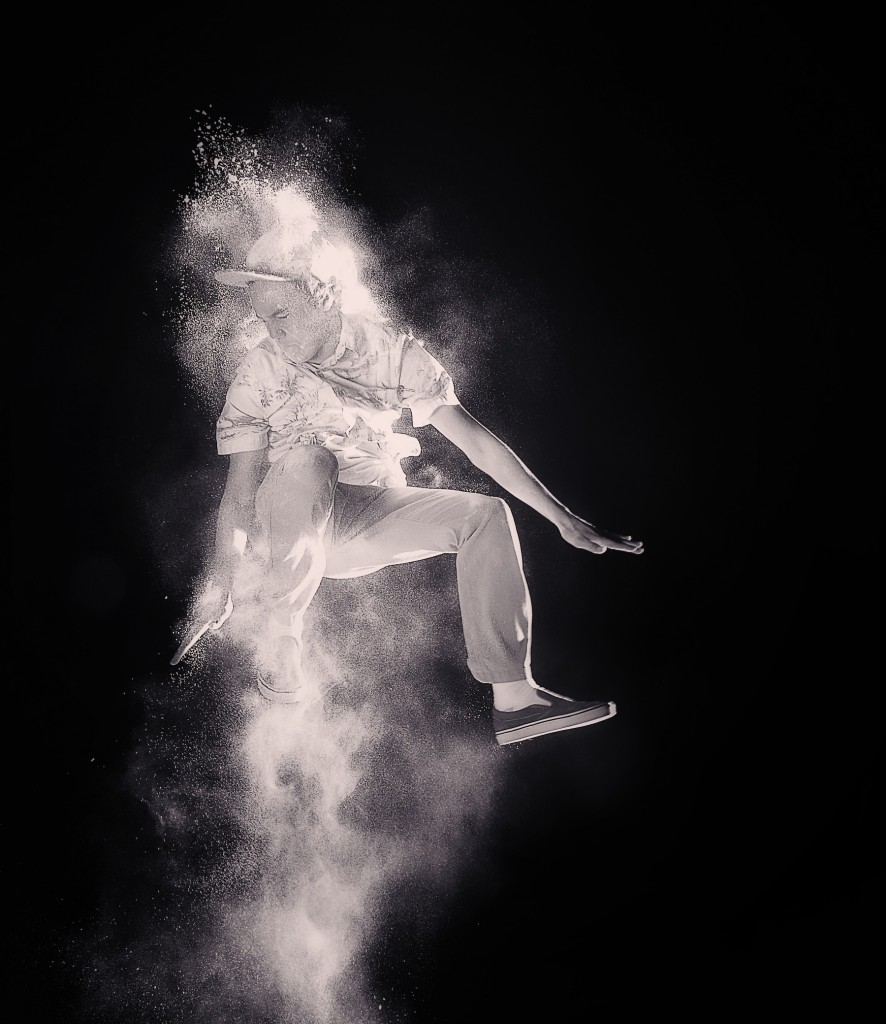
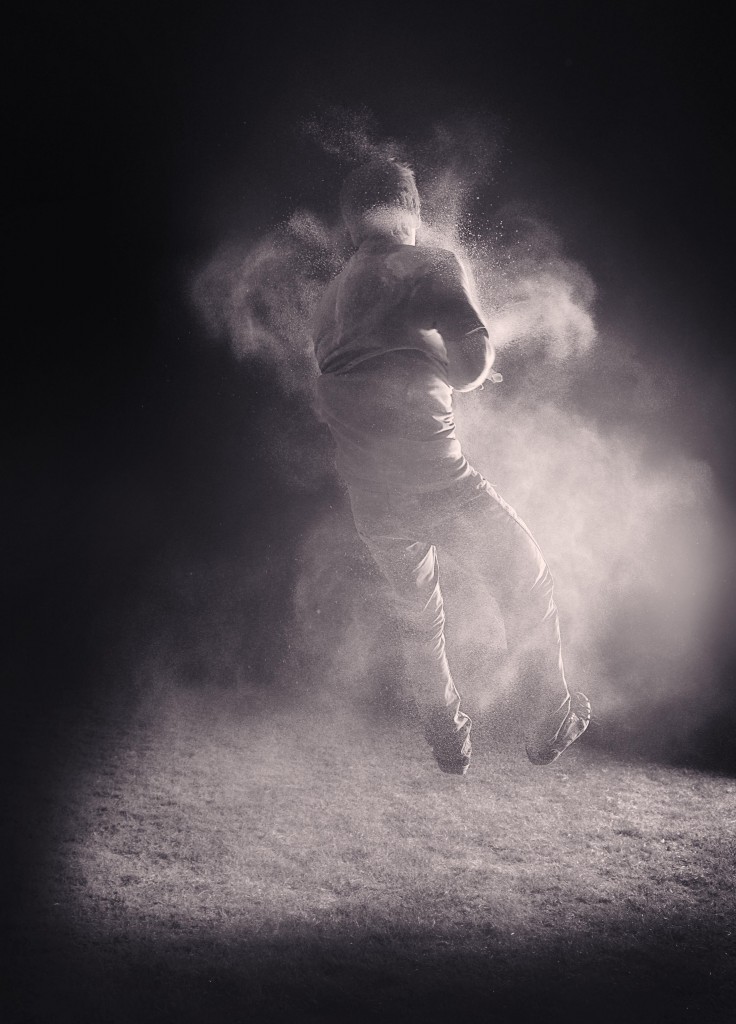
Parkour and Flour with Lights
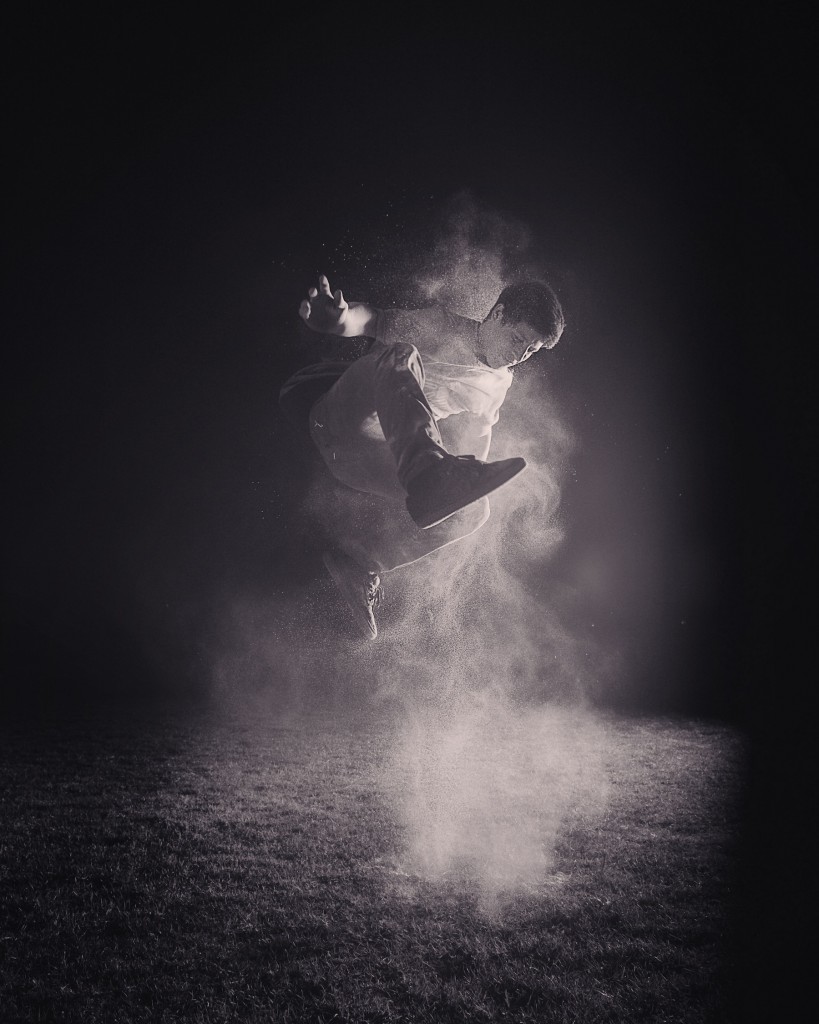
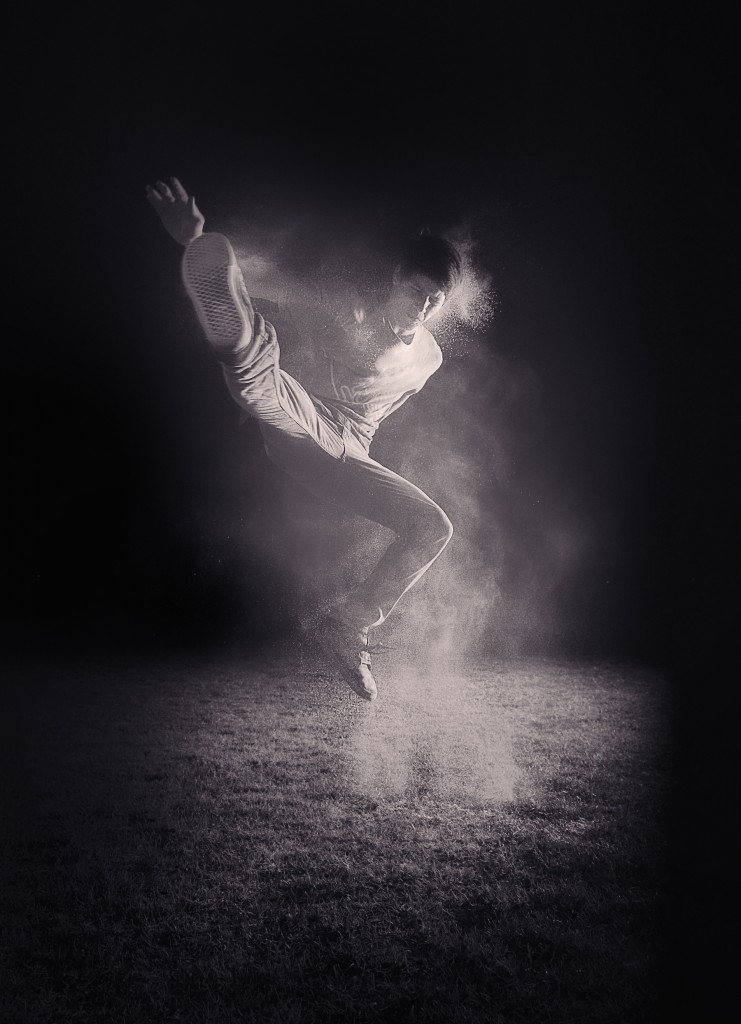
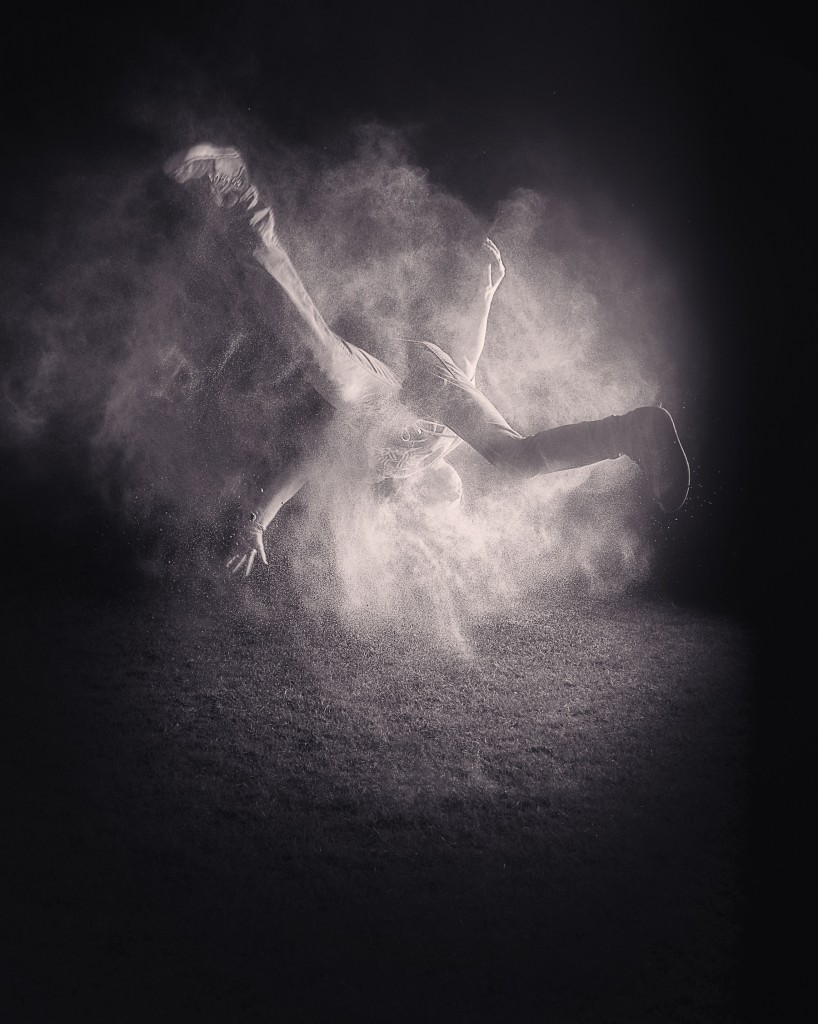
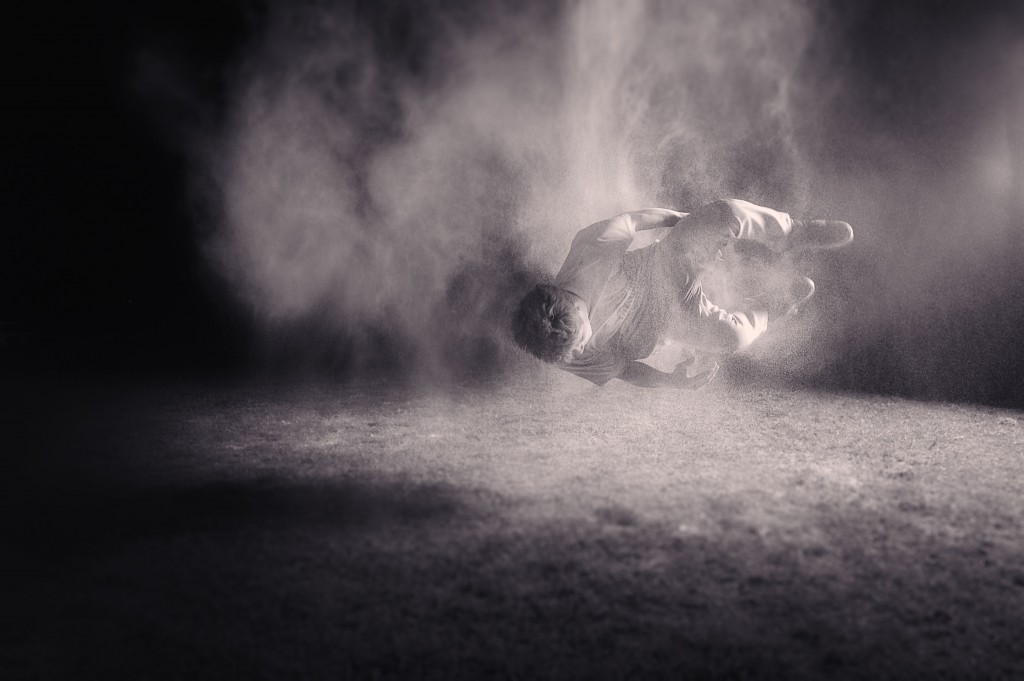
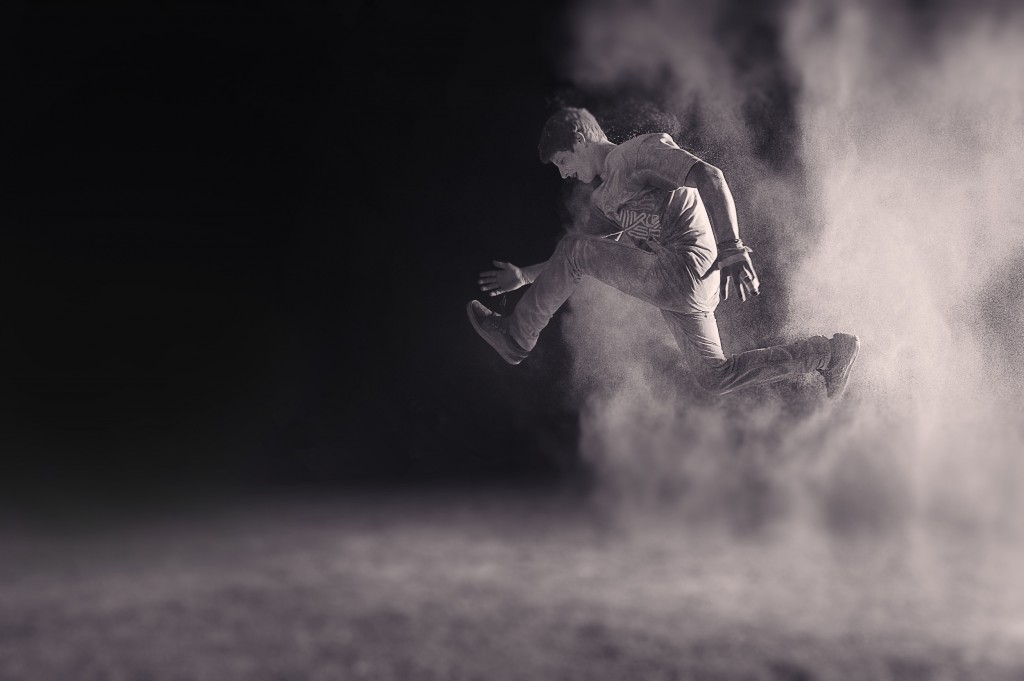
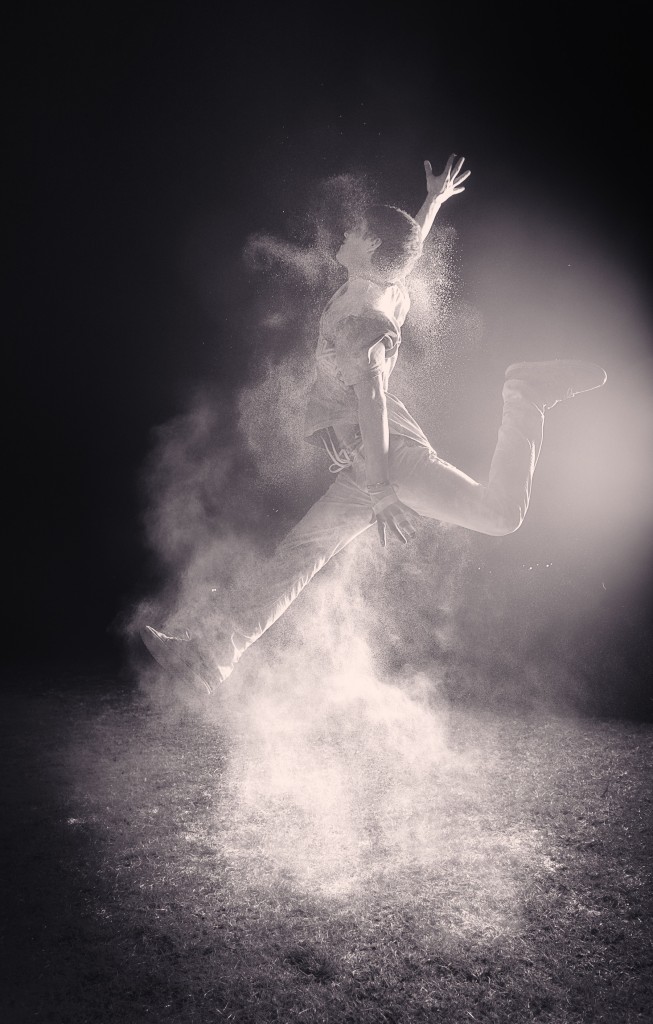
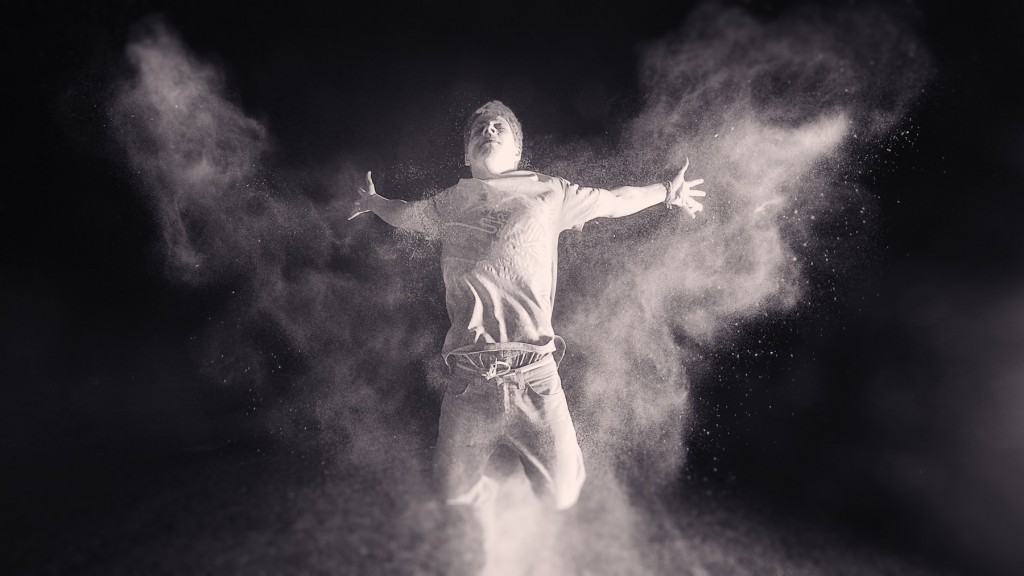
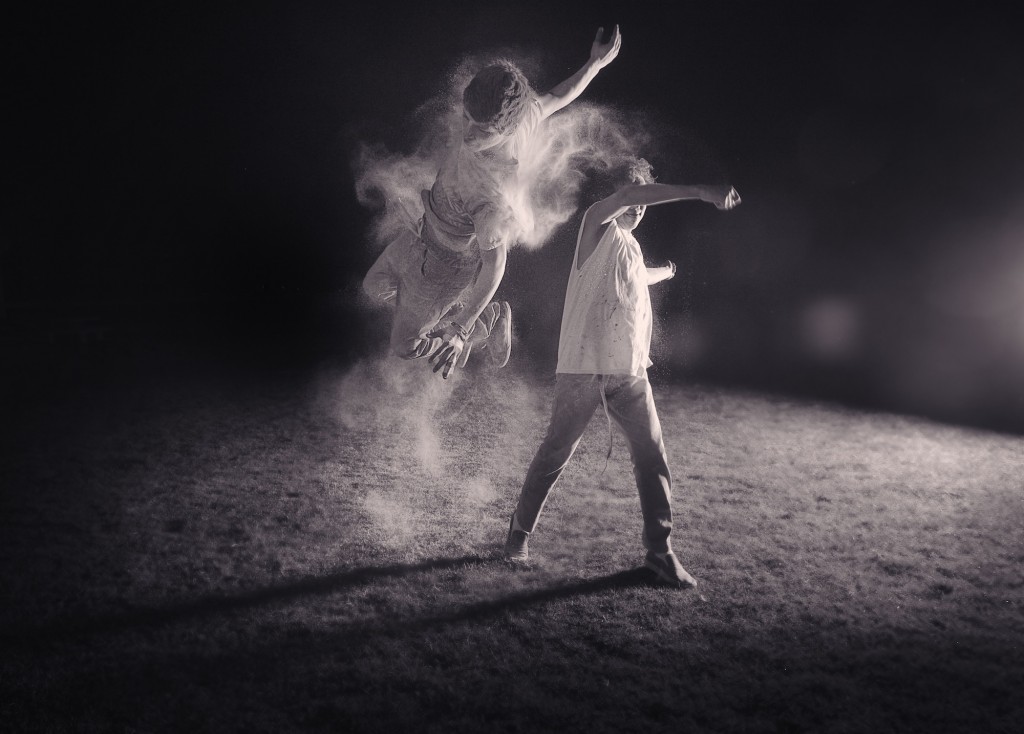
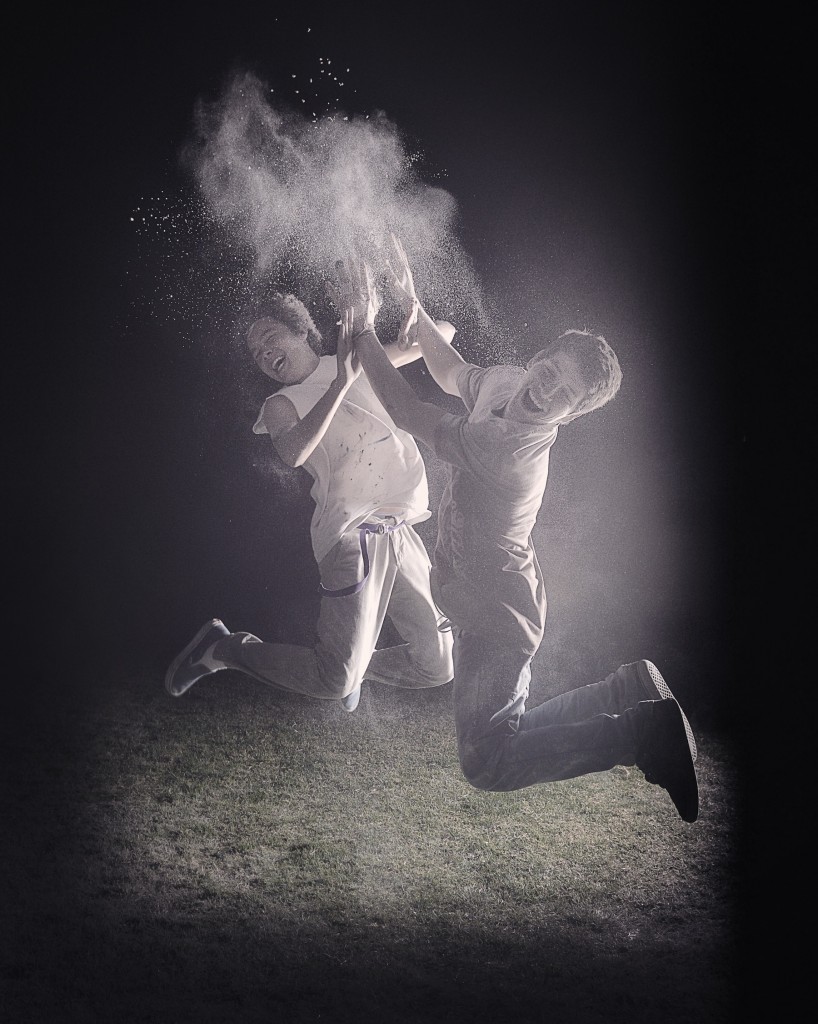
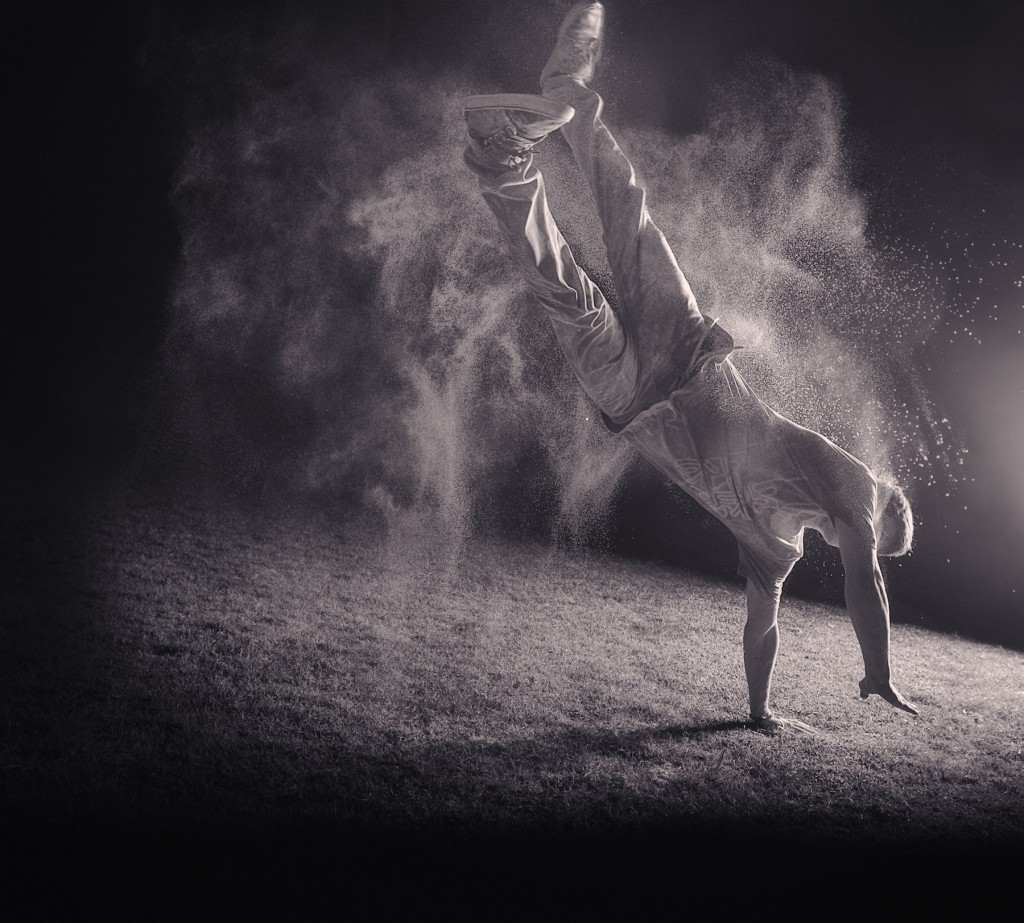
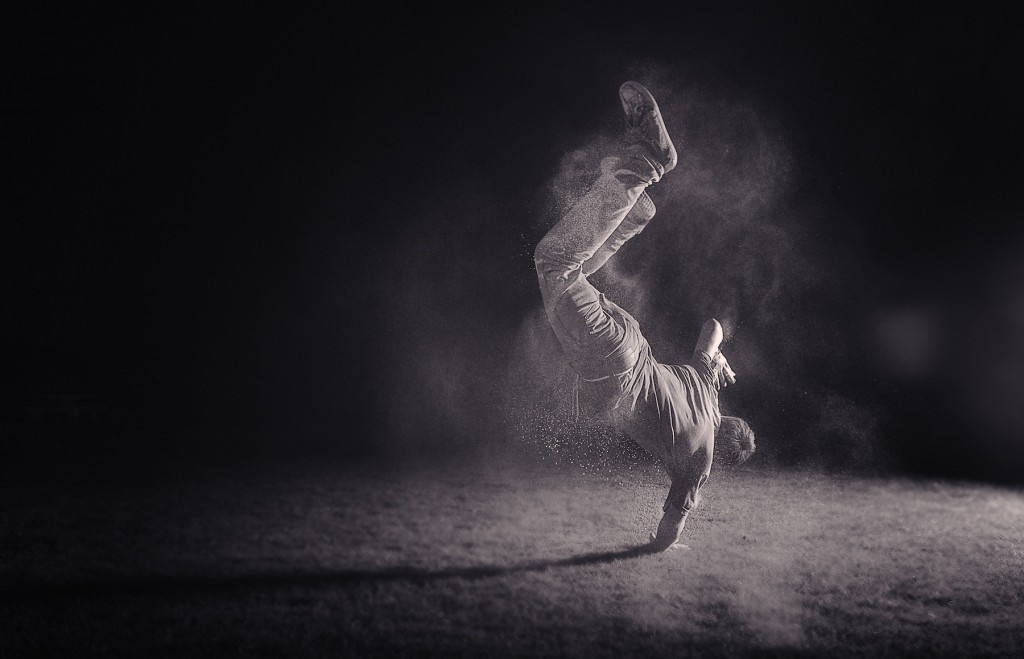
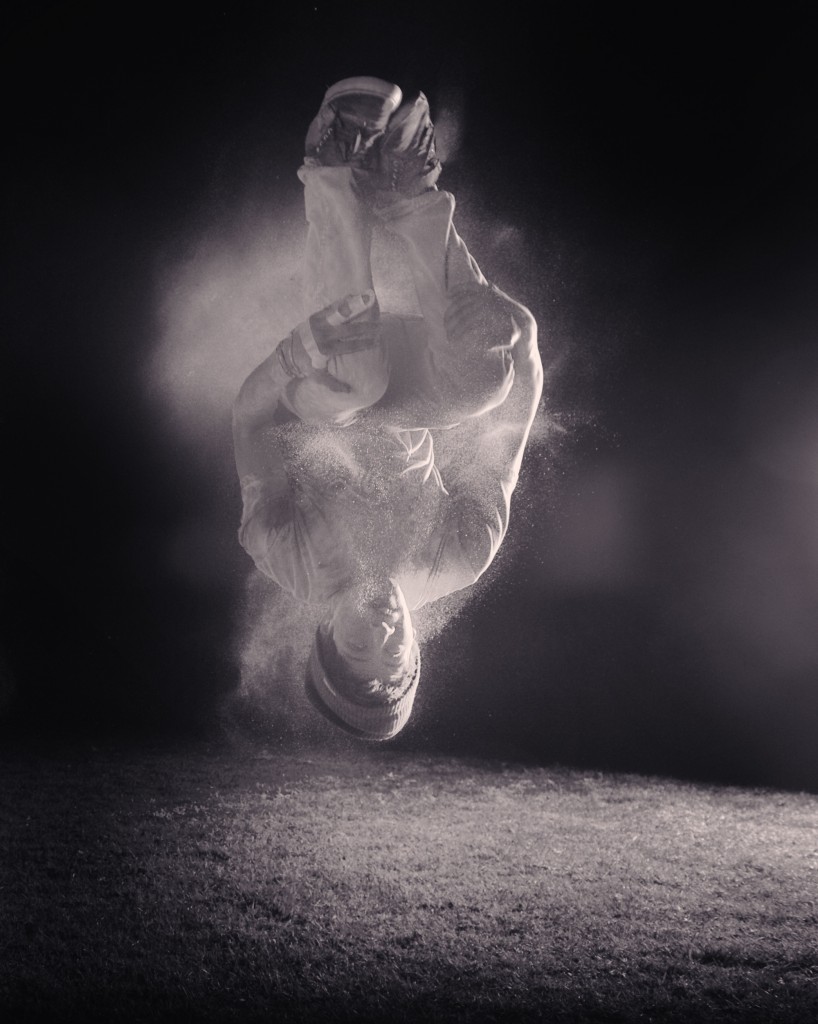
Photographer Ben Franke recently published a series called Parkour and Flour. I found the work to be so compelling that I called my nephew and his cousin to try to take some pictures using the same techniques.
Ingredients
To take the photos required a little bit of preparation and materials. What I used included 1) 4 bags of flour, 2) an single Elinchrom BX 500 lighting unit, 3) Nikon D4 and 24-70mm lens, and 4) a reflector to bounce light back on the subjects.
To be honest having a second speedlight to fill the image with light would have been much easier and taking these images at night required that I completely operate in manual focus mode since there is no way, my camera could capture focus in the darkness automatically. I used my Iphone flashlight to light them up first, used autofocus and then locked that focus in manual mode. Sometimes it worked, and sometimes it didn’t.
Setup
It took awhile to figure it all out. At first I wanted to try to light them by backlighting, but that didn’t work at all so I tried putting the lights at about 90 degrees and side light them and that worked well. The other thing I learned was that you couldn’t use that much flour otherwise it would completely obscure the subject in flour. The best thing is to shake a little bit on them before they jump.
It was a real fun project.
Sequoia’s in the Mist
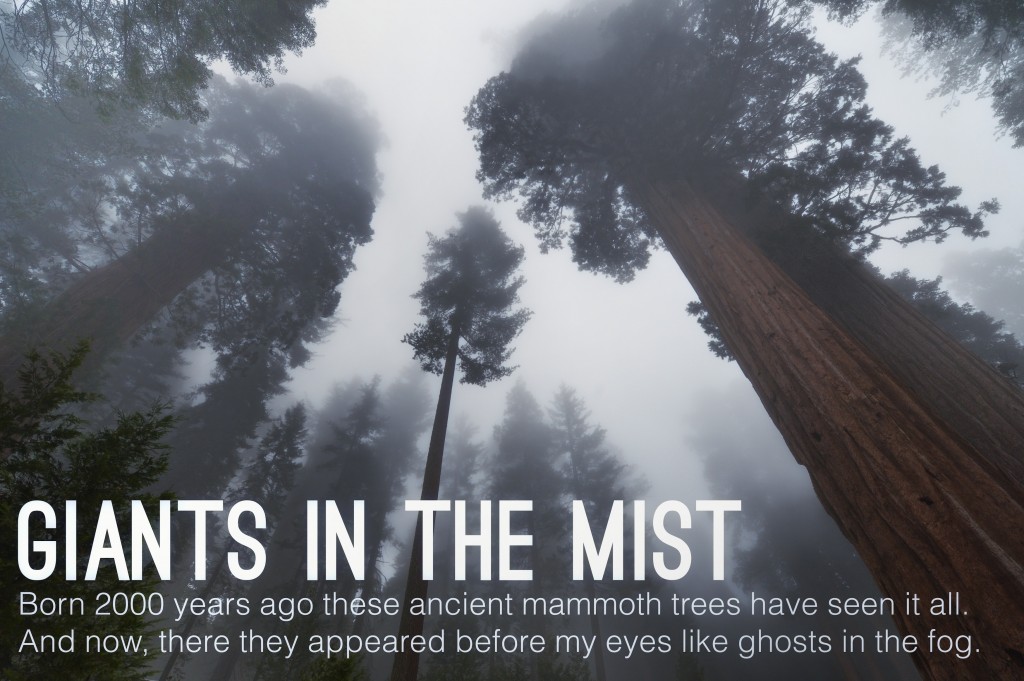
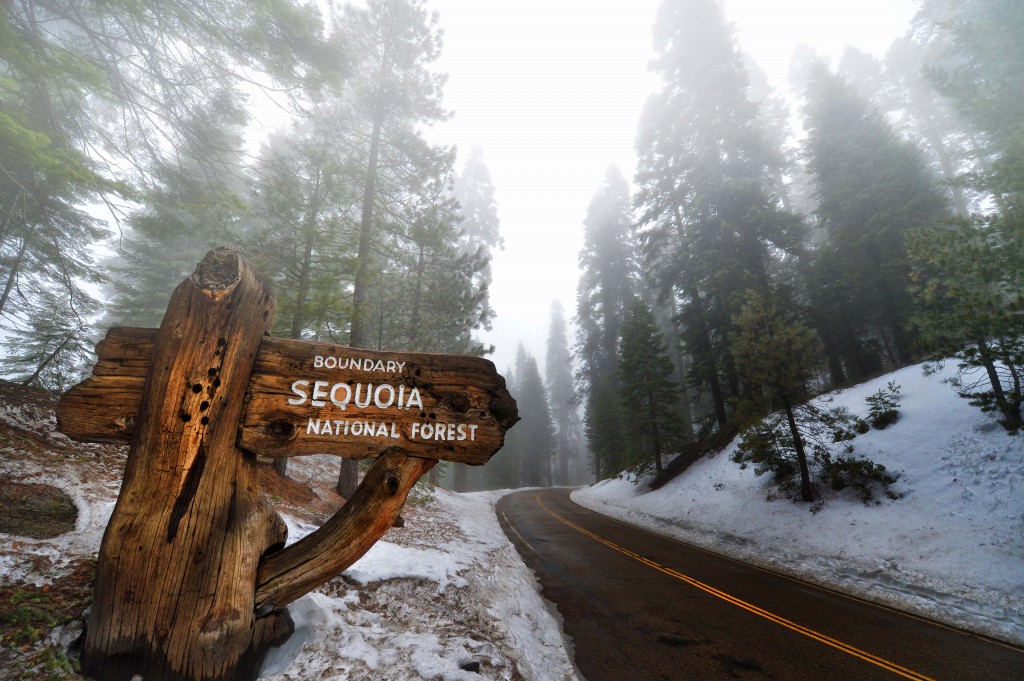
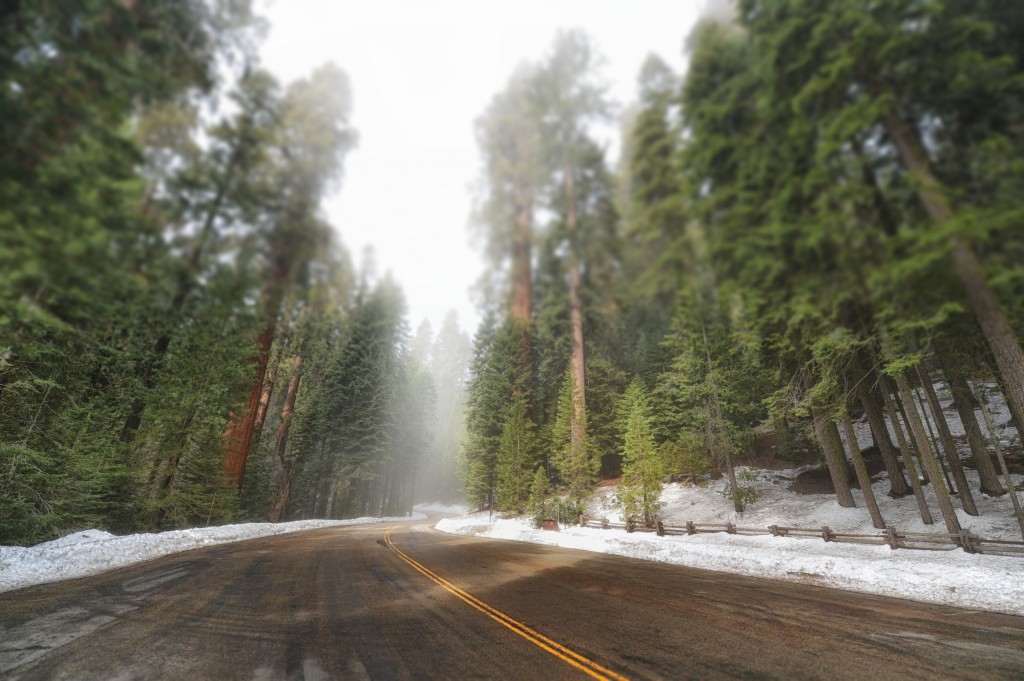
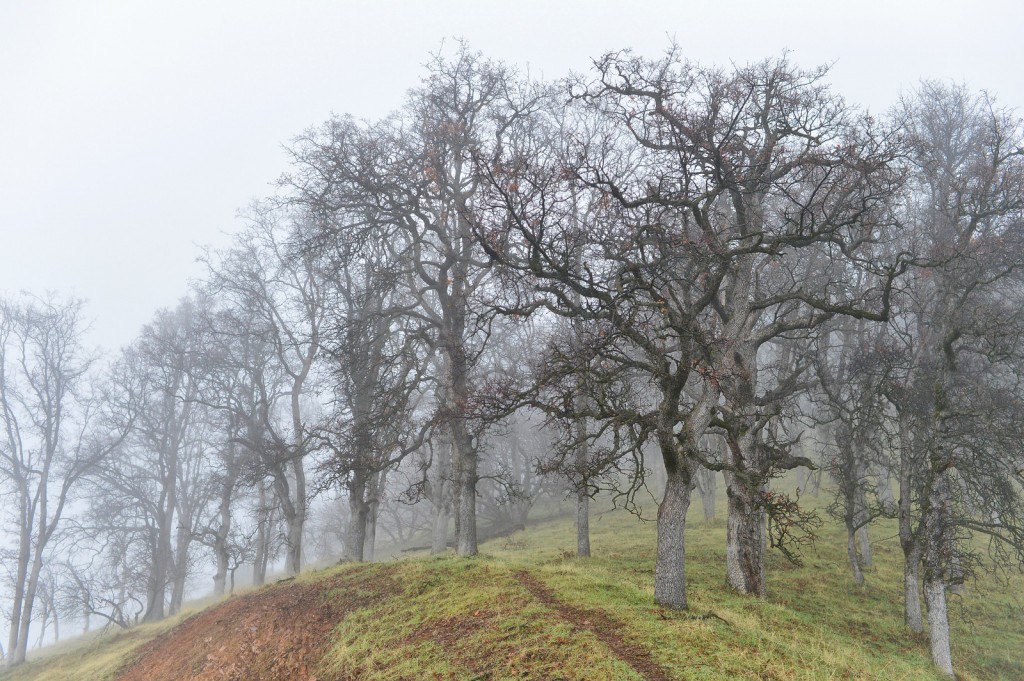
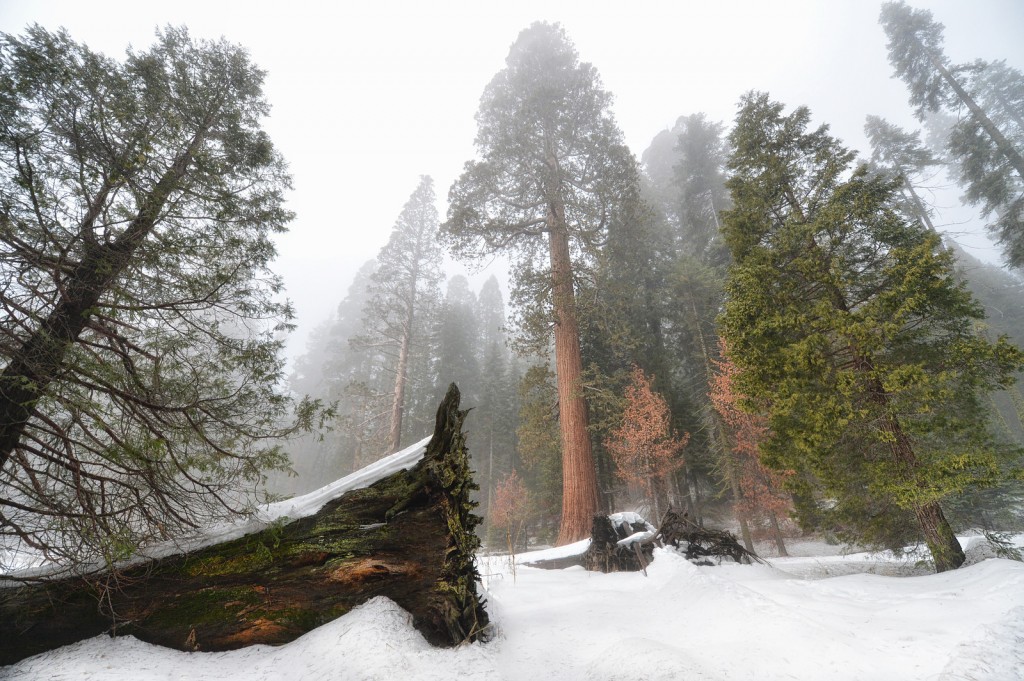
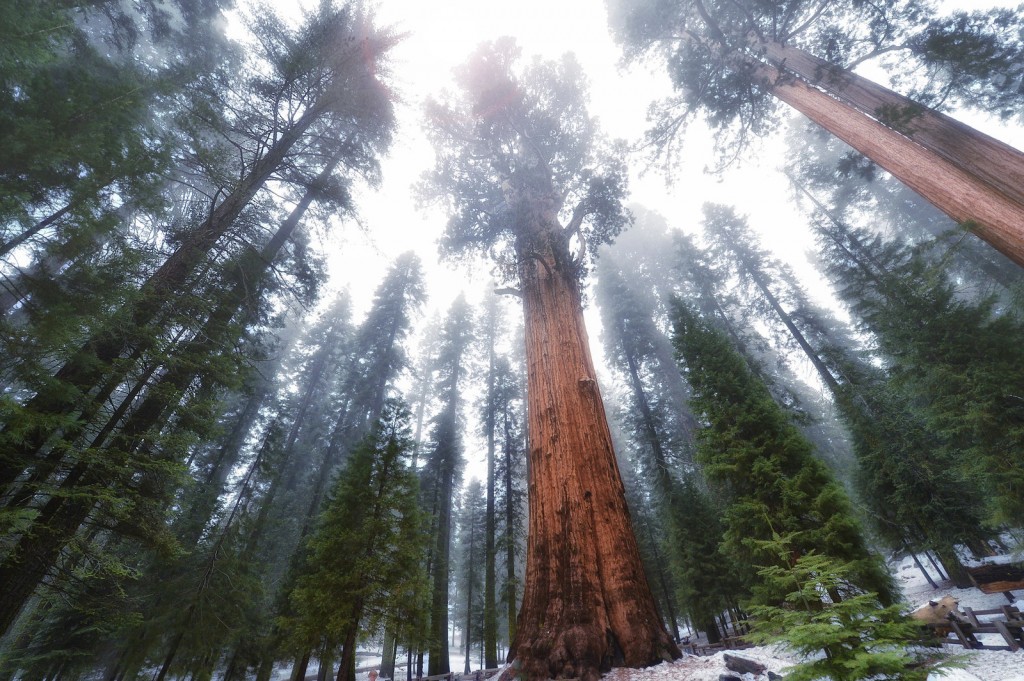
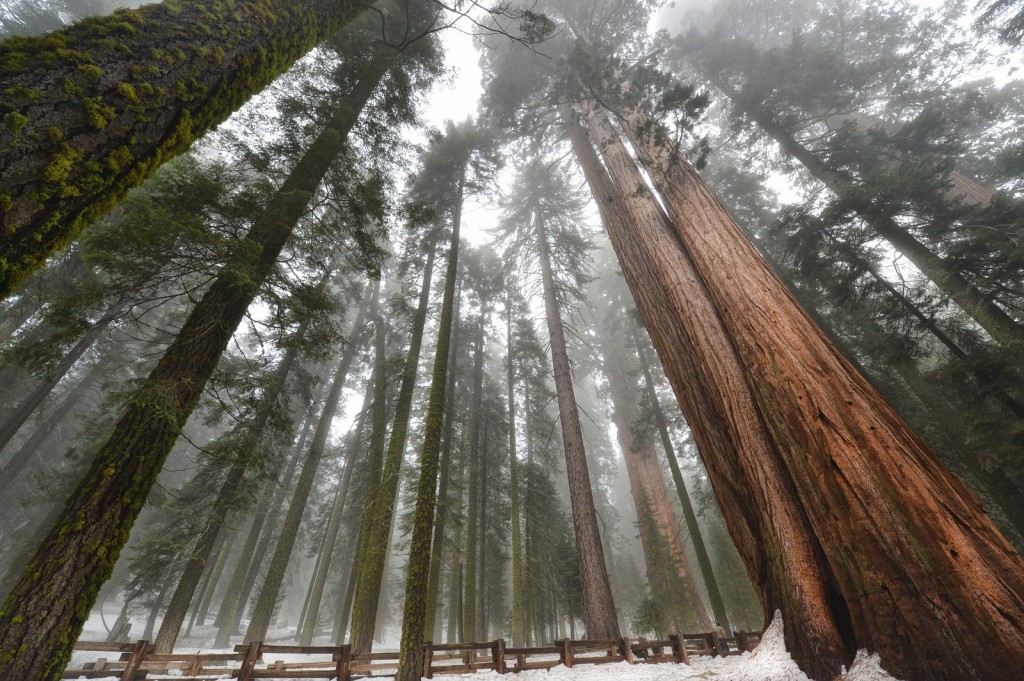
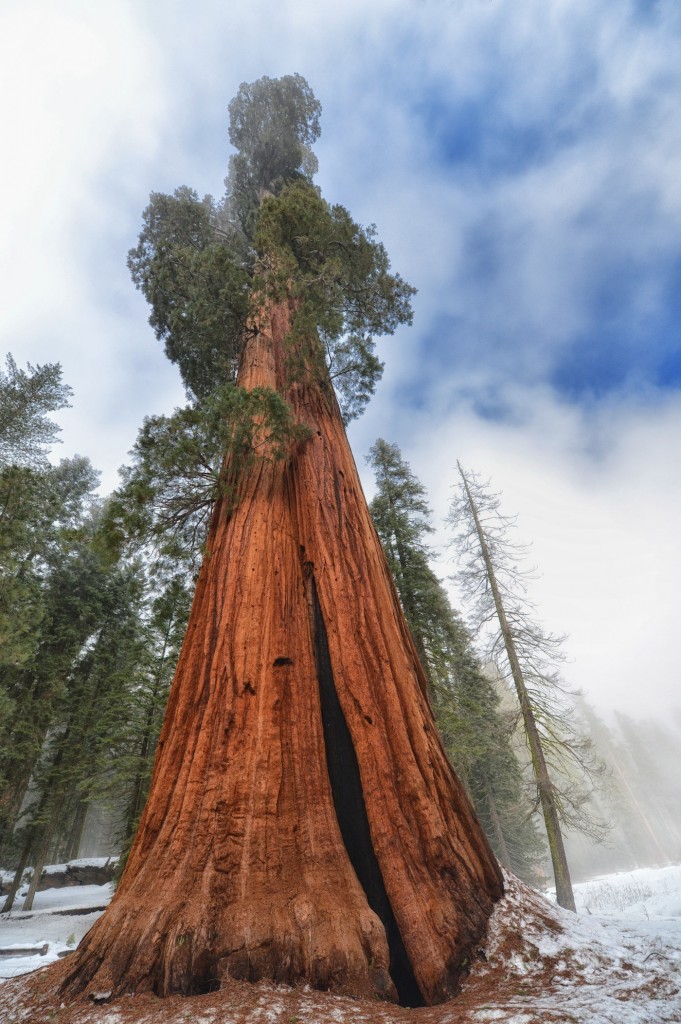
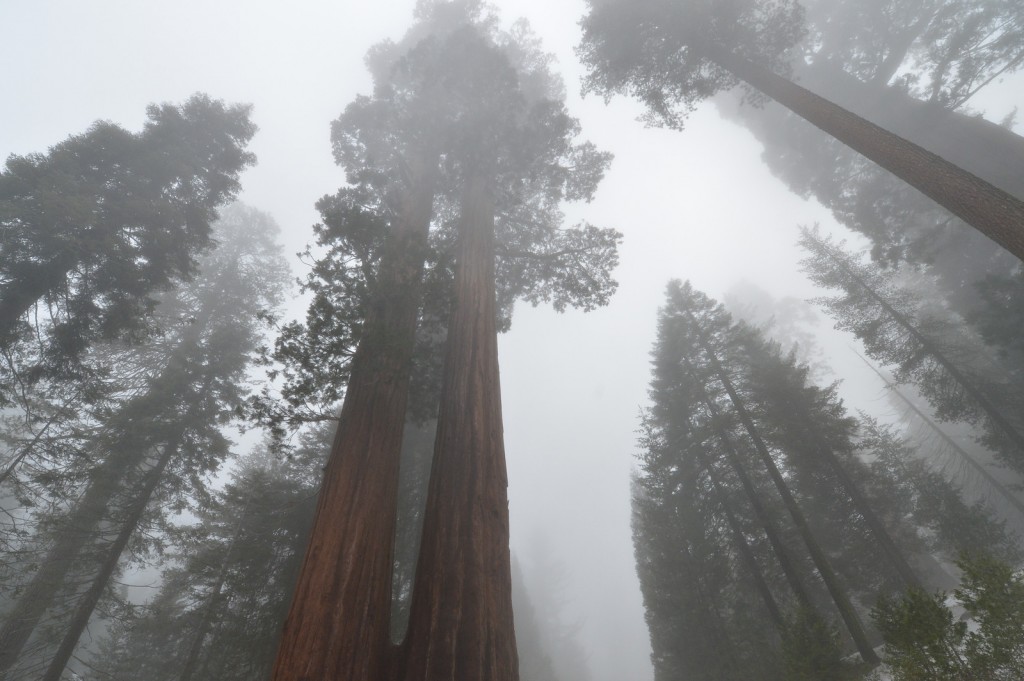
It seemed more than a bizarre irony to me. There they stood before my eyes like ghost. But they were more real than I could ever be, older than my mind could comprehend, and more beautiful than anything that I could ever conjure up in my own imagination. To see them shrouded in mist made them seem more ancient, more somber, more grand but less real and perhaps more of another world than of this one. But these were Sequoia’s the largest and most mysterious trees on the planet, and from what I could tell, locked in an infinite bond with the earth which was more permanent than my own.
The experience was humbling, perhaps spooky but something I was grateful for. I was there where I had arrived. I wasn’t going to come but I did. The drive was too long. It was raining. I needed snow chains I didn’t have. The tires looked like they needed to be changed. I needed to work. The roads might be closed. I didn’t have a hotel. I don’t like driving alone. I seemed to have every excuse not to be there, but there in fact I was. Something had pulled me there. A compulsion to photograph them. An intrigue to see something new. A promise made to a friend. I was there. That is all that mattered now.
From conversations, plans are hatched.
I was explaining my new found photography hobby with him when he told me he had been searching months for a photo of Sequoia’s to put on his wall. While I had never even seen a Sequoia tree in my life, Ian, my friend, was convinced that the tree’s held the secret to the beauty of creation and our individual seemingly small place in this world. I figured I had to go. Not only to see what he was talking about but to somehow try to create the photo that he was trying to find. It was a project. It was a reason to go to visit a beautiful place.
For weeks I procrastinated. I checked the weather convincing myself that I needed to go on a brilliant sunny and cloudless day. The weather was fickle and plans postponed. Finally, I found myself in Los Angeles on another project and decided I just needed to go. I didn’t even check the weather. Be damned with the plans. I was going to go regardless and just see and photograph what I could.
The weather was terrible on the drive up. I cursed myself as I drove up through Visalia through the pouring rain and then dense fog. There was zero visibility. I had driven hundreds of miles and wasn’t going to get a single good shot. Or that was what I thought at least.
Then I am there. I am amazed!
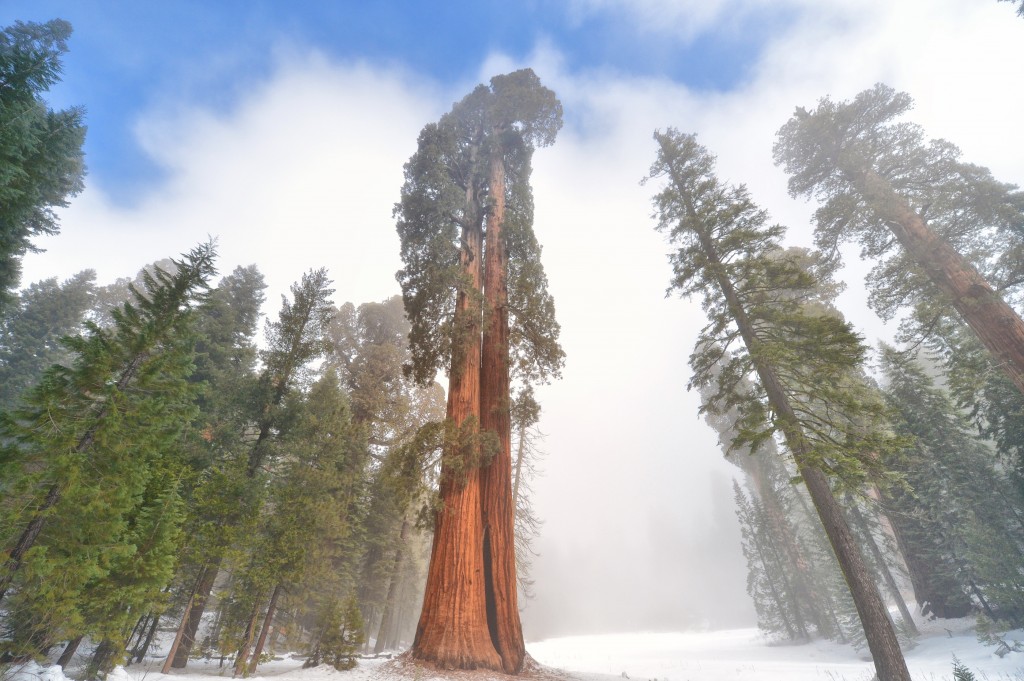
I fumbled with my camera at first. My fingers were cold but it wasn’t because of that. I fumbled because the scene that was unfolding in front of me seemed so temporary. The dense fog was lifting briefly and the sun was beginning to burst through,and as it did, it was lighting up the most immense tree I had ever seen. I felt I needed to get the picture before it went away. I fumbled than I snapped the picture praying that I had the camera settings correct. The fog did return almost immediately. I’m glad I got the shot. It wasn’t the last however but the first of many awe inspiring moments to come during the day.
From a Tree, to a General, to a Monument
Fossils of Sequoia Trees have been found that date back up to 180 million years ago. Now most trees died off during the ice ages and only a few species actually survived and the Sequoia just happened to be one of them. The Sequoia over thousands of years managed to survive fires, earthquakes, natural disasters, ice ages and every other sort of disaster but it wasn’t until they were discovered by White hunters in the early 1800’s that they almost met their demise. Soon after finding the first Sequoia the hunters cut the massive tree down. It reportedly took 5 men working 22 days straight to cut it down. The tree, which was called the “Discovery Tree”, was estimated to be 1,300 years old after they counted the tree rings in the trunk.
Over the coming years, massive saw mills were constructed in the Sierra Nevada and the Sequoia Tree’s were cut down by the thousands and milled. Ironically however given their size the wood was not considered premium because the trees would often splinter and shatter when their massive weight hit the ground. Imagine how many ancient trees were destroyed during that time for their wood? Famous named trees such as the Mark Twain tree was even cut down during this time.
In 1890 in order to preserve the few remaining Sequoia’s left in the world, the Sequoia National Park was established. Today, Sequoia’s pretty much only grow in this relatively small stretch of land in Central California. The Park is known for some of the highest trees in world but also for the highest peeks as Mount Whitney is located in the park as well.
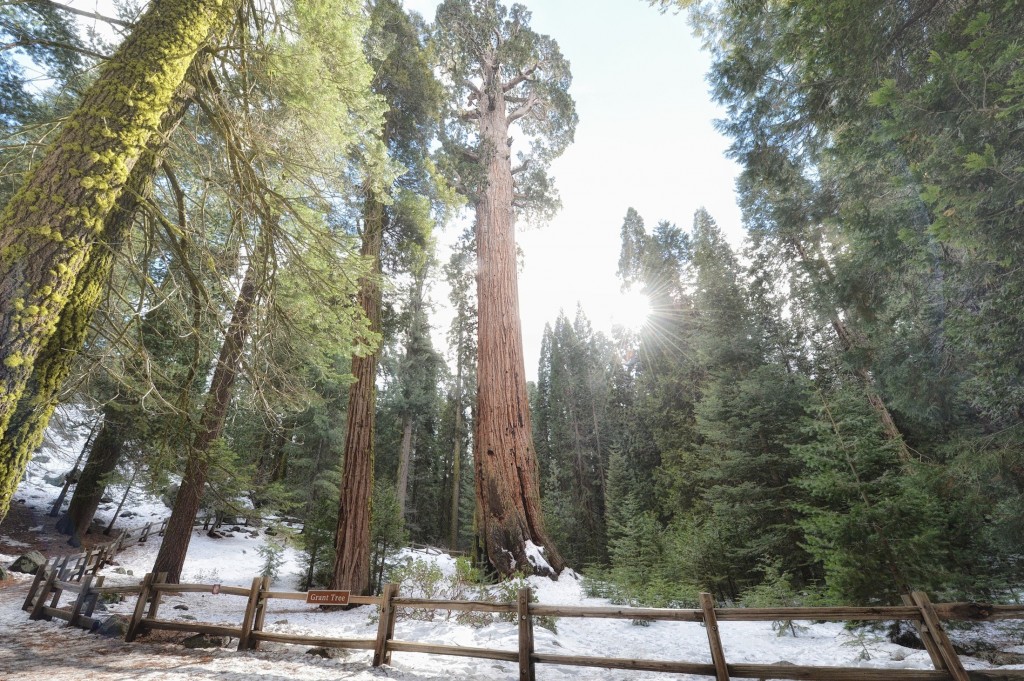
I spent most of time at the park in a place called the Giant Forest. Not only is it a very cool name for a Forest but it contains 5 of the 10 largest trees in the world. There is no other place like it in the world. Two of the most famous trees in the world can be found here; the General Sherman Tree and the General Grant Tree.
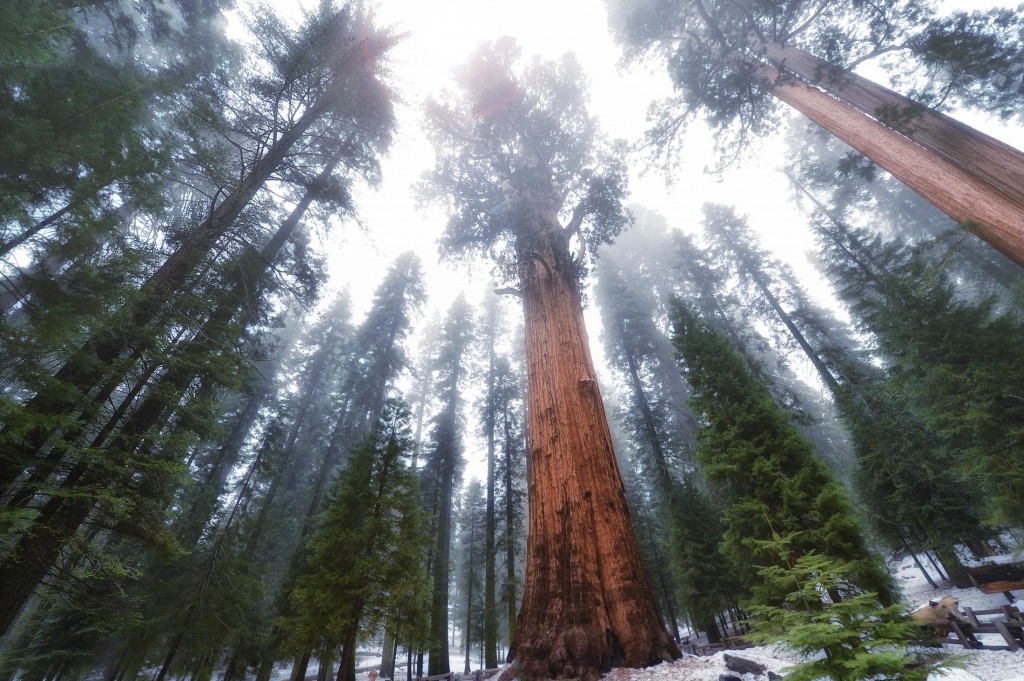
The General Sherman Tree is known as the largest tree in the world. It is not the highest but the largest in terms of volume. This tree was so massive that I had a hard time capturing it entirely, particularly since there was a stream of people lining up to take pictures under the tree many of whom were asking me to take their pictures for them.
The General Grant Tree probably would have been named President Grant Tree had they waited two more years to name it. You see the tree was named in 1867 for General Grant who two years later in 1869 was elected as President of the United States. The tree was later designated as the Nations Christmas tree and later was designated a monument and a memorial to soldiers that died in the war.
While photographing the General Grant Tree I had a stroke of luck. The sunburst momentarily from behind a tree in the distance creating a magical sparkle and warmth to the image. The General Grant tree was one of the most memorable trees in the Giant Forest.
The Perfect Day
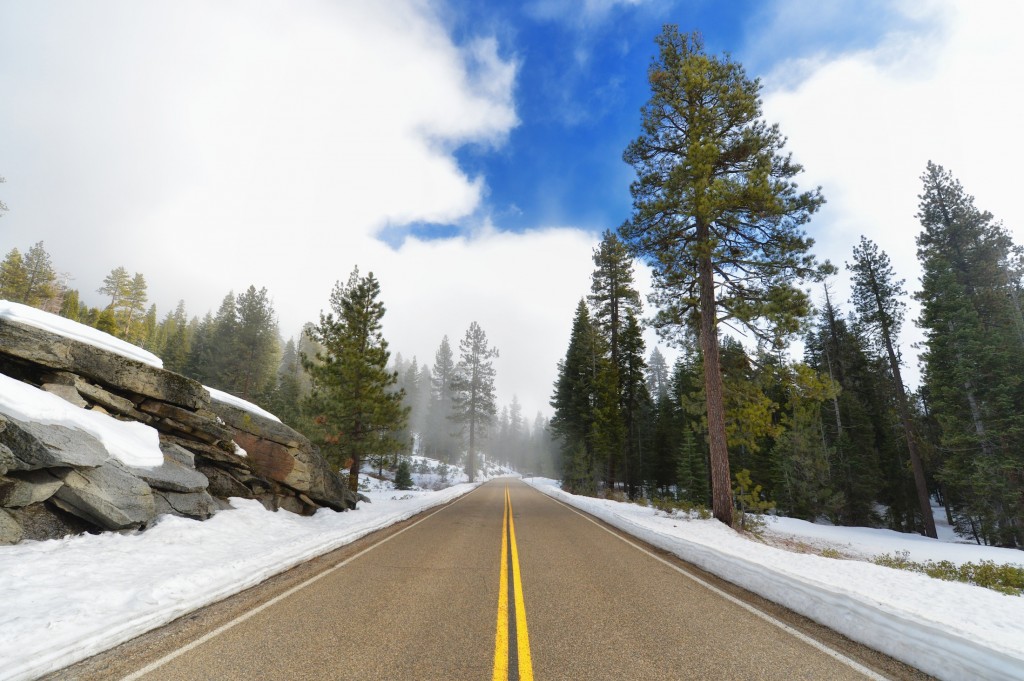
Sometimes you pick the perfect day. Sometimes you pick the worst day. Today, I had picked the perfect day. It was winter. It was Saturday. The park was nearly empty and here I was with my camera and Sequoia National Park was unfolding before my eyes through ever bend and turn in the road. Sometimes I would pull over, stop my car and take pictures trying to capture the experience of driving through this park.
Different elevations bring different experiences
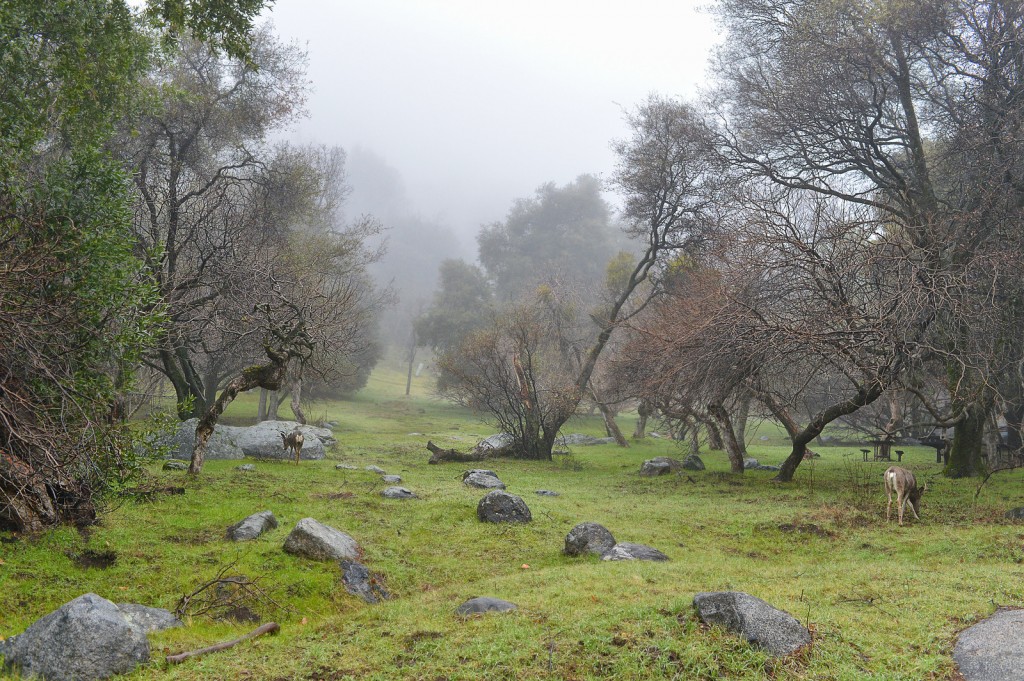
The park is well laid out. Like Yosemite to the North this park provides many different experiences based on the elevation. When you enter there is no snow. The trees are rugged and deer roam the landscape.
As you drive to 6,000 elevation the snow becomes deep and you reach the massive Sequoias. From here you can visit the Giant Forest Trail. A mile long walk around a river bed (which is completely frozen) is a peaceful nature walk. I found myself at times plunging almost waist deep into fresh snow. You never knew how deep you would go. I held my camera above my head and walked, determined to keep it safe even if I was not.
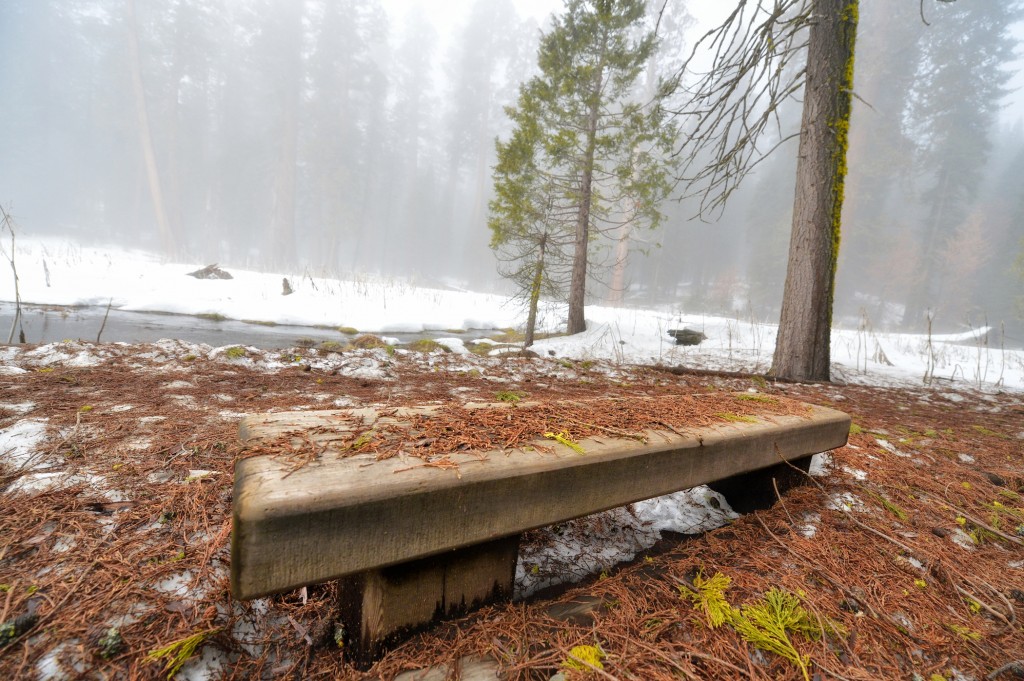
A peaceful bench to sit on. I did not however and just took pictures of what the view would be like from it. With a warm jacket you could sit here and just see what nature might do over time.
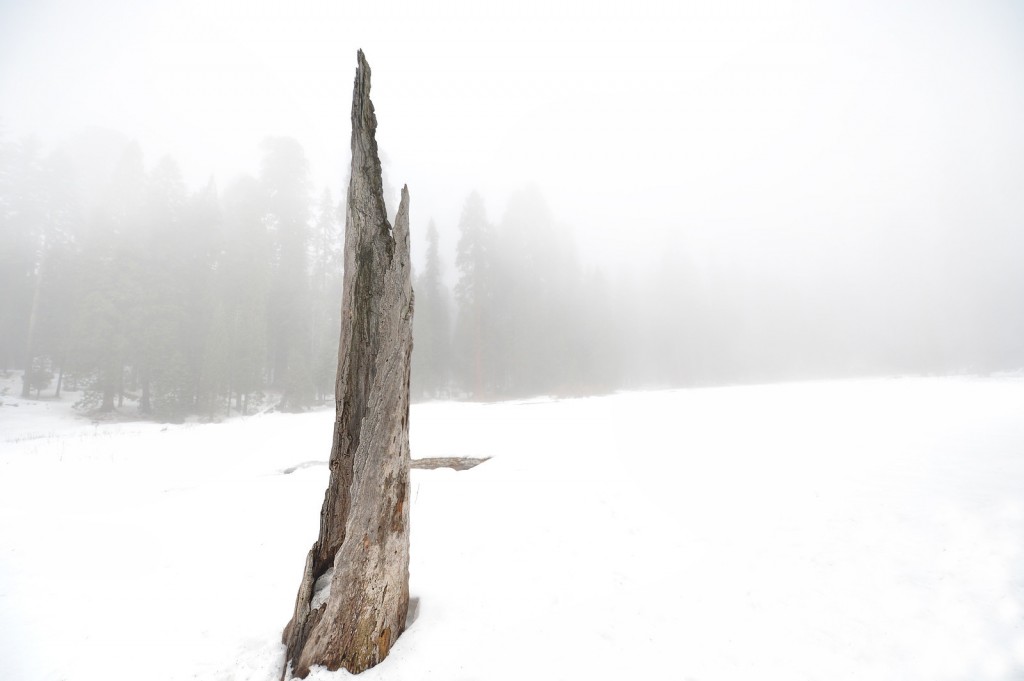
Fallen trees were a reminder here of the passing of time and the circle of life. Smaller trees would fall and burn making more room for the bigger trees. Perhaps survival of the fittest is the rule of the land everywhere.
Appreciating perspective through big and small
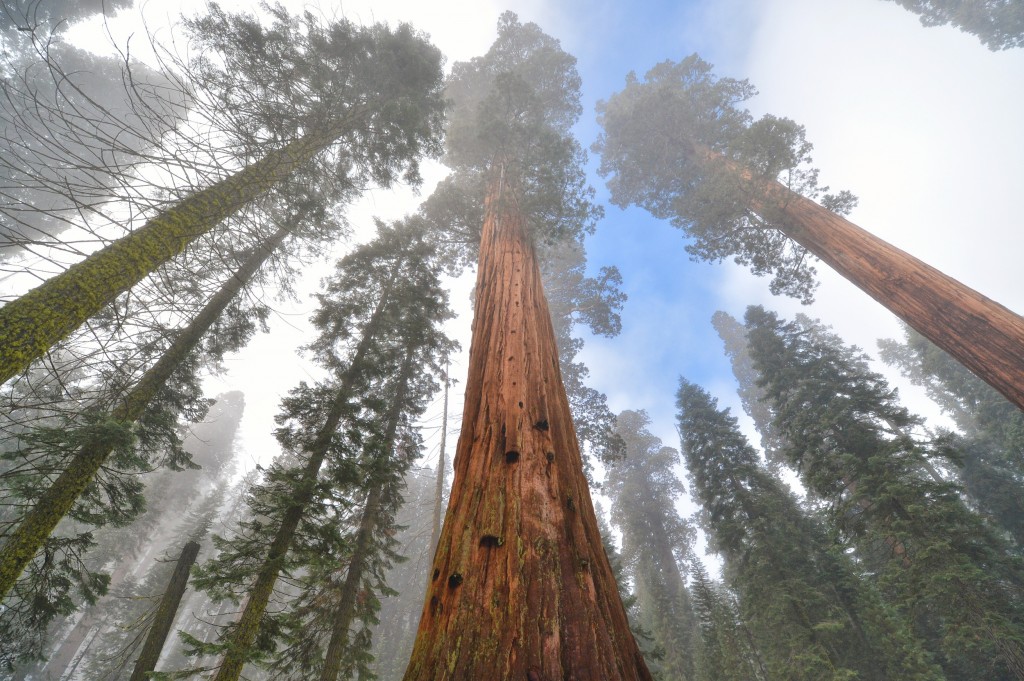
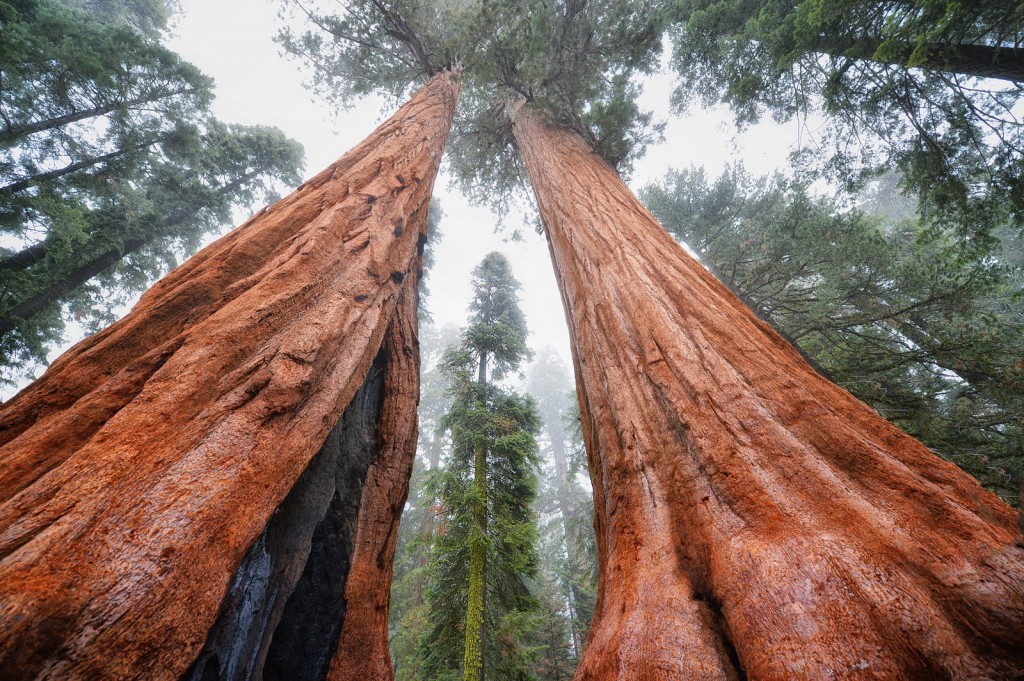
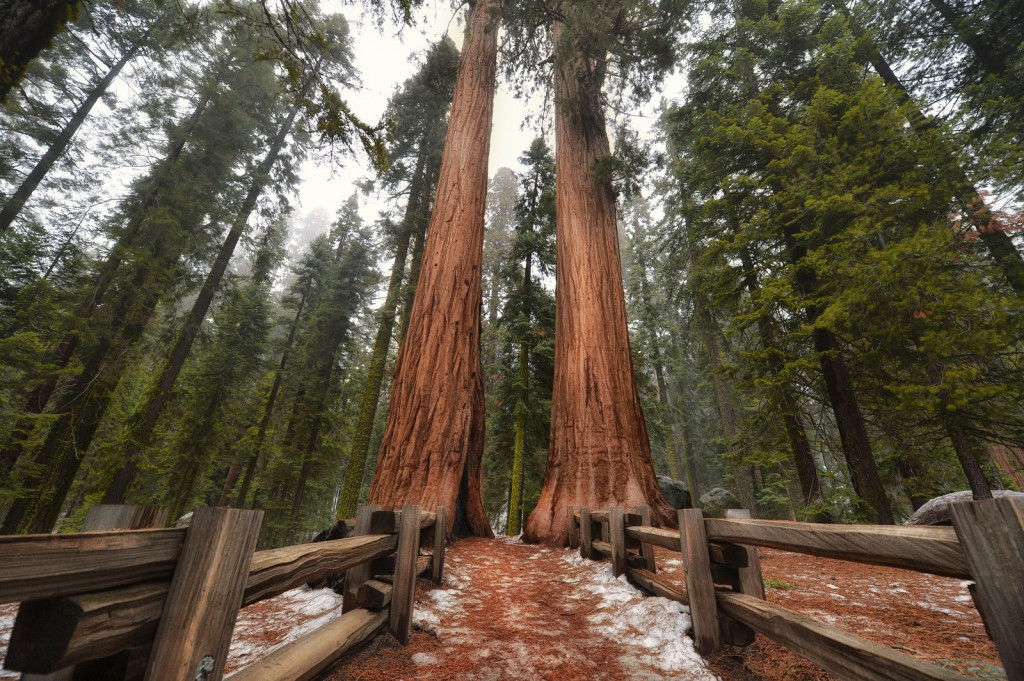
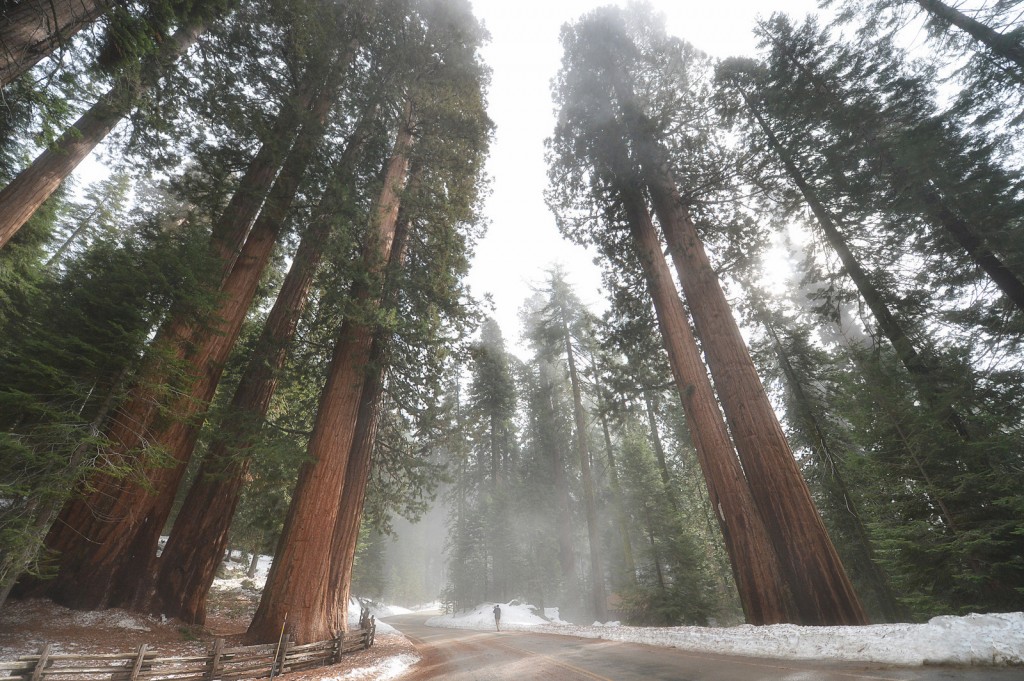
The only way to truly appreciate the Sequoia’s is to see them in relation to everything else. The trees are so massive that a photograph doesn’t do them justice. I spent some time trying to find that perspective with things around the Sequoia’s.
Two large Sequoia’s provide a picture frame for their little brother in their giant shadows.
Another photographer stopping along the road to photograph Giants. He is a tiny, tiny man.
Giants in the mist
While the sun did shine. I was glad for the contrast of the day. Sometimes sunny, sometimes cloudy, sometimes foggy it didn’t matter it was showing me all of the seasons in one day. I was lucky. If I had come on a sunny and cloudless day as I had planned. It would have been crowded. I probably would have gotten beautiful pictures of sunny meadows and huge trees. I probably will return again someday to see that. I hope it is soon. You can check out my gallery here to see the rest of the pictures of Giants in the Mist.
7 Best Photography Road Trips from San Diego
My name is Frank McKenna, a San Diego amateur photographer.I like to travel a lot and one of the most important things I look for in a location is a place where I can photograph many different things from a central place. If your coming to San Diego and your a photographer or perhaps if you live in San Diego, I have about 7 different trips you can accomplish in a day and get fantastic photos.
The first thing is to make sure that you hit all the best spots to photograph in central San Diego first. If your looking for ideas, check out my blog 15 Best Spots to Photograph San Diego.
So here is my top list of photography day trips outside of San Diego.
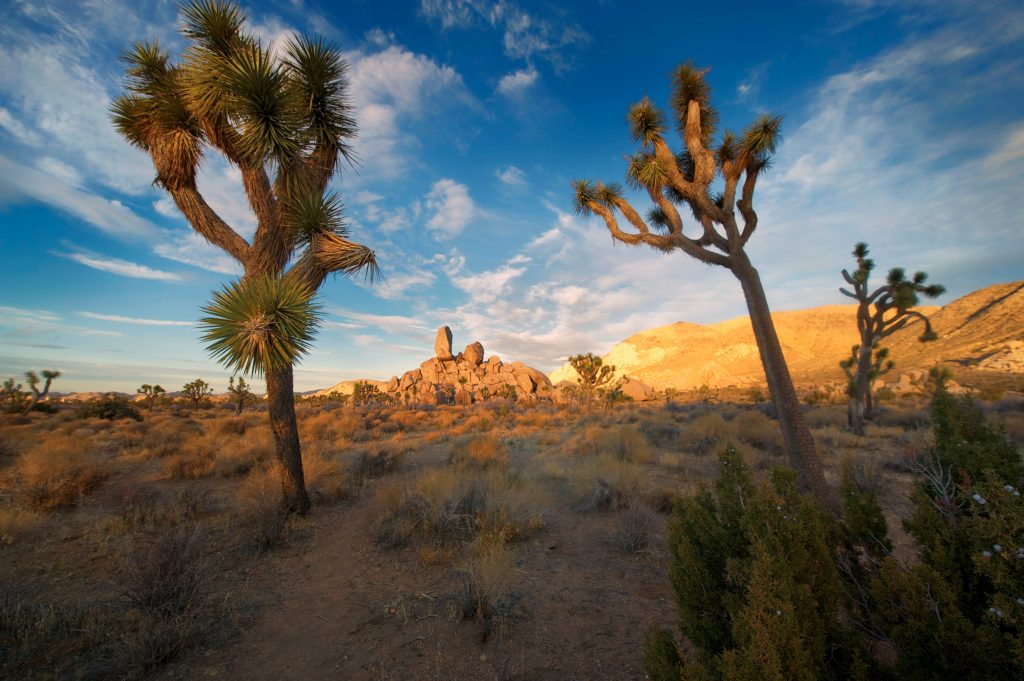
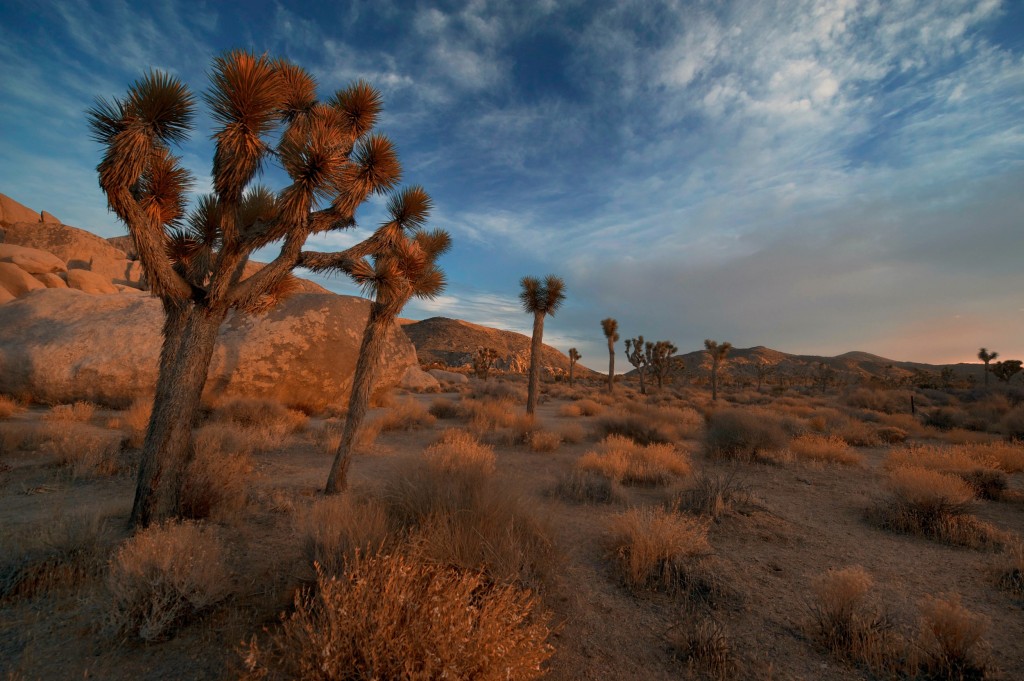
# 1 Joshua Tree State Park (Google Map it)
Joshua tree is 2.5 hours from San Diego and a good day trip to take.
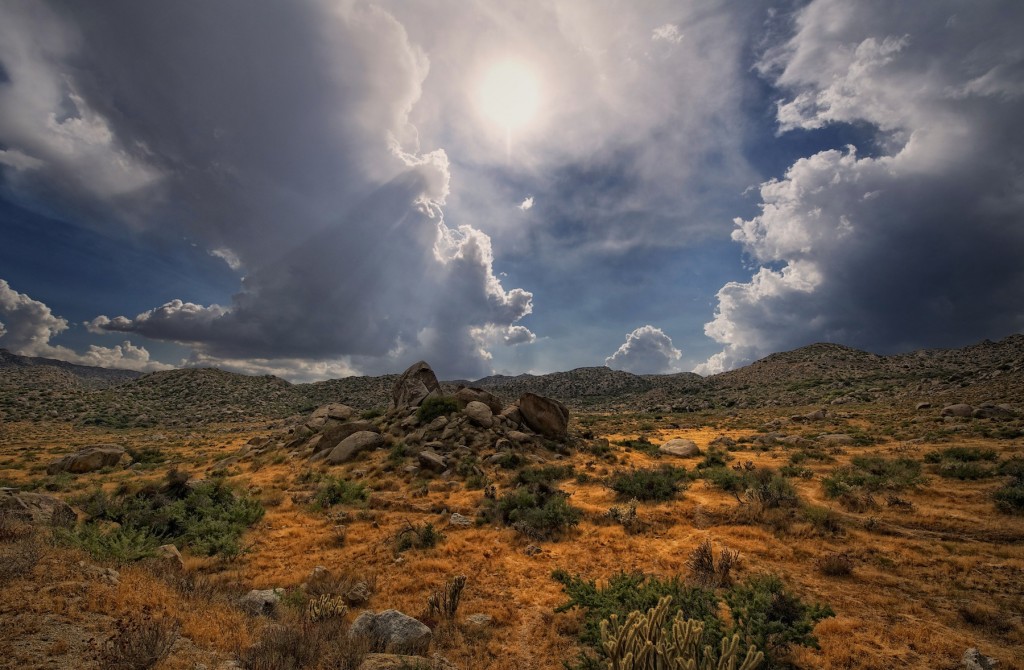
I would recommend planning your day so you have at least 6 hours at the location and you should be there at sunset since that is the best time of day to shoot. This place is gorgeous and it’s like your traveling to another world when you enter the park gates. Don’t get lost on the trails – it’s easy to. If you leave at 10 am, you can be there by 12:30 stay for about 5 hours depending on the time of year and then be back in San Diego by 10pm.
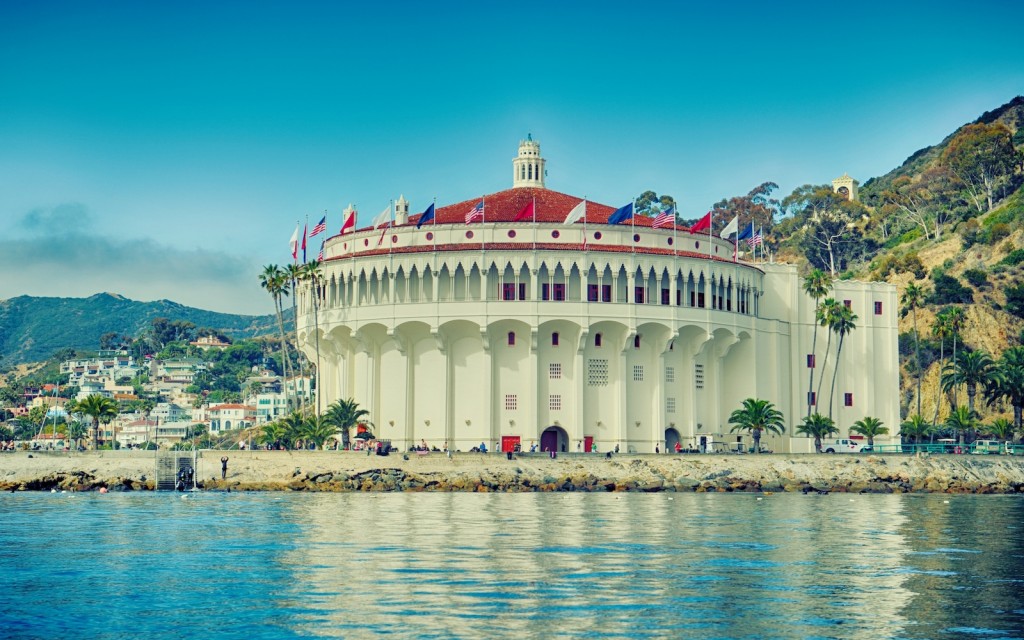
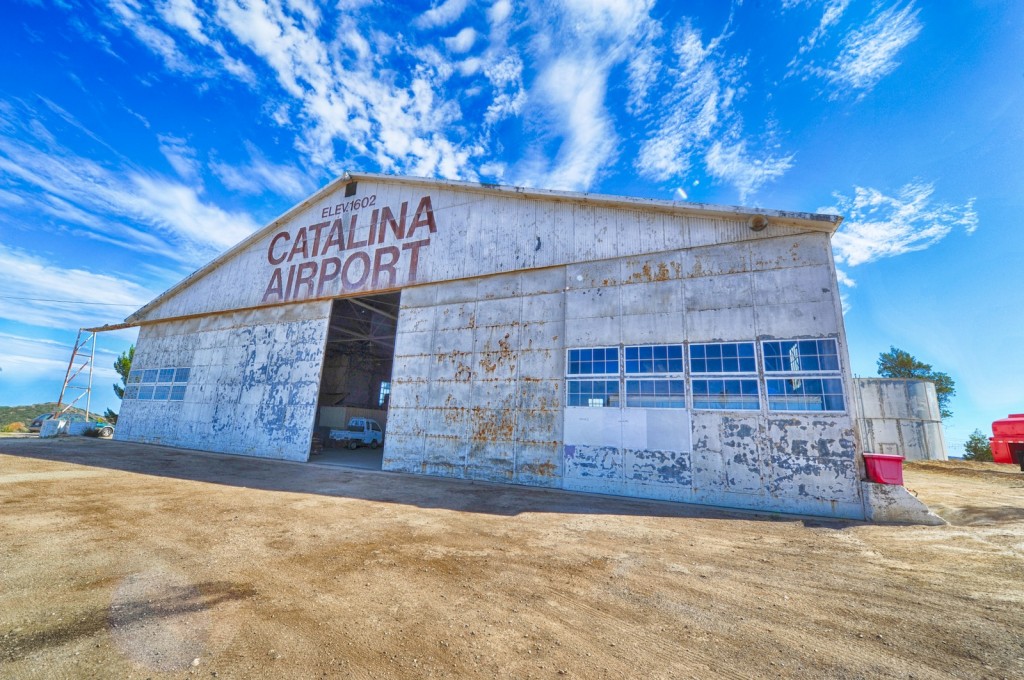
#2 Catalina Island (Google Map it)
1 hour drive to Drive to Dana Point and 1 hour and 15 minute ferry ride to the Island.
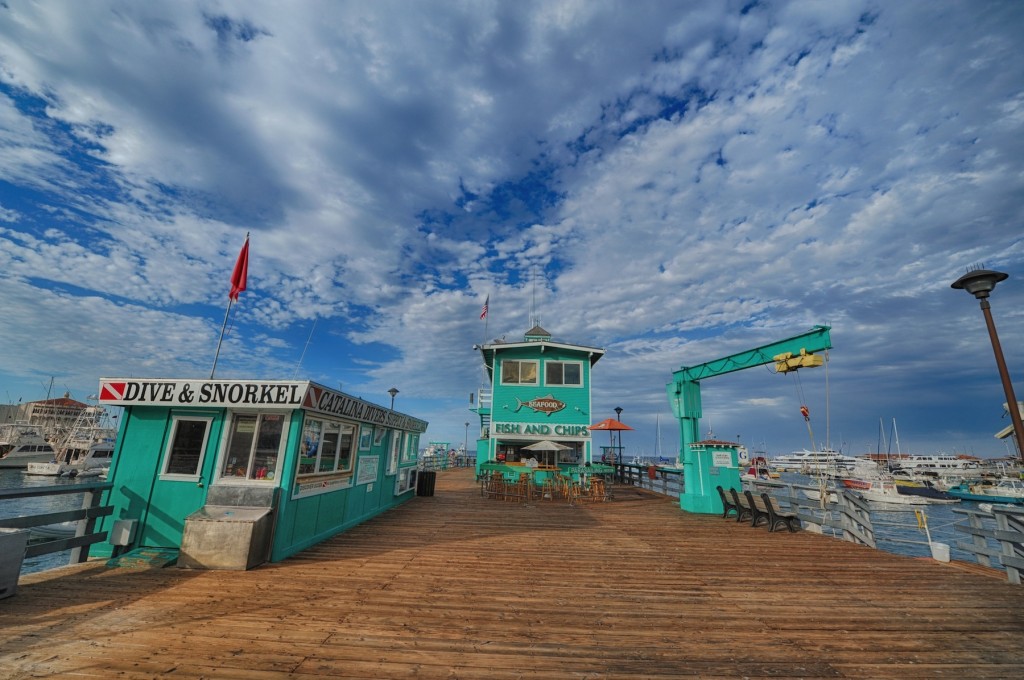
Catalina Island is a beautiful little Island about 26 miles off the coast of California. You can do the trip in a single day if you get up early and catch the first ferry there which leaves at about 8am and then return on the last ferry back to Dana Point which usually leaves at about 4:30pm. You can find the ferry schedule and prices here and they are actually pretty reasonable – http://www.catalinaexpress.com. If you go in the winter, you will probably spot whales and dolphins during the boat ride over. In the summer you will probably see flying fish as they flee the fast moving boat. The island is quite small but you can rent a golf cart and then take fantastic photos all over the island.
#3 Los Angeles (Google Map It)
2.5 hour drive from San Diego Google Directions
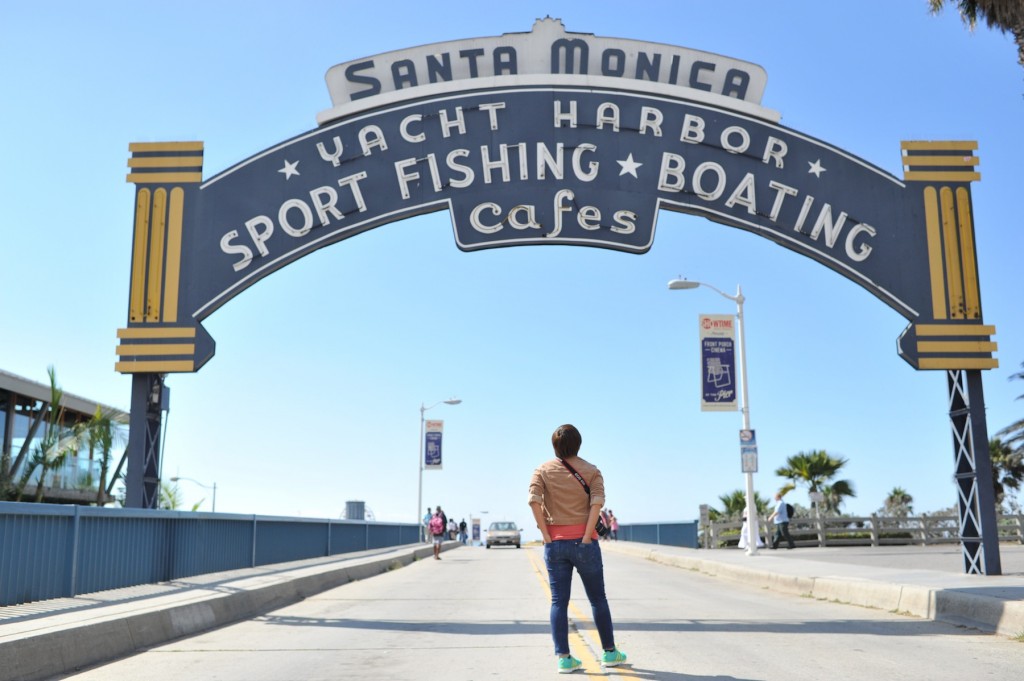
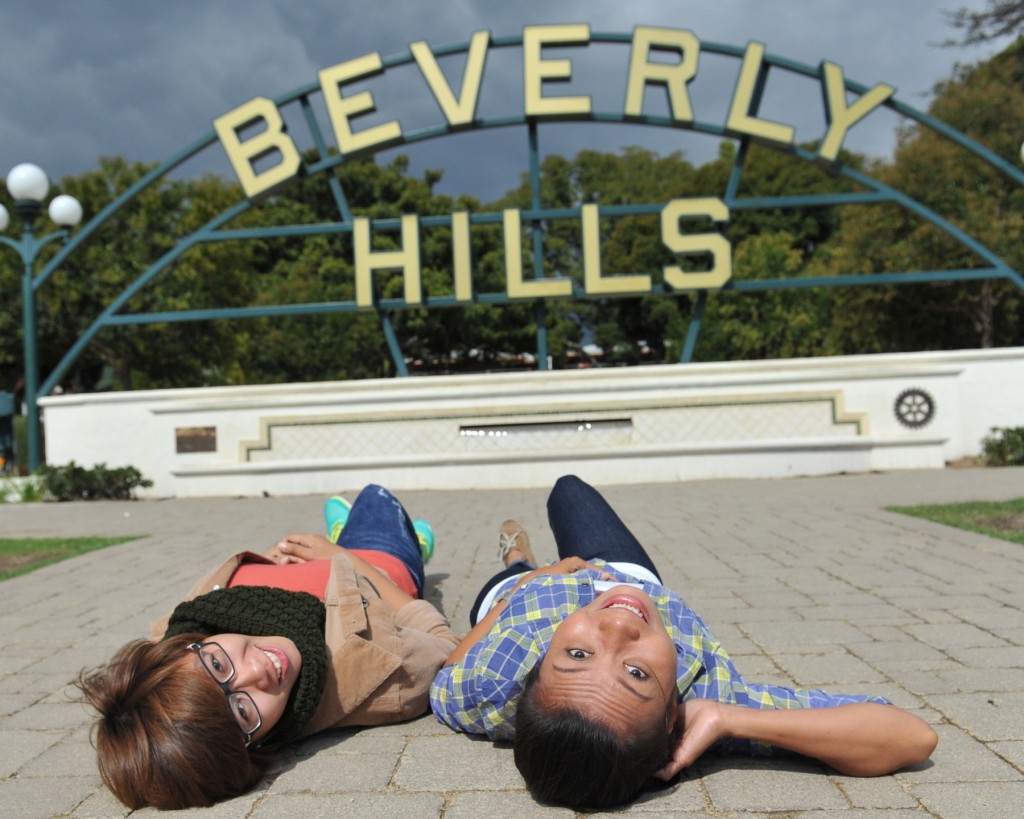
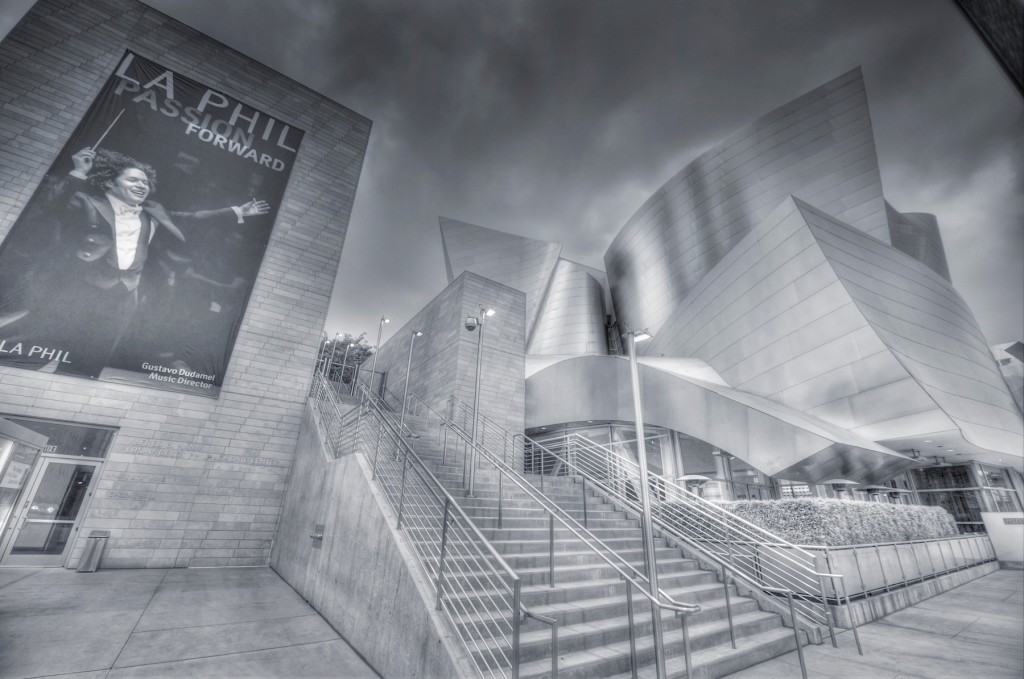
There are a ton of photography opportunities in Los Angeles. You can photograph Downtown Los Angeles, The Walt Disney Music Hall, Hollywood, The Hollywood Sign, Santa Monica Pier, Venice Beach, Beverly Hills, West Hollywood. You should get up early if you want to do Los Angeles in a day but it is a great day trip from San Diego if your looking to catch some really cool photos.
#4 Salton Sea (Google Map it)
2.5 Hour Drive from San Diego.
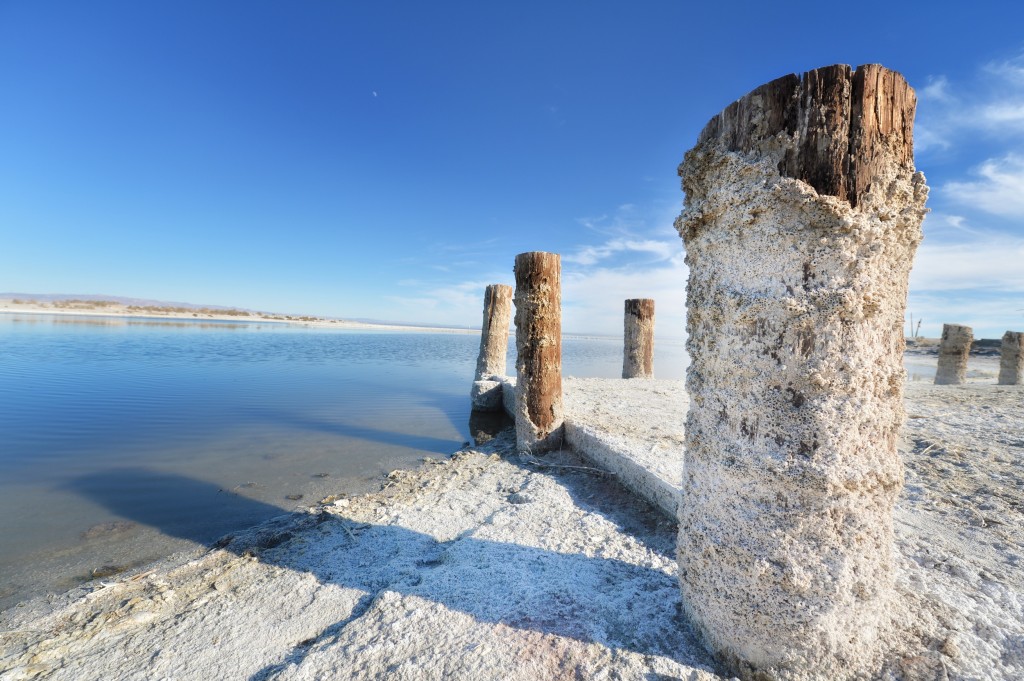
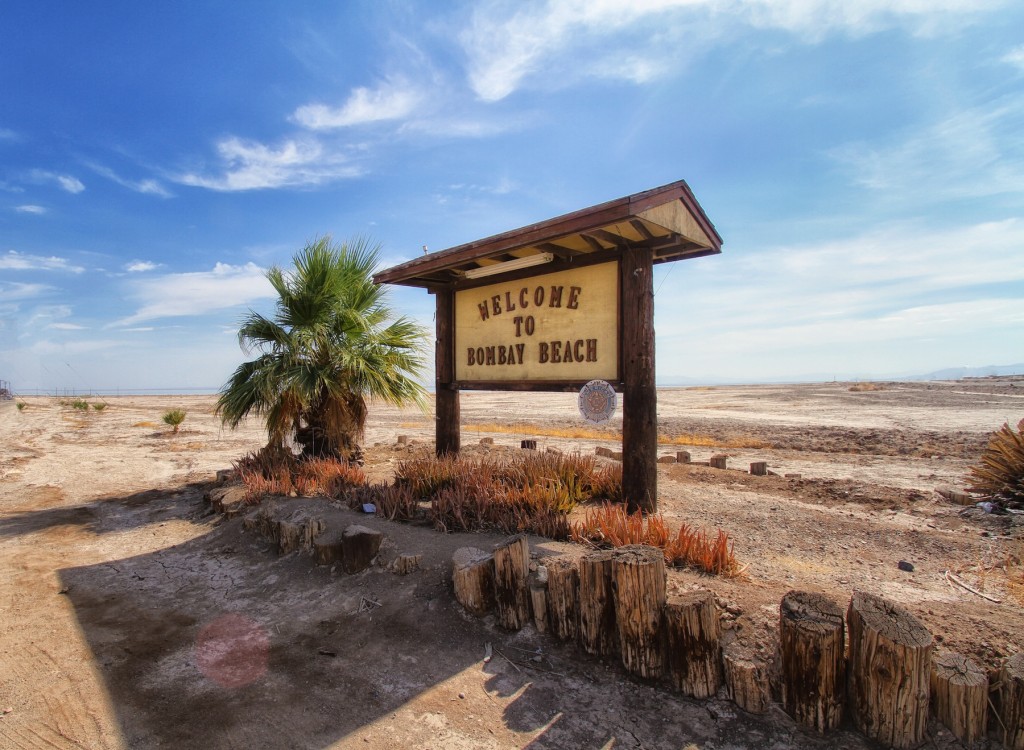
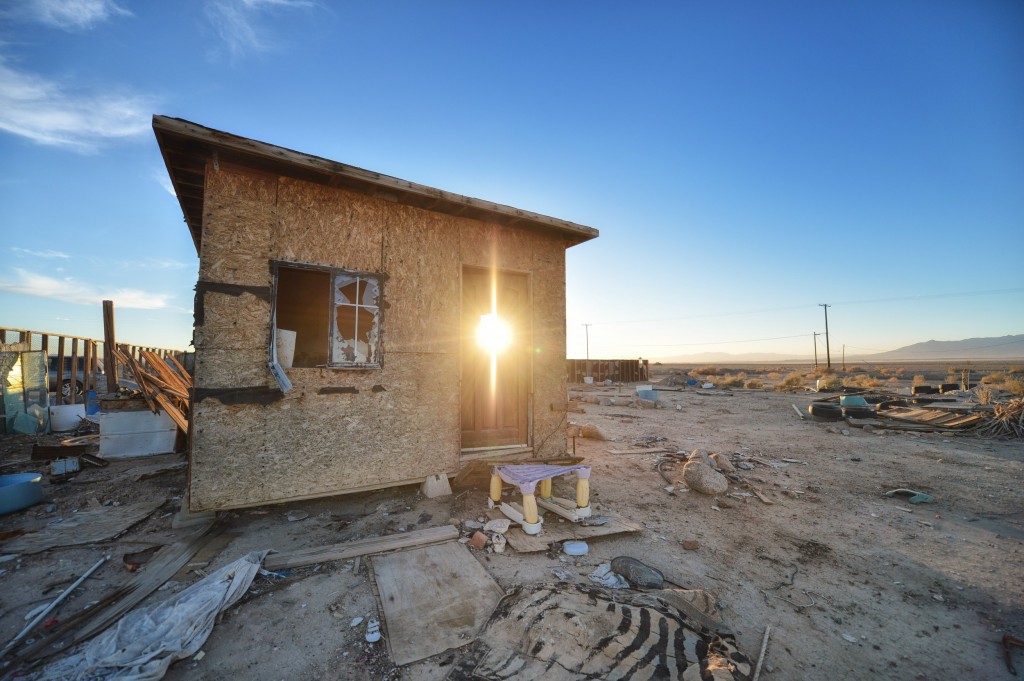
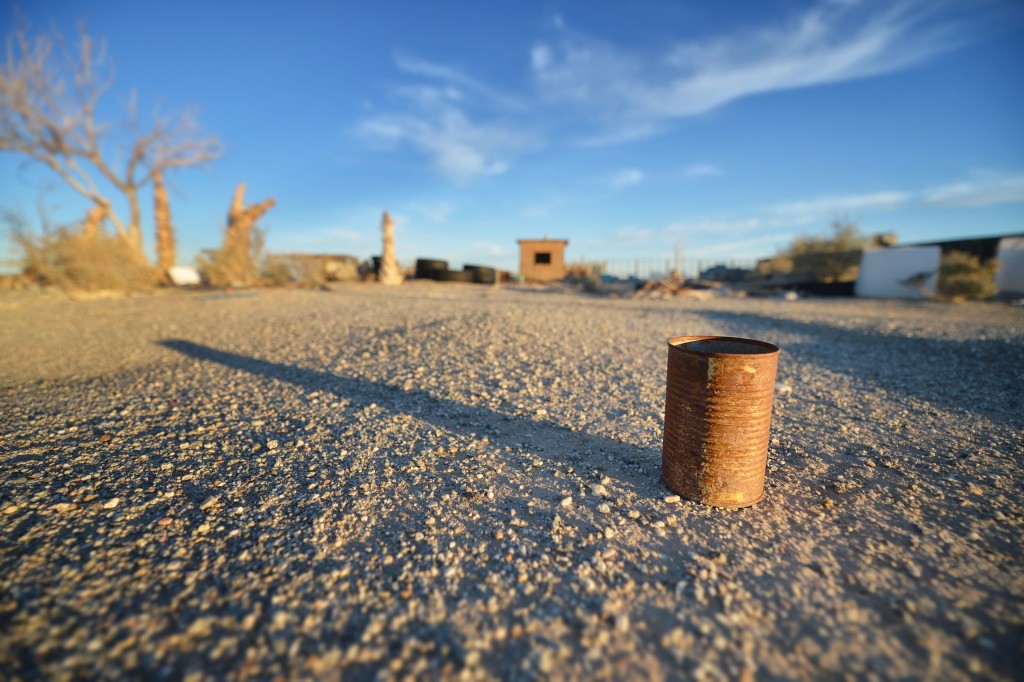
The Salton Sea is one of the oddest and off the beaten path day trips you can make from San Diego. If you like photographing quirky places, abandoned houses and desert life you have to check out this place. I wrote a blog on it since I like it so much. You can check out more photographs of it if you link to this site. The Weird Salton Sea. There is a road that can take you pretty much all the way around the sea but it is very large and takes a long time. My recommendation would be to check out the city of Bombay Beach, Niland and Salton City. Make sure you are here for sunset as it is extraordinary.
#5 Julian – (Google Map It)
About 1 hour 15 minutes from San Diego
If you want to get pictures of the San Diego countryside. This is the place to go. There are lots of interesting wooded areas and the town itself is kind of like a quaint old western town. This is where people in San Diego go during the winter to get shots of snow and the mountains. It’s not the top of my list but it is close and can be a quick half day trip of you have the time. By the way, this is also the place for you to get the famous Julian Apple Pie. It is fantastic. Really, the best apple pie you will probably ever eat.
#6 Anza Borrego State Park (Google Map It)
Located 1 hour and 44 minutes from San Diego.
Anza Borrego State Park is an excellent place to photograph desert flowers in the Spring as they blossom like crazy. Everyone takes their cameras out there in the morning to take shots of the gorgeous flowers before the sun gets to high. Mountain Goats can also be photographed here but it requires some hiking up some pretty gnarly paths to get to the top. My recommendation would be to plan a early morning or late afternoon trip here to make sure that you avoid the heat which can quickly go over 100 degrees very quickly. Watch the trails and bring plenty of water as people get dehydrated out there very quickly.
#7 Dana Point, NewPort Beach and Laguna Beach (Google Map It)
Located 1 hour from San Diego.
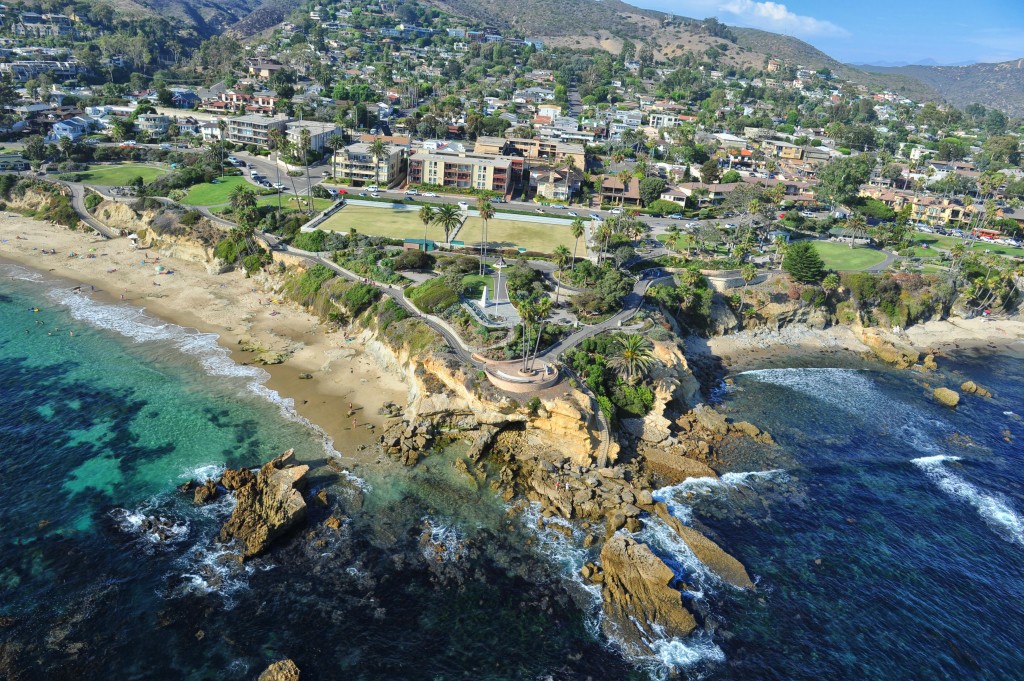
If your looking to tour the best beaches and towns up the coast, I highly recommended driving up and checking out the beaches of Orange County. You can stop at Dana Point first and check out one of the biggest harbors in California. Then check out the wealthy enclave of Laguna Beach which has some of the best coastline of any beach town in the world and finally check out NewPort Beach and Balboa Island which is filled with tiny cottages and awesome small shops. It’s a bit of a throwback to times gone by. You can capture some truly great California photos by going to these locations.
Other notable photography day trips from San Diego.
Tijuana, Rosarito and Ensenada Mexico – 10 years ago these locations would have been top of my list. When you cross the border you are in another country and can take some awesome street life photos of these cities. Unfortunately with all of the murder and violent crime I have stopped making trips down there. If you go however the beaches, the towns and the food is great. You can’t beat a day trip into Baja Mexico for some real adventure. For the less adventuresome take your car or the trolley to the border, walk across and get a cab to Revolucion Street in Tijuana to get a flavor of Mexico with not too much a commitment of your life or time.
Big Bear – Google directions – http://goo.gl/maps/yx8fA, Located about 3 hours north east of San Diego this is a gorgeous lake and resort where you can get some great pictures of snow and mountains. The drive up the mountains has some hair pin turns but in winter this town is well worth the visit.
Las Vegas – Its about 4 hours to Vegas so technically this would be a two day trip but there are great photograph opportunities at Red Rock Preserve and also at the Neon Boneyard in Las Vegas. These are famous photography spots located close to Vegas and are well worth the trip.
Palm Springs – Palm Springs is a beautiful desert resort town. You can capture some pretty nice rocky dry desert shots in the area.
Good Luck
Good luck with your trips and feel free to email me at [email protected] if you have any questions about photography in San Diego or surrounding areas. Also you can check out my work at www.frankiefoto.com if you have time.
Best Photographs of the Salton Sea
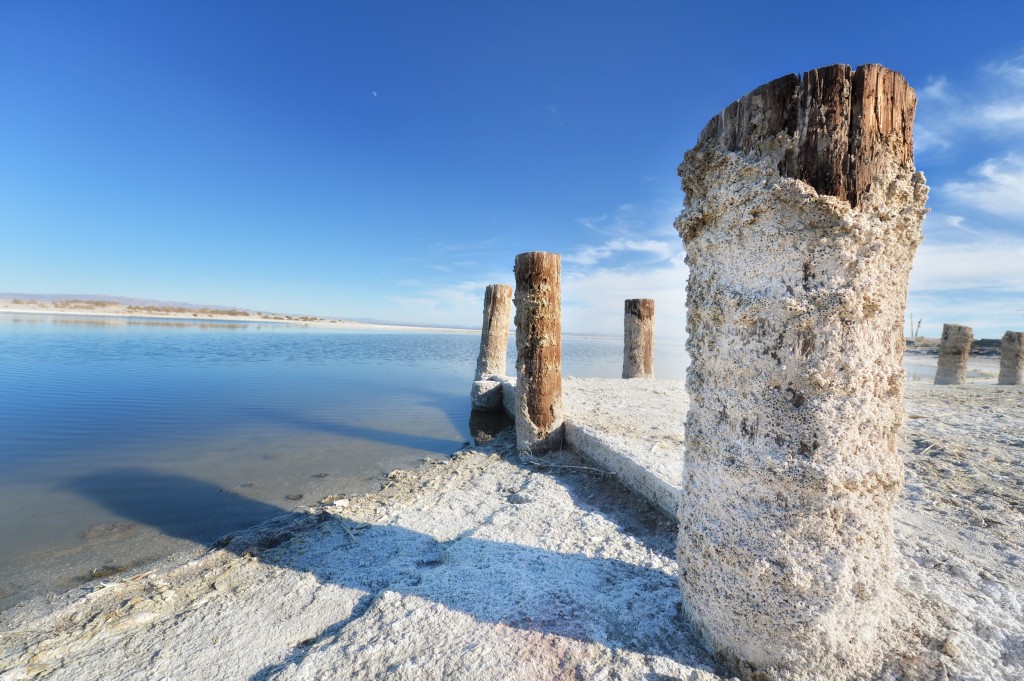
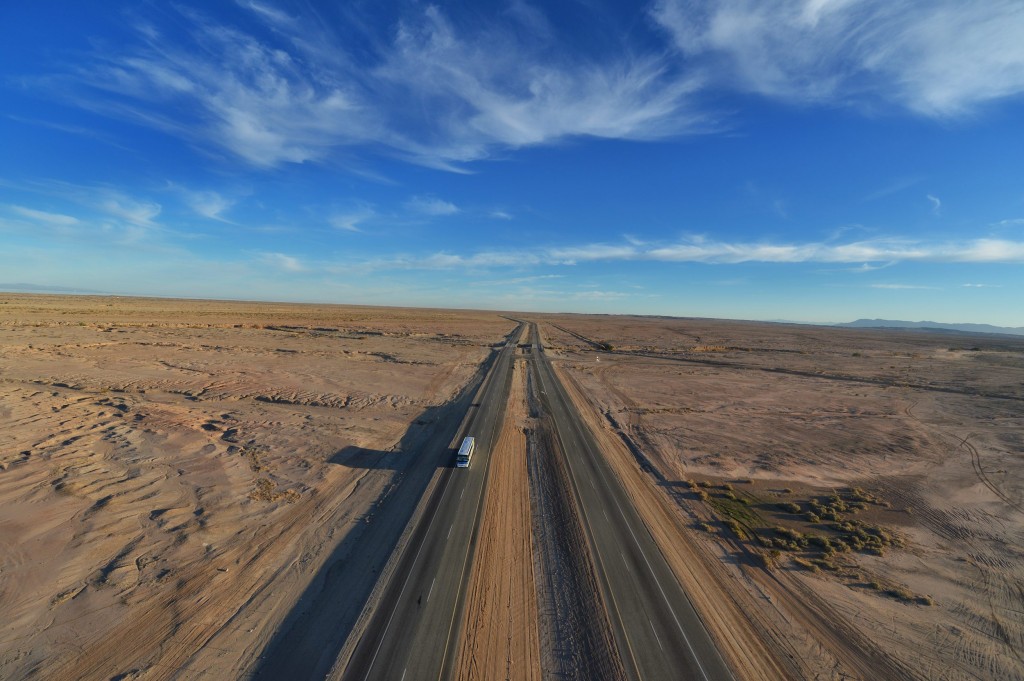
There it is. Right in the middle of the desert. You would never expect it, but it’s an ocean. You might think you are at some coastal resort but the nearest beach is actually over 150 miles away. Is it a mirage? No. It’s real and it’s called the Salton Sea.
In 1905, the Colorado River flooded into a basin in the center of California. The basin was so large (about 525 square miles) and there was so much water that the place was named the Salton Sea. It was created on purpose actually and engineers diverted water from the Colorado River into the basin so that it could be used as a source of fresh water for agriculture. That was a mistake. Things got out of hand there however and more water and silt poured into the basin than they could handle. They tried to plug it up but water kept pouring in every day. They tried to build a dam but the water rushed over creating an 80 foot high waterfall.
The Salton Sea is not an ocean though it might look like it. It is a lake. It is a very big and salty lake – the largest in California actually. The lake is drying up, and as it does it’s salinity is increasing by about 1% every year. It’s getting smaller and saltier every year. And as it does, it gets increasingly more strange and out of place.
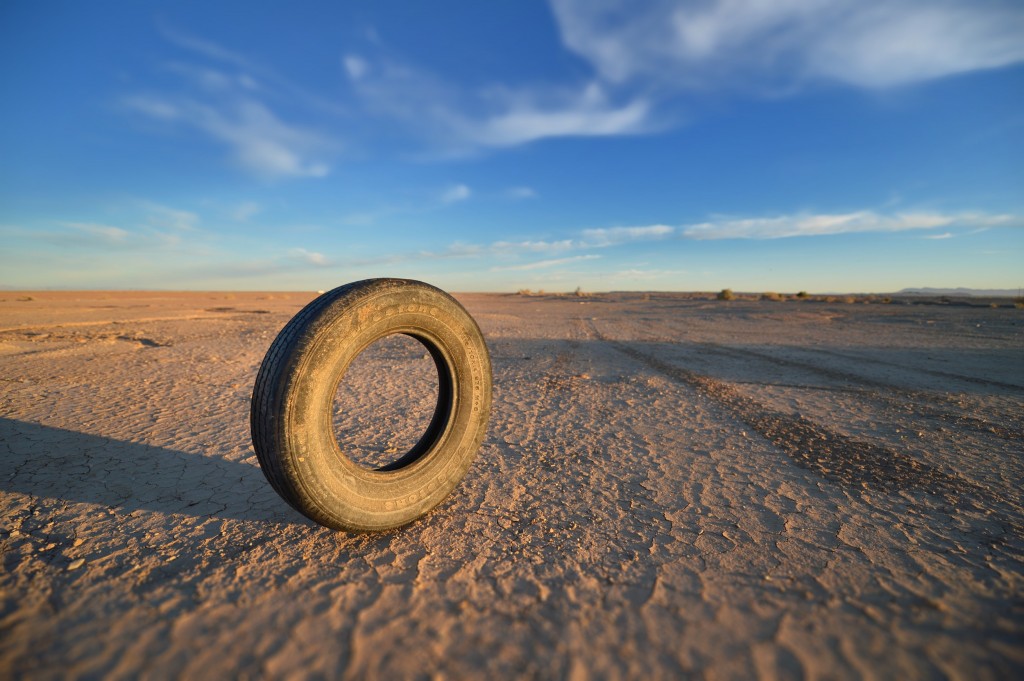
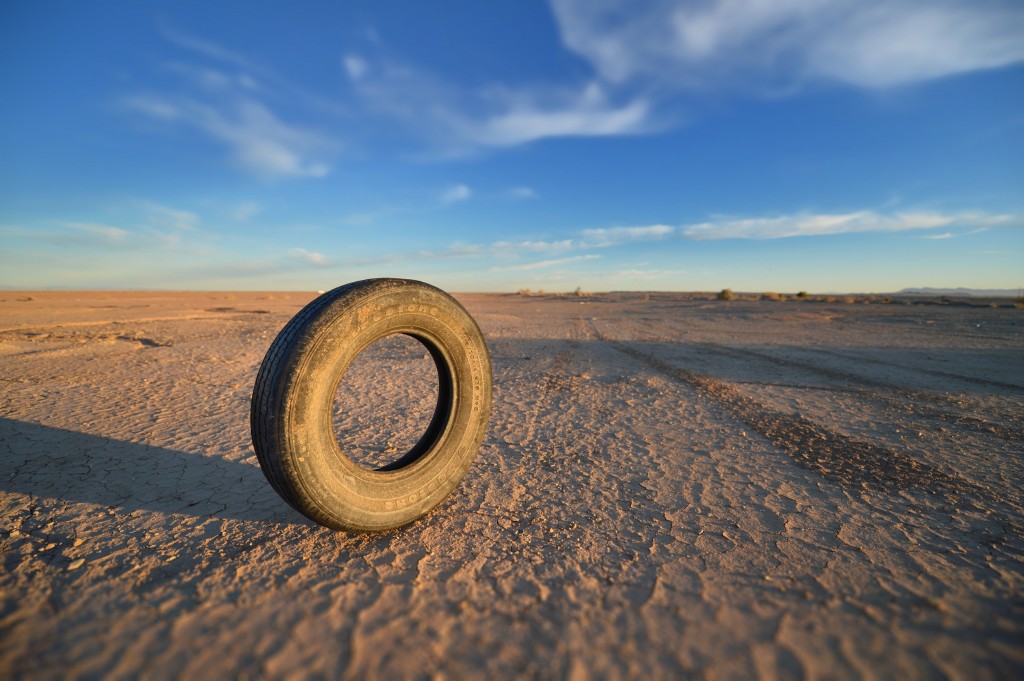
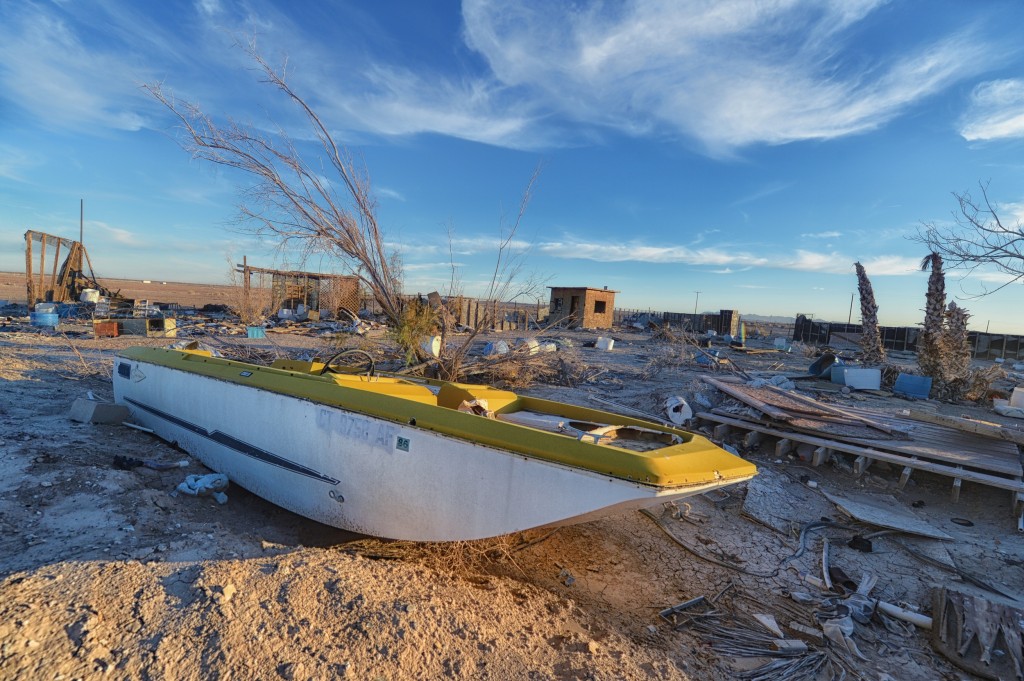
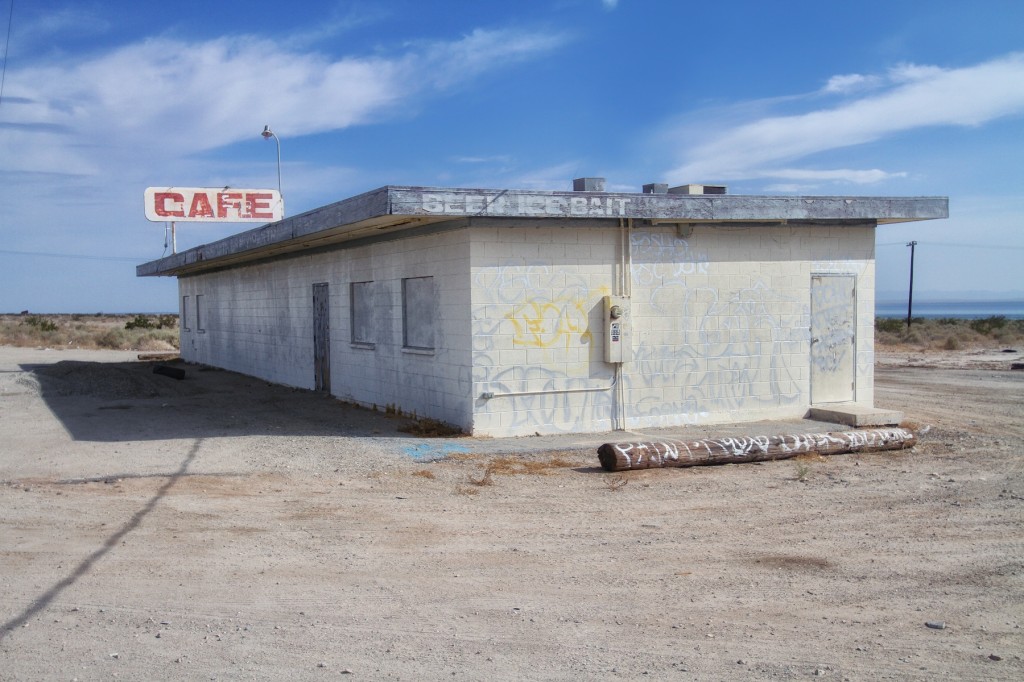
In the 1950’s the Salton started to gain some popularity as a Resort area. The weather was nice, the water was crystal blue clear and it looked straight out of a magazine. But the resort never caught on and the place went into decay. The beaches are still there and some palm trees but mostly it’s just a collection of run down houses and trailer parks. They call this the meth capital of the world. It’s not hard to imagine why when you see the old abandoned houses and trailers.
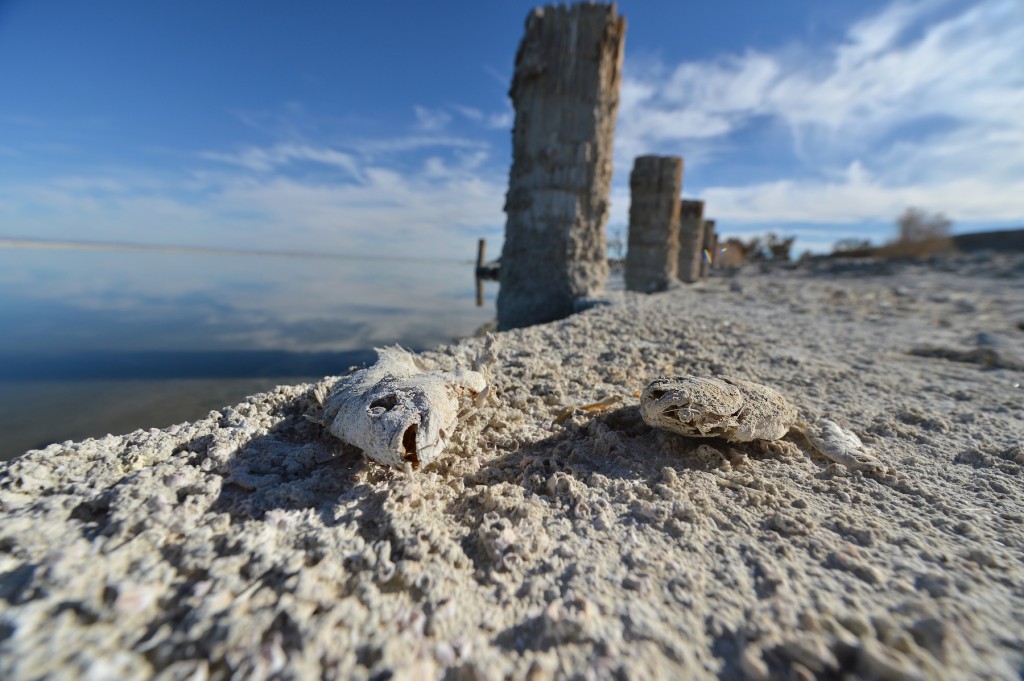
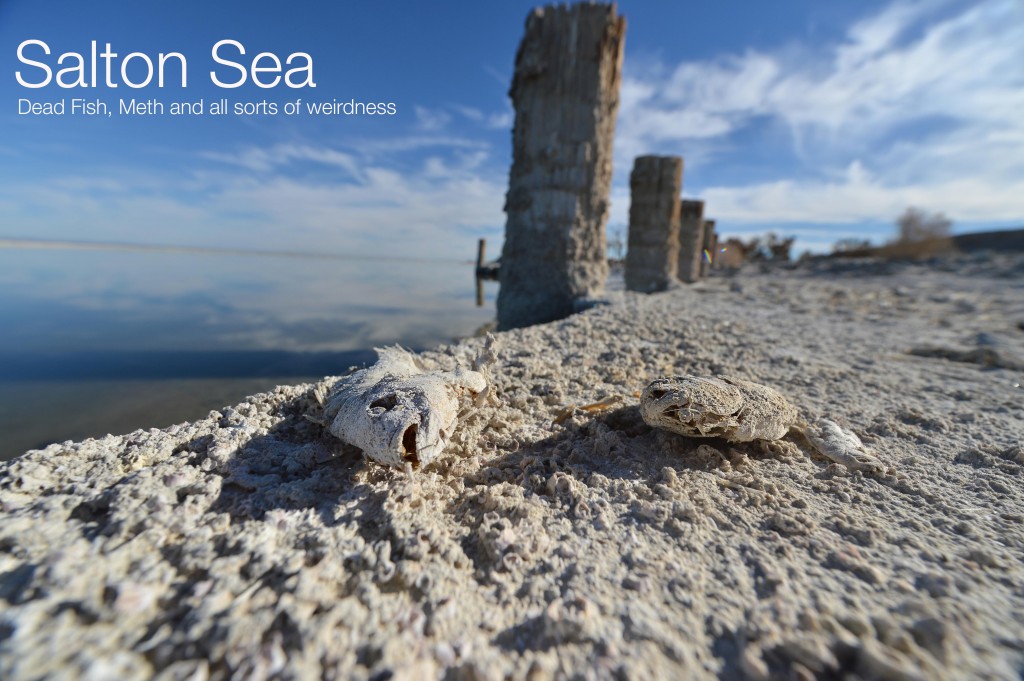
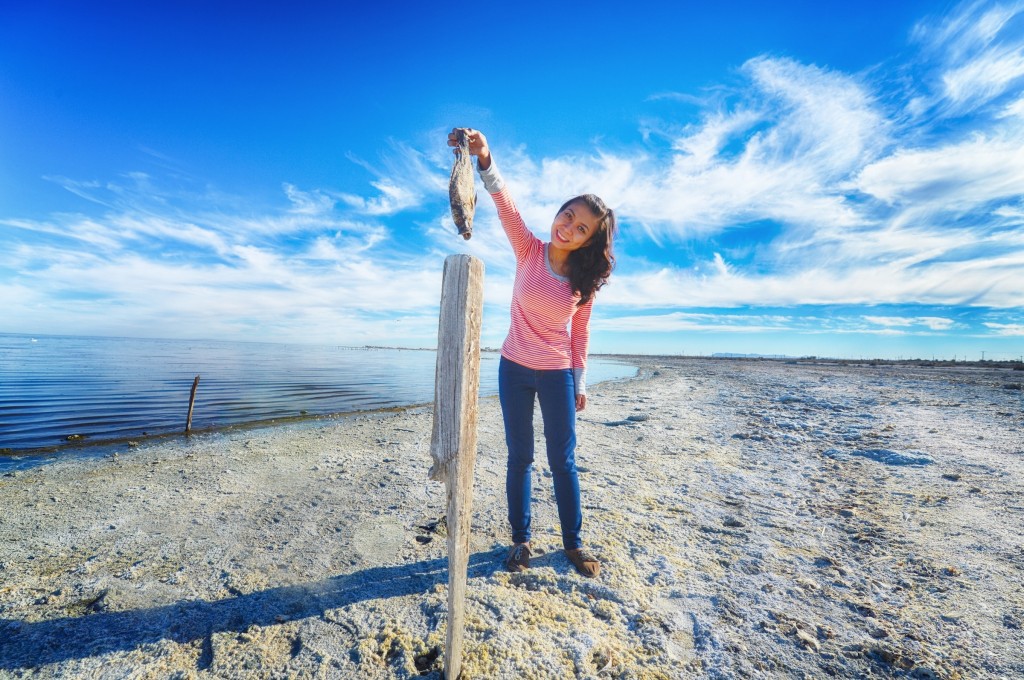
One of the other reasons that this place didn’t quite catch on as a resort (besides the fact that it is spooky as hell), is the fact that every year hundreds of thousands of dead fish wash on the shores. The dead fish thing is not that appealing to tourist but it is very appealing to birds. There are 400 species of birds that live on the Salton Sea and they are everywhere picking at dead fish. It’s a dead fish Sir George’s Smorgesbord at this place.
The only thing the Salton Sea seems to attract today are photographers, dirt bikers and people that like Motor Homes or like to live in Trailer parks. You may have seen the movie in the 80’s called “Bombay Beach” which was a pretty good interpretation of the kookiness of this place. Trailer parks seem to sprout randomly around the sea.
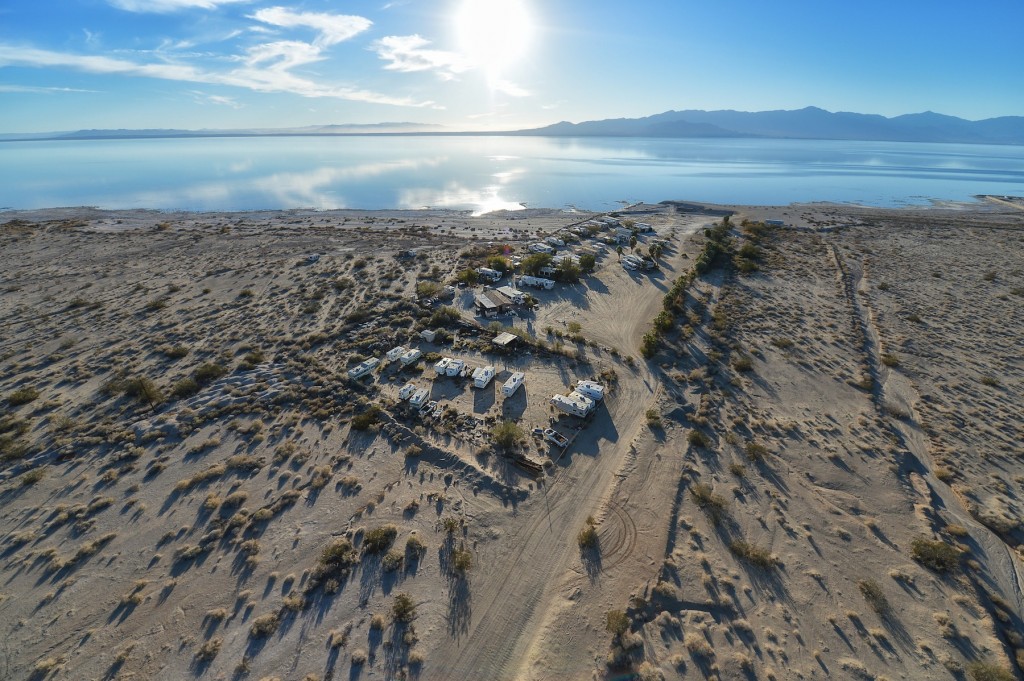
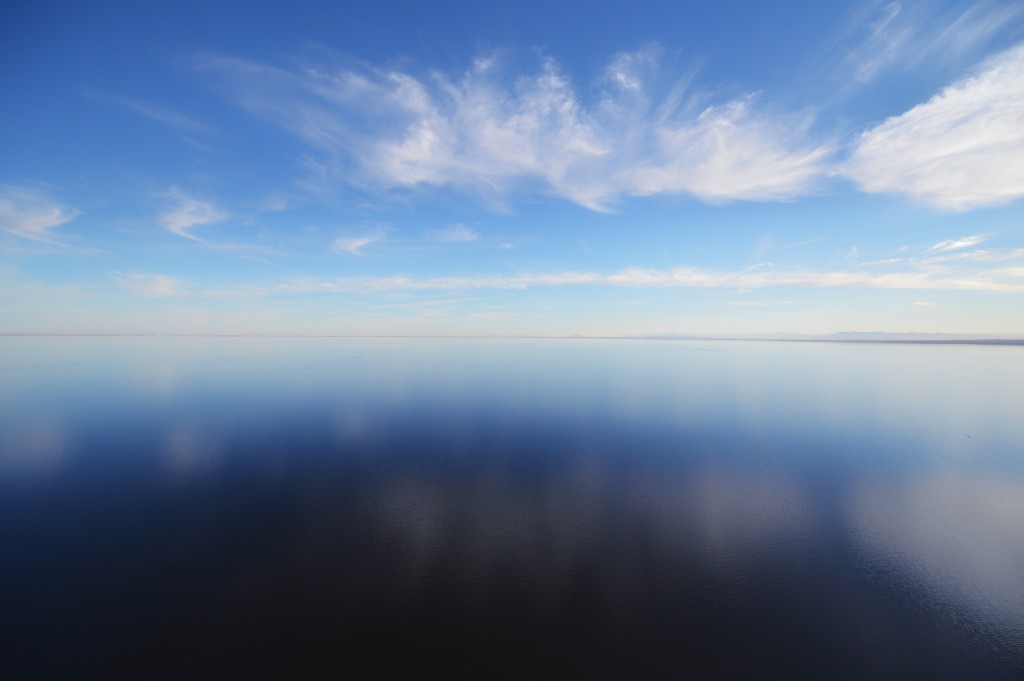
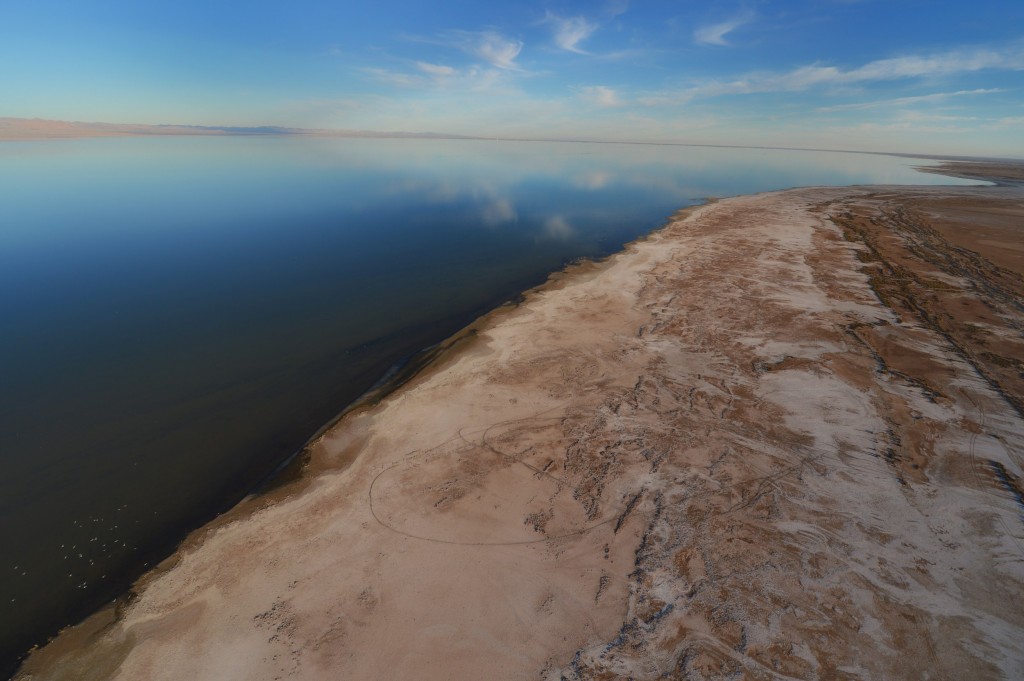
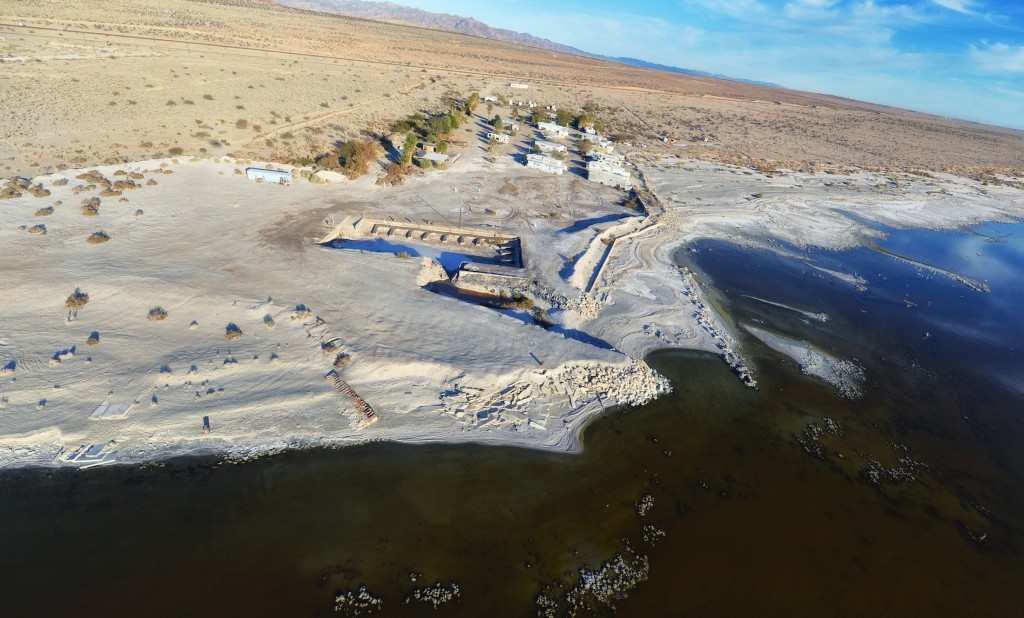
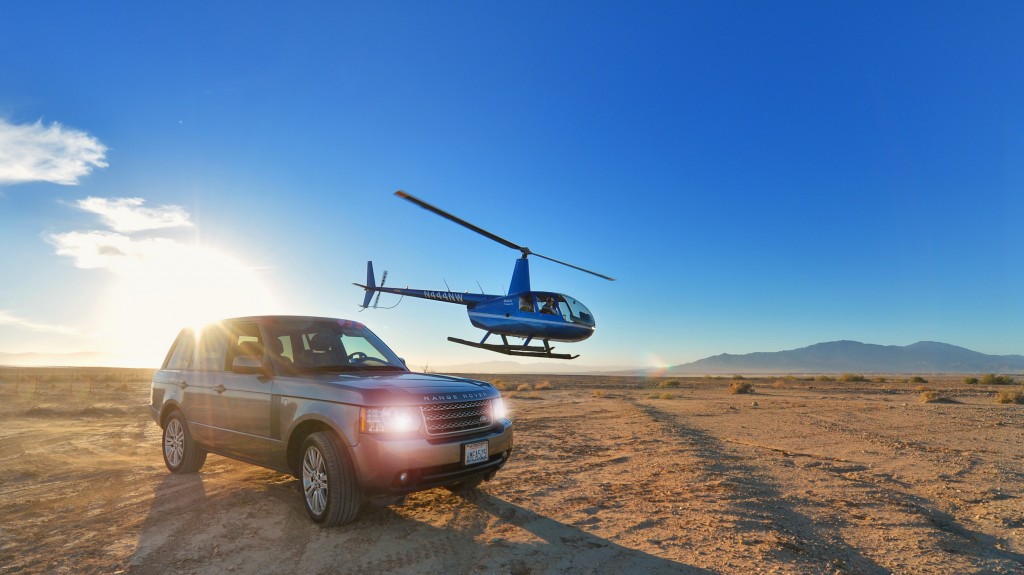
For all the weirdness of the Salton Sea however it is actually a place of beauty. We took the helicopter over the sea and it was amazing. The water and the sky seemed to become one. It was actually quite dangerous to fly because you lose perception of how high in the sky you are. It was an amazing view.
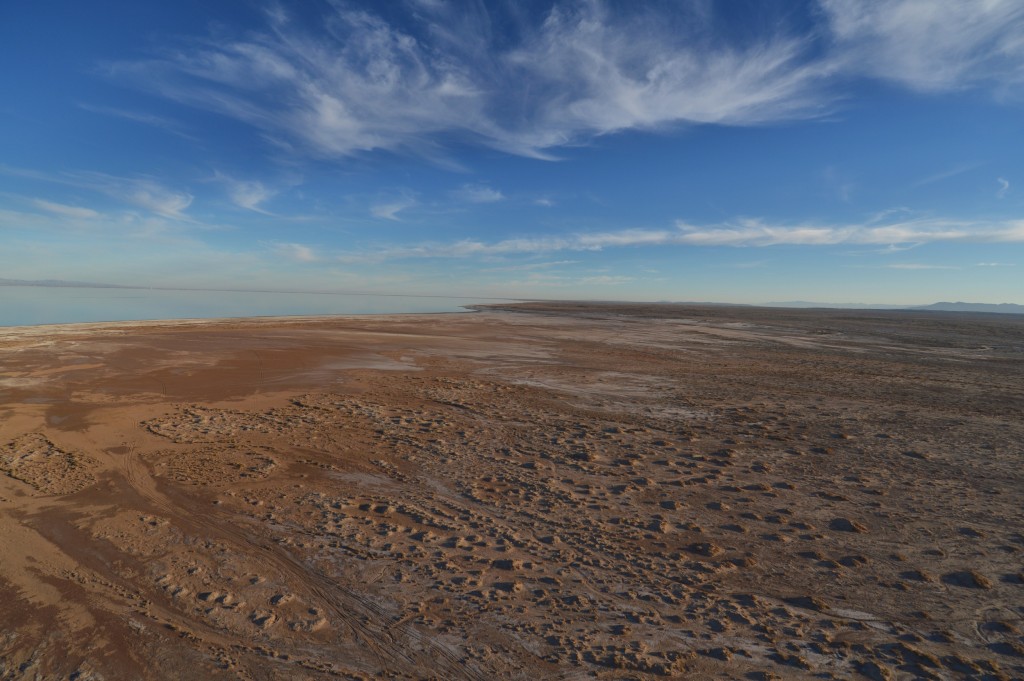
It’s actually incredible when you start looking at the Salton Sea from above how much it is shrinking. You can literally see old Marina’s that are dried out and hundreds of yards from the beach. It’s no problem for the trailer homes, they just pick-em up and move them down the beach as the water levels drop.
So why did we go to the Salton Sea? For photographs of course. For all the bad things about the Salton Sea, one thing is for sure, and that is it is a great day trip from San Diego with great locations for pictures. The best time of day here is Sunrise when the sun comes up over the east shore and sunset when the sun is setting over the west shore. The best places to photograph there are Bombay Beach, Niland, Salton City and the airport. I really enjoyed taking photographs there.
Unique Photography of Downtown Los Angeles
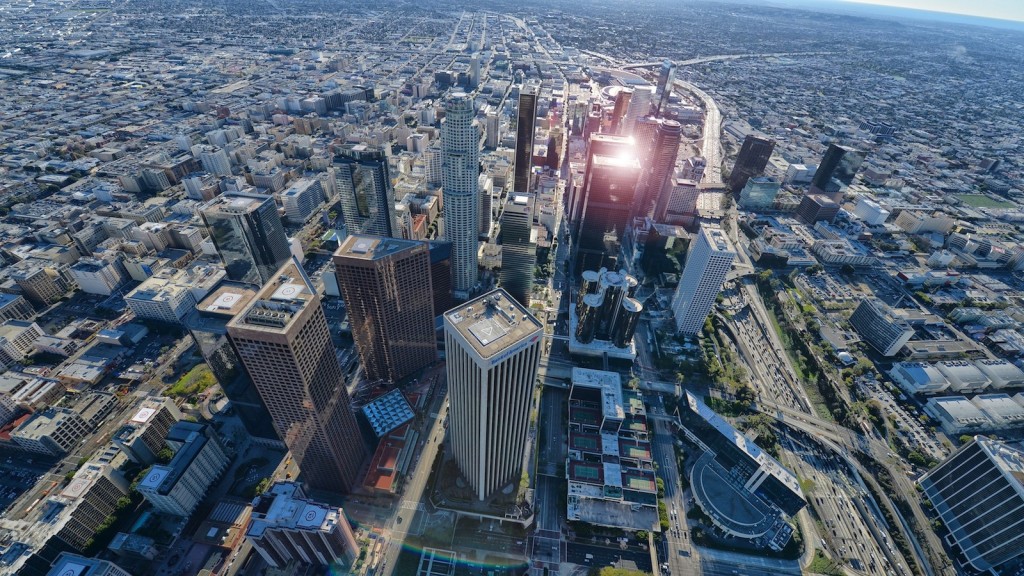
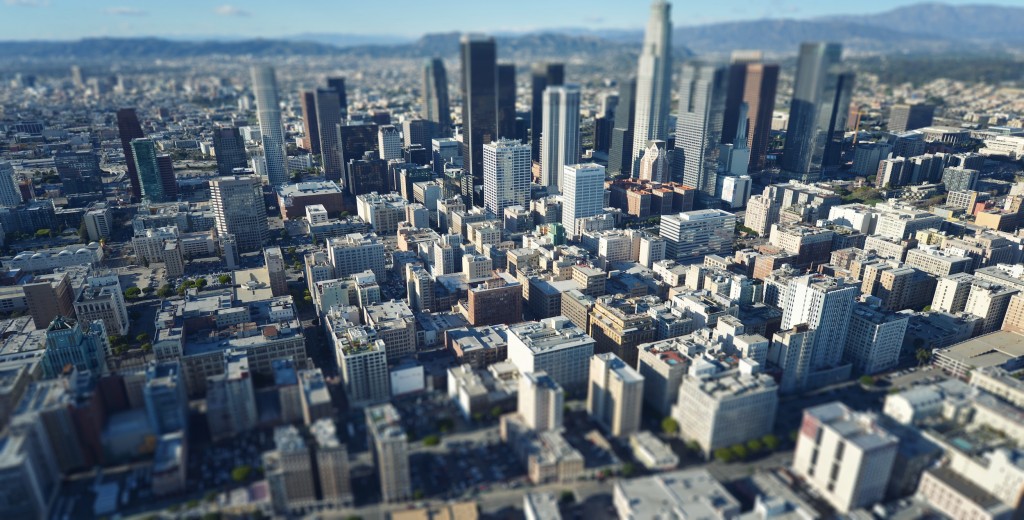
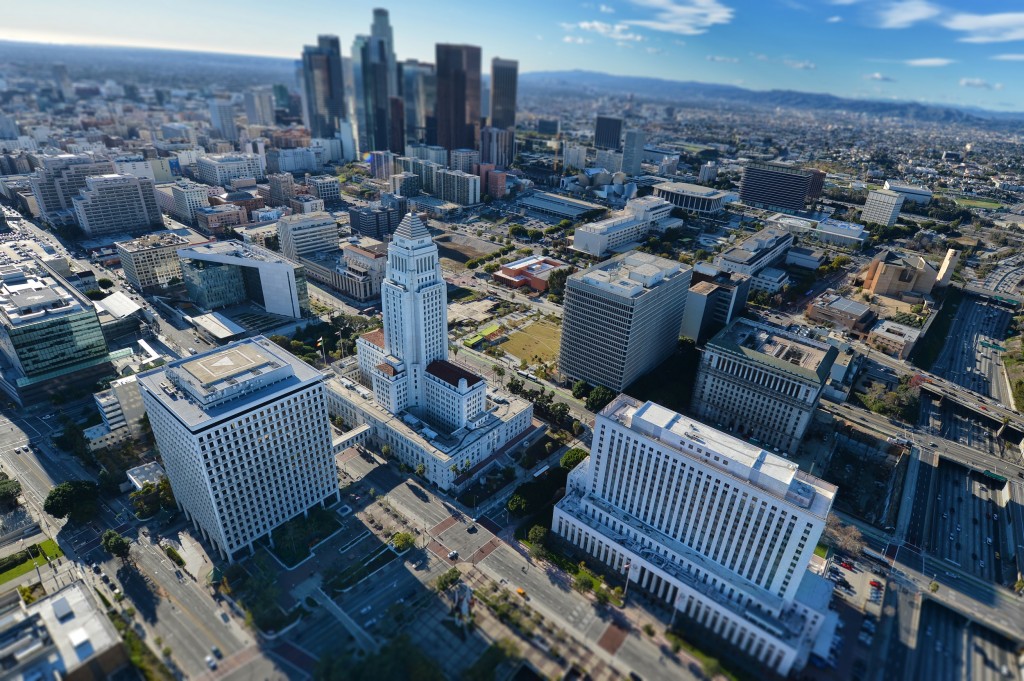
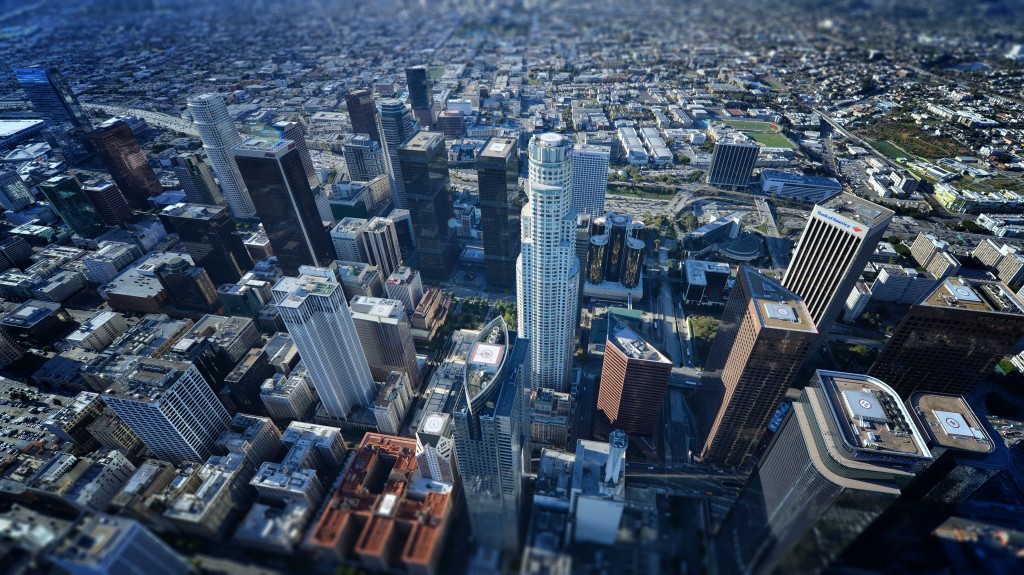
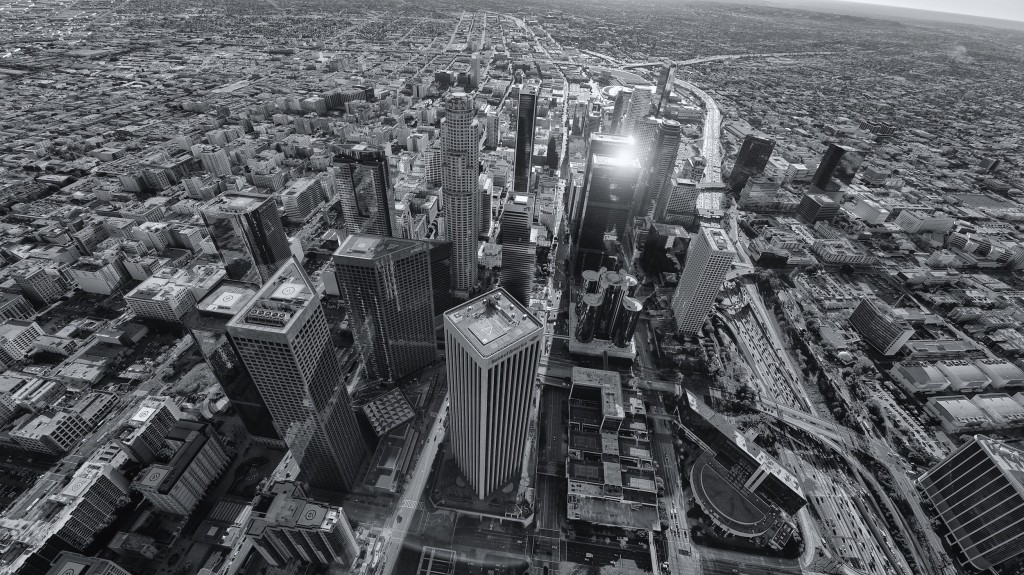
I’ve always wanted to do it, I just never had the chance. My brother is a pilot on a Robinson 44 Helicopter and we had always talked of heading up from San Diego to Los Angeles to take some birds eye view shots of one of the coolest cities in the world – Los Angeles.
We waited for a clear day and that day just happened to fall on a very cold day. It was 48 degrees in San Diego and to take the best photos from a helicopter you have to remove the doors. The wind would whip in threw the aircraft so it promised to close to bone chilling for the two hour journey.
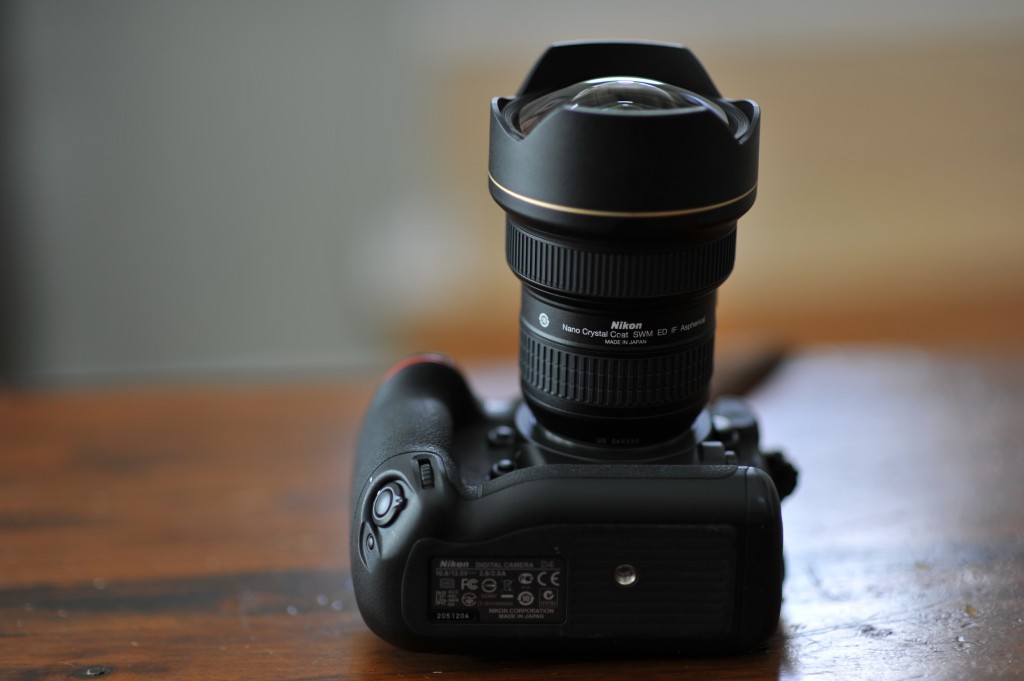
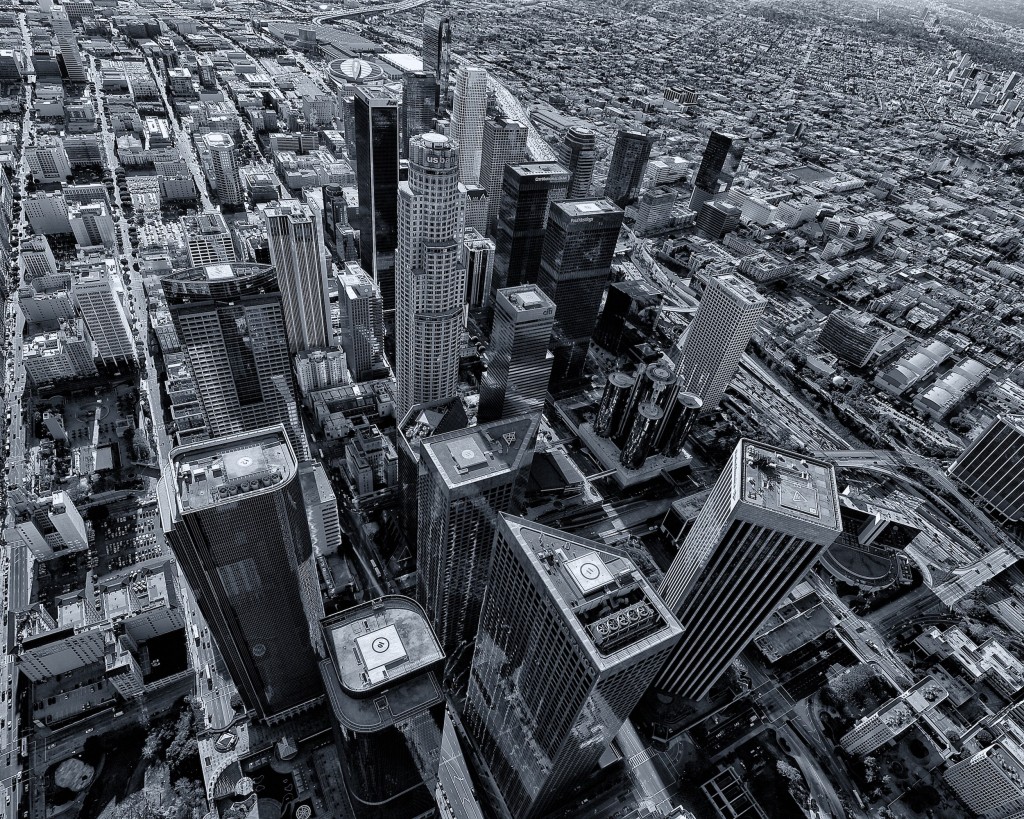
We removed the doors of the chopper. I put on 5 jackets and chose my weapon of choice. My Nikon D4 and my super wide angle lens the Nikkor 14-24MM. Shooting a wide angle lens out of the small door opening of a helicopter can be tricky because it would mean potentially capturing the blades from overhead in the shot and often the rails underneath. Some cropping and careful composition would be needed.
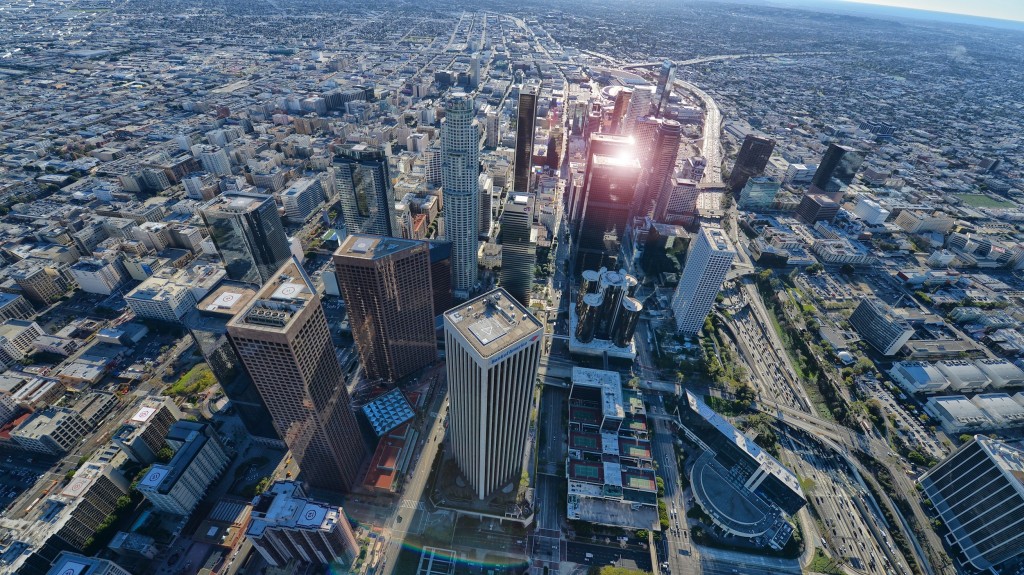
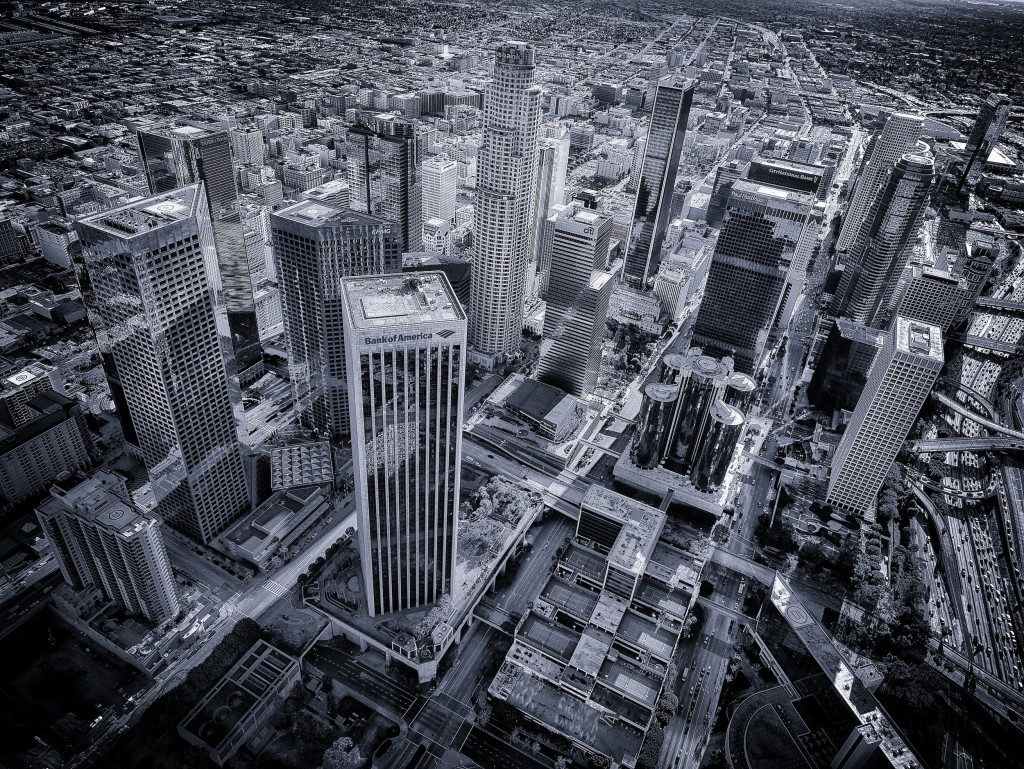
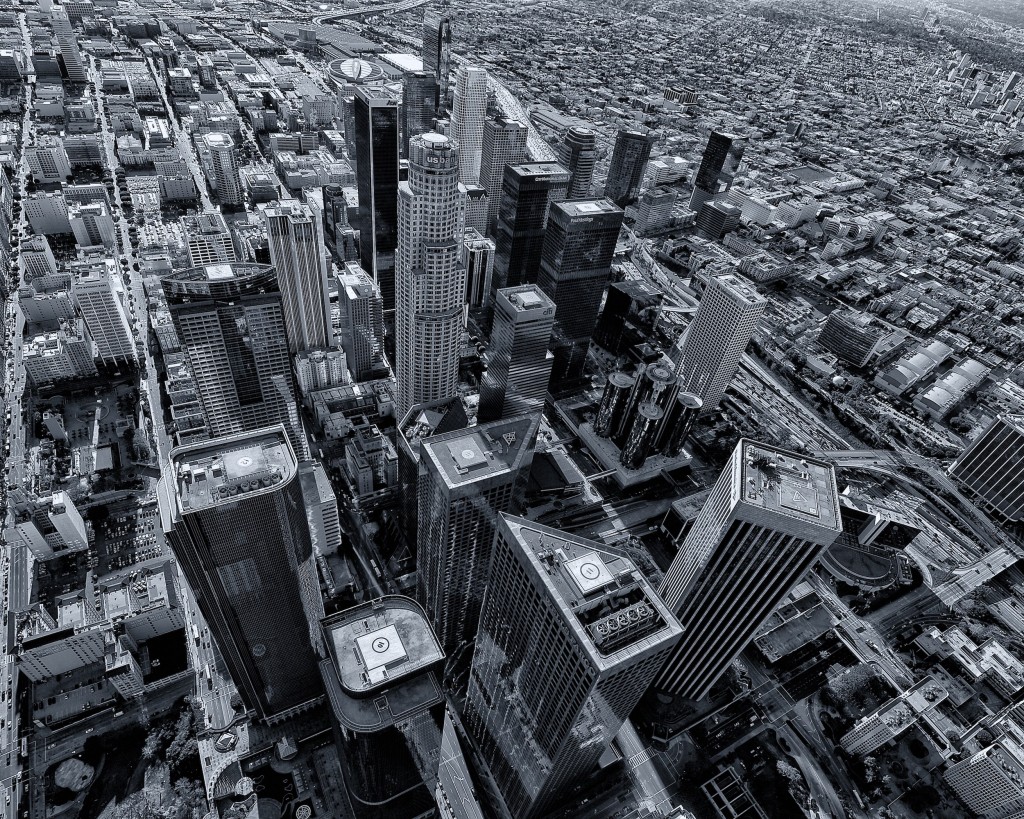
It took about 1 hour to head up the coast from San Diego to Los Angeles and when we got there it was well worth the trip. The city looked awesome and we got some great bird eye views of the city. Using such a wide angle let me get some super wide shots of the city and capture what was happening around the city as well. The wide angle however makes us appear deceptively far from the city when in fact we were only about 200 feet above the helo-pad of the Bank of America building. When Bill would tilt the helicopter I was looking straight down the city only strapped in with a small seat belt. It was exhilarating and scary all at once. Even Bill said afterwards that he was getting nervous being so close to those huge buildings.
You can check out all of the images at this link. http://www.frankiefoto.com/Travel/Los-Angeles/27549755_zGrdsq
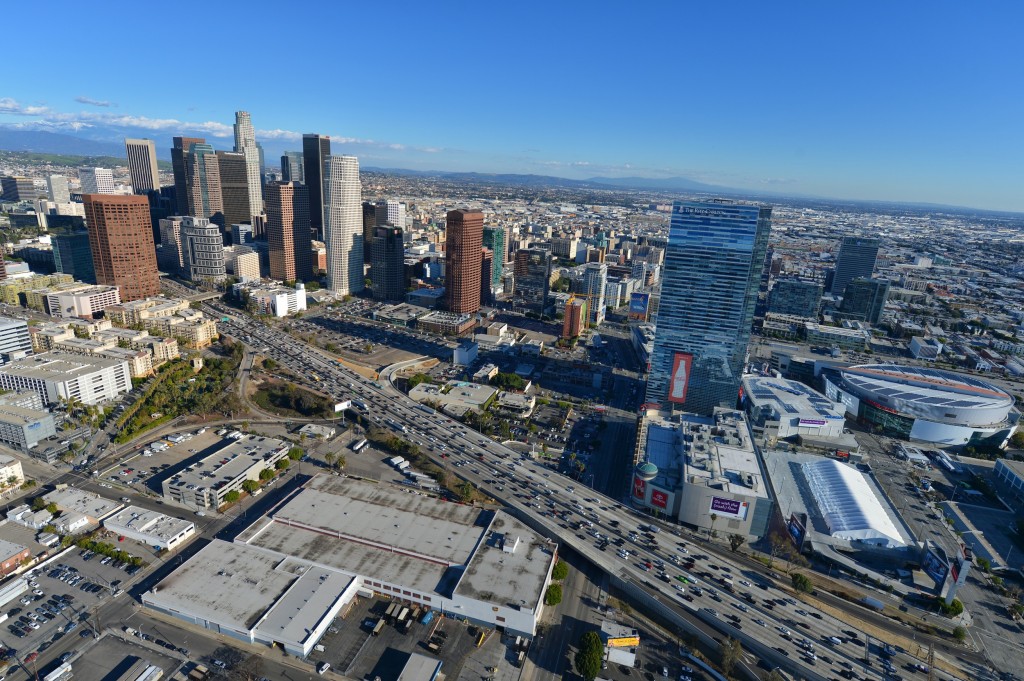
This is the shot of the city from the east looking towards the coast.
Los Angeles on Friday, you can see the traffic building.
Los Angeles is actually a pretty small downtown compared to other major cities.
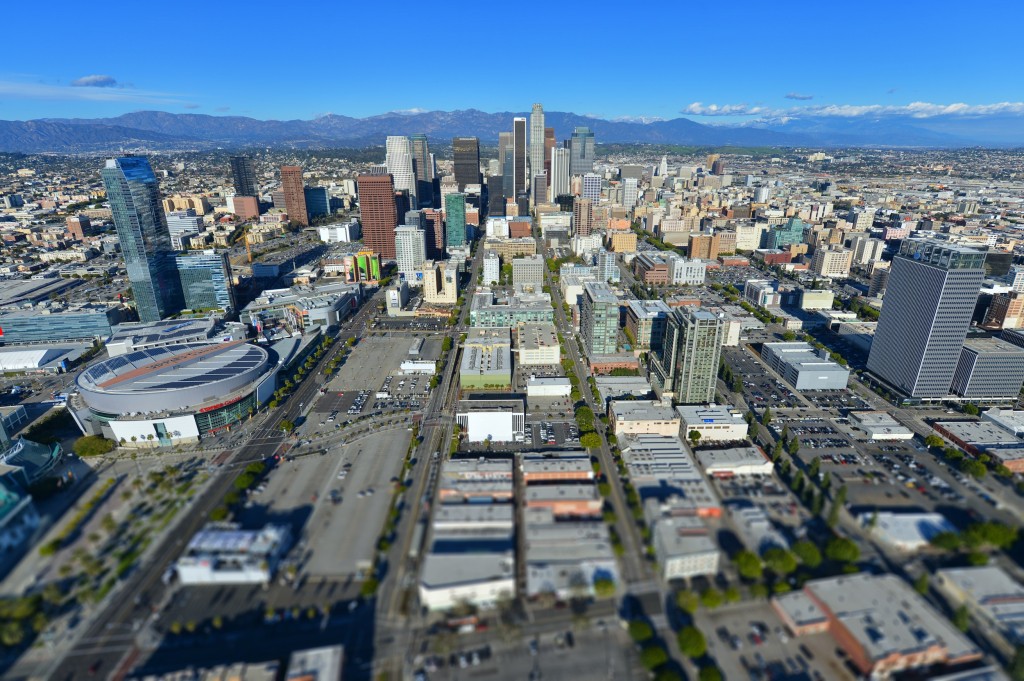
Miniature Los Angeles. Looks like a city of Legos.
City Hall against the Los Angeles Skykline
Cool downtown perspective.
Some Black and Whites.
Top 5 Places to Take Stunning Sunset Photographs in San Diego
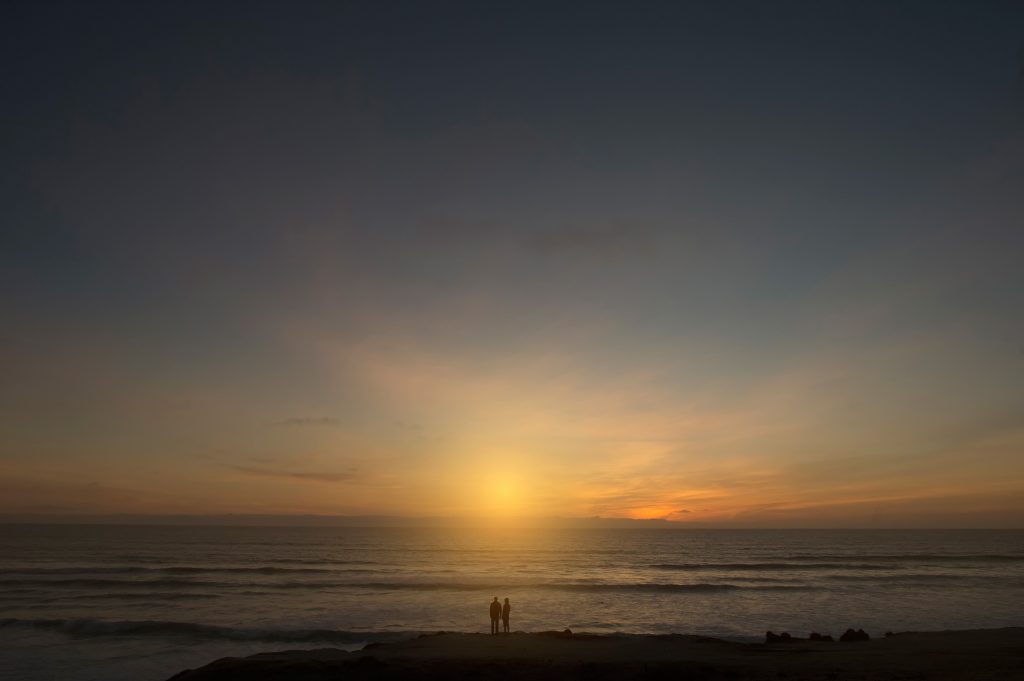
My name is Frank McKenna, a La Jolla Photographer. I love San Diego because we have some of the best sunsets in the world. With an average of 266 sunny days a year, San Diego more often than not will not disappoint visitors looking to get that perfect sunset shot. Keep in mind however that the best sunset shots are usually not days of pure sunshine but days when there are clouds in the sky.
I take sunset shots in San Diego often and have found what I believe are the best places in San Diego to get that perfect sunset shot. I also included some tips on how to get better ocean sunset shots.
#1 Windansea Beach La Jolla (Google Map It)
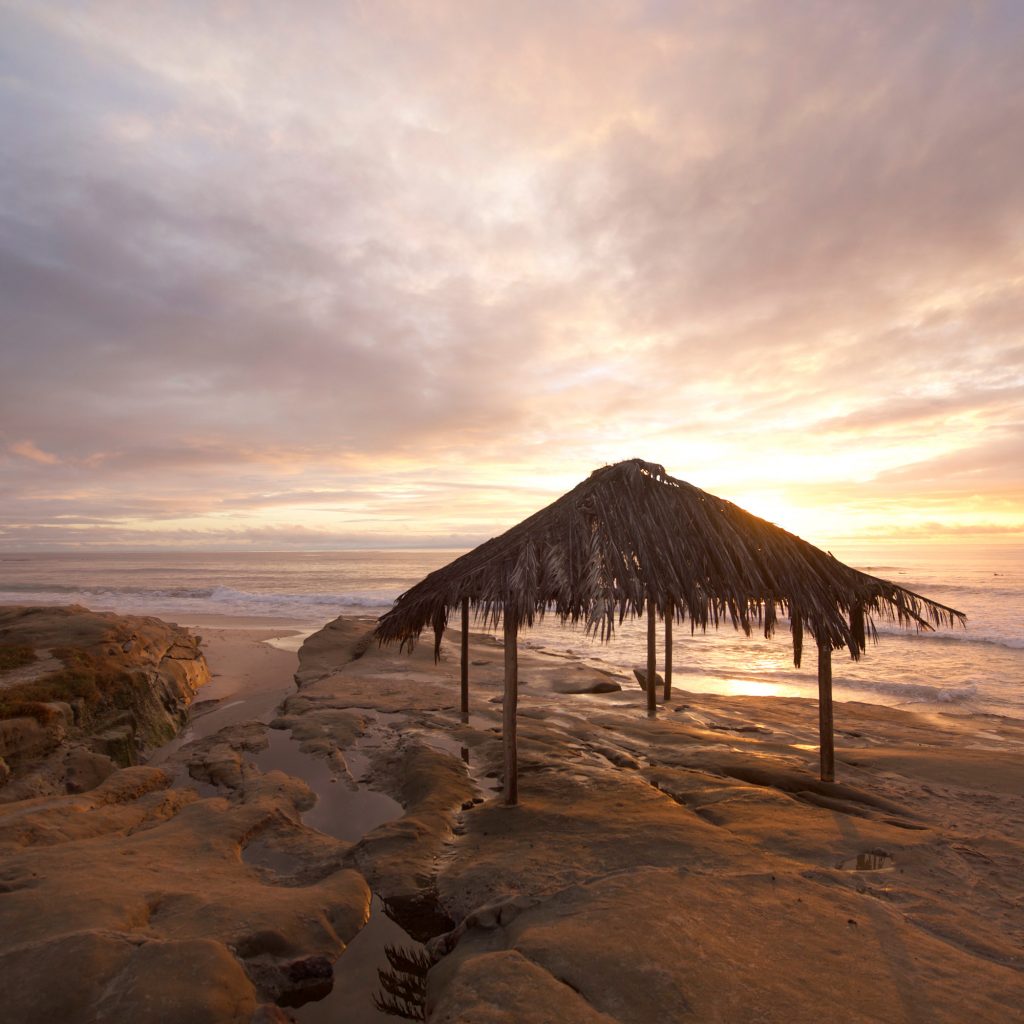
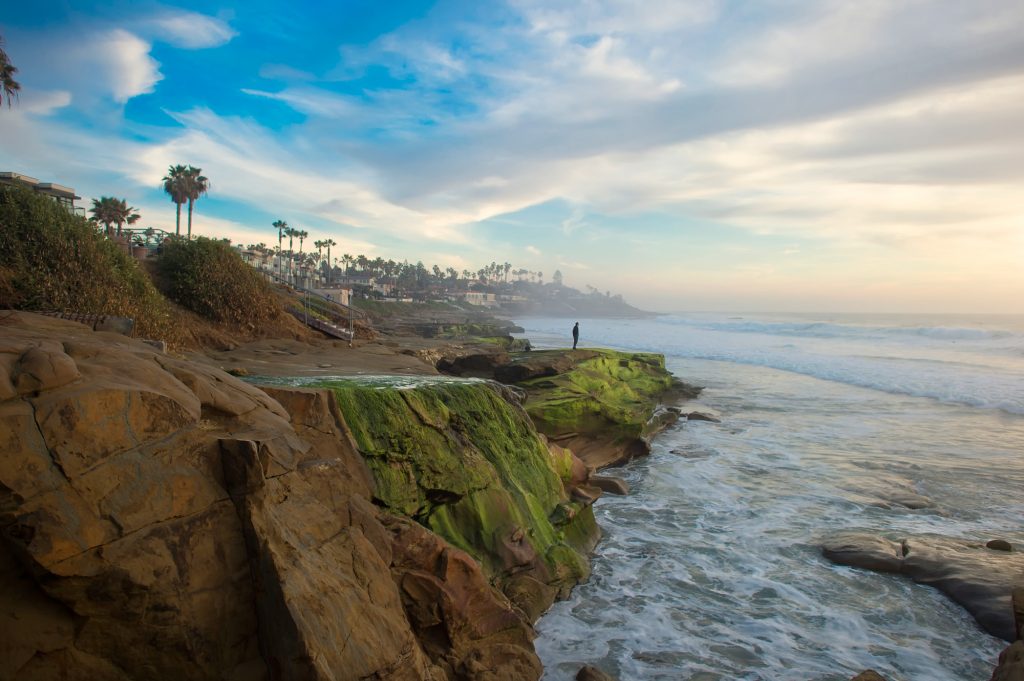
This is the #1 location in San Diego to capture the most beautiful sunset shots. There are many reasons why professional photographers choose this location for their photo shoots. First the coastline is rugged and rocky and so there are lots of places for you to take a variety of different sunset ocean shots. Secondly, there is a very cool surf shack that provides a perfect element to incorporate into your shot and finally you have unobstructed views of the Pacific all the way to Hawaii if you could see that far. Make sure you get to Windansea about 1 hour before sunset to give yourself plenty of opportunity to find the perfect spot to take your photo.
#2 Location – Scripps Pier La Jolla (Google Map it)
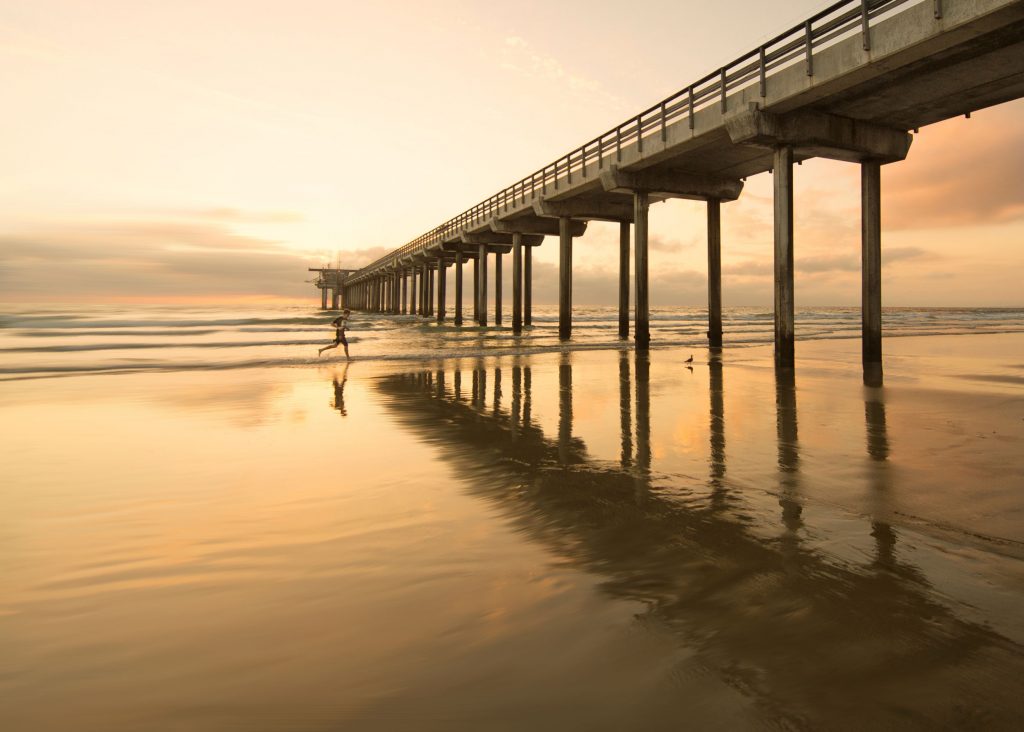
This place is also in La Jolla. It’s not secret that if you want to take the best sunset ocean shots of your life that you have to take the trip out to La Jolla and that is why this places makes the second top spot in my top 5 places for sunset shots. To get to Scripps Pier you will need to park your car at La Jolla shores and take a short but beautiful walk along the beach until you get to the pier. The reason this is a top spot for sunset shots is because the variety of photos that you can take from this location. You can capture sunset with the pier in the foreground or if you might even be able to capture the sun setting between the pillars of the pier if you are lucky. What makes this location so extraordinary is the way that the water will glow on the sand as the sun begins to set. Since the beach is long and shallow, the water stays on the surface of the sand for along while allowing you to capture reflections of the pier in the water itself. It is simply amazing the shots that you can get at this location on a good day.
#3 Mission Beach – (Google Map It)
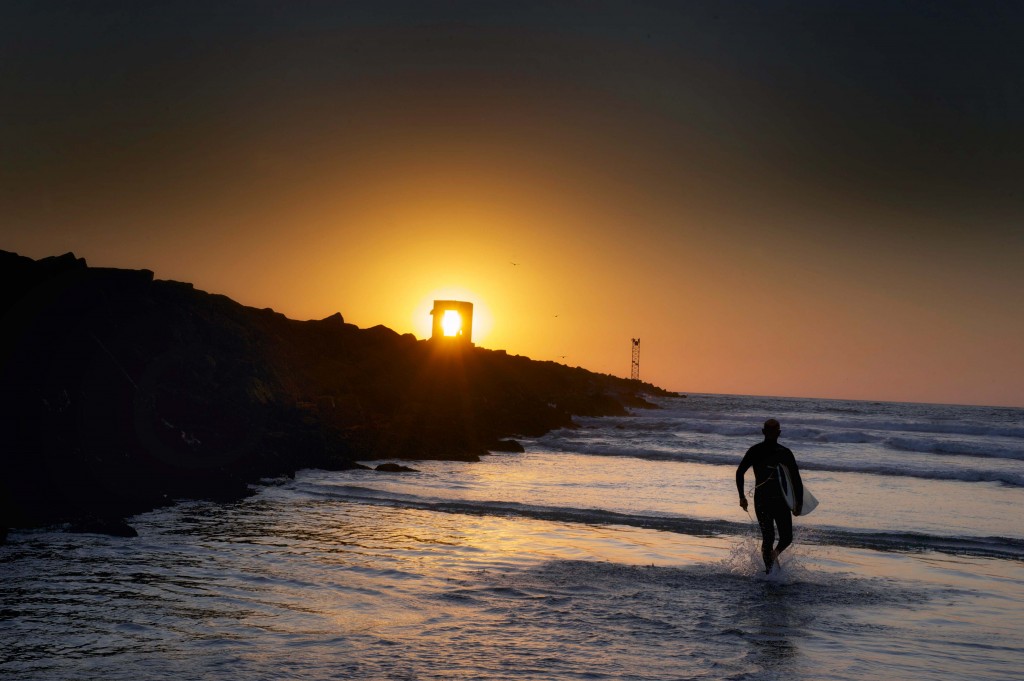
Mission Beach is amazing for sunsets. Mission Beach is on located on one of the skinniest stretches of land in the US. The tiny strip of land is as populated as Hong Kong but boast the freshest air in the country thanks to the fact that the ocean air and bay air collide making this place air pollution free. Come to Mission Beach to people watch and watch or photograph the sunset with thousands of other people. You will notice that everyone here is looking for the “green flash” which is the phenomenon when a bright green flash occurs immediately after the sun sets. I like to head a little south down to the Jetty to capture the sun piercing through the eye of needle at this location.
#4 – Sunset Cliffs – (Google Map it)
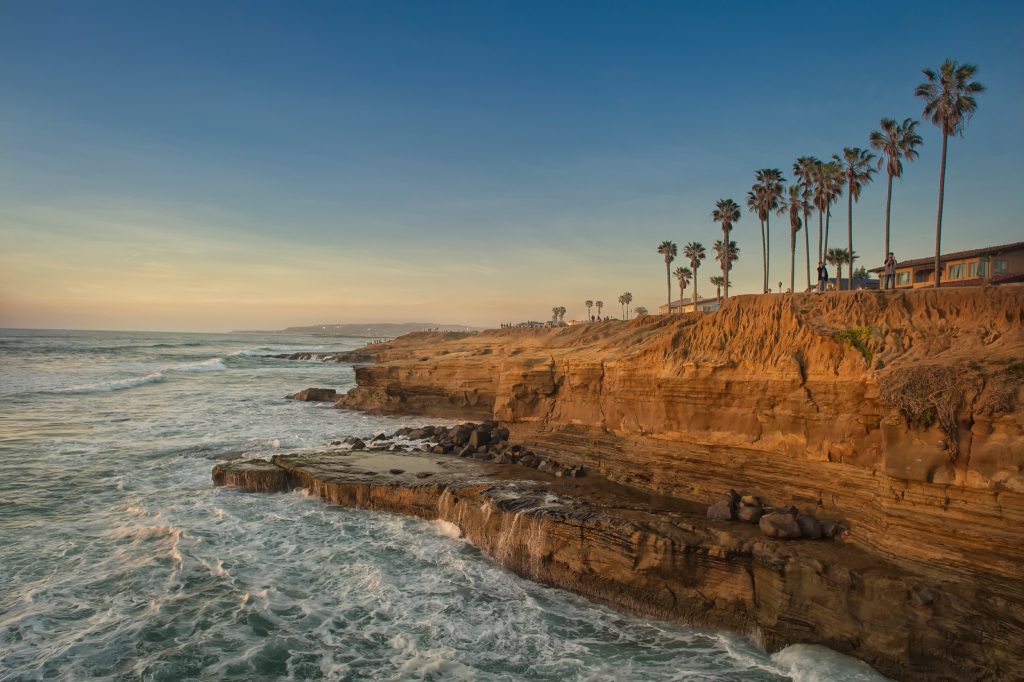
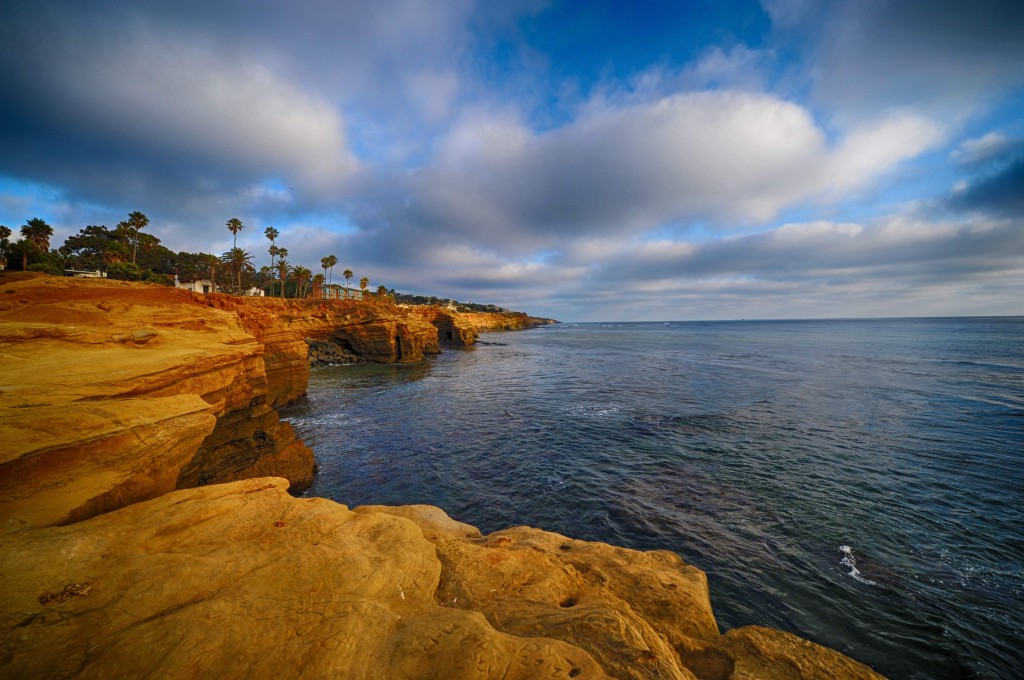
Sunset Cliffs is located in Ocean Beach which is just on the other side of the Mission Beach Jetty. This place is out of this world during sunset. This place was called Sunset Cliffs because everyone wants to come to this place to watch the sun set. What makes it unique is that the sandstone cliffs are rugged, jagged and turn gold as the setting sun hits them just before the sun is completely set. The color at this place is just amazing for photography. If you are going to take pictures here, arrive about 2 hours before sunset to give yourself a chance to walk along the ocean front path to see all of the cliffs. There are spots where you can go down steep paths but down to secluded beaches. If you are a bit more adventurous, you can try that but it wet weather it gets too slippery and can be dangerous.
#5 South Del Mar – (Google Map It)
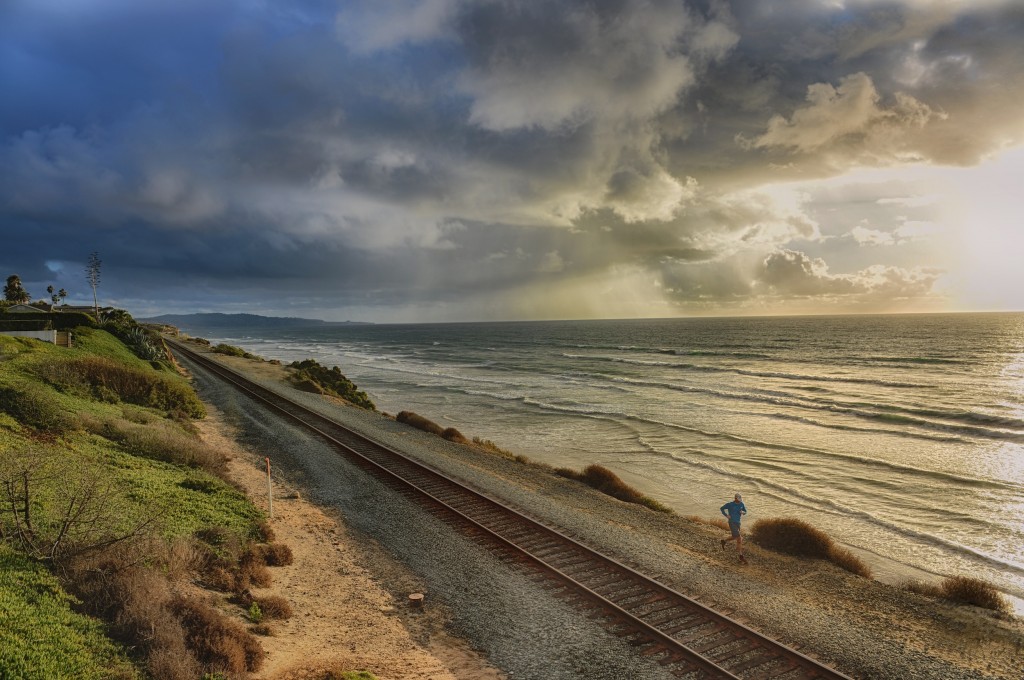
If you want to take some scenic sunset pictures in a place where only the locals know about head North on the 5 freeway, get off on Del Mar Heights Road and head straight down to 4th Ave and park your car. Make your way down to paths which wind along the Del Mar Beach cliffs. There is about 1 mile of paths which wind north along the coast until you hit central Del Mar which is a great village to go and have a nice dinner and walk after your photo session. What I love about this area is the Amtrak coaster trains which cross the tracks in front of the beach every half hour or so. I haven’t been able to capture sunset shots with the train in the shot yet but I have seen them by other photographers and they are amazing. Even if you just want to walk these paths at sunset or even have a sunset jog, South Del Mar is an amazing place to go.
Now these are not the only places in San Diego to take awesome shots of the sunset, you can also head over to any of these other places to capture some pretty tremendous photos of the sun setting.
#6 – Coronado Ferry Landing – http://goo.gl/maps/jcxQK – This is the place to get awesome cityscape photos of the sun setting directly against the San Diego Downtown skyline.
#7 – Oceanside State Beach – http://goo.gl/maps/3ujjr – This is the most northerly beach in San Diego County. The beach is very flat and there is a pier there. I get great shots there all the time.
#8 – Soledad Cross – http://goo.gl/maps/MWxs2 – If you want to get a birds eye view of the sun setting over the La Jolla Coast as well as sweeping views of San Diego. Head here – it is beautiful.
Some additional tips for taking better sunset photos in San Diego
Tip #1 – Get to the location early.
In San Diego at sunset there always tends to be a layer of clouds just on the very edge of the horizon. These clouds can be dark at times so the actual time when the sun sets can be 10-15 minutes before the official time you read about. If the clouds are particularly thick you will not be able to catch the light or the sun itself whole it dips off the horizon. That is why I always tell people to get to the location early. If that happens at least you can catch shots while it is still higher in the horizon.
Tip 2 – The best sunsets in San Diego are in October or when there are Santa Ana conditions.
Sunsets in San Diego get very beautiful in Autumn. The best sunsets with red skies seem to happen when there is an Indian summer or when there are Santa Ana conditions when the wind sweeps off the desert and blows hot air offshore. I am not sure why. If your planning your trip to San Diego in October you might see some amazing sunsets.
Tip 3 – Under-expose your shots.
Turn your camera off the fully automated setting and use the P setting or the A setting for Aperture priority mode. If you are using the Aperture priority mode make sure to set the aperture to 5.6 or greater. Set your exposure compensation down by 1 or 2 notches so that you don’t over-expose the photo. For sunset photos it is better to underexpose them so that you can capture all of the colors. What tends to happen is the bright sun setting tends to trick your camera into thinking the whole scene is bright so it will wash everything out. That is why you need to under-expose the shots.
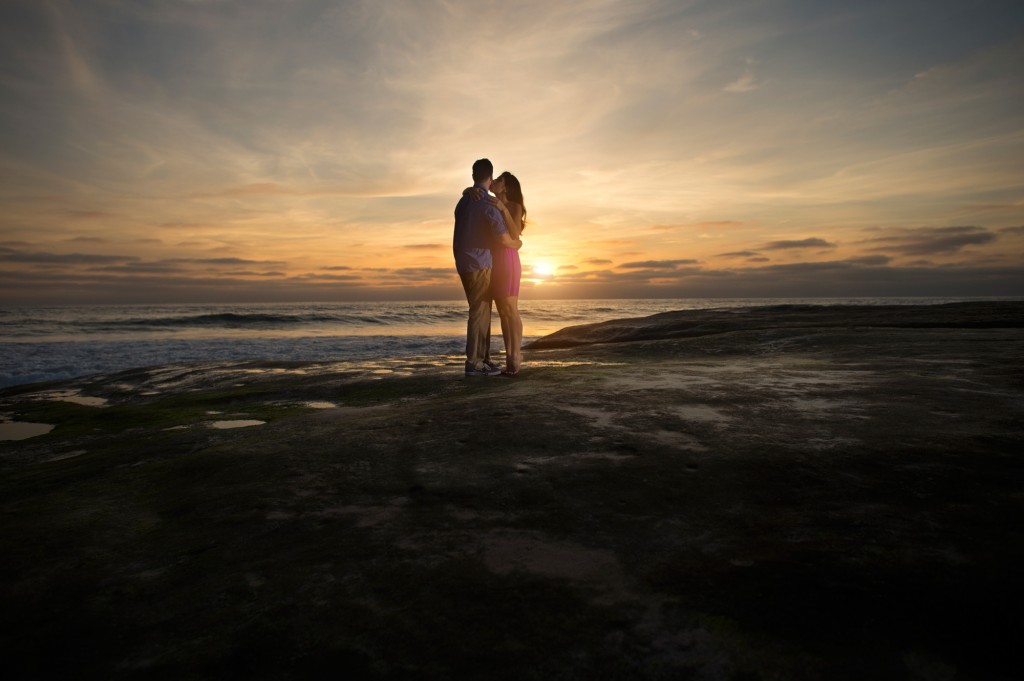
Tip 4 – Use a flash if you are trying to take a picture of someone in front of the sunset.
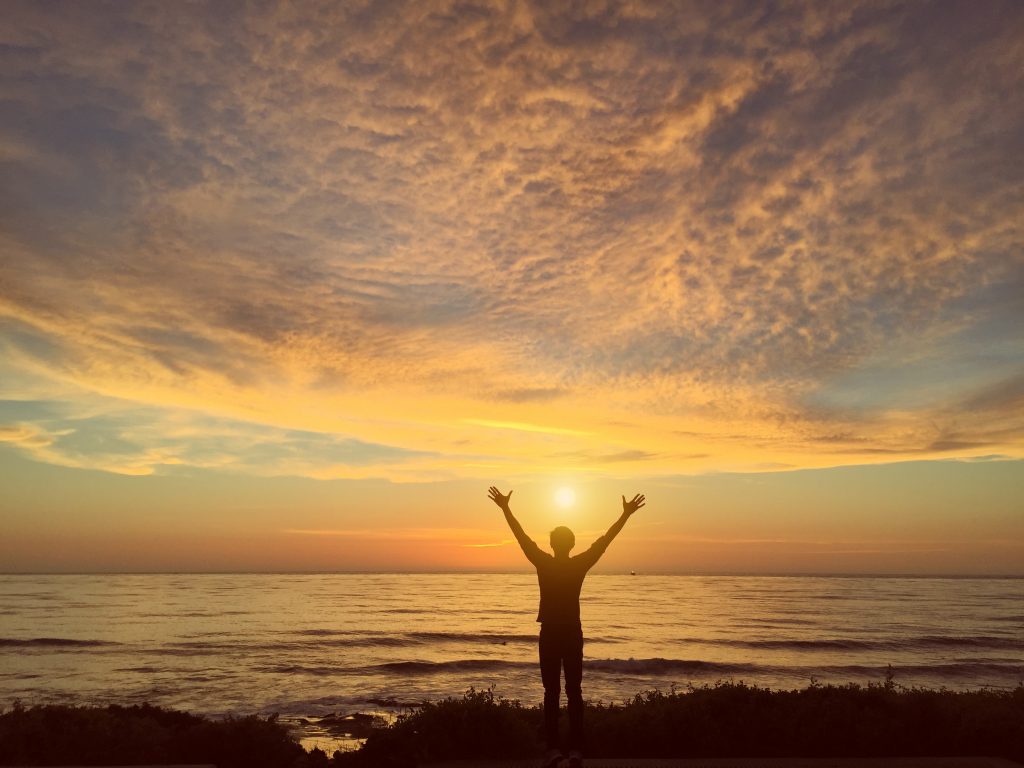
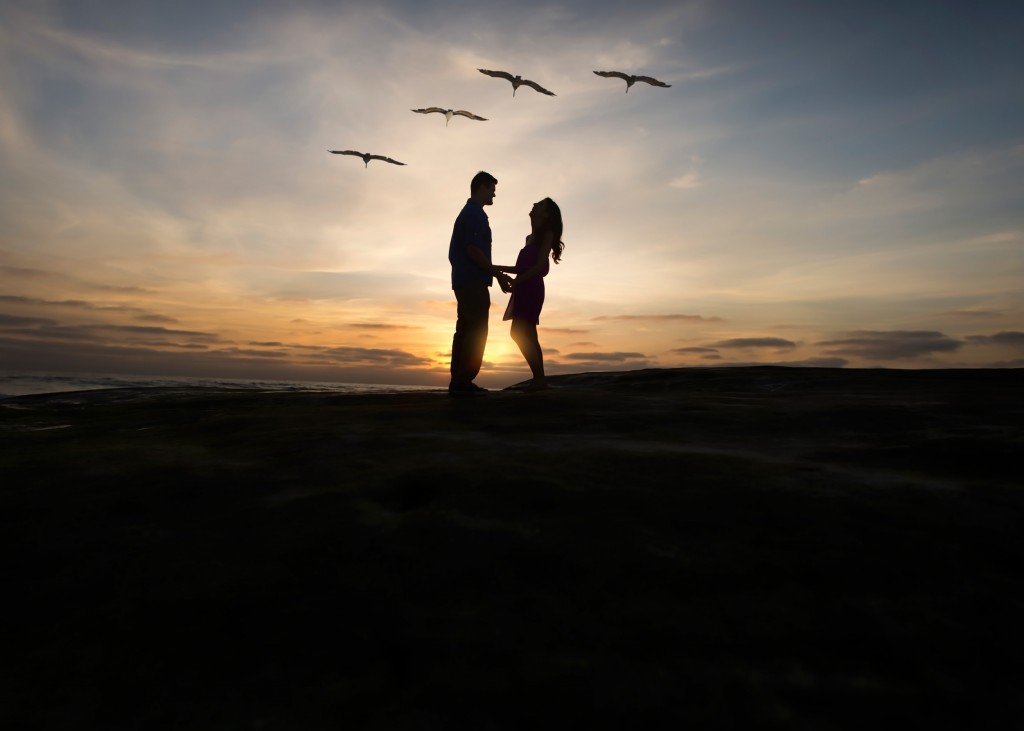
Position your subject so they block out the direct sun in front of you and put your flash on so that you light up there face while still being able to see the background.
Tip 5 – Position the sun to the very edge of the photo so you capture the light but not the direct sun.
Put the sun outside of the frame so that it doesn’t blow out the shot. In most cases if you are taking a picture of someone in the sunset you always want to position the direct sun so that it doesn’t blow out the rest of your picture. It’s also always important to use a flash.

